In this article, we will show you how to customize row height in Excel with a VBA macro, including how to set new row heights, change row height for a single row and multiple rows, increase row height, autofit row height and modify row height based on conditions with VBA in Excel.
Range.RowHeight Property in Excel
Excel’s RowHeight property specifies the height for all rows in a range of cells.
- Syntax
Here,
Range refers to the range of cells whose heights need to be customized.
- Return Value
Sets or modifies the height of the rows in the range specified.
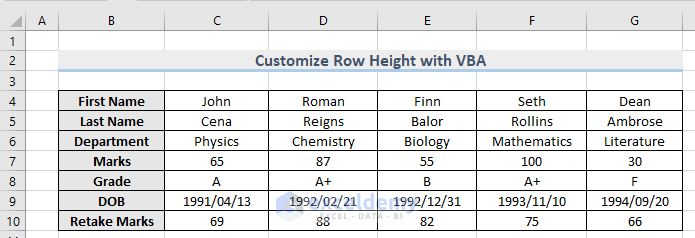
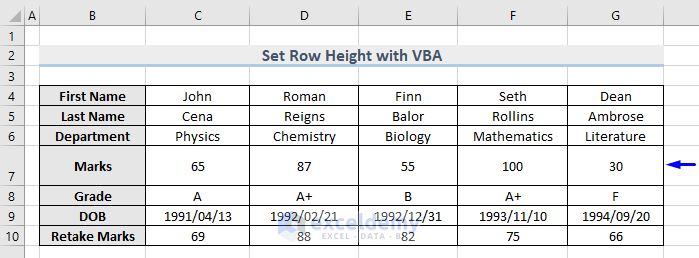
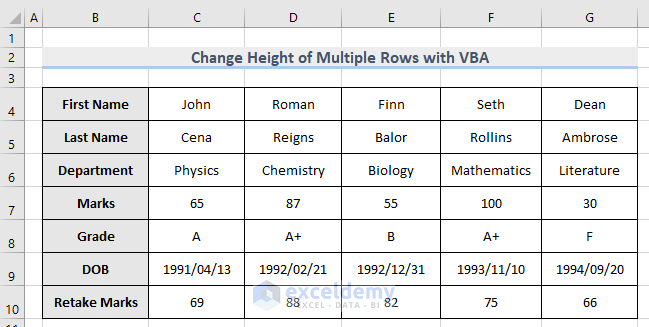
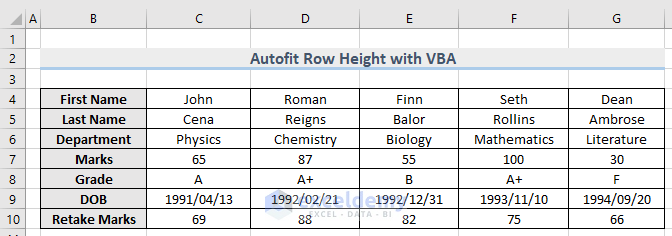
Above is the example dataset that this article will follow. In the dataset, the row height for all the rows is 15.
Example 1 – Set Row Height
Let’s start by setting a new row height for a specific row from our dataset. We will set a new row height for row number 7.
Steps:
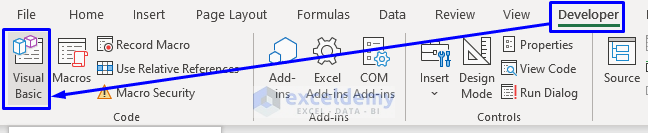
- Press Alt + F11 on your keyboard or go to the tab Developer -> Visual Basic to open the Visual Basic Editor.
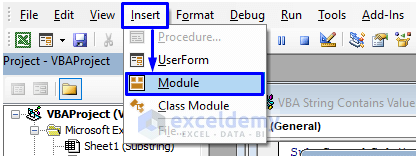
- In the pop-up code window, from the menu bar, click Insert -> Module.
- Copy the following code and paste it into the code window:
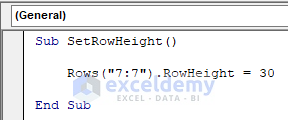
Sub SetRowHeight()
    Rows("7:7").RowHeight = 30
End Sub
Your code is now ready to run.
This code will set 30 as the height of row 7.
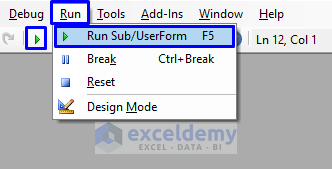
- Press F5 on your keyboard or from the menu bar select Run -> Run Sub/UserForm. You can also just click on the small Play icon in the sub-menu bar to run the macro.
As you can see in the picture below, row 7 is larger than the rest of the rows because its height is 30 now.
Read More: Row Height Units in Excel: How to Change?
Example 2 – Change Height of a Single Row
If you want to change height only for a single row among your large dataset then follow the steps as we change the height for row 8 from our dataset.
Steps:
- Same way as before, open Visual Basic Editor from the Developer tab and Insert a Module in the code window.
- In the code window, copy the following code and paste it:
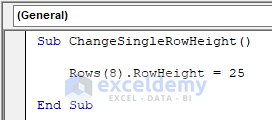
Sub ChangeSingleRowHeight()
    Rows(8).RowHeight = 25
End Sub
Your code is now ready to run.
This code will change the previous row height from 15 to 25 for row number 8.
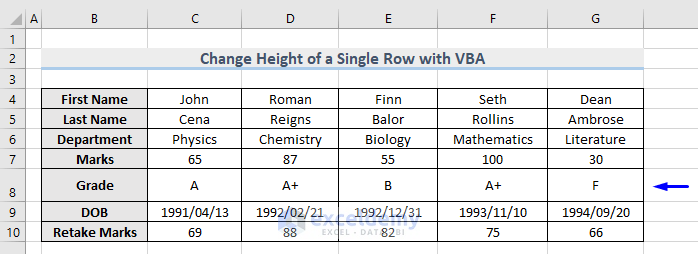
- Run this code and notice in the following picture that only the height for row 8 has changed into 25.
You can execute the above task in another way by providing the worksheet name inside the code. The code for that is:
Sub ChangeSingleRowHeightWS()
    With Worksheets("Single Row").Rows(8)
    .RowHeight = 25
    End With
End Sub
Here,
- Worksheets(“Single Row”) -> Set the worksheet name.
- Rows(8) -> The height for row 8 will be changed
- RowHeight = 25 -> Set new row height
This is a very efficient method when you have many worksheets in your Excel book and each of their required individual heights need customization.
Read More: How to Change the Row Height in Excel
Example 3 – Change Height of Multiple Rows
Let’s update row height from 15 to 25 in multiple rows of our dataset.
Steps:
- As shown above, open Visual Basic Editor from the Developer tab and Insert a Module in the code window.
- In the code window, copy the following code and paste it:
Sub ChangeMultipleRowsHeight()
    Rows("4:10").RowHeight = 25
End Sub
Your code is now ready to run.
This code will change the previous row height of 15 to a new height of 25 for row numbers 4 to 10 in the dataset.

- Run this piece of code and observe, as in the image below, that the height of our dataset is modified.
Read More: How to Copy Multiple Row Height in Excel
Example 4 – Increase the Existing Height of Row
Suppose you don’t want to pass any numeric data in the code while setting the row height, you just want to double the height of a specific row.
Steps:
- Open Visual Basic Editor from the Developer tab and Insert a Module in the code window.
- In the code window, copy the following code and paste it:
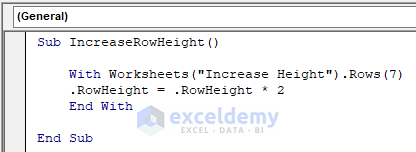
Sub IncreaseRowHeight()
    With Worksheets("Increase Height").Rows(7)
    .RowHeight = .RowHeight * 2
    End With
End Sub
Your code is now ready to run.
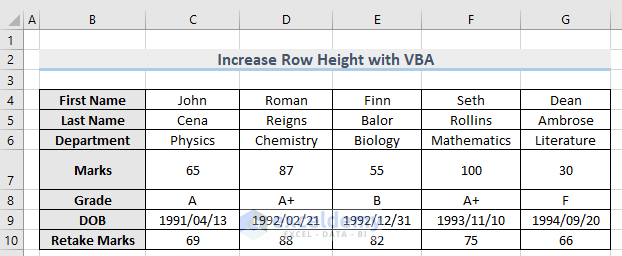
This code will double the height for row 7.
- Run this code and the height will be doubled for the row you need.
Read More: How to Increase Row Height in Excel
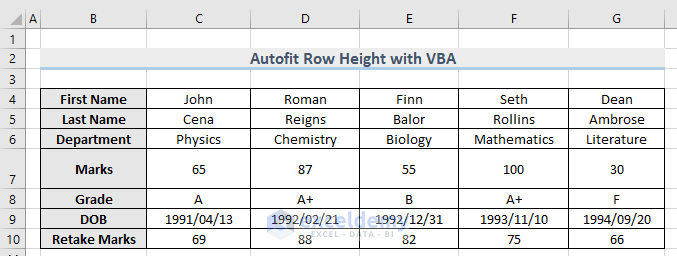
Example 5 – AutoFit Row Height
In the image below, the height for row 7 is different from the others. Let’s AutoFit this row height with VBA.
Steps:
- Open Visual Basic Editor from the Developer tab and Insert a Module in the code window.
- In the code window, copy the following code and paste it:
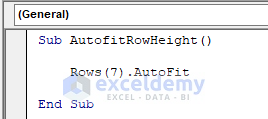
Sub AutofitRowHeight()
    Rows(7).AutoFit
End Sub
Your code is now ready to run.
- Run this code and the row height for row number 7 will be AutoFit according to Excel’s fundamental row formation.
Read More: Excel VBA Autofit Row Height with Wrap Text
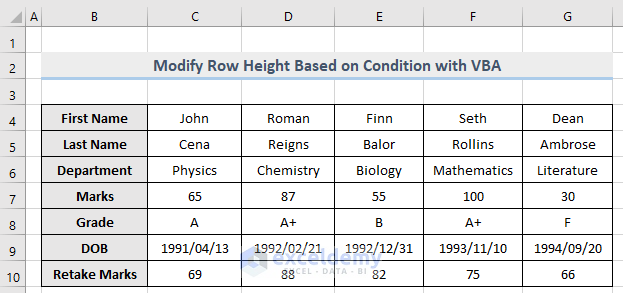
Example 6 – Modify Row Height Based on Condition
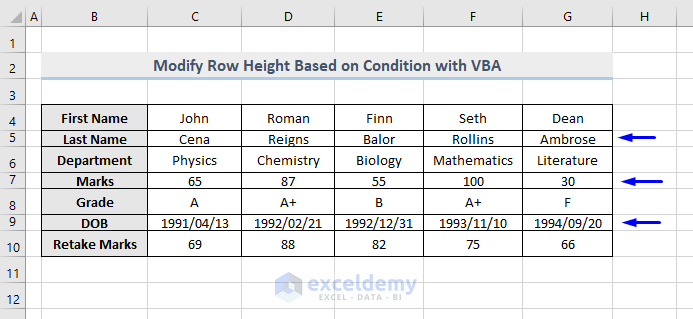
Consider the following dataset where all rows have a height of 20 except rows 5, 7 and 9, which are somewhat smaller than the others. Let’s modify their height and make it 20 with a VBA macro.
Steps:
- Open Visual Basic Editor from the Developer tab and Insert a Module in the code window.
- In the code window, copy the following code and paste it:
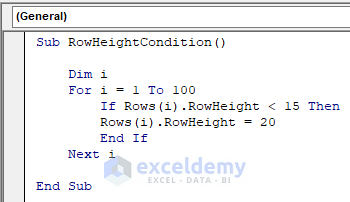
Sub RowHeightCondition()
    Dim i
    For i = 1 To 100
        If Rows(i).RowHeight < 15 Then
        Rows(i).RowHeight = 20
        End If
    Next i
End Sub
Your code is now ready to run.
Here,
If Rows(i).RowHeight < 15 Then
Rows(i).RowHeight = 20
This means that if any row height is less than 15 then set a new height of 20.
- Run this code and the height for the rows that are below 15 will be set to 20.
Read More: How to Change & Restore Default Row Height in Excel
Download Workbook
Related Articles
- Auto Row Height Not Working in Excel
- How to Adjust Row Height to Fit Text in Excel
- How to Auto Adjust Row Height in Excel


Any tips on double the height of all rows after an autofit? Or Autofit with some padding?
Hello, DJ!
If you just Autofit all the selected rows you can use this code.
Sub Autofit_Rows()
Range(“A1:A10”).Select
Selection.Rows.AutoFit
Range(“A1”).Select
End Sub
After Autofit the rows, double the height of all rows is not possible actually. You can Autofit with some padding, please try this code. Hope this will help you.
Sub AutoFitRows()
Dim ws As Worksheet
Dim rng As Range
Application.ScreenUpdating = False
For Each ws In ActiveWindow.SelectedSheets
With ws.UsedRange
.EntireRow.AutoFit
For Each rng In .Rows
rng.RowHeight = rng.RowHeight + 15
Next rng
.VerticalAlignment = xlCenter
End With
Next ws
Application.ScreenUpdating = True
End Sub