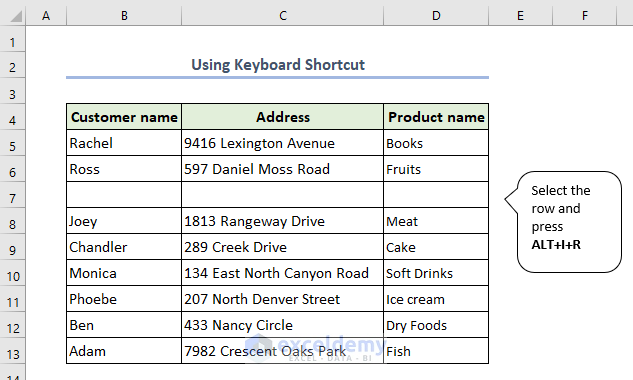
Method 1 – Using Keyboard Shortcut
- Select row 7 and then press ALT+I+R.
A new row has been inserted into your Excel sheet.
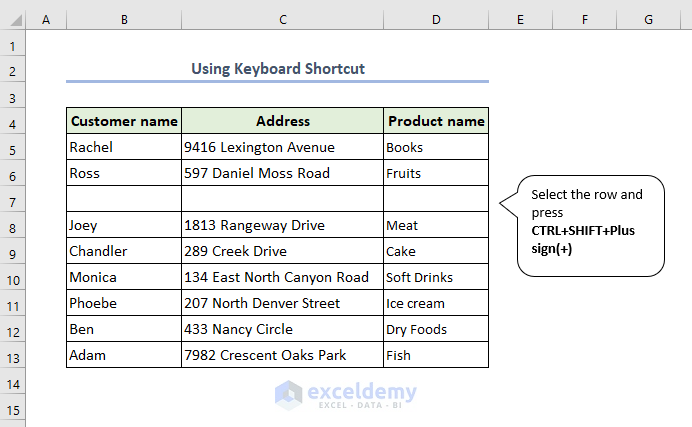
You can use another keyboard shortcut method-
- Select row 7 and then press ALT+SHIFT+Plus Sign (+).
In your Excel sheet, a new row has been added.
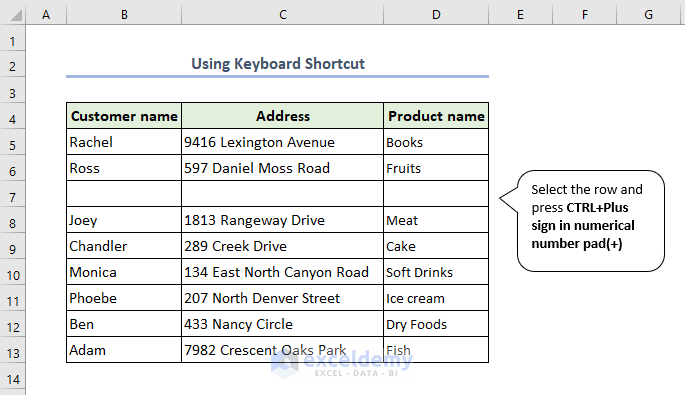
Another option is to utilize a keyboard shortcut-
- Select row 7 and press CTRL+Plus sign in numerical pad(+).
A new row has been added to your Excel sheet.
Method 2 – Inserting Row Using Insert Dialogue Box
- Select the row number where you want to insert it. Select row 8 and click as follows:
Go to Home >> Insert >> Insert Sheet Rows.
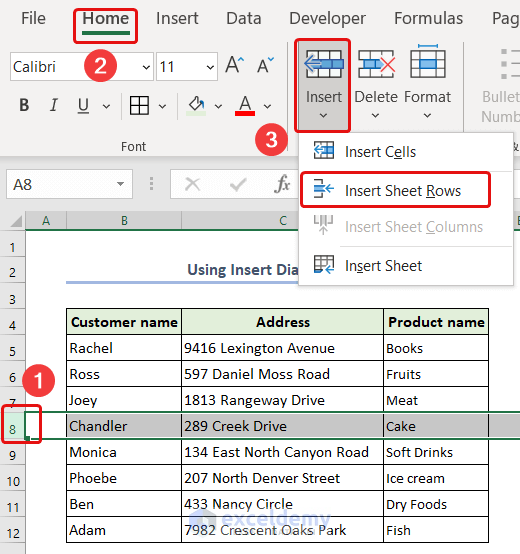
A blank row has been inserted on row 8 in your Excel sheet.

Method 3 – Inserting Row in Excel If There’s Data to the Right of Your Table
- Select cell B8 and click as follows: Go to Home >> Insert >> Insert Table Rows Above.
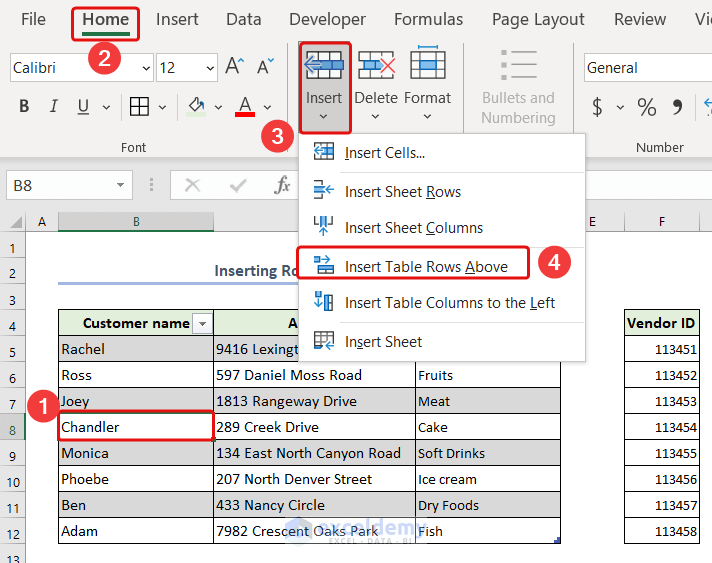
You can see a new row has been inserted within the table but it didn’t affect the data on the right side

How to Insert Multiple Rows in Excel
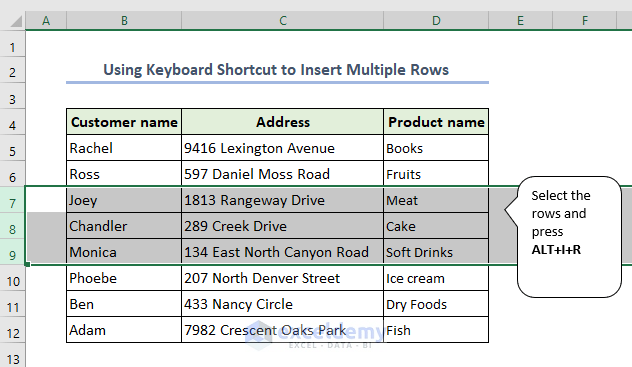
Method 4 – Using Keyboard Shortcut
- Select rows 7,8,9 and then press ALT+I+R.
- You can also use the Shift+Space keyboard shortcut to select the entire rows after selecting any cell from that row.
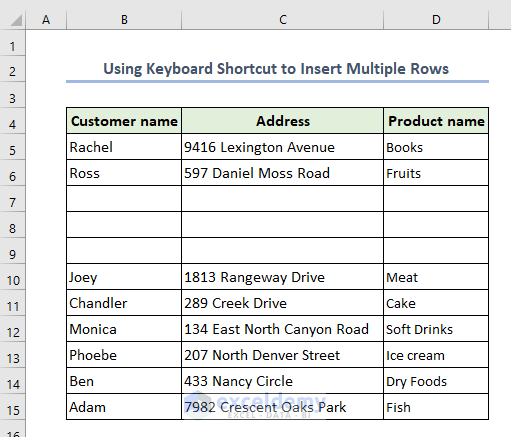
Three new rows have been inserted into your Excel sheet.
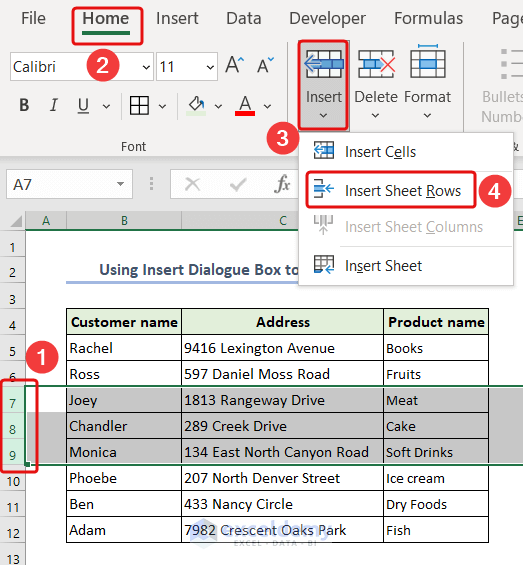
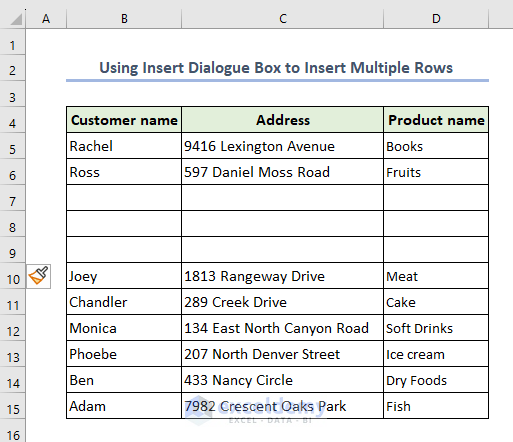
Method 5 – Inserting Rows Using Insert Dialogue Box
- Select multiple rows like we have selected 7,8,9. Then follow the following process:
Home >> Insert >> Insert Sheet Rows.
Three new rows have been added to your Excel worksheet.
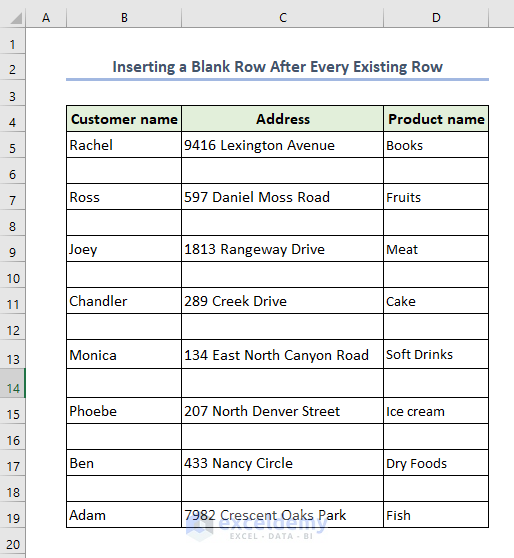
Method 6 – Inserting a Blank Row After Every Existing Row
- Select every row individually by clicking the row number using your mouse without the first row of the table.
- Then press ALT+I+R.
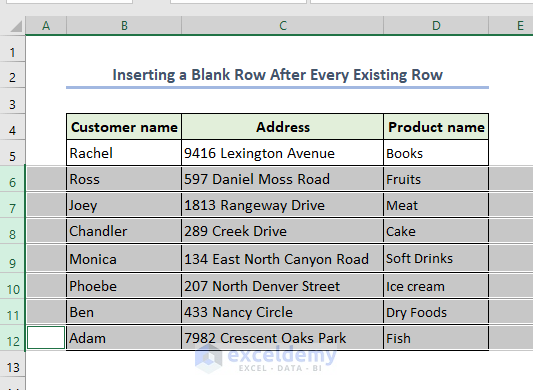
You can see that blank rows after every existing row has been inserted.
How to Delete Row in Excel
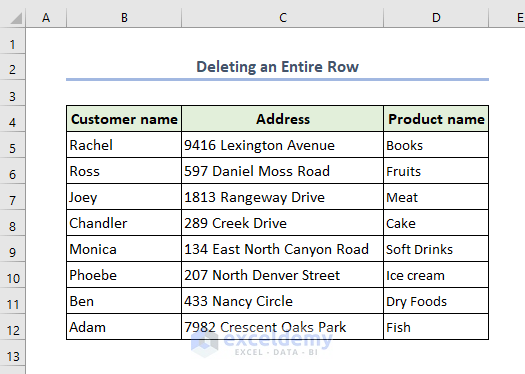
Method 7 – Deleting an Entire Row
- Select the row that you want to remove. We have selected row 7, and then go to the Home tab.
- Click on the Delete Sheet Rows from the drop-down menu.
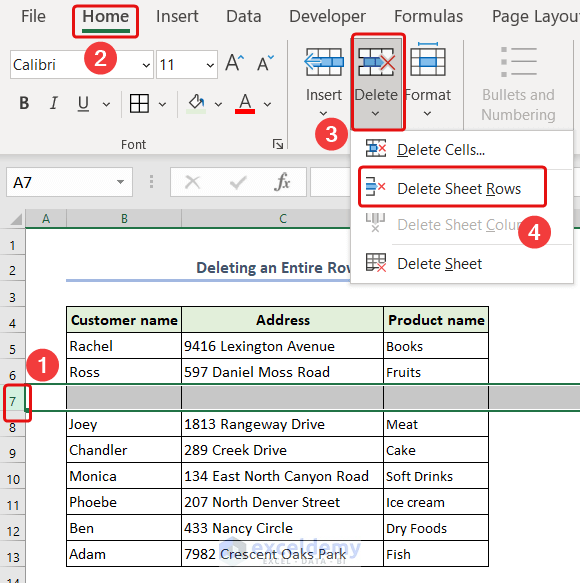
The result will look like the image below.
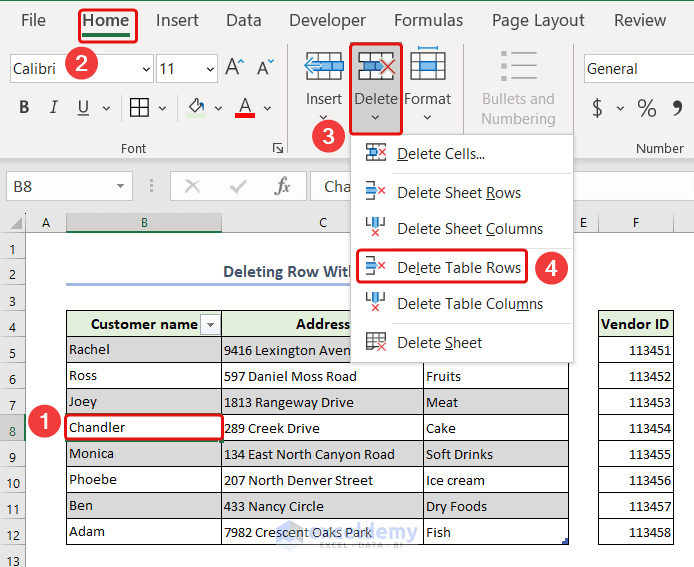
Method 8 – Deleting a Row Within a Table
- Select the cell you want to remove; we selected cell B8 and then go to the Home tab.
- Click on the Delete Table Rows from the Delete drop-down menu.
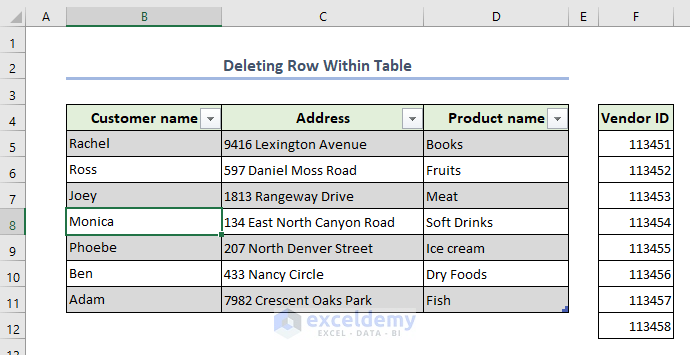
The selected row has been deleted from the table, and the table looks like the image below.
Things to Remember
- Select the entire row: Before inserting or deleting a row, make sure you select the entire row. You can do this by clicking on the row number on the left side of the spreadsheet. This ensures that you insert or delete the entire row and not just a portion of it.
- Inserting rows: When you insert a row, the rows below it move down by one position, along with any data, formatting, formulas, or references in those rows.
- Deleting rows: When you delete a row, the rows below the deleted row will move up to fill the gap. Any data or formatting in those rows will also move up.
- Consider hidden rows: If you have hidden rows in your spreadsheet, be aware that inserting or deleting rows may affect the hidden rows.
Frequently Asked Questions
1. Why does Excel not allow to insert row?
Your sheet may have frozen panes, preventing you from inserting rows in Excel. Unfreezing those panes is the answer in that situation to add a new row to the Excel spreadsheet.
2. How many rows are in Excel?
In modern versions of Excel (Excel 2007 and onwards, including Excel 2010, 2013, 2016, 2019, and Excel for Microsoft 365), there are 1,048,576 rows available.
3. Does Excel automatically adjust row height?
When you change the font size for a specific row or rows, Excel automatically makes the row higher or shorter. According to Microsoft, the row height with the default typeface, Calibri 11 is 12.75 points, which is roughly 1/6 inch or 0.4 cm.
Download Practice Workbook
Download this practice workbook to exercise while you are reading this article.
Insert Row in Excel: Knowledge Hub
<< Go Back to Rows in Excel | Learn Excel
Get FREE Advanced Excel Exercises with Solutions!
