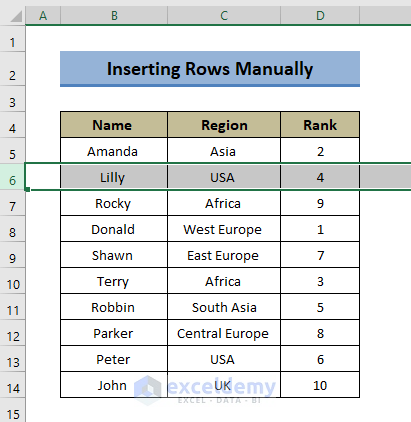
The dataset below contains the names, Regions, and Ranks of some sales representatives. We need to insert rows into the dataset automatically.

Method 1 – Inserting Rows Manually
Steps:
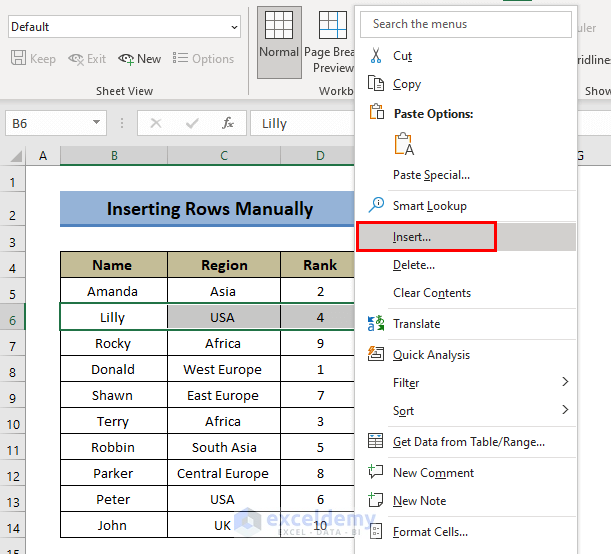
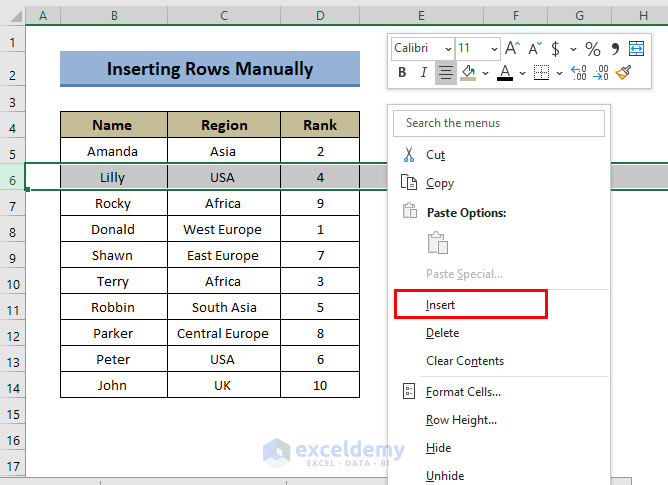
- Select a row where you want to insert a new row. Right-click on the mouse to open the options. From the available options, click on Insert.
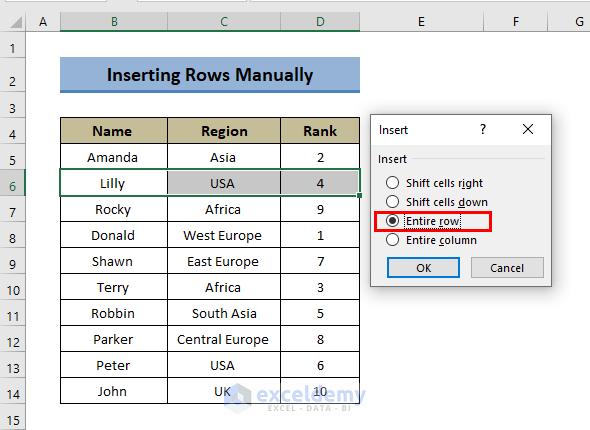
- A dialog box will open. Select the Entire row radio button to insert an entire row.
- Click OK to continue.
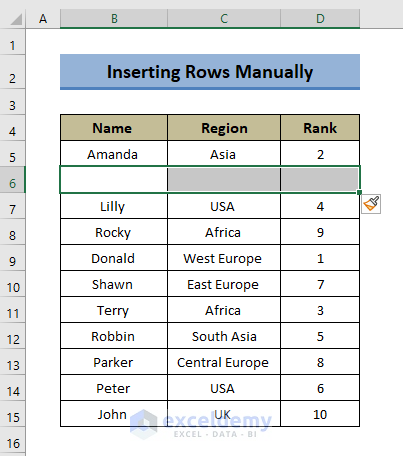
- A new row is inserted.
Alternate 1:
- Click on the row serial numbers.
- Right-click on the mouse to open options.
- From the options, select Insert.
- Excel will insert a new row.

Alternate 2:
- Select a row where you want to insert a new blank row.
- In the Home Tab, go to the Cells ribbon and click on Insert.
- Select Insert Sheet Rows.

- And a new row is created.

Read More: How to Insert a Total Row in Excel
Method 2 – Inserting Multiple Rows Automatically
Steps:
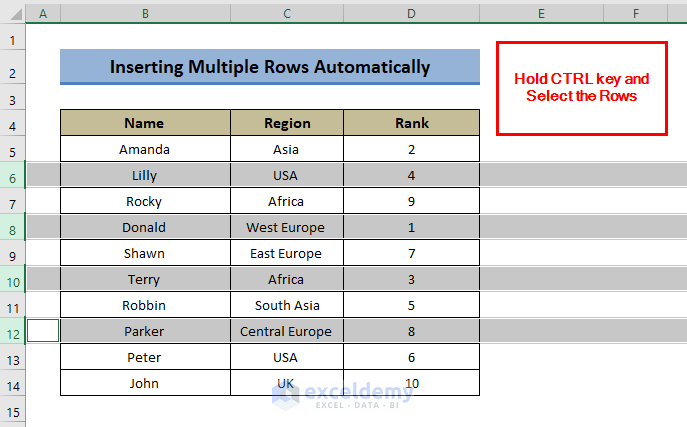
- Press the CTRL key, hold it, and select the rows before where you want to insert.
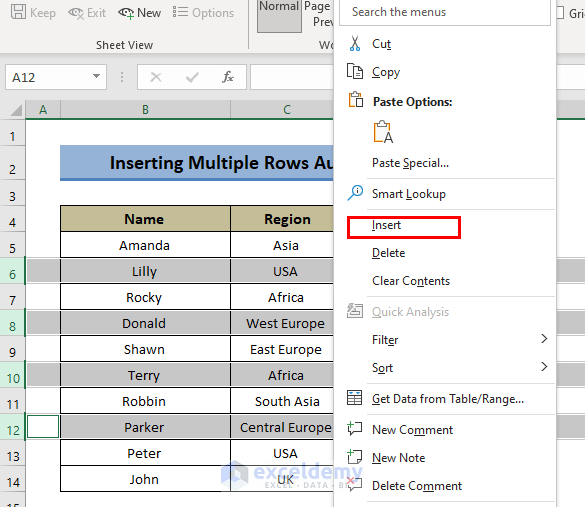
- Right-click on your mouse and a menu list will appear, as shown in the image below.
- Select Insert.
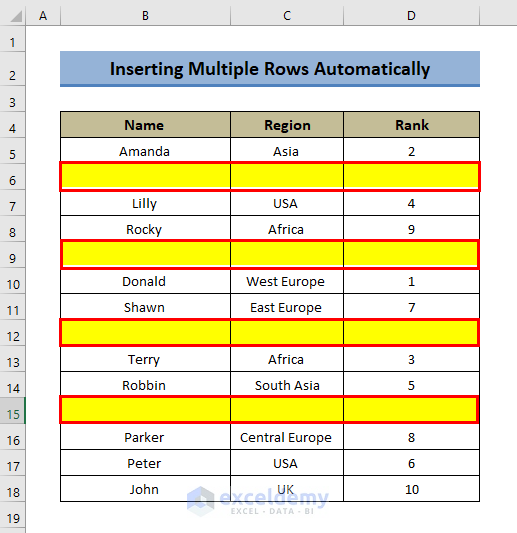
- Multiple rows will be inserted.
Read More: How to Insert Multiple Blank Rows in Excel
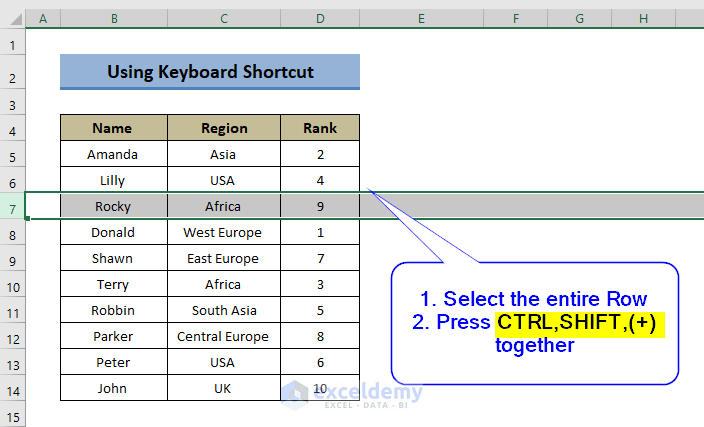
Method 3 – Using a Keyboard Shortcut
Steps:
- Click on a row above where you want a new row.
- Press “CTRL, SHIFT, (+)” to insert a new row.
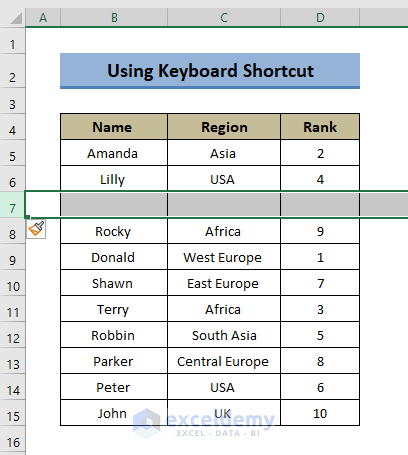
- Look at the dataset. We have got our new row.
Alternate:
- Click on the row in the dataset.
- Press “ALT+I+R”.
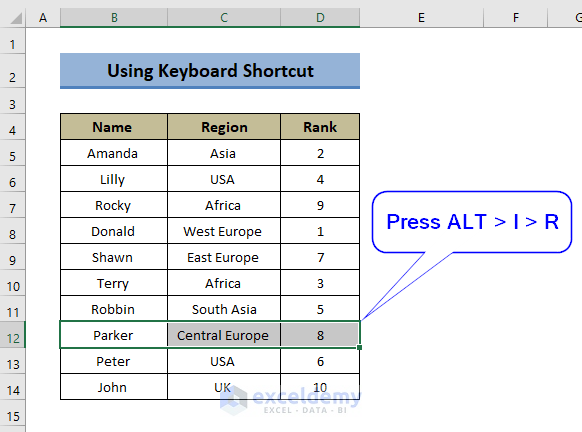
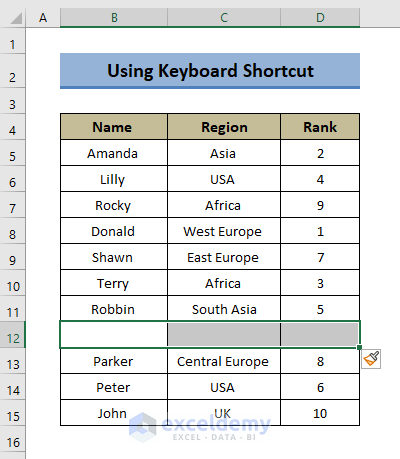
- Our dataset has a new row just up to the selected row.
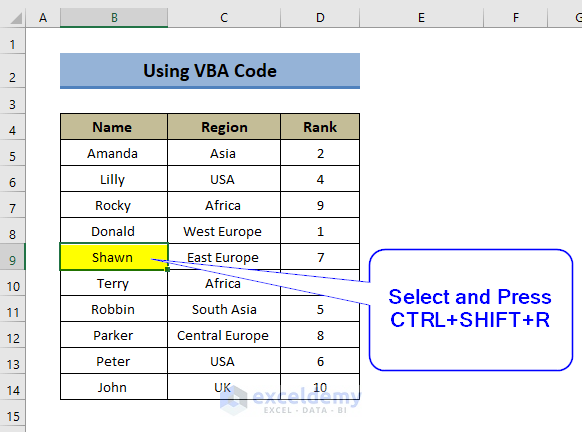
Method 4 – Assigning a VBA Code
Steps:
- Press ALT+ F11 to open the Visual Basic Editor window.
- In the VBA window, click on Insert > and select Module from the option.
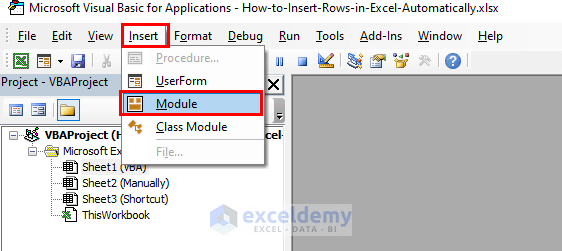
- A new module window appears.
- Enter the following code:
Public Sub Inserting_Row()
ActiveCell.Offset(1, 0).Rows("1:1").EntireRow.Insert SHIFT:=xlDown
End Sub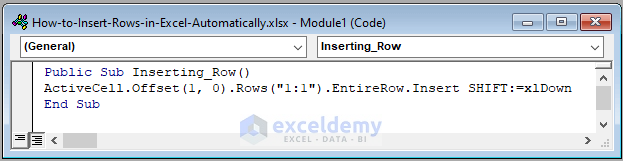
- Press ALT+Q to close the module window.
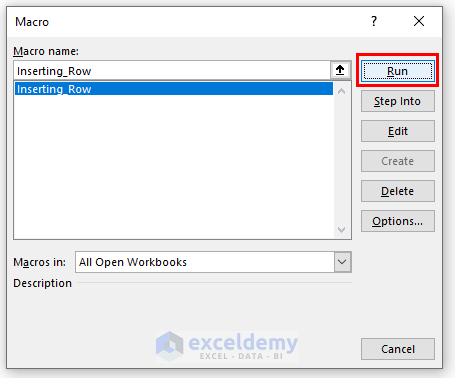
- Press ALT+F8.
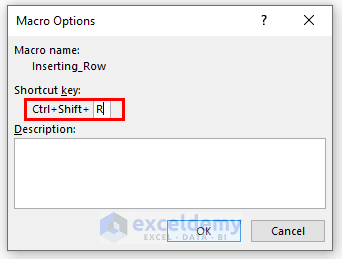
- Another pop-up named Macro will appear on the worksheet. Click Options in the pop-up.

- Enter the shortcut key for inserting new rows automatically. We have chosen “CTRL + SHIFT + R”
- Click OK.
- Click Run to run the code.
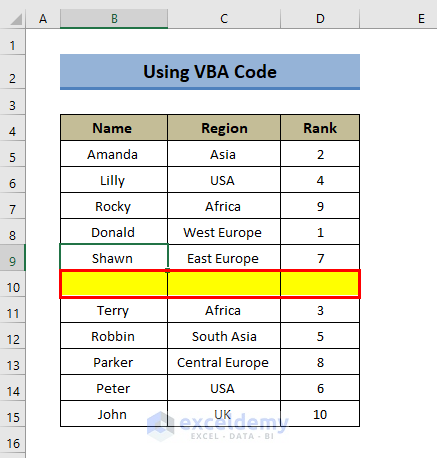
- While the code is now active, Press “CTRL + SHIFT + R” to create new rows.
- You will see a new row has been inserted to your table.
Read More: How to Insert Row Below in Excel
Things to Remember
⏩ You have to select the cell above where you want to insert a row automatically.
Download the Practice Workbook
Download this workbook to practice.
Related Articles
- Excel Insert Blank Row Every Nth Row
- Excel Insert Multiple Rows Every Other Row
- Excel Formula to Insert Rows Between Data
- Cannot Insert Row in Excel
- Excel Fix: Insert Row Option Greyed Out in Excel
<< Go Back to Insert Rows | Rows in Excel | Learn Excel
Get FREE Advanced Excel Exercises with Solutions!
