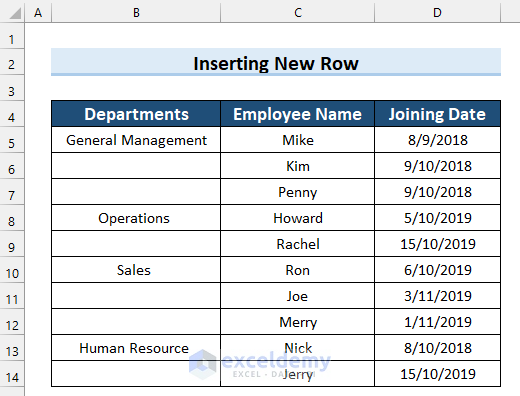
Dataset Overview
In this dataset, let’s focus on a rapidly growing company. The company maintains an employee database that includes department names, employee names, and joining dates. As the company continues to expand, it hires new employees to ensure proper work distribution. Consequently, the company needs to add new rows to its database to record the details of newly hired employees.
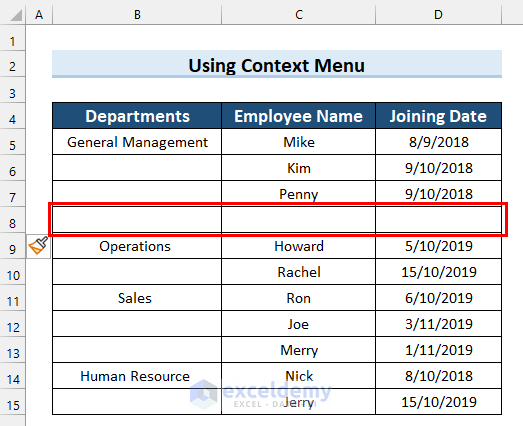
Method 1 – Use the Context Menu
- Select the row before which you want to insert a new row.

- Right-click on the selected row.
- Choose Insert.
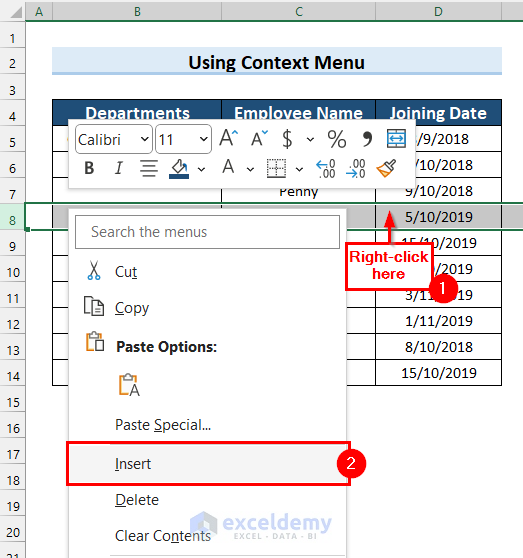
- A new row will be added before the selected row.
Read more: How to Insert a Row within a Cell in Excel
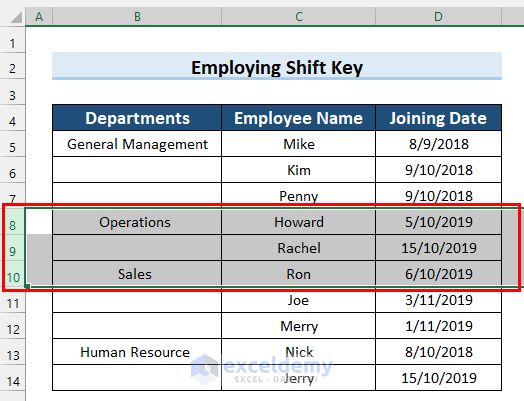
Method 2 – Shift Key for Multiple Rows
- Select the row before which you want to insert multiple adjacent rows.
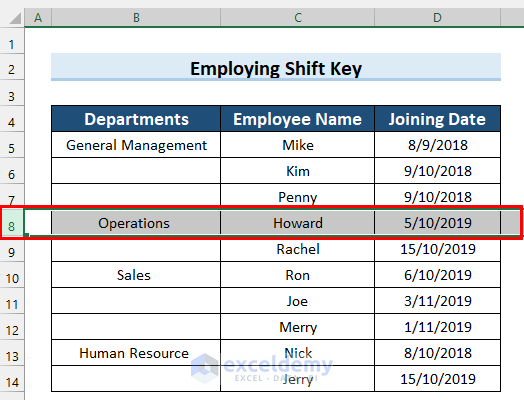
- Hold down the Shift key and select the last row.
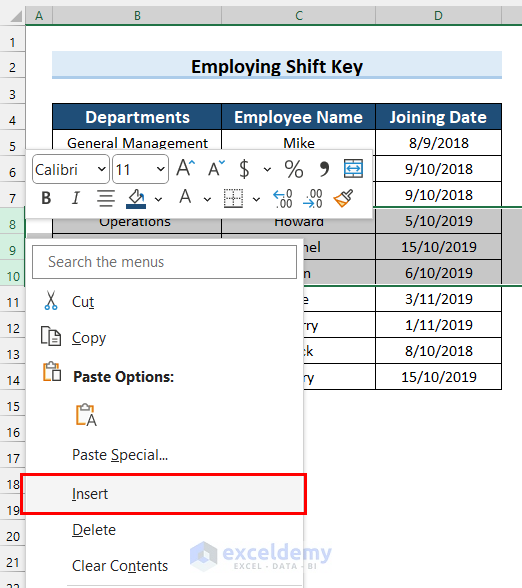
- Right-click on the selected rows.
- Select Insert.
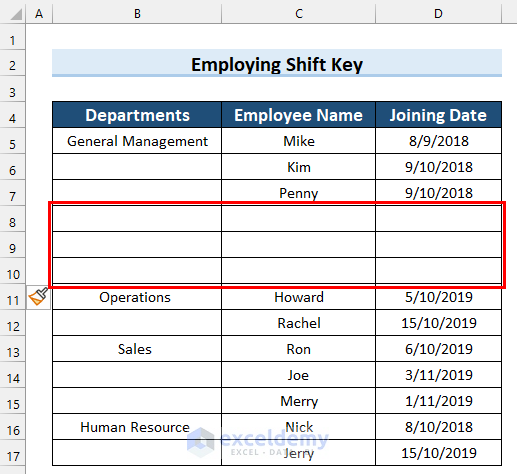
- New rows will be added in the selected range.
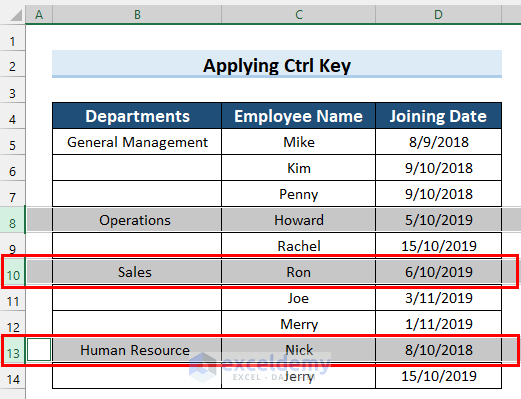
Method 3 – Ctrl Key for Non-Adjacent Rows
- Select the first row before which you want to add a new row.
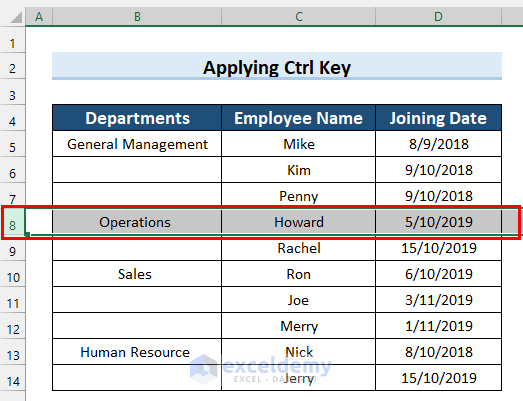
- Press and hold the Ctrl key.
- Select other rows where you want to insert new rows.
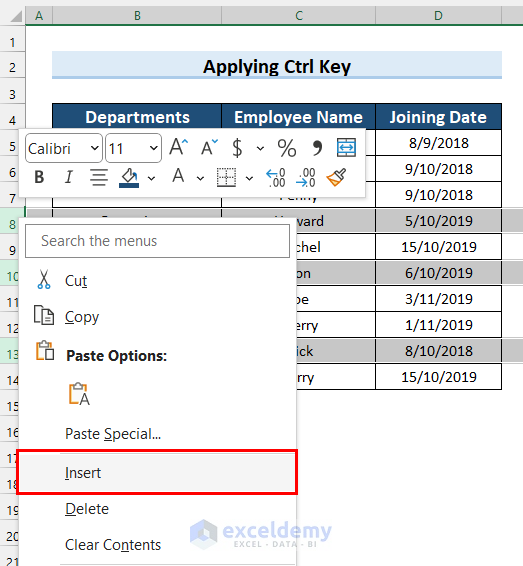
- Right-click on any of the selected cells.
- Choose Insert.
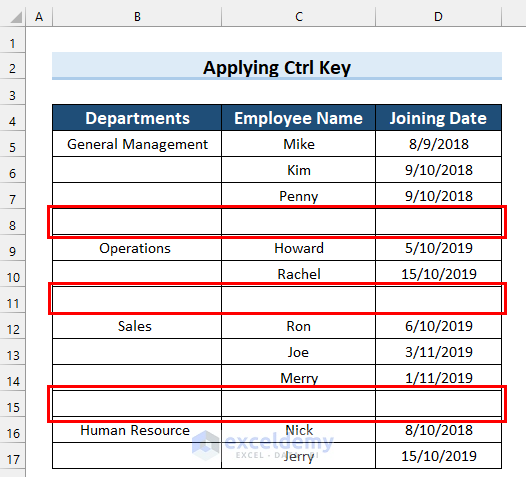
- New rows will be inserted in the specified locations.
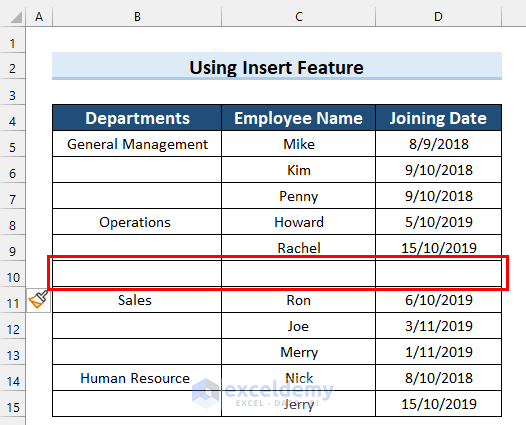
Method 4 – Insert Feature
- Select the row before which you want to add a new row.
- Go to the Home tab.
- Click the drop-down arrow next to Insert.
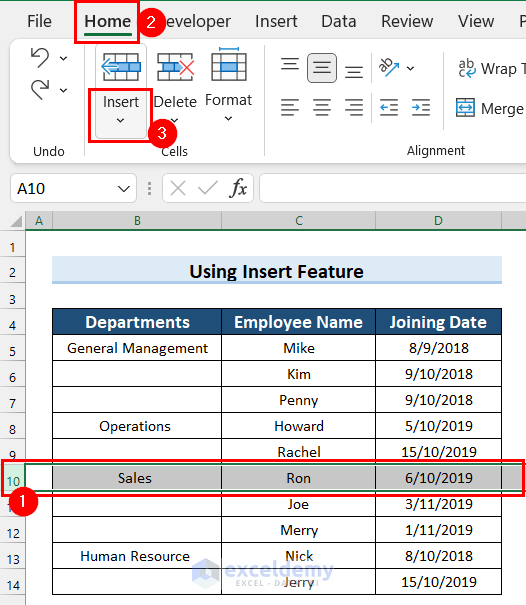
- Select Insert Sheet Rows.
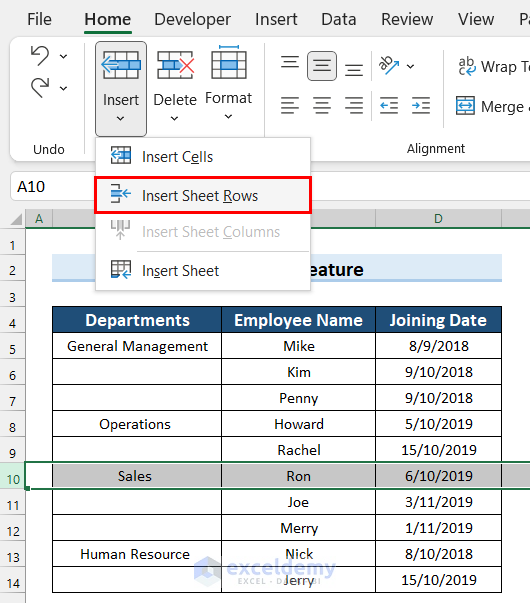
- A new row will be added.
Similar Readings:
- How to Insert Blank Row After Every nth Row in Excel
- How to Insert Multiple Rows After Every Other Row in Excel
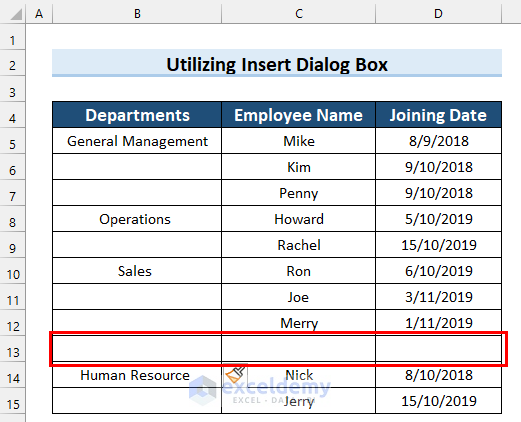
Method 5 – Insert Dialog Box
- Select a cell before which you want to add a new row.
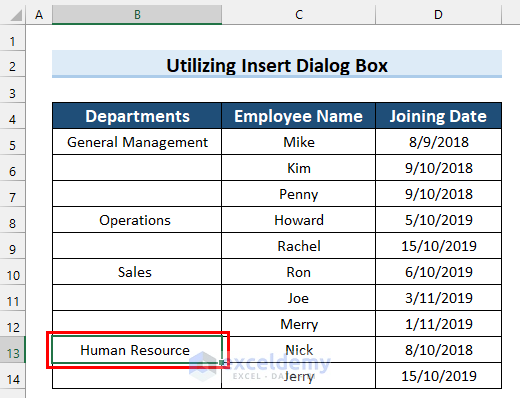
- Press Ctrl + Shift + Plus Sign (+) on your keyboard.
- The Insert dialog box will open.
- Choose Entire row and click OK.
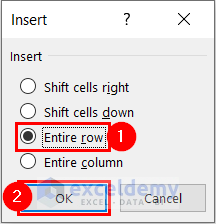
- A new row will be inserted.
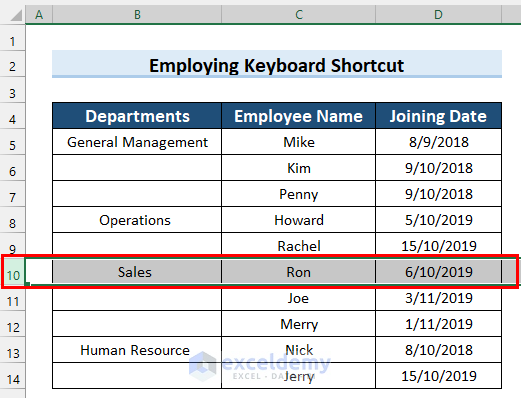
Method 6 – Keyboard Shortcut
- Select the row before which you want to insert a new row.
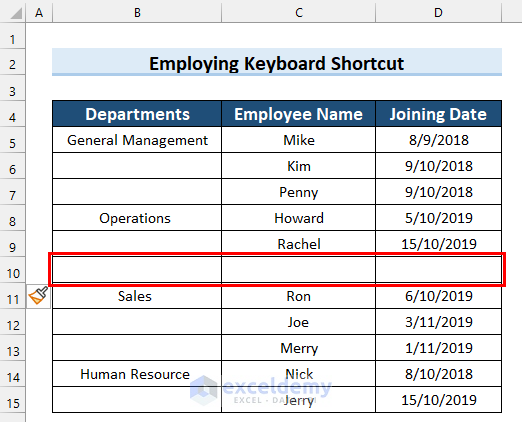
- Press Ctrl + Shift + Plus Sign (+) on your keyboard.
- A new row will be added in your preferred location.
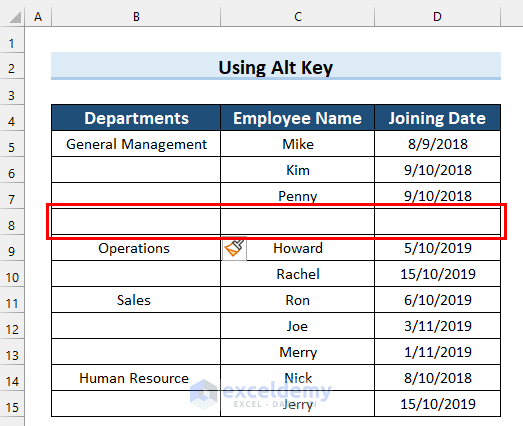
Method 7 – Alt Key
- Select a cell before which you want to add the new row.
- Press Alt + I + R on your keyboard.
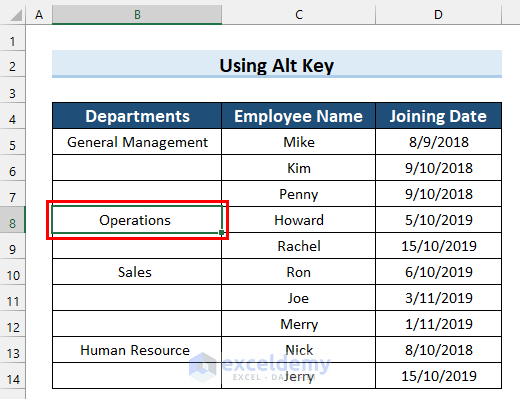
- A new row will be added.
Things to Remember
- Remember to select the row before which you want to insert new rows.
- You can also add multiple rows using these methods by selecting the desired number of rows in the first step.
- The subsequent steps remain the same.
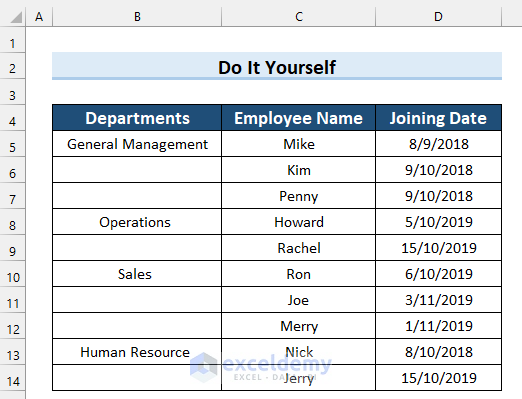
Practice Section
We have provided a practice sheet for you to practice how to insert rows in Excel.
Download the Practice Workbook
You can download the practice workbook from here:
Further Readings
- How to Insert Rows Automatically in Excel (3 Ways)
- How to Move Rows in Excel (4 Simple & Quick Methods)
- Excel Macro to Add Row to the Bottom of a Table

