Dataset Overview
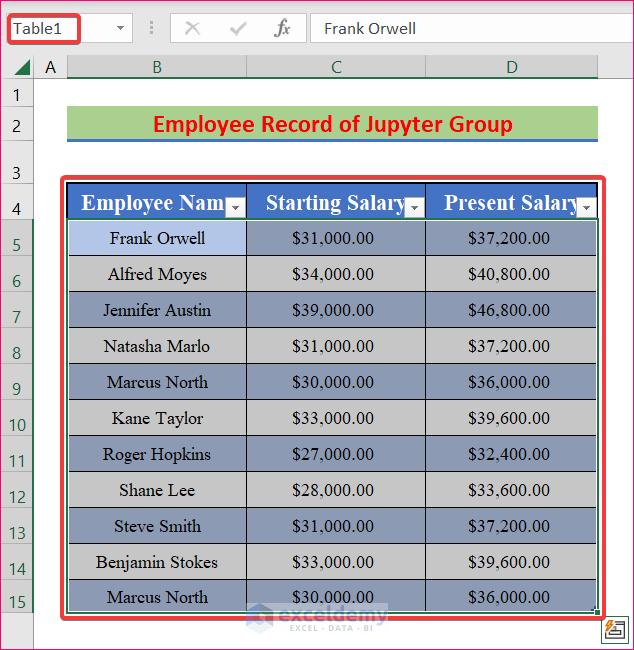
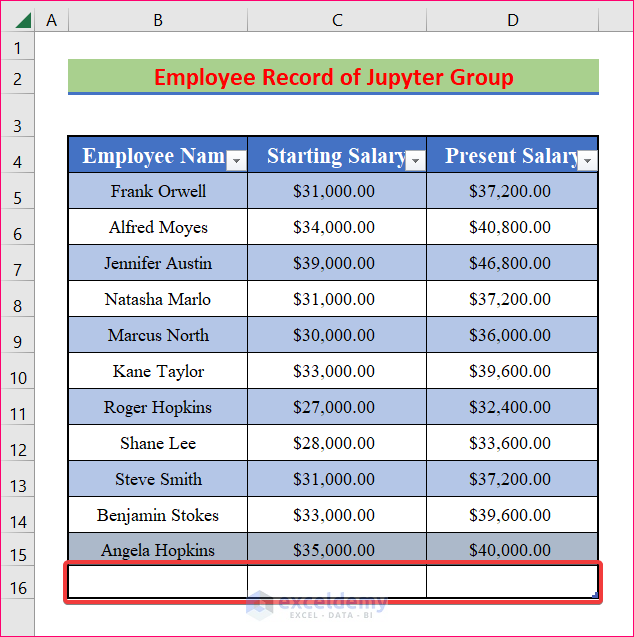
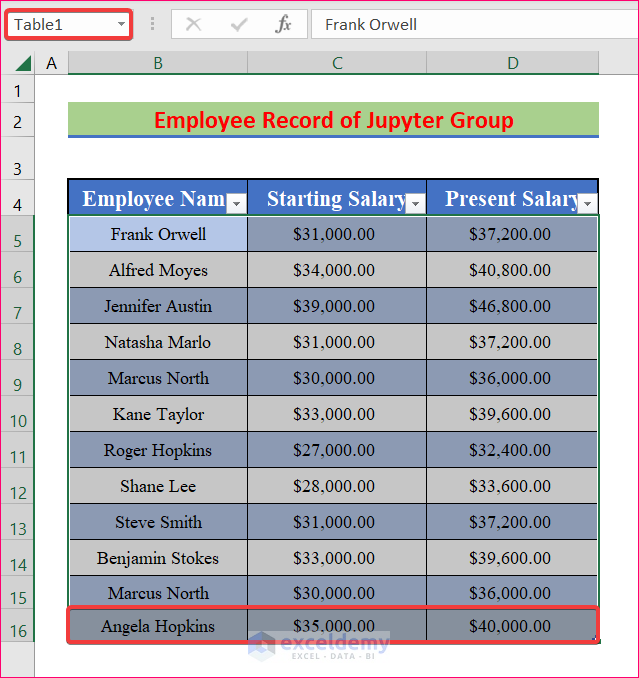
In this article, we’ve got a table named Table1 in an Excel worksheet that contains the names, starting salaries, and present salaries of some employees of a company called Sunflower Group.
Method 1 – Excel Macro to Add an Empty Row to the Bottom of a Table
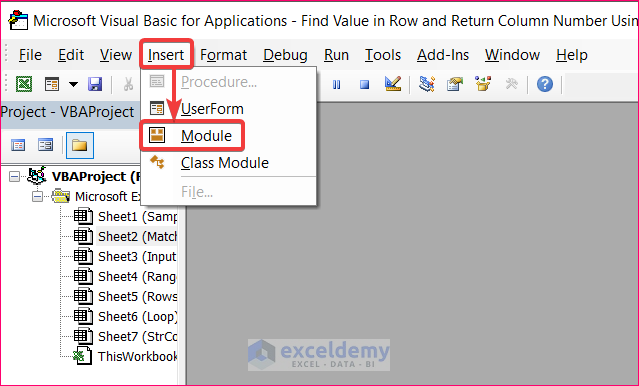
- Open the Microsoft Visual Basic window by pressing Alt+F11.
- Go to the Insert tab and click on Module.
- Enter the following VBA code to create a macro called Add_Empty_Row:
VBA Code:
Sub Add_Empty_Row()
Dim x As Worksheet
Set x = ActiveSheet
Table_Name = InputBox("Enter the Name of the Table: ")
Dim t As ListObjectSet t = x.ListObjects(Table_Name)
t.ListRows.Add
End Sub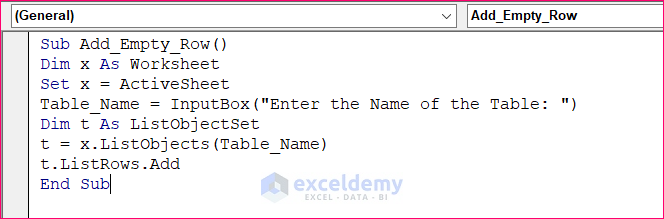
Code Breakdown:
-
- This code creates a Macro called Add_Empty_Row.
- It takes the name of a table as input from the user and then sets the table as a ListObject.
- It adds a new ListRow to the bottom of the table.
- Save the file as an Excel Macro-Enabled Workbook.
- Run the Macro.
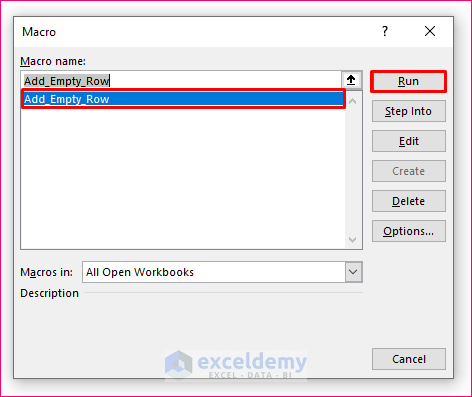
- An input box will prompt you to enter the table name (e.g., Table1).
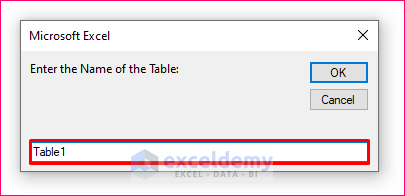
- Click OK to add an empty row to the bottom of the table.
Read More: How to Use VBA to Insert Row in Excel
Method 2 – Excel Macro to Add a Row with Data to the Bottom of a Table
Scenario: Insert a row filled with the data Angela Hopkins, $35,000, and $40,000 to the bottom of Table1.
- Open a Module in the Microsoft Visual Basic window.
- Enter the following VBA code to create a macro called Add_Row_with_Data:
VBA Code:
Sub Add_Row_with_Data()
Dim x As Worksheet
Set x = ActiveSheet
Table_Name = InputBox("Enter the Name of the Table: ")
Dim t As ListObject
Set t = x.ListObjects(Table_Name)
Dim NR As ListRow
Set NR = t.ListRows.Add
Dim Data() As String
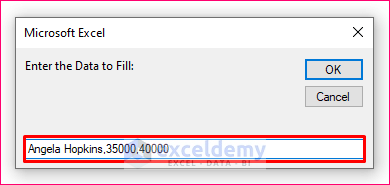
Data = Split(InputBox("Enter the Data to Fill: "), ",")
For i = 0 To UBound(Data)
NR.Range(i + 1) = Data(i)
Next i
End Sub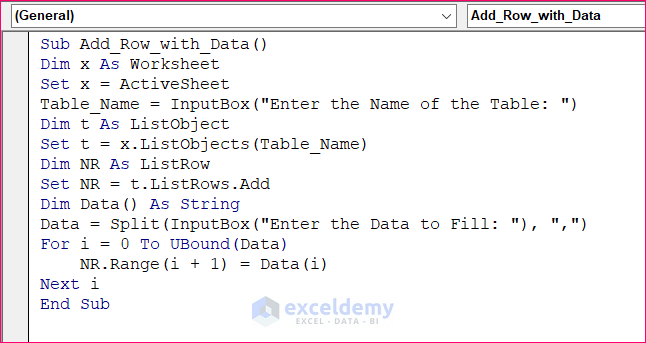
Code Breakdown:
- This code creates a Macro called Add_Row_with_Data.
- It takes the name of a table as input from the user and then sets the table as a ListObject.
- It then adds a new ListRow to the bottom of the table.
- It takes the data as input and then adds it to the empty row.
- Save the file as an Excel Macro-Enabled Workbook.
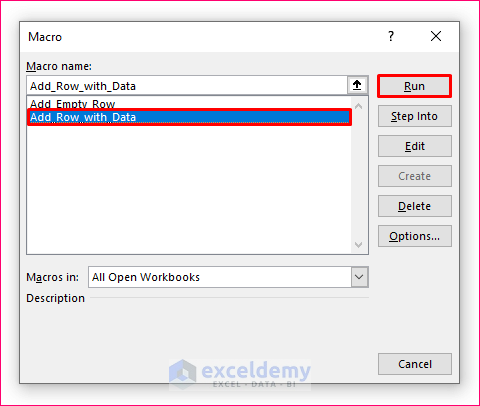
- Run the Macro. Two input boxes will appear:
- The first asks for the table name (e.g., Table1).
- The second asks for data to fill the new row (e.g., Angela Hopkins,35000,40000 without spaces after the commas).

- Click OK, and the data will be added to a new row at the bottom of your table.
Read More: VBA Macro to Insert Row in Excel Based on Criteria
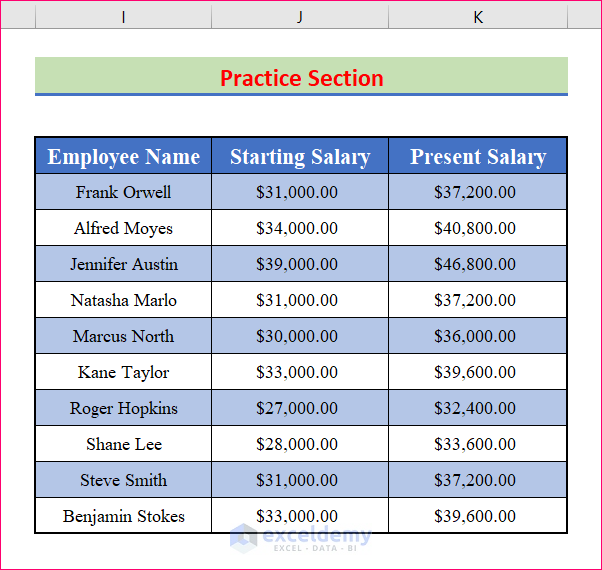
Practice Section
We have provided a practice section on each sheet on the right side.
Things to Remember
- That we’ve used the ListObject and ListRow objects in VBA for these methods.
Download Practice Workbook
You can download the practice workbook from here:
Related Articles
- Insert Rows in Excel Based on Cell Value with VBA
- Macro to Insert Row and Copy Formula in Excel
- Excel VBA: Insert Row with Values


Hi Rifat,
Thanks for your explanation! Very usefull. Just one question, what if I want to skip the table name input because I have only one table which is always the same?
Hi Dennis,
Thanks for your response. To skip the table name, first, remove the 4th line of the code, that is, Table_Name = InputBox(“Enter the Name of the Table: “).
Then enter the name of the table within the 6th line of the code. For example, if the name of your table is “Table1”, then the line should be: Set tbl = ws.ListObjects(“Table1”).
So the complete code will be:
Sub Add_Empty_Row()
Dim ws As Worksheet
Set ws = ActiveSheet
Dim tbl As ListObject
Set tbl = ws.ListObjects(“Table1”)
tbl.ListRows.Add
End Sub
how to add data into bottom of table with data copied from another table.
Greetings Mani,
Use the following macro code to copy data (from tables or normal ranges) to the bottom of an existing table (i.e., Table1 or anything).
The macro fetches an input box to select the preferred range to copy and paste afterward. Change the Worksheet Name (i.e., vba) and Table Name (i.e., Table1) as existing table.
Download the Excel file for your better assistance.
https://www.exceldemy.com/wp-content/uploads/2022/09/Macro_to_Copy_Data_to_Bottom.xlsm
Regards
Maruf Islam (Exceldemy Team)
Great Article.
Facing an error though.
Runtime Error: 9
Subscript out of Range.
The line at Table_Name is where the error is at. I tried replacing the input with directly the table name (like below), but still same error.
Set t = x.ListObjects(Depart_Filter5)
Thanks a lot Salih, for your query
I think I understood your problem. Here, your cant put the table name in this way. You have to insert the table name in between two apostrophe symbol. So basically your code line should be like
Set t = x.ListObjects(“Depart_Filter5”)
Guys Thanks for you valuable inputs. I’m trying to copy all rows of a table to the bottom of another table. Below is my code but it errors at line “mTable.Copy” : ‘Object doesn’t support this property or method’
“`
Sub SelectedDatatoBottom()
Dim x As Worksheet
Dim ExistingTable As Object
Dim mTable As Object
Set x = ActiveSheet
On Error Resume Next
Set mTable = x.ListObjects(“Pipe_Live”)
On Error GoTo 0
Set ExistingTable = Worksheets(“RollingPivot”).ListObjects(“LongTable”).ListRows.Add
mTable.Copy
ExistingTable.Range.PasteSpecial xlPasteValues
Application.CutCopyMode = False
Worksheets(“RollingPivot_test”).Activate
End Sub
I would highly appreciate your help.
Hello SALIH,
The “Copy” method is not permitted for the object “mTable,” according to the error message “Object doesn’t support this property or method.” Instead, you may use the script to copy the data from the mTable to the bottom of the ExistingTable:
Rather than replicating the full mTable in this code, “mTable.DataBodyRange.Copy” merely copies the table’s data range. The copied data is then put into the newly inserted row using the “ExistingTable.ListRows.Add” and “ExistingTable.ListRows(ExistingTable.ListRows.Count).Range.PasteSpecial xlPasteValues” commands.
Also, with VBA, there are different approaches to copying every row of a table to the bottom of another table. Another option is to copy every entry from the data source to the bottom of the
target table using a loop:
This code uses the “For i = 1 To mTable.DataBodyRange.Rows.Count” statement to iterate through each row in the source table’s data body range. “ExistingTable.ListRows.Add” is used to add a new row to the bottom of the destination table for each row, and “ExistingTable.ListRows(ExistingTable.ListRows.Count).Range.Value = mTable.DataBodyRange.Rows(i).Value” is used to copy the values from the current row of the source table to the new row of the destination table.
Thanks very much!
I get the error *PasteSpecial method of class Range failed.* for the below line.*
“`
ExistingTable.ListRows(ExistingTable.ListRows.Count).Range.PasteSpecial xlPasteValues
“`
The second code works well. But it takes a bit of time. If the first method works fine will it be faster? If so, would you know how to fix that error?
Hello again SALIH,
How are you? I know it feels so irritating when your script doesn’t run properly. So, I’ve come up with a bit of modification to the previous one. Hope it’ll not disappoint you.
Thanks for your query. Feel free to ask if you need any assistance regarding Excel or Office-related applications. Happy Excelling…
Regards,
Shahriar Abrar Rafid
Team ExcelDemy