Cells(2,3).EntireRow.InsertThis line inserts a row above cell C2 (Row 2, Column 3).
Insert Rows Based on Cell Value with VBA: 2 Methods
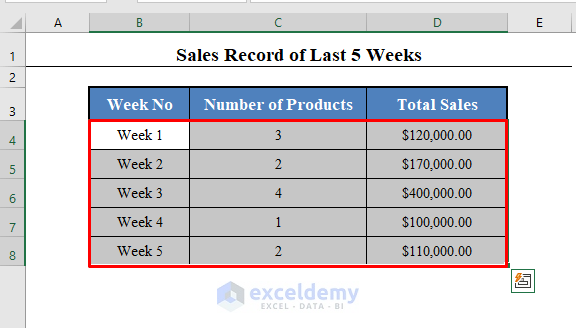
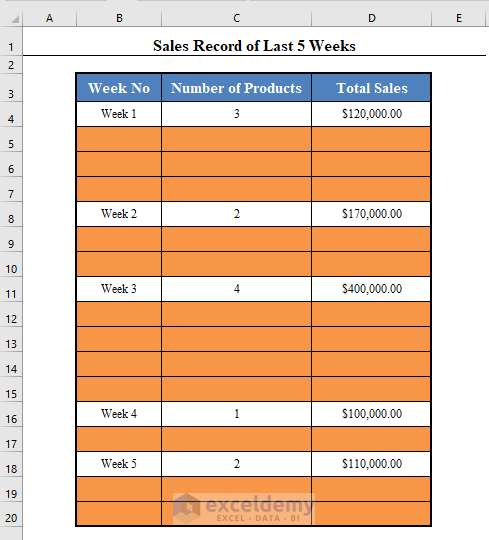
Here we’ve got a data set with the Sales Record of the Last 5 Months of a company. We have the Week No, Number of Products sold, and the Total Sales of that week.
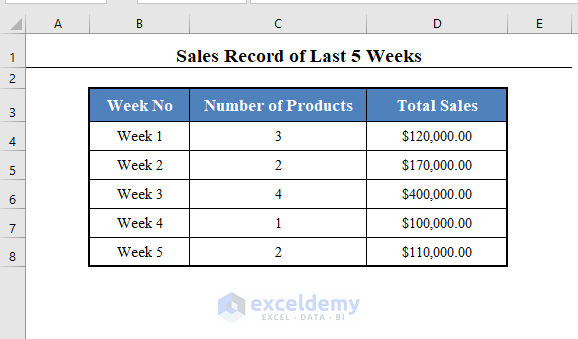
We need to insert data below each week about each of the products sold in that week, so we’ll insert empty rows above or below each week equal to the number of products sold in that week.
For example, below Week 1, there need to be 3 empty rows. We’ll use VBA code to accomplish this.
Method 1 – Insert Rows Based on Cell Value Above/Below Each Row with VBA in Excel
We’ll insert empty rows above or below each week based on the cell value of the column Number of Products. You can use the following VBA code to execute this:
⧭ Code:
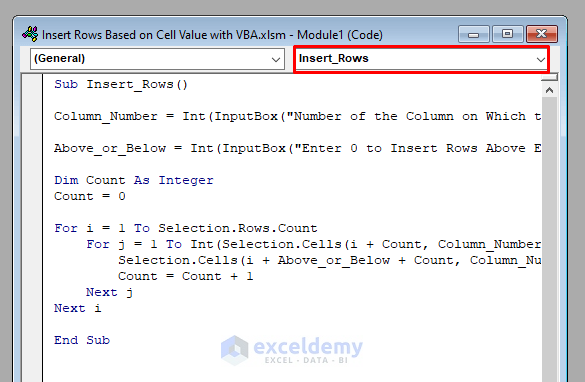
Sub Insert_Rows()

Column_Number = Int(InputBox("Number of the Column on Which the Cell Values Depend: "))

Above_or_Below = Int(InputBox("Enter 0 to Insert Rows Above Each Row." + vbNewLine + "OR" + vbNewLine + "Enter 1 to Insert Rows Below Each Row."))

Dim Count As Integer
Count = 0

For i = 1 To Selection.Rows.Count
    For j = 1 To Int(Selection.Cells(i + Count, Column_Number))
        Selection.Cells(i + Above_or_Below + Count, Column_Number).EntireRow.Insert
        Count = Count + 1
    Next j
Next i

End Sub
⧪ Note: This code produces a Macro called Insert_Rows.
⧭ Step by Step Procedure to Run the Code:
- Press Alt + F11 on your keyboard. The VBA window will open.
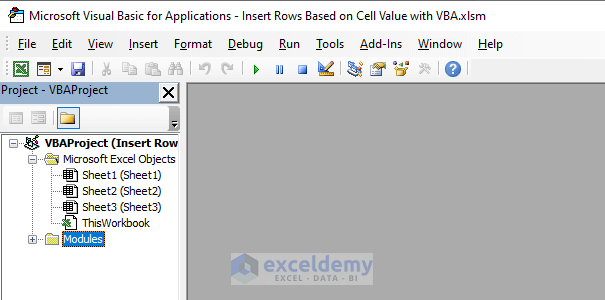
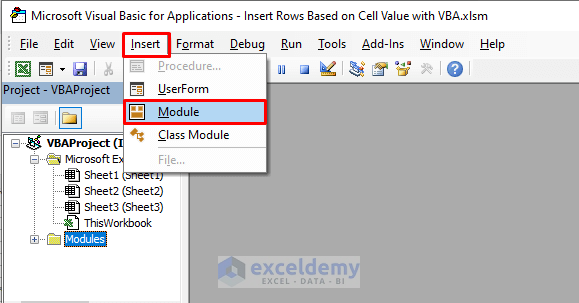
- Go to the Insert tab in the VBA window.
- Select Module.
- Insert the given VBA code in the opened Module.
⧪ Explanation of the Code:
- Sub Insert_Rows() starts a new Macro called Insert_Rows.
- Column_Number = Int(InputBox(“Number of the Column on Which the Cell Values Depend: “)) asks you to enter the number of the column of your selected range on which the cell values depend.
- Above_or_Below = Int(InputBox(“Enter 0 to Insert Rows Above Each Row.” + vbNewLine + “OR” + vbNewLine + “Enter 1 to Insert Rows Below Each Row.”)) asks you to enter a 0 to insert empty rows above each row, and 1 for below each row.
- Dim Count As Integer declares a new integer called Count.
- Count=0 sets the initial value of Count to 1.
- For i = 1 To Selection.Rows.Count starts an iteration number of times equal to the number of rows of your selected range.
- For j = 1 To Int(Selection.Cells(i + Count, Column_Number)) starts an iteration number of times equal to the value of the specific cell.
- Selection.Cells(i + Above_or_Below + Count, Column_Number).EntireRow.Insert inserts the required number of empty rows above or below each row.
- Count=Count+1 increases the value of Count as 1.
- Next j ends the 2nd for-loop.
- Next i ends the 1st for-loop.
- End Sub ends the Macro.
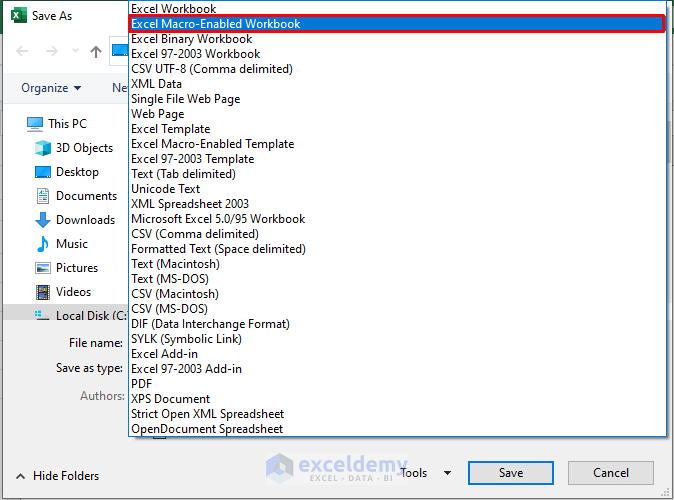
- Save the workbook as Excel Macro-Enabled Workbook.
- Return to your worksheet.
- Select the range of cells within which you want to enter the rows. We’ve selected B4:D8 (Without Column Headers).
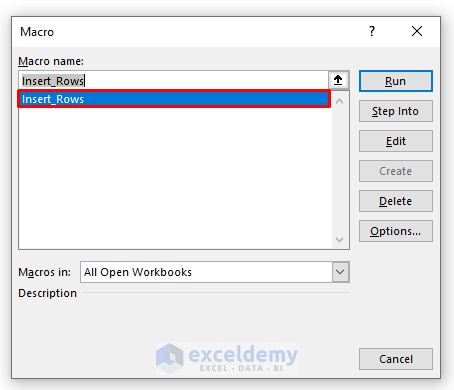
- Press ALT+F8 on your keyboard.
- A dialogue box called Macro will open. Select Insert_Rows (The name of the Macro) and click on Run.
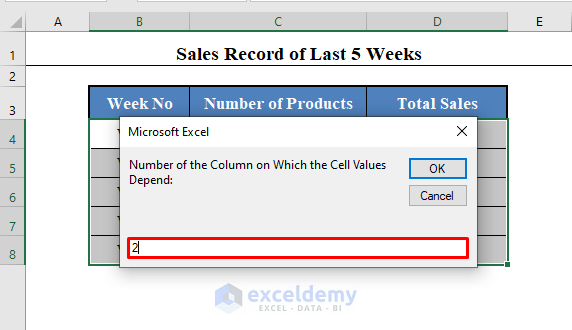
- You will get two Input Boxes. The first box will ask you to enter the number of the column on which the cell value depends. For this example, it is 2 (Number of Products).
- The second box will ask you to enter 0 to insert rows above each row or 1 to insert rows below each row. We want to enter rows below each row, so we have entered 1.

- Click OK.
- You will find empty rows inserted below each of your rows (Marked in light brown).
Read More: How to Use VBA to Insert Row in Excel
Method 2 – Insert Rows Based on Cell Value After a Fixed Interval with VBA in Excel
We’ll enter empty rows after every 2 rows, depending on the value of the cell.
You can accomplish this using this VBA code:
⧭ Code:
Sub Insert_Rows_After_a_Fixed_Interval()

Column_Number = Int(InputBox("Number of the Column on Which the Cell Values Depend: "))

Above_or_Below = Int(InputBox("Enter 0 to Insert Rows Above Each Row." + vbNewLine + "OR" + vbNewLine + "Enter 1 to Insert Rows Below Each Row."))

Interval = Int(InputBox("Enter the Fixed Interval"))

Dim Count As Integer
Count = 0

For i = 1 To Selection.Rows.Count Step Interval
    For j = 1 To Int(Selection.Cells(i + Count, Column_Number))
        Selection.Cells(i + Above_or_Below + Count, Column_Number).EntireRow.Insert
        Count = Count + 1
    Next j
Next i

End Sub
⧪ Note: This code produces a Macro called Insert_Rows_After_a_Fixed_Interval.
⧭ Step by Step Procedure to Run the Code:
- Open the VBA window, insert a new module, insert this VBA code, and then save the workbook.

⧪ Explanation of the Code:
The explanation of the code is the same as the earlier code.
In line 7, we have added the term step interval.
It forces the loop not to iterate through each row of the selected range but to iterate after a fixed number of rows called Interval.
⧪ Using the Code:
- Come back to your worksheet.
- Select the range of cells within which you want to enter the rows. We’ve selected B4:D8 (Without Column Headers).
- Press ALT+F8 on your keyboard.
- A dialogue box called Macro will open. Select Insert_Rows_After_A_Fixed_Interval (The name of the Macro) and click on Run.

- You will get three Input Boxes. The first box will ask you to enter the number of the column on which the cell value depends. For this example, it is 2 (Number of Products).
- The second box will ask you to enter 0 to insert rows above each row and 1 to insert rows below each row. We want to enter rows below each row, so we’ve entered 1.
- The third box will ask you to enter the fixed interval. We want to insert rows after every 2 rows, so have entered 2.
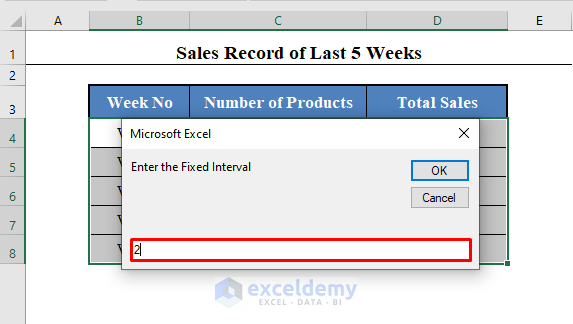
- Click OK.
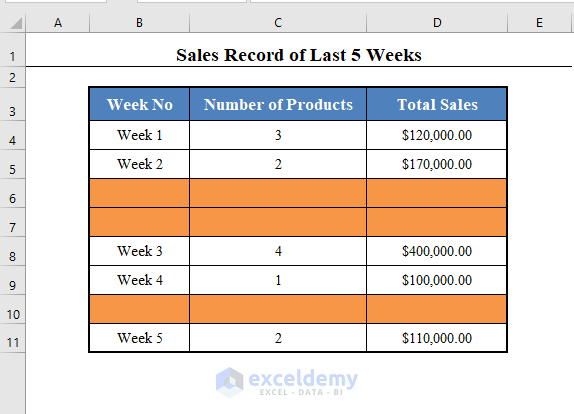
- You will find empty rows inserted after every 2 rows depending on the cell value (Marked in light brown).
Read More: Excel VBA: Insert Row with Values
Download the Practice Workbook
Related Articles
- VBA Macro to Insert Row in Excel Based on Criteria
- Excel Macro to Add Row to the Bottom of a Table
- Macro to Insert Row and Copy Formula in Excel


for the method described in Insert Rows Based On Cell Value Above/Below Each Row with VBA in Excel is it possible to amend the code to Add 2 extra blanks based on the value in the cell? so in your example Week 1 would have 5 blank lines insteady of 3?
Hello, THOMAS SAULNIER!
Yes! you can add 2 extra blank cells. For this, follow the code below. Hope this will help you!
Sub Insert_Rows()
For rng = Cells(Rows.Count, “C”).End(xlUp).Row To 2 Step -1
For row_num = 2 To Cells(rng, “C”).Value + 3
Cells(rng + 1, “C”).EntireRow.Insert
Next row_num, rng
End Sub
This did not work for my table.
Hello, E!
Did you follow those steps properly? If any of those did not work, then try this out!
Sub Inert_rows()
Dim rng As Long
For rng = range(“C” & Rows.Count).End(xlUp).Row To 1 Step -1
With Cells(rng, 3)
If IsNumeric(.Value) And Not IsEmpty(.Value) Then
Rows(rng + 1).Resize(.Value).Insert
range(Replace(“G#:BW#”, “#”, rng)).Copy Destination:=range(“G” & rng + 1).Resize(.Value)
End If
End With
Next rng
End Sub
Hi!
The macro from method #1 returns an error of “Runtime error -13. Type mismatch” on the line “For j = 1 To Int(Selection.Cells(i + Count, column_number))”
Do you know how to solve?
Thanks.
Hi Msirhc, thanks for reaching out. This actually happens because you haven’t typed the proper column in the first input box that shows up after running the code. The rows are inserted based on values, so if you select the first column (The week column), it won’t work, because that column contains text, not values. The second and third column of the dataset contain values. But the sales column contains irrelevant large values. So you should type 2 in the first input box if you want to use this dataset.
Hi,
I want to add new rows with certain information using a cell value. Is that possible?
For eg. I have a row saying peanut butter and jelly sandwich, and i want the new rows to say 1. peanut butter, 2. jelly and 3. bread.
Hello AISHWARYA ROY
Thanks for reaching out and posting your query with such clarity. You want to add new rows with certain information using a cell value. Some rows contain text that can be a mixture of three texts: peanut butter and jelly sandwich. You want to add the new rows accordingly and insert values like 1. Peanut butter, 2. Jelly and 3. Bread.
I am delighted to inform you that I have developed an Excel VBA procedure that will fulfil your requirements.
Navigate to Developer >> click on Visual Basic.
Due to this, the VBA Editor window will appear.
Finally, you will see an output like the following one.
I am also attaching the solution workbook to help you understand better. Good luck!
WORKBOOK
Regards
Lutfor Rahman Shimanto
Im having Tunnel Vision:
I would like to insert “value-1” rows instead of the ‘value’ in the designated column.
This should be a small adjust correct?
Hello Joseph,
Yes, that should just be a small adjustment. Instead of inserting rows equal to the cell value, you can simply subtract 1 from the value in the loop logic.
For example, if the cell contains 5, the macro would insert 4 rows instead of 5.
Regards,
ExcelDemy