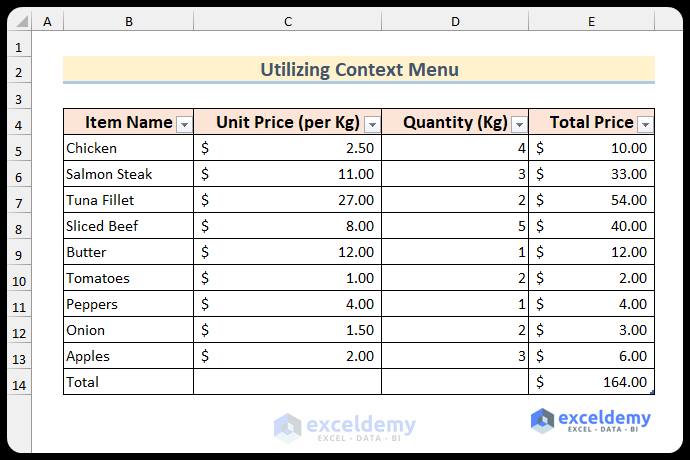
We have a sample dataset below of different items, their prices, quantities purchased, and total prices. We will insert a total row in this dataset and get the summary in this row. The following image shows an overview.
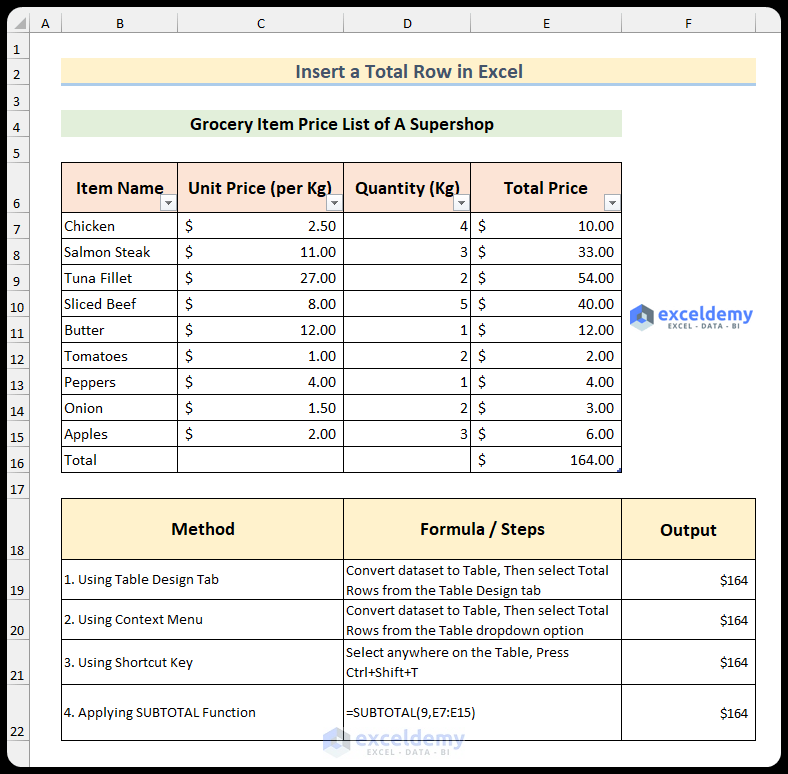
4 Methods to Insert a Total Row in Excel
Method 1 – Insert a Total Row from Table Design Tab
Steps:
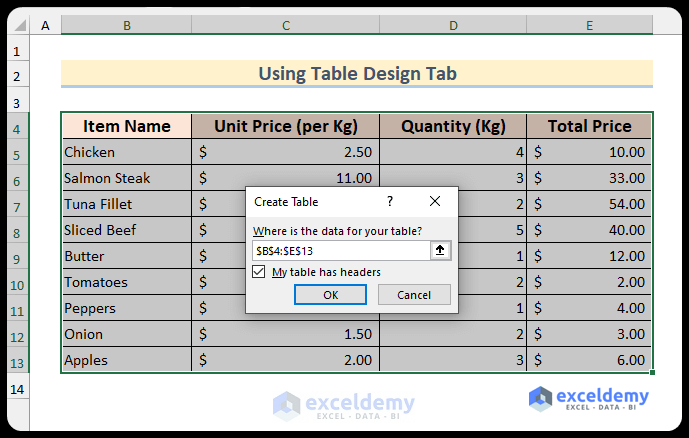
To insert the total row, you have to create a table with your data.
- Select your data and press Ctrl+T and select Table from the Insert tab.
A dialog box named Create Table will open.
- If the range matches with the range of your dataset and My table has headers, is checked, click OK .
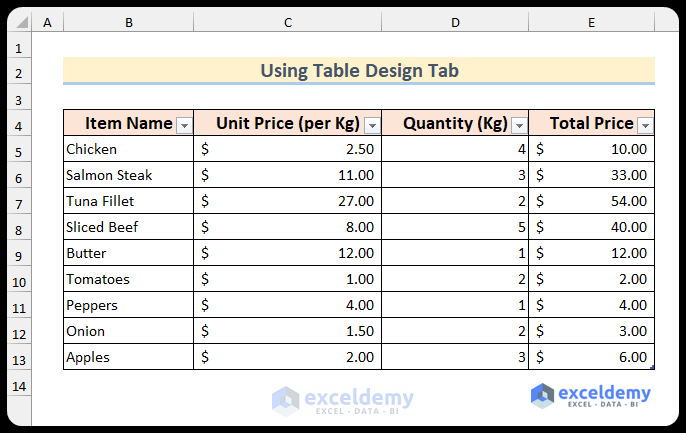
Your data will be shown as a table.
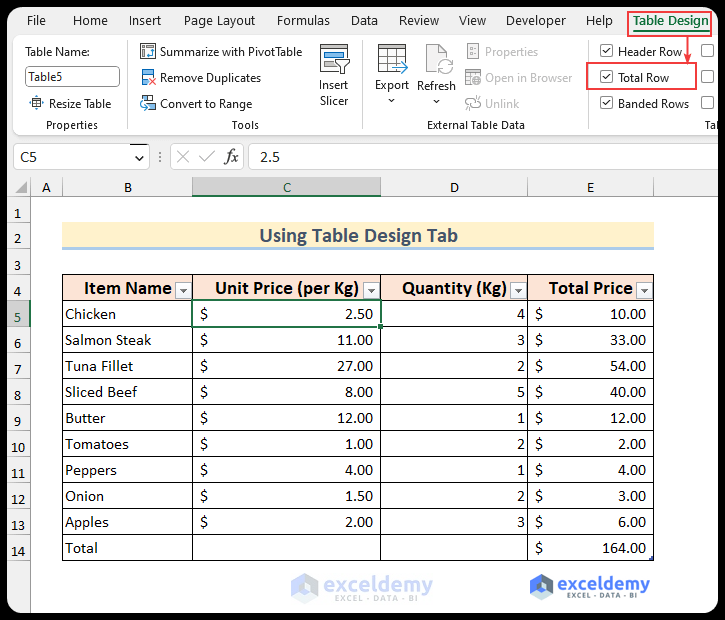
To add the total row to the table,
- Click anywhere inside the table, go to the Table Design tab and check on Total Row.
- A new row named “Total” will be created at the end of your table. It will, by default, show the summation of the last column.
- You can get different kinds of information from the total row. A small downward arrow will appear when the total row is selected. Click on the arrow and you will see the list of calculations you can perform in the total row.
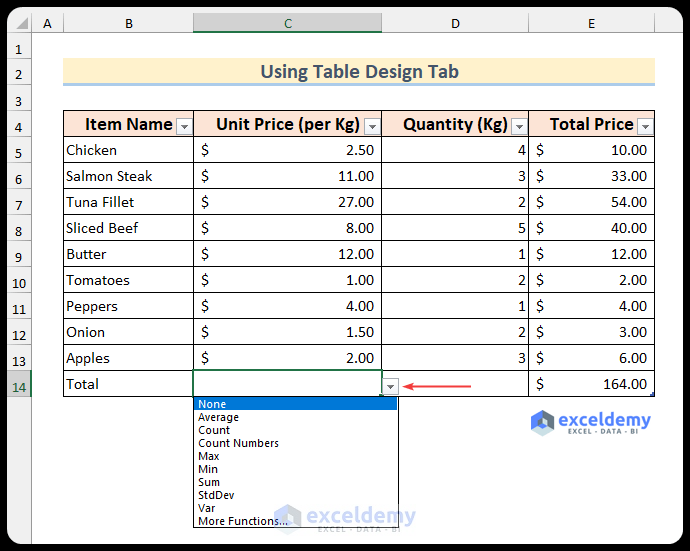
- You can also apply other functions by clicking on More Functions.
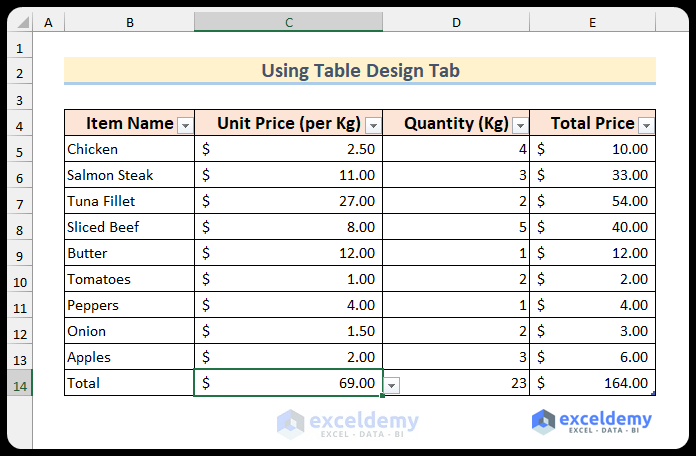
- Select Sum for the cells C14 and D14 to get the total values.
Read More: How to Insert Row Below in Excel
Method 2 – Insert a Total Row by Keyboard Shortcut
Steps:
- Create a table following the steps of Method 1.
- Select any cells of the table and press Ctrl+Shift+T.

The total row will be inserted at the end of the table.
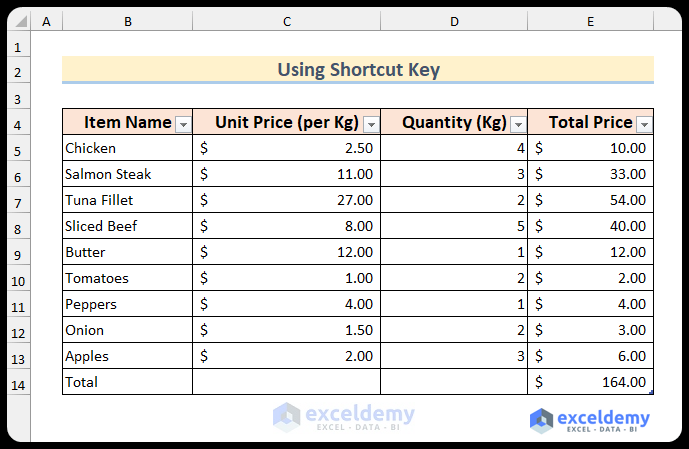
You can also perform the other calculations as shown in Method 1.
Method 3 – Bring Up Total Row from Context Menu
Steps:
- Create a table.
- Right click on any cell in your table, a context menu will appear.
- Go to the table and expand it, select Totals Row from the context menu.
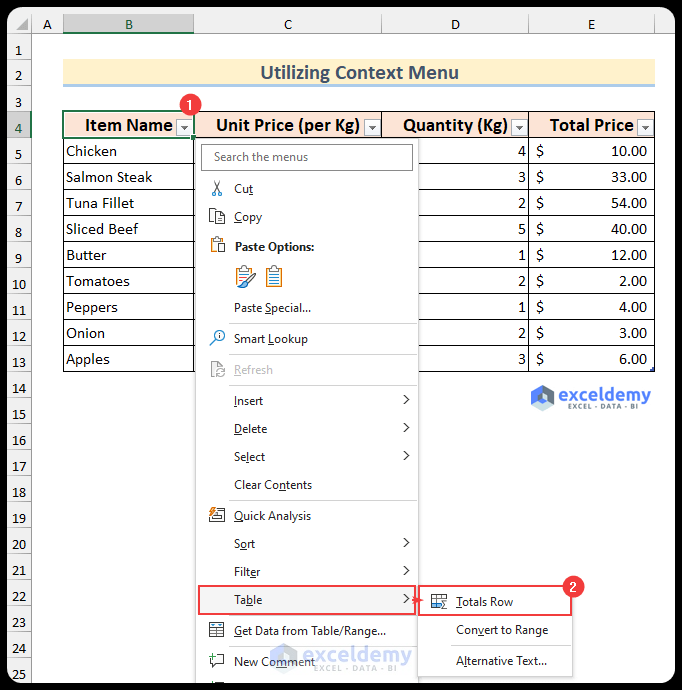
The total row will be inserted at the end of the table.
Read More: How to Insert Rows in Excel Automatically
Method 4 – Using SUBTOTAL Function to Insert a Total Row
Steps:
- EnterTotal in the cell below the last cell of your dataset and press
- Enter the following formula in cell C14 to get the total unit price.
=SUBTOTAL(9,C5:C13)
- 9 indicates that the SUBTOTAL function will sum up the selected cell and C5:C13 is the selected cell range.
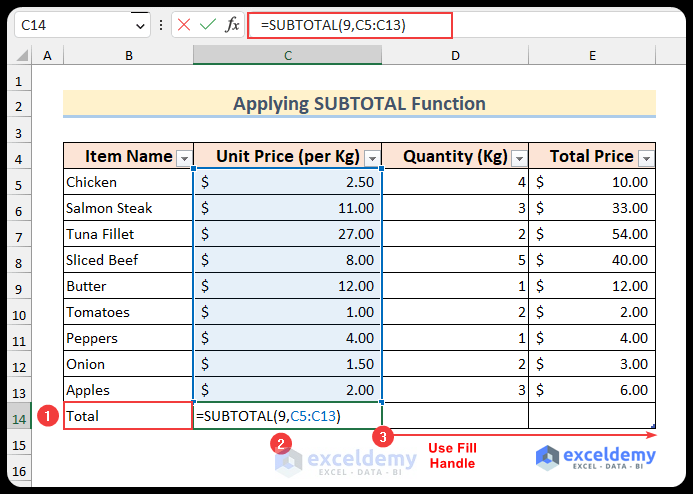
- Press Enter.
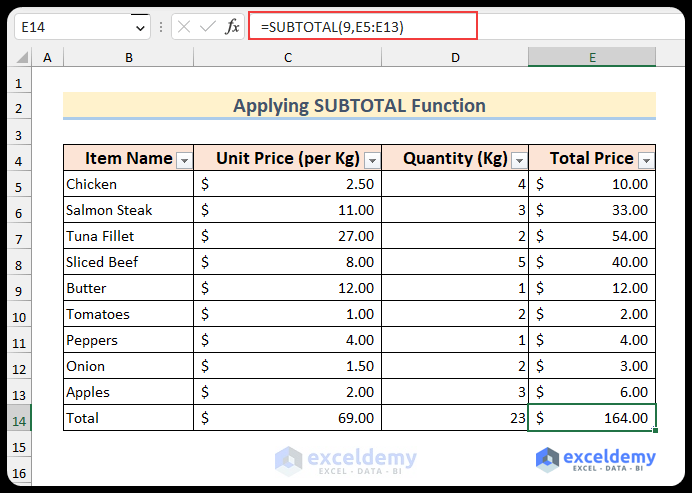
- Use the Fill Handle tool to fill the formula into the rest of the cells on the right side.
Read More: Excel Formula to Insert Rows Between Data
Download Practice Workbook
Related Articles
- How to Insert Multiple Rows in Excel
- Insert Blank Row After Every Nth Row in Excel
- Insert Multiple Rows After Every Other Row in Excel
- Cannot Insert Row in Excel
- Excel Fix: Insert Row Option Greyed Out in Excel
- How to Insert Multiple Blank Rows in Excel
<< Go Back to Insert Rows | Rows in Excel | Learn Excel
Get FREE Advanced Excel Exercises with Solutions!
