Insertion of rows into Excel dataset is quite basic and one of the most frequent tasks we do. Insertion of a single row is super handy but the insertion of multiple rows requires additional steps that we have to perform. In this article, you are going to learn about six super easy methods on how to insert multiple rows in Excel in the blink of an eye.
How to Insert Multiple Rows in Excel: 6 Easy Methods
There are several ways to insert multiple rows in Excel. But in this particular article, we are going to discuss 6 methods that you can use to insert multiple rows easily in Excel. Now let’s go through all of them one by one.
1. Use of Insert Feature
This method is all user interface oriented. You will find this feature under the Home ribbon. If you want to bypass any keyboard shortcuts, then you may use this method to insert multiple rows quite easily. Follow the below steps:
Steps:
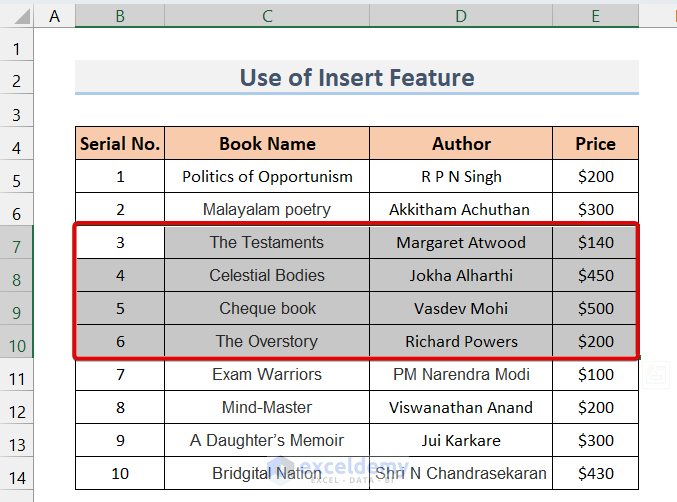
- First, select the number of rows you want to insert. Here, I am selecting 4 rows as shown in the figure below. Please be aware that new rows will be inserted just above the selected rows.
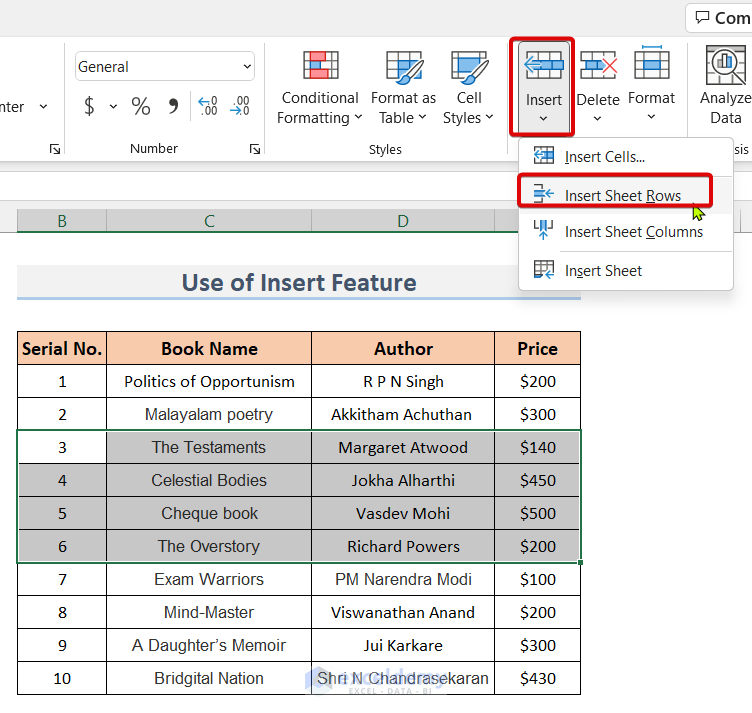
- Now, go to the Home tab. Then click on the Insert option (in the top right corner) . Now, select Insert Sheet Rows.
- That’s it. You’ve successfully inserted 4 rows to the table. Here’s the end result:

In this way, we can insert as many new rows as we want by using the Insert option.
Read More: How to Insert Multiple Blank Rows in Excel
2. Utilizing Context Menu Insert Option
This method is also all user interface oriented just like the previous one. But this one is more handy and easy to use. All you need to do is right-click upon the selected area and then select Insert from the pop-up menu. Let’s learn it step by step.
Steps:
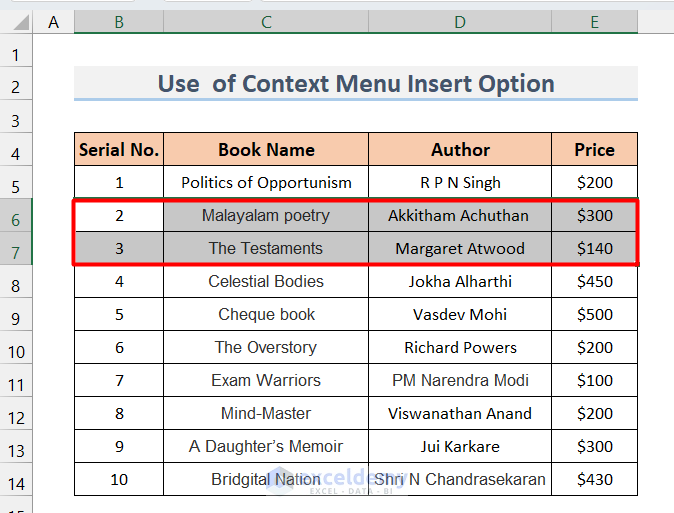
- First, select the number of rows that you want to insert. I am selecting 2 rows.
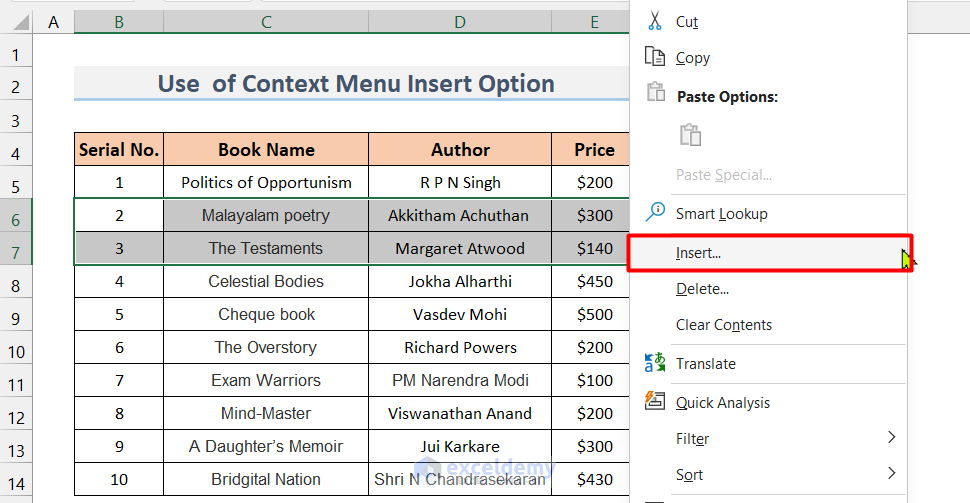
- Now, right-click anywhere on the selection area. As a result, a context menu will appear. Now from that menu, click on Insert option.
- Afterwards, another dialogue box named Insert will appear. From that menu, choose Shift cells down and click OK.
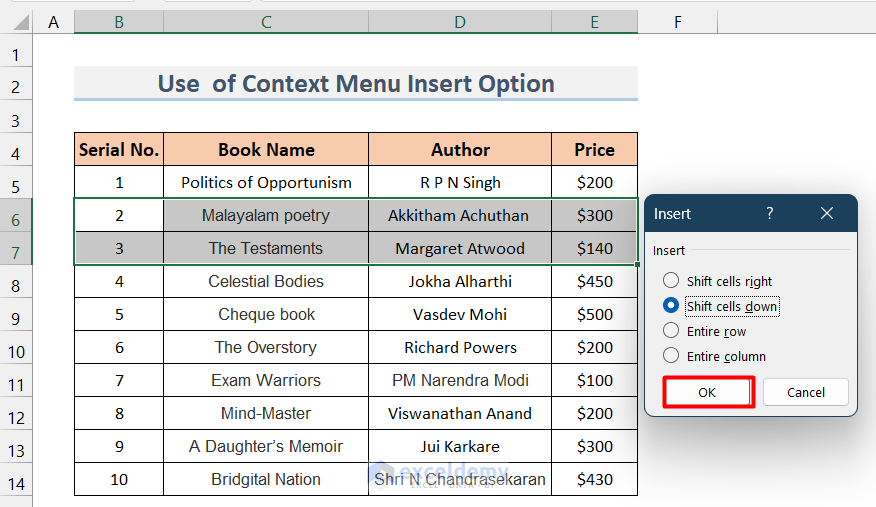
- As a result, multiple new rows( based on your selection) will appear just above the selected rows.

Read More: Insert Multiple Rows Every Other Row in Excel
3. Use of Access Key Combination
If you like to use keyboard shortcuts, then this method should be your favorite one. Just select the number of rows that you want to insert then use an insertion hotkey. That’s it.
Steps:
- First, select the number of rows that you want to insert.

- Then Press ALT + I + R from the keyboard. That’s it. As a result, Excel will enter new rows above the selected rows.

Read More: How to Insert a Total Row in Excel
4. Applying Keyboard Shortcut
You can use this method in exchange for the previous one. Because this method also uses keyboard shortcuts to insert multiple rows in Excel. Follow the below steps:
Steps:
- First, select the number of rows that you want to insert. Now press CTRL + SHIFT + =. As a result, a dialogue box named Insert will come up. From that, select Shift cells down and click OK.
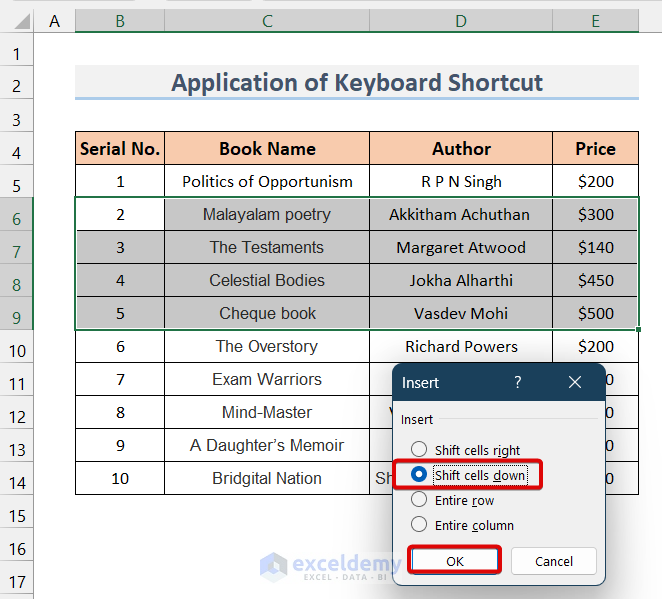
- Consequently, you will have a new set of rows.

Read More: Shortcuts to Insert New Row in Excel
5. Utilizing Name Box Feature
Cases arise that you might need to insert 100 rows at a time. Selecting and inserting this many rows at the same time can be intimidating. Here comes the magic trick. You can use the Name Box to select as many rows as you want and insert them into your table. Here’s how to achieve it:
Steps:
- First, select a cell underneath which new rows will be inserted. In this example, we have selected cell B7.
- Then, type the range within the Name Box. As we are intended to insert 100 rows, thus the range is B7 to B107.
B7:B107
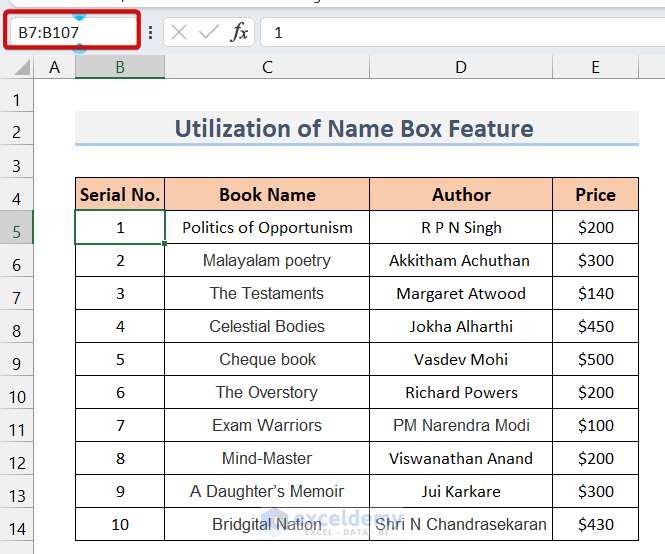
- Now, hit the ENTER button and all the 100 cells will be selected in column B. Then, press SHIFT + SPACE button to select the entire row of the table. Finally, press CTRL + SHIFT + = and here you go:
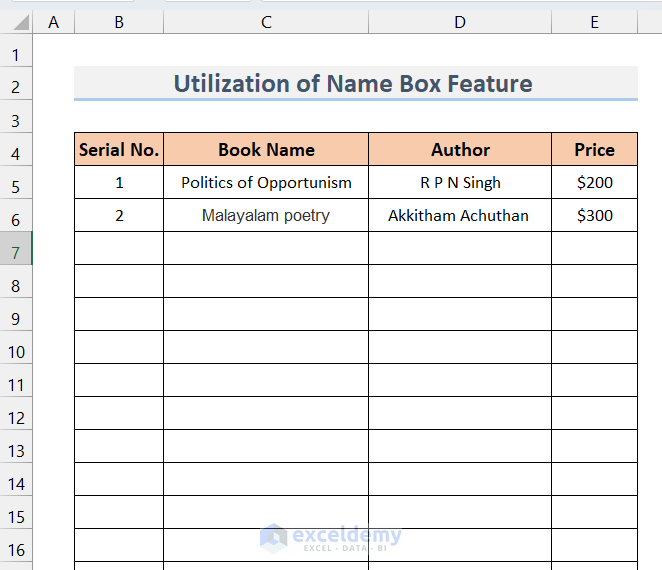
- Consequently, another 100 rows will be inserted into the workbook.
6. Insertion of Multiple Rows by Using Copy-Paste Feature
Microsoft Excel is a ridiculously user-friendly and amazing program to work with. Can you believe that you can use a simple copy-paste method to insert multiple new rows into your dataset? Well, do the following steps to see the magic:
Steps:
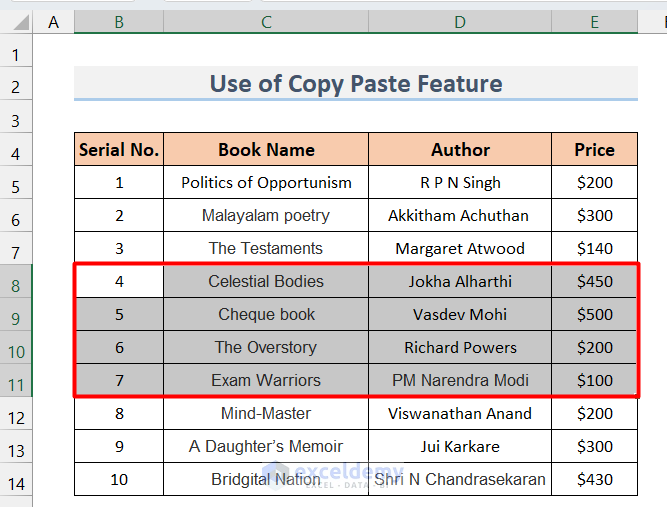
- First, select as many blank rows as you want from anywhere you like to insert in. I am selecting 4 blank rows from the bottom of my worksheet.
- Then select the same number of rows within your table.
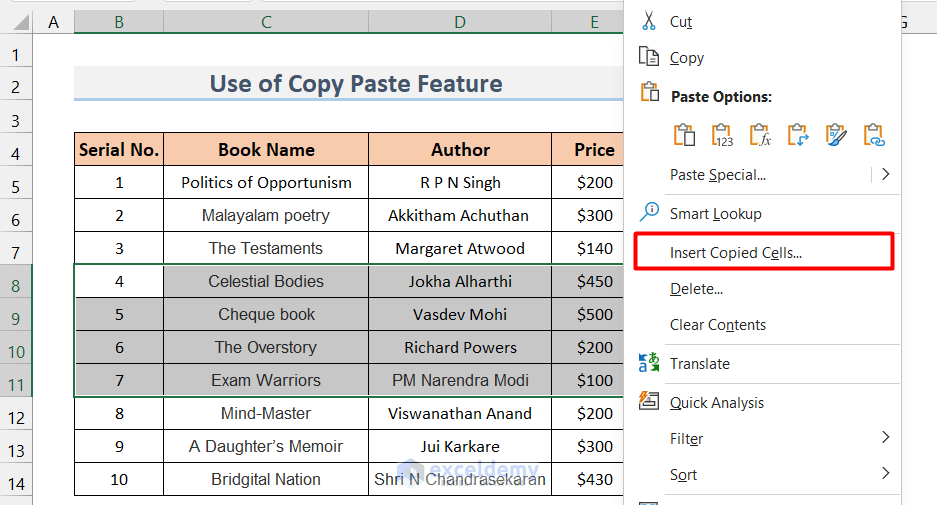
- Now, right-click anywhere on the selected area. As a result, a context menu will appear. From that menu, select Insert Copied Cells.
- Now, in the insert dialogue box, select Shift cells down and click OK.
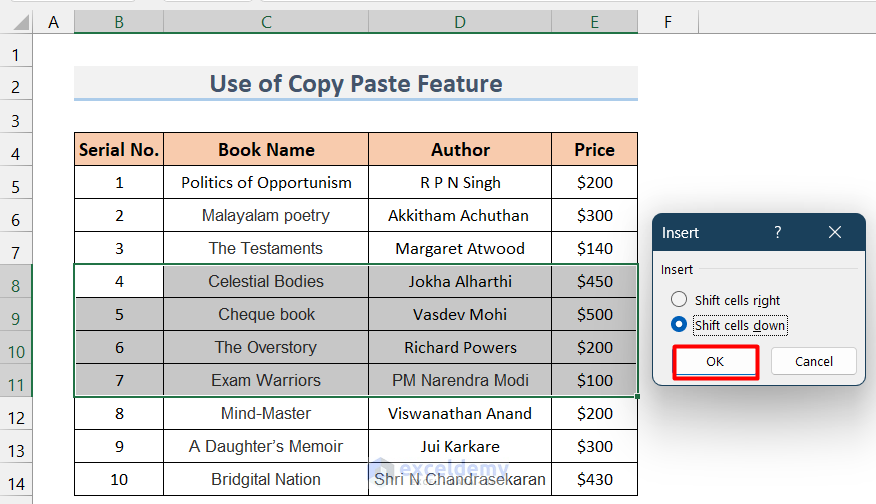
- As a result, you will see multiple new rows inside your data table.

Read More: How to Insert Row Below in Excel
Things to Remember
- Always go through the row selection procedure first before insertion.
- Use ALT + I + R or CTRL + SHIFT + = as the insertion hotkey.
- Use SHIFT + SPACE to select the entire row.
Download Practice Workbook
Download this practice workbook to exercise while you are reading this article.
Conclusion
We tried to put together six different methods step by stepwise to insert multiple rows in Excel. All of the methods are super handy and easy to use. You can pick up any one of them at your convenience and practice it thoroughly. For a better understanding of each of the methods, we have included corresponding images illustrating each of the procedures. Hopefully, this article will meet all of your expectations.
Related Articles
- How to Insert Rows in Excel Automatically
- Excel Insert Blank Row Every Nth Row
- Excel Formula to Insert Rows Between Data
- Cannot Insert Row in Excel
- Excel Fix: Insert Row Option Greyed Out in Excel
<< Go Back to Insert Rows | Rows in Excel | Learn Excel
Get FREE Advanced Excel Exercises with Solutions!
