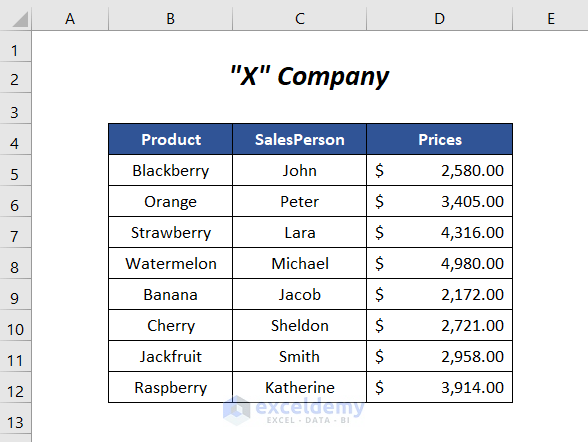
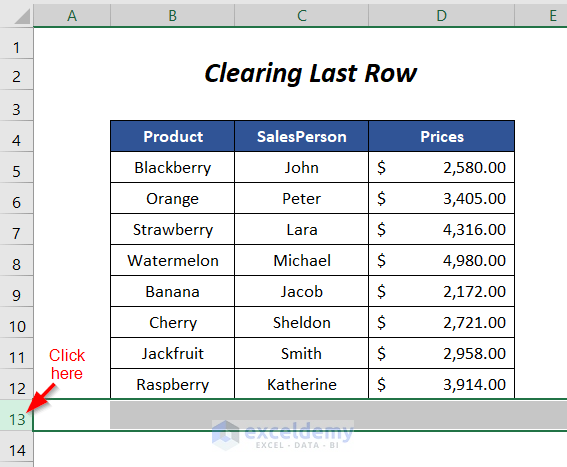
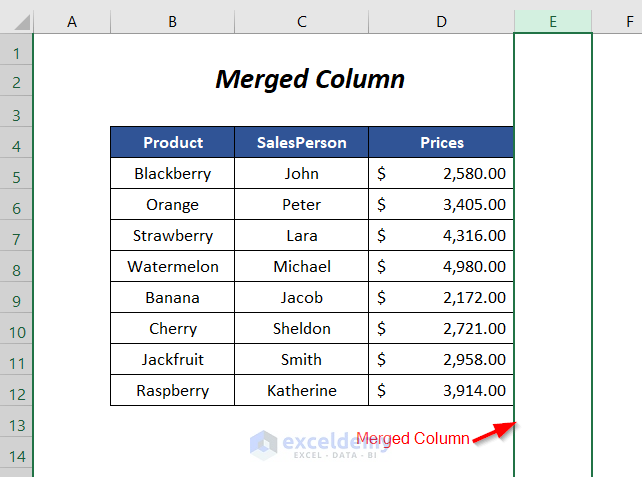
To demonstrate how to solve the most common problems in inserting new rows in Excel, we are using the following data table containing the prices of different products of a company.
Fix 1 – Using the Clear All Option
Context:
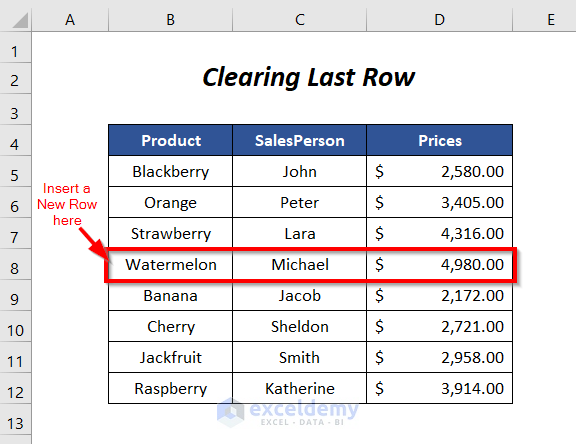
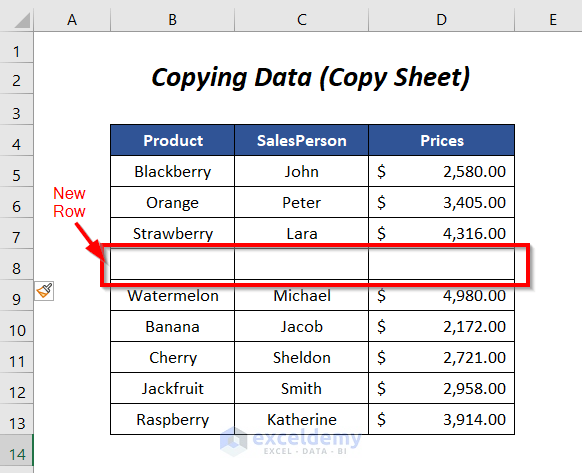
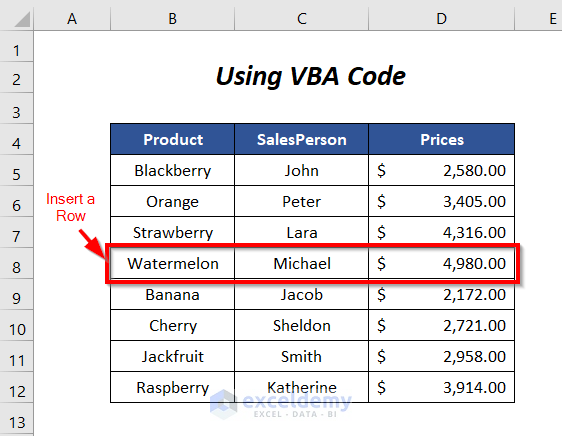
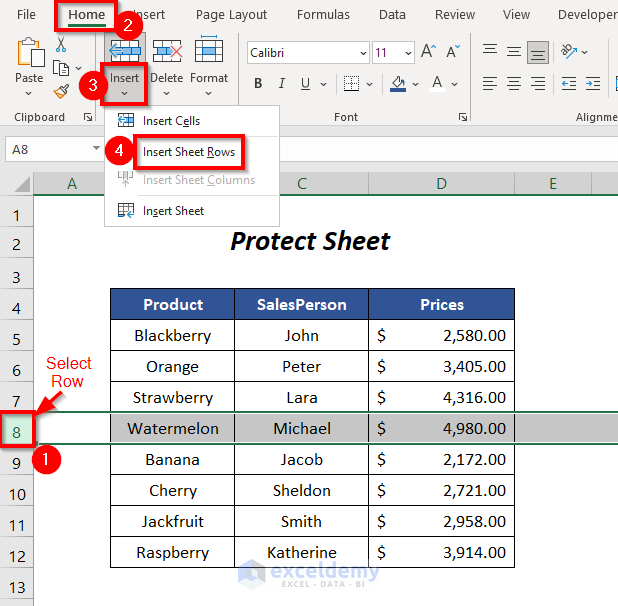
We want to insert a new row before the row containing the records for Watermelon.
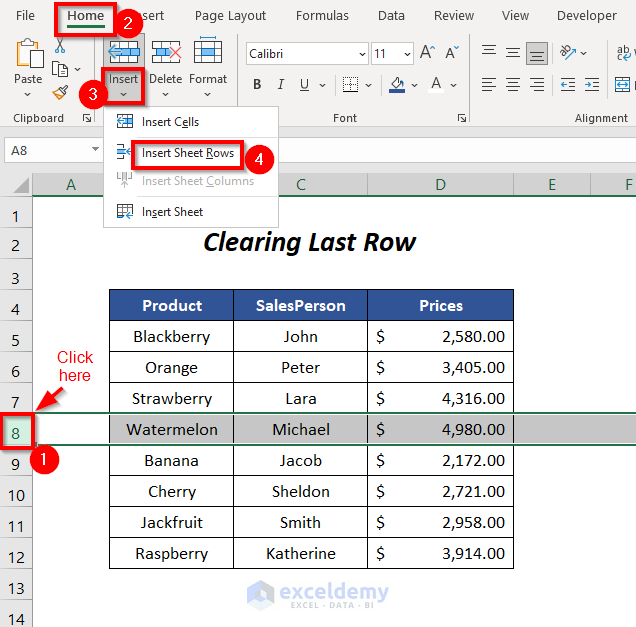
To do this, after selecting Row 8 (where we want to insert a row) we have gone through the Home tab and selected the Insert Sheet Rows option.
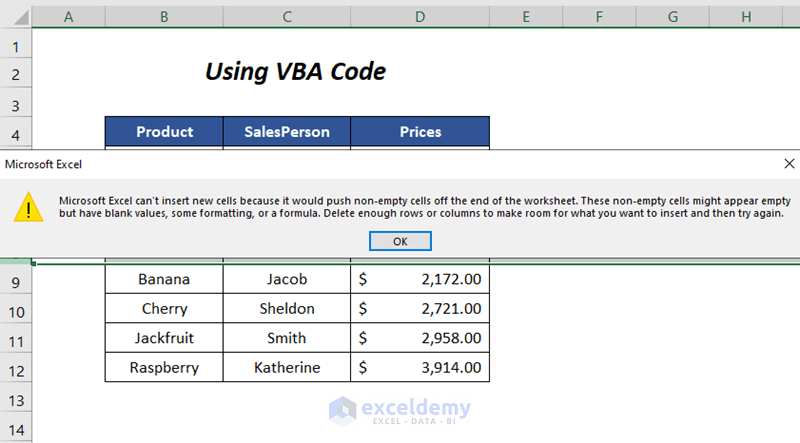
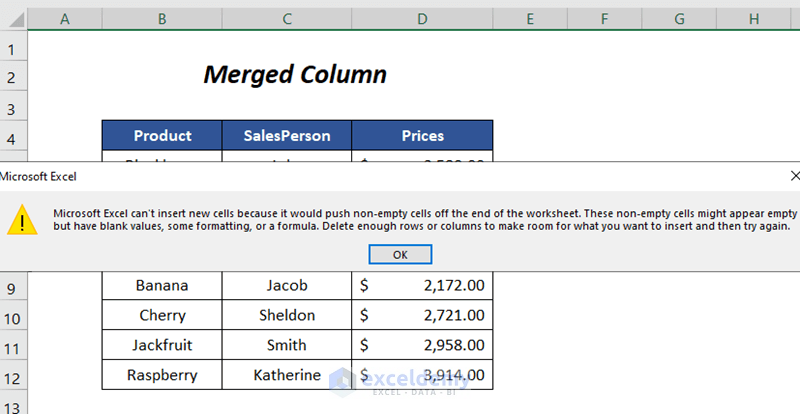
Instead of a new row, we are getting an error message here which says
“Microsoft Excel can’t insert new cells because it would push non-empty cells off the end of the worksheet. Those non-empty cells might appear empty but have blank values, some formatting or a formula. Delete enough rows or columns to make room for what you want to insert and then try again.”
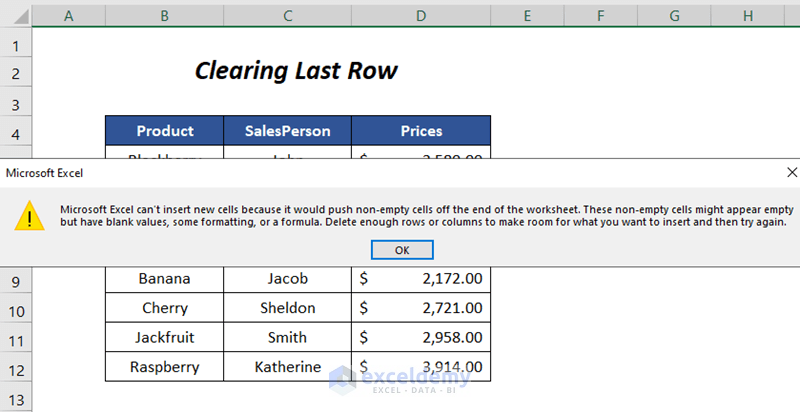
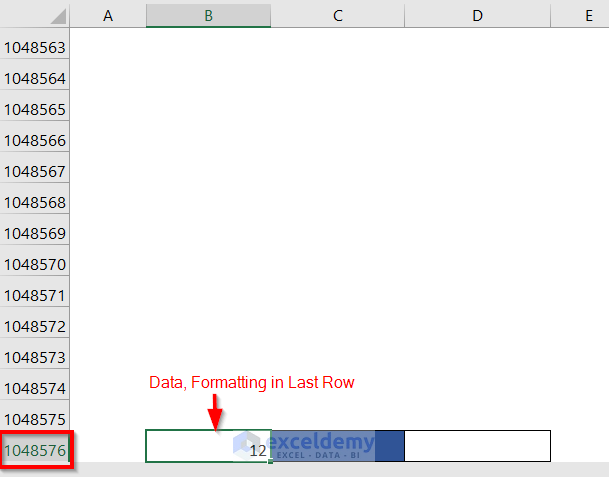
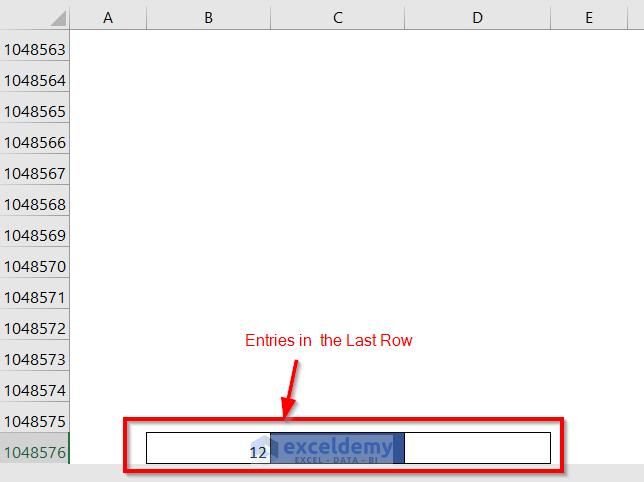
The root cause of this error is that we have some unwanted values, borders, or background color in the cells of the very last row.
Solution:
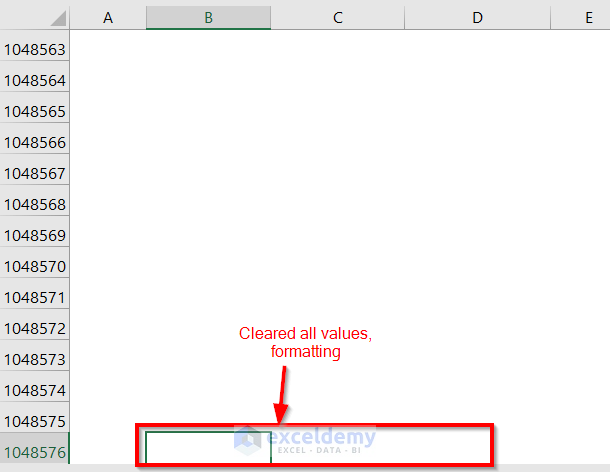
- Select the row at the end of your dataset.
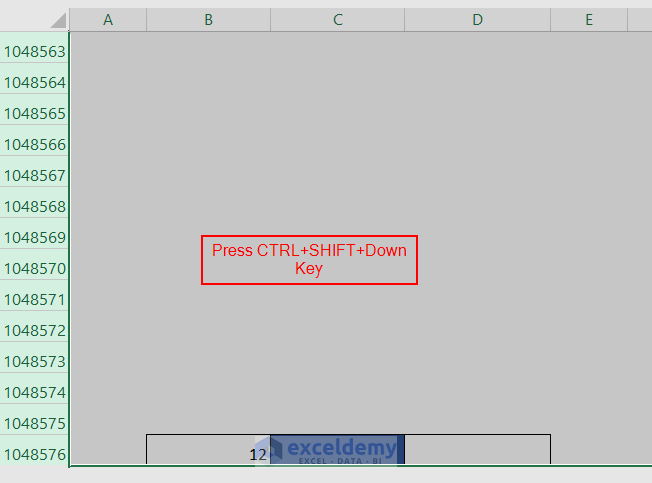
- Press Ctrl + Shift + ↓ (Down arrow) to select the remaining rows.
- Go to Home tab and the Editing group, and select Clear then Clear All.
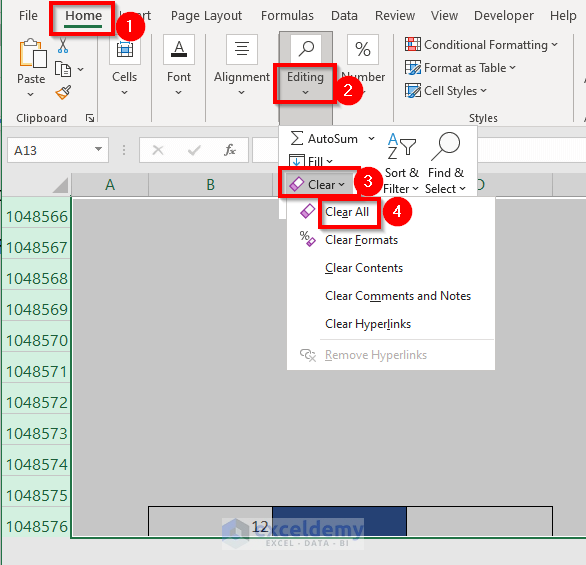
- The entries in the last row have been removed.
- Insert a new row without any error message.
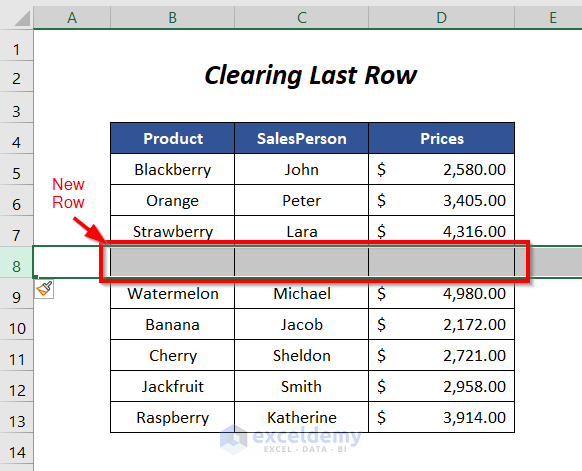
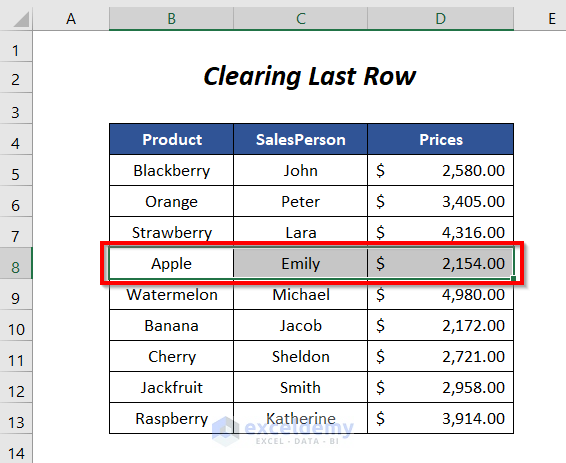
- You can enter the new records of the product in this row.
Read More: Shortcuts to Insert New Row in Excel
Fix 2 – Copying the Data Range
Solution:
- Select the data range from the sheet where you are facing the problem and press Ctrl + C to copy this range.

- Go to a new sheet (here, it is Copy) and select a cell where you want to paste the range.
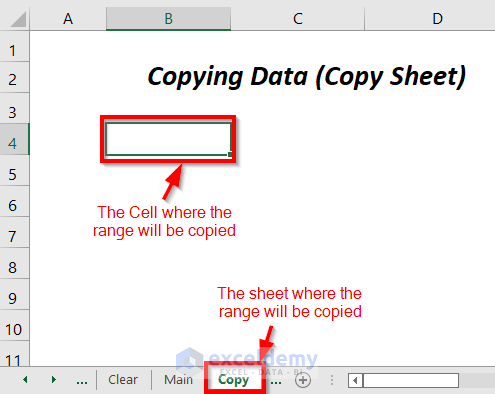
- Press Ctrl + V.

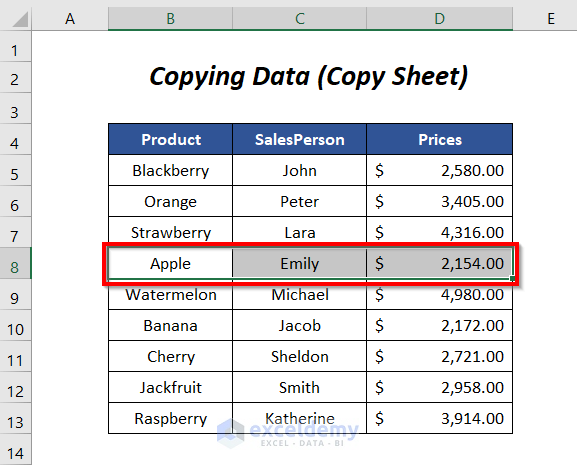
- In the new sheet, we have entered a new row successfully.
- Insert data as needed.
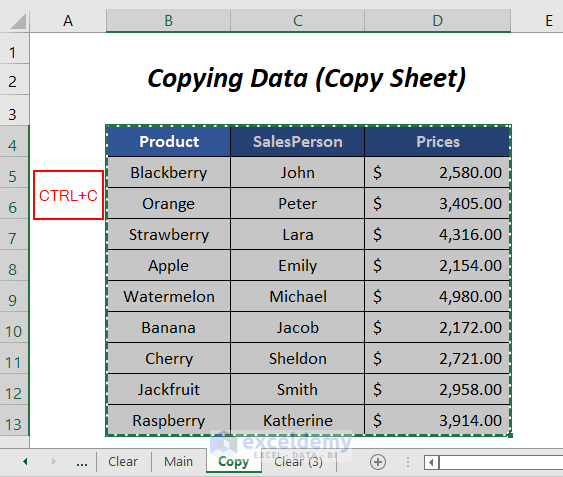
- Copy the data range of this sheet by pressing Ctrl + C again.
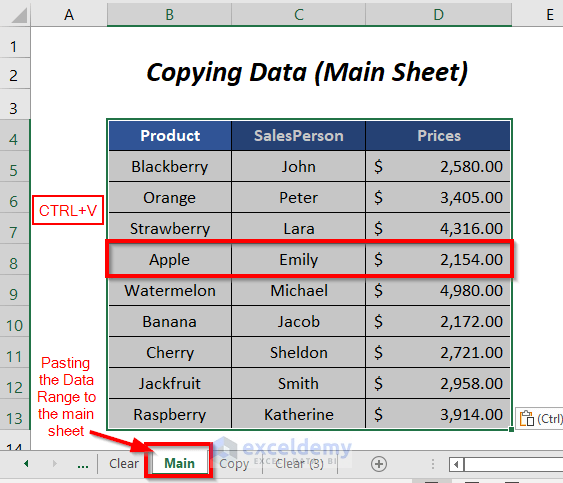
- Return to the main sheet and paste the copied data by pressing Ctrl + V in place of the previous data range.
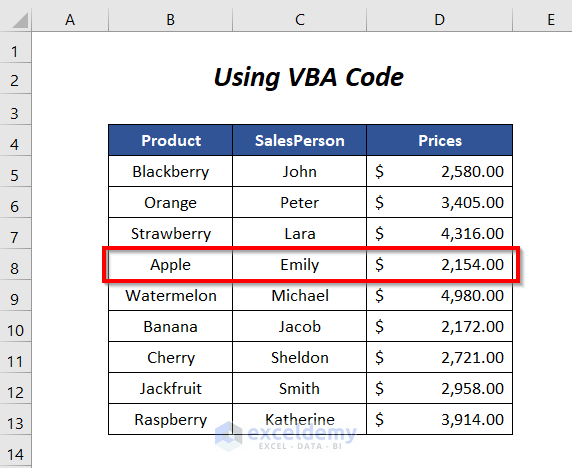
Fix 3 – Using VBA Code
Context:
We will try to insert a new row before the row for the records of Watermelon.
Unfortunately, we are getting the error message after trying to insert a new row.
The cause of this error is the same as the previous sections as you can see.
Solution:
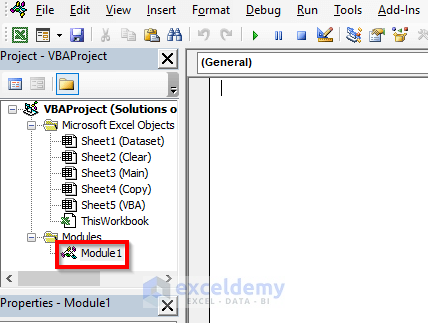
- Go to the Developer tab and select Visual Basic.
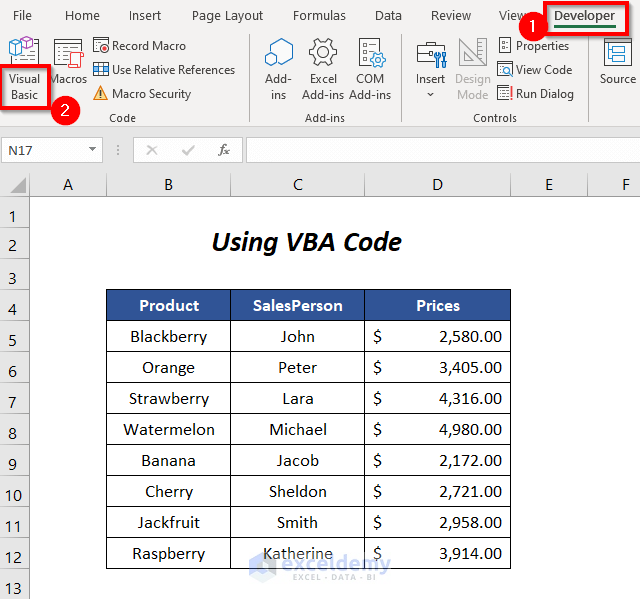
- The Visual Basic Editor will open up.
- Go to the Insert tab and select Module.

- A Module will be created.
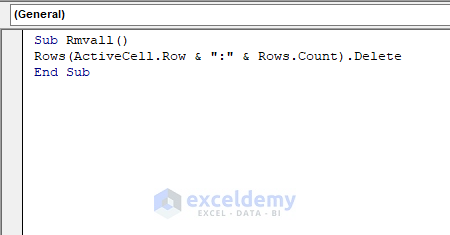
- Insert the following code
Sub Rmvall()

Rows(ActiveCell.Row & ":" & Rows.Count).Delete

End Sub- This code will delete all of the unwanted contents from the rows excluding the used range.
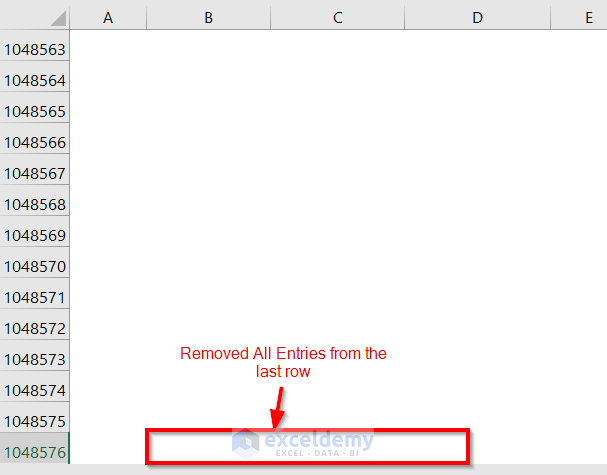
- Press F5.
- This deletes all of the contents from the last row.
- Insert a new row.
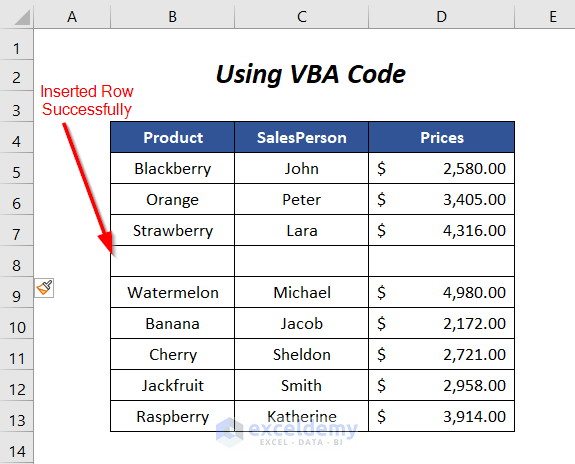
- Input your data.
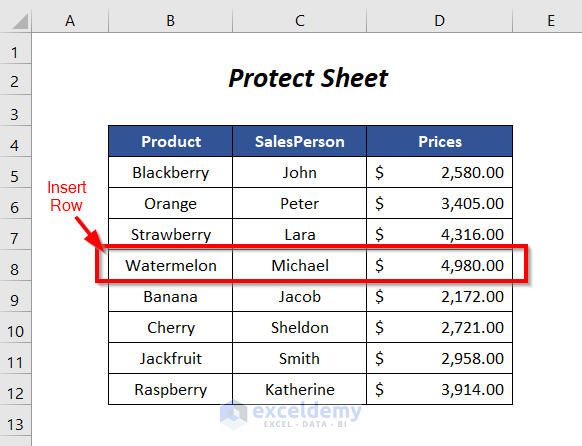
Fix 4 – Remove Sheet Protection
Context:
We will try to insert a new row before the row for the product Watermelon.
But after selecting Row 8 (the place of the new row), when we try to select the Insert Sheet Rows option of the Insert dropdown under the Home tab, we can’t select it because it is disabled for this sheet.
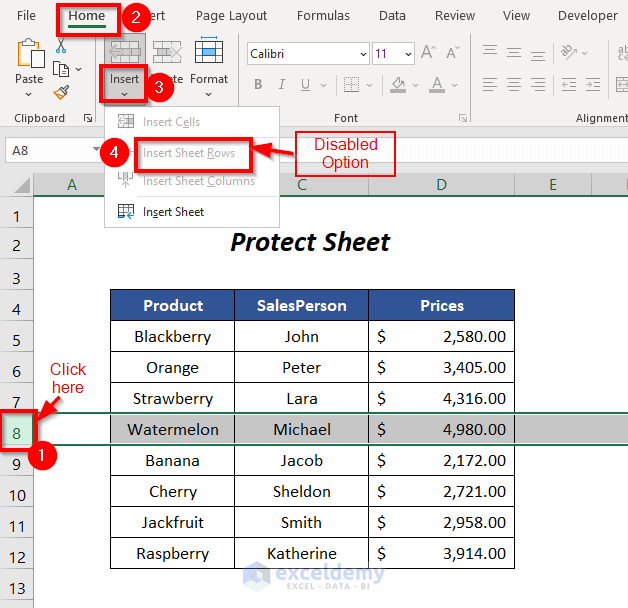
Since the Protect Sheet option is enabled, we can’t insert rows.
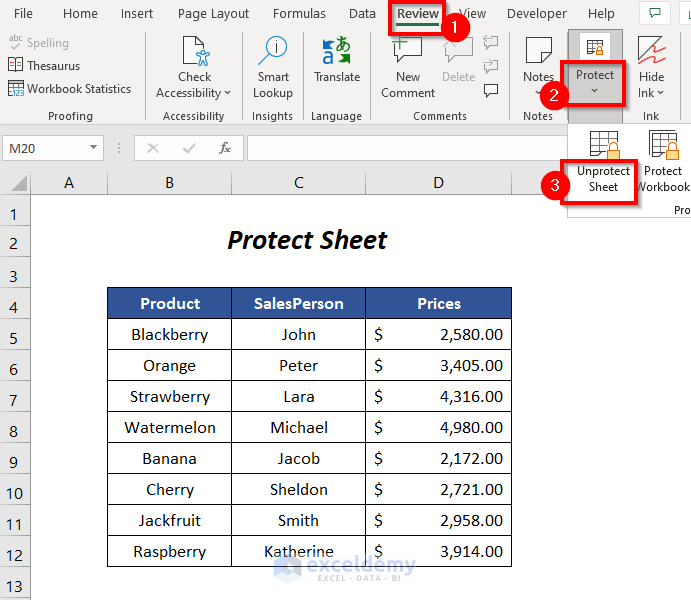
Solution:
- Go to the Review tab and the Protect group.
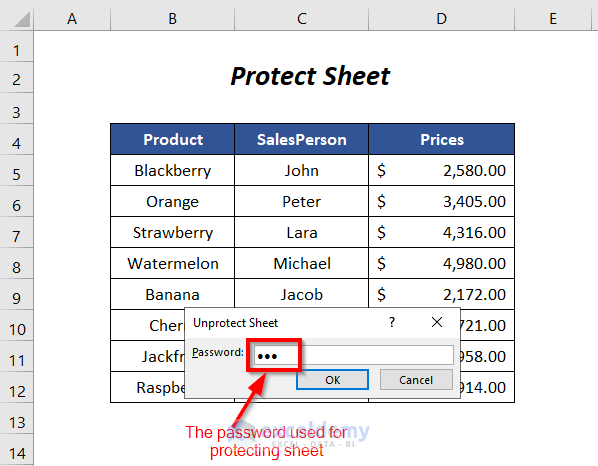
- Choose the Unprotect Sheet option.
- The Unprotect Sheet dialog box will open.
- Enter the Password (which you used for protecting your sheet) and press OK.
- Try to insert a new row.
- We have managed to insert a new row.

- Enter your data.

Read More: Excel Fix: Insert Row Option Greyed Out in Excel
Fix 5 – Unmerge Columns
Context:
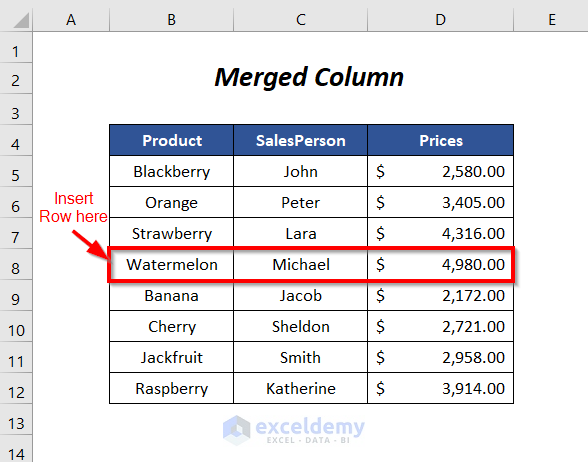
We’re trying to add a new row under Watermelon.
But we are getting the error message again.
The reason for this problem is that we have a fully merged column next to the data range.
Solution:
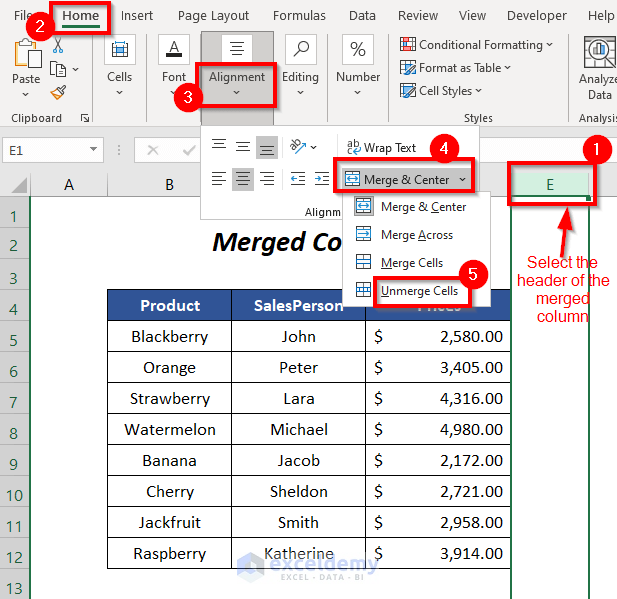
- Select the merged column (Column E in this case).
- Go to the Home tab and the Alignment group.
- Click on Merge & Center and select Unmerge Cells.
- Try to insert a new row again, and you shouldn’t get an error.
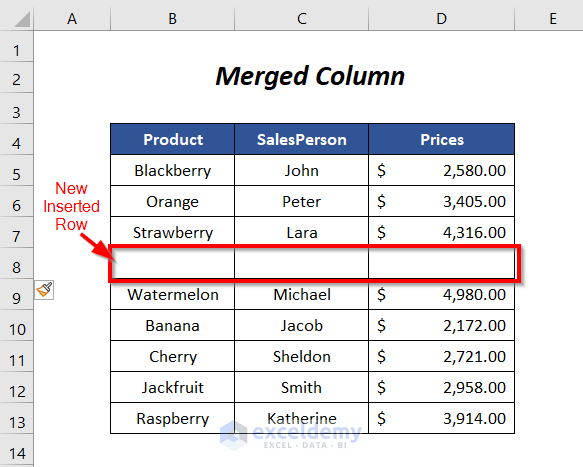
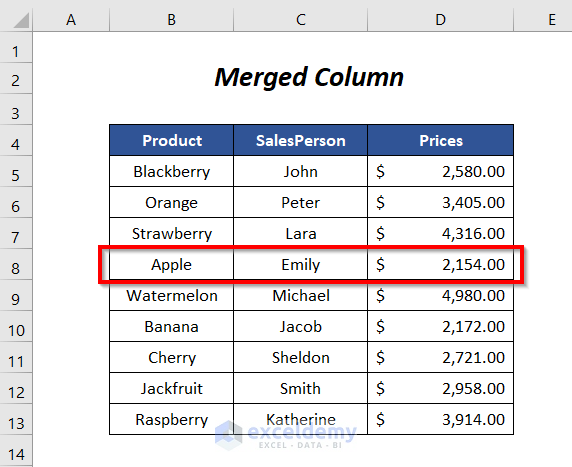
- Input your data in the new row.
Read More: Excel Formula to Insert Rows Between Data
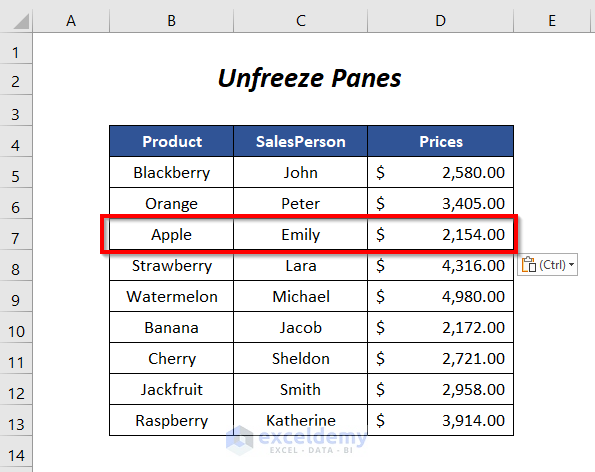
Fix 6 – Unfreeze Panes
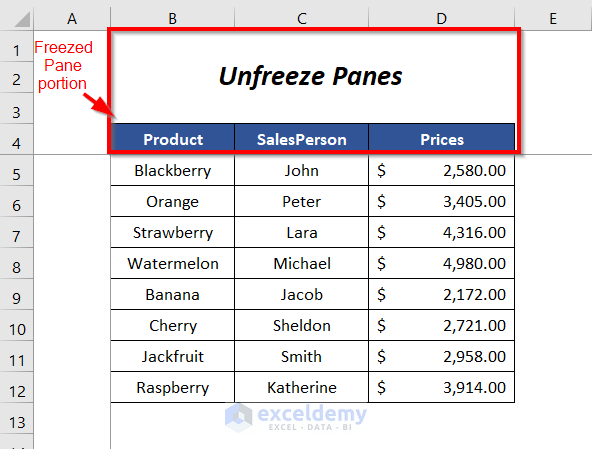
Context:
Freezing Panes becomes helpful for a large set of data which you want to scroll down but want to see a fixed part of your data set all over the time of scrolling. But this feature may cause problems when you try to insert a new row.
Solution:
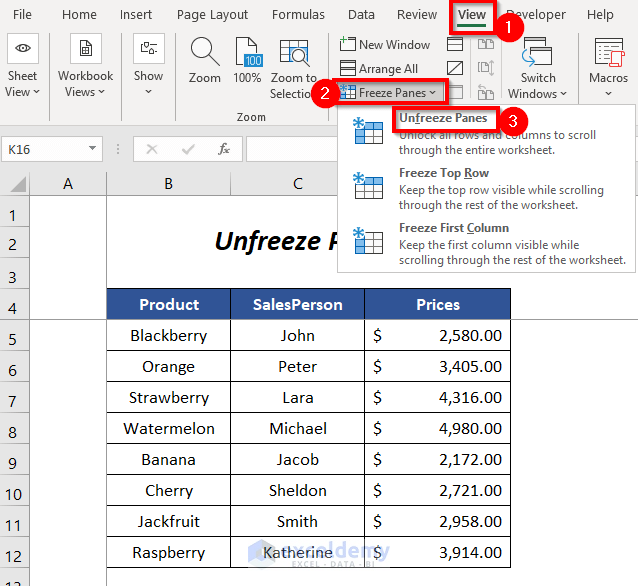
- To insert a row, we have to unfreeze the pane.
- Go to the View tab.
- Click Freeze Panes and then Unfreeze Panes.
- This removes the row freeze.
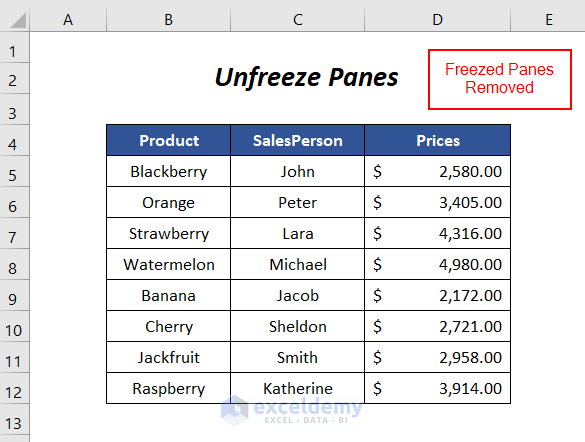
- You can insert a new row.
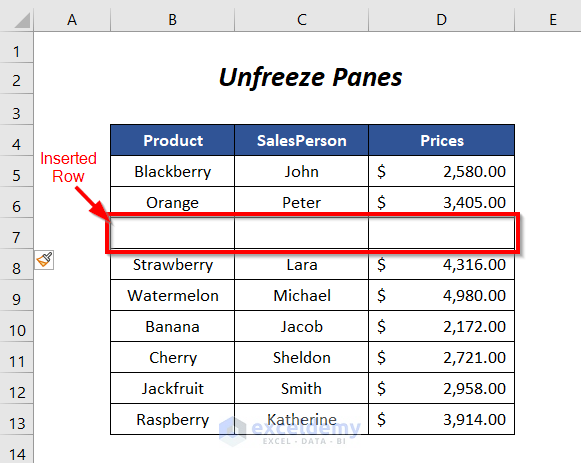
- Input your data.
Read More: How to Insert Row Below in Excel
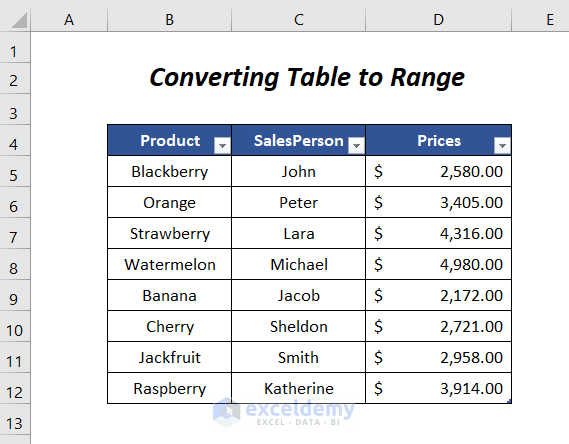
Fix 7 – Converting the Table to a Range
Context:
Converting a data range into a table can make your calculations faster and easier, but sometimes it may cause problems with inserting a new row.
Solution:
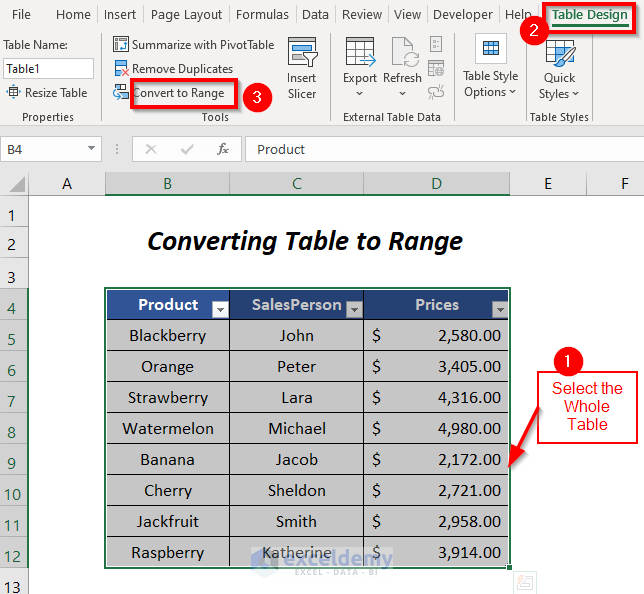
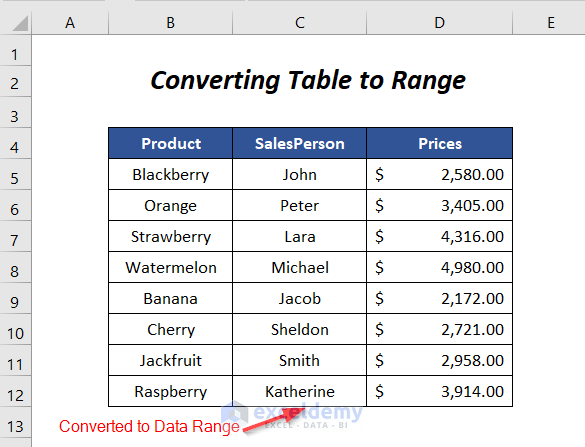
We will convert the following table into a range prior to the addition of a new row.
- Select the Table and go to Table Design tab.
- In the Tools group, select Convert to Range.
- Then, a message box will appear which says “Do you want to convert the table to a normal range?” Select Yes.
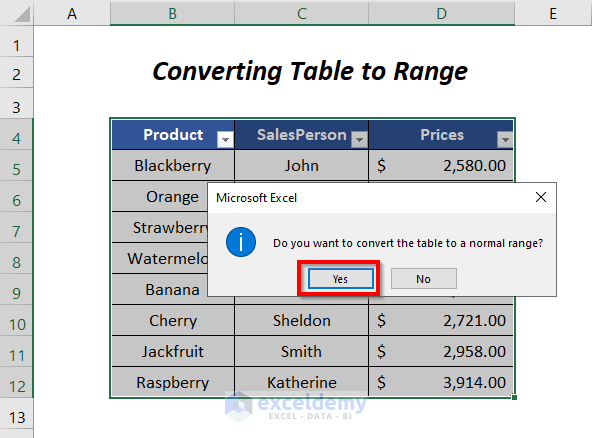
- We have converted our table into a data range in this way.
- Insert a new row.
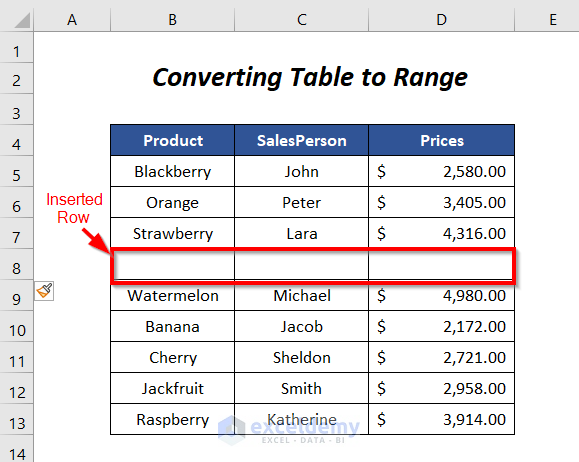
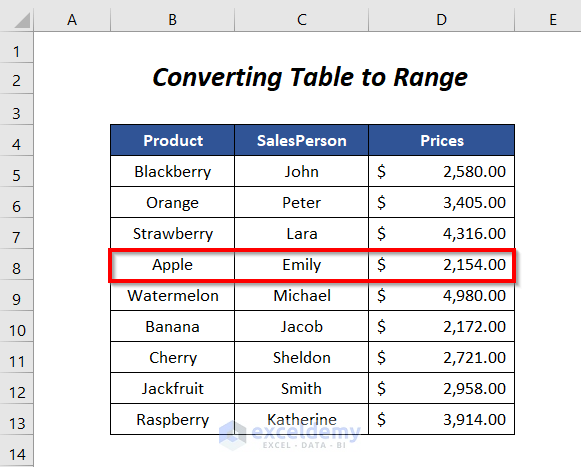
- Input your data.
Read More: How to Insert a Total Row in Excel
Download the Workbook
Related Articles
- Insert Multiple Blank Rows in Excel
- How to Insert Multiple Rows in Excel
- How to Insert Blank Row After Every Nth Row in Excel
- Insert Multiple Rows After Every Other Row in Excel
- How to Insert Rows in Excel Automatically
<< Go Back to Insert Rows | Rows in Excel | Learn Excel
Get FREE Advanced Excel Exercises with Solutions!
