Method 1 – Use of Delete Option in Context Menu to Delete Rows
Steps:
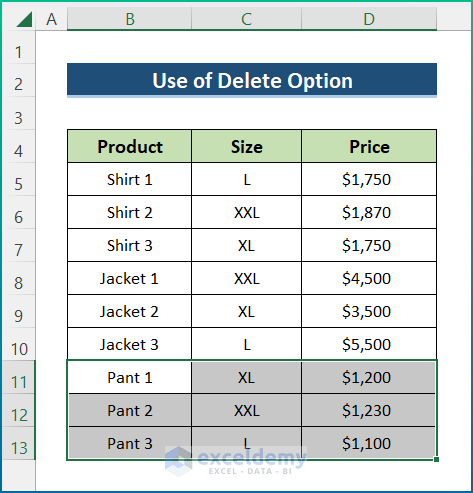
- Select the Cell B11.
- Press CTRL+SHIFT+➜+⬇.
- The cells of the last three rows will be selected.
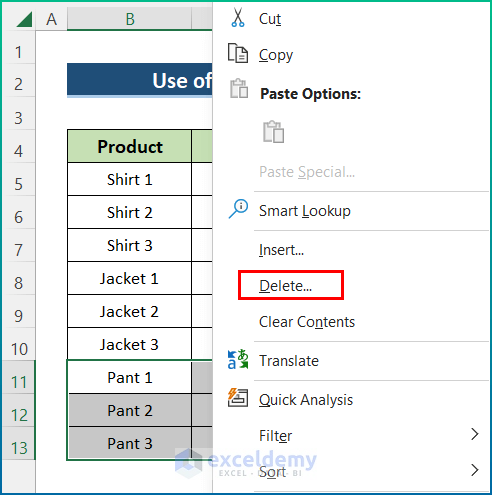
- Right-click and select the Delete option from the Context Menu.
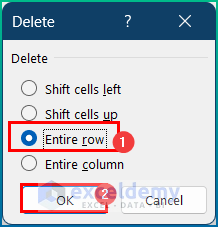
- Select Entire row and press OK.
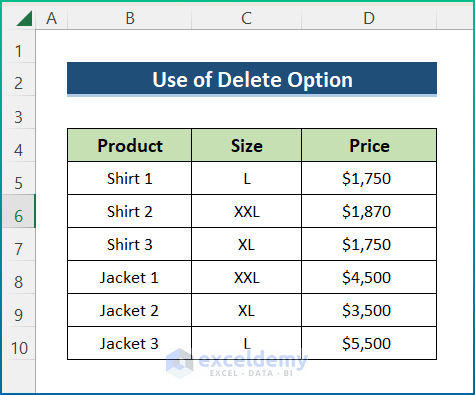
- The unwanted rows below a certain will be deleted.
Method 2 – Delete Sheet Rows Option to Delete Rows Below a Certain Row
Steps:
- Select the 3 rows with the help of the mouse.
- Go to the Home Tab.
- In the Cells dropdown, select Delete dropdown.
- Click on the Delete Sheet Rows option.
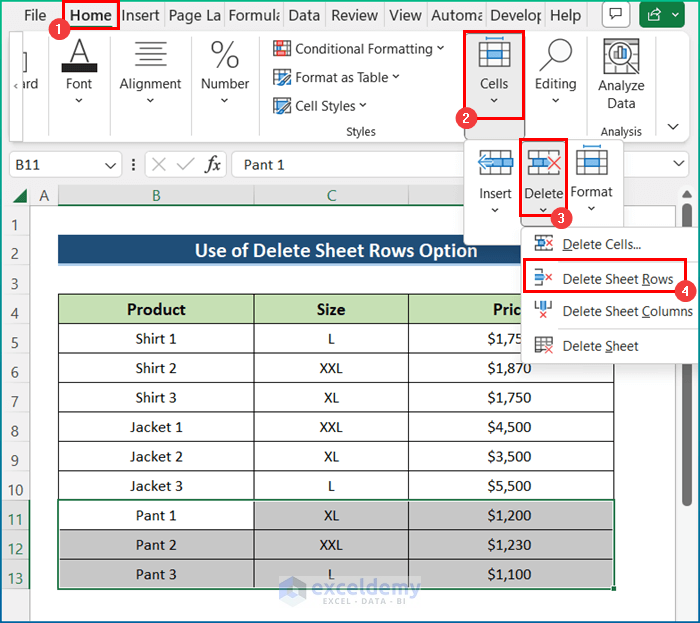
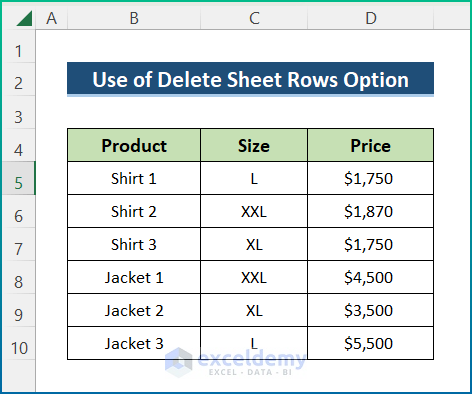
- Remove the rows below a particular row for Jacket 3.
Method 3 – Utilize Name Box in Excel to Delete Rows
Steps:
- Select the Name Box area.
- Type the range of rows you want to delete. The range is 11:13.
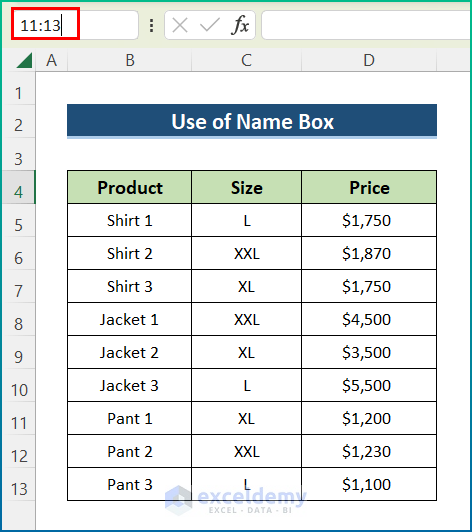
- Select the undesired rows automatically.
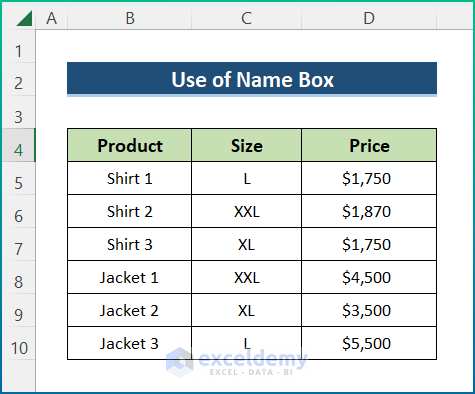
- Follow the second step of Method-1 or Method-2.
- You can delete all of the rows below the row for Jacket 3.
Method 4 – Apply Excel VBA Code to Remove Rows
Steps:
- Go to Developer Tab>>Visual Basic Option.
- Visual Basic Editor will open up.
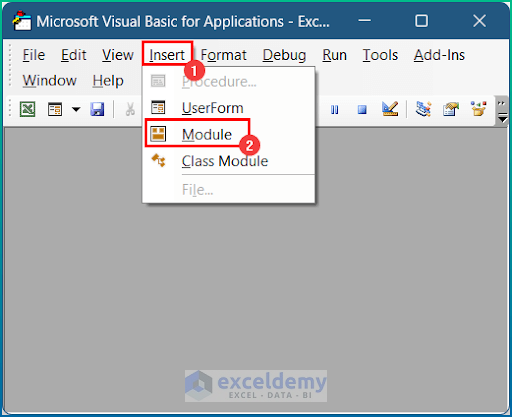
- Go to Insert Tab>>Module Option.
- Module 1 will be created.
- Write the following code here.
Sub RemoveRowsBelow()
'delete all rows below certain row
Worksheets("VBA").Rows(11 & ":" & Worksheets("VBA").Rows.Count).Delete
End Sub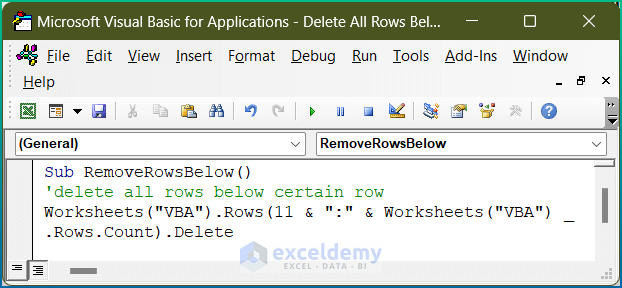
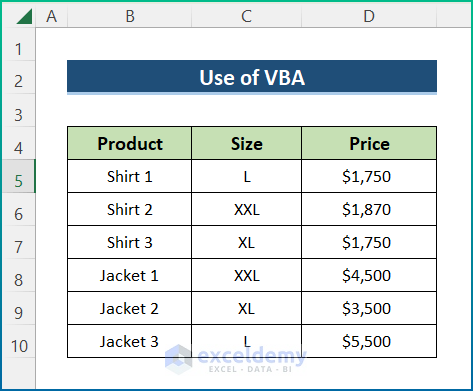
- VBA is the sheet name and 11 refers to from which row you want to delete the rest of the rows.
- Press F5.
- Get the following table where you can remove the undesired rows.

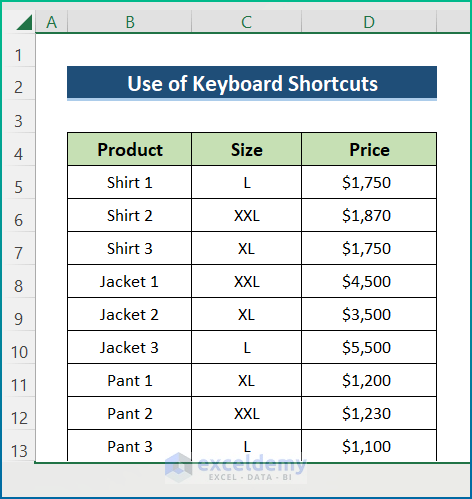
Method 5 – Delete All Rows Below the Last Active Row by Keyboard Shortcuts
Steps:
- Select the cell from where you want to remove the rows.
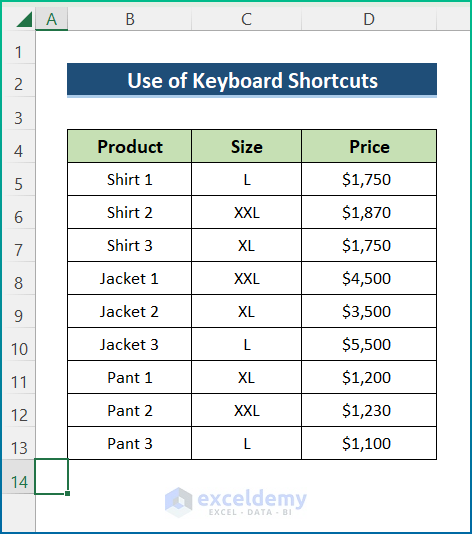
- Press CTRL+SHIFT+⬇.
- Press CTRL+SHIFT+➜.
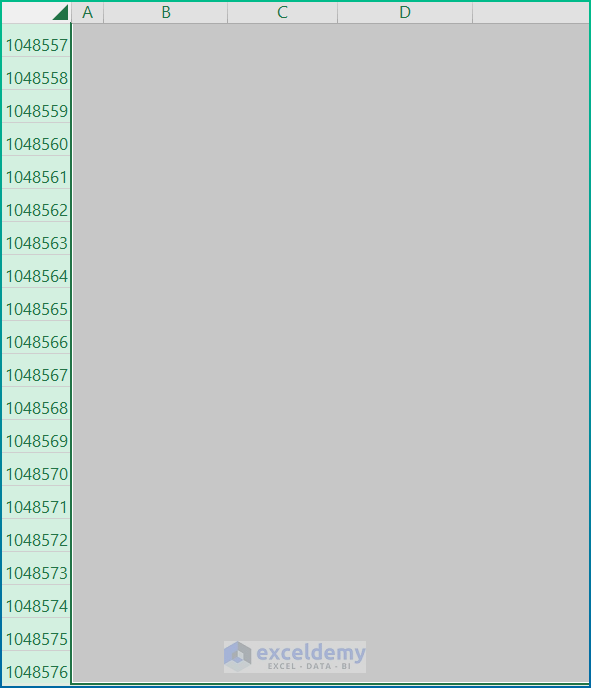
- All of the unused cells will be selected.
- Right-click on your mouse.
- Select Hide Option.
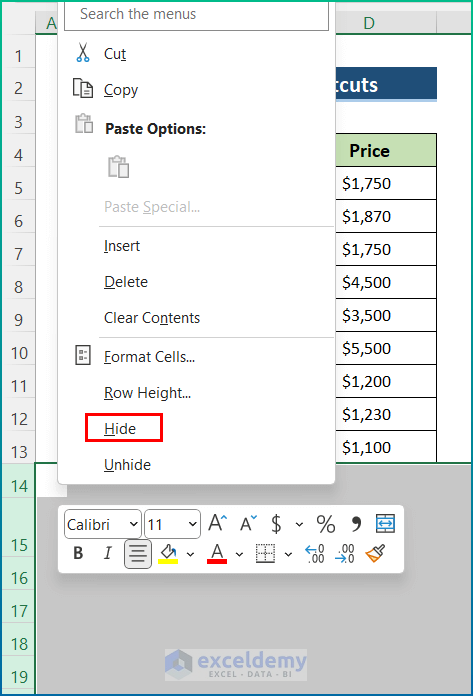
- Hide all of the rows below the data table as follows.
Method 6 – Remove Rows Below the Last Active Row with Excel VBA
Steps:
- Follow Step-01 of Method-4.
- Write the following code.
Sub Rmvall()
    Rows(ActiveCell.Row & ":" & Rows.Count).Delete
End Sub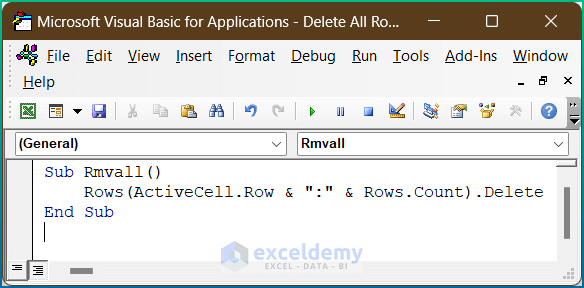
- ActiveCell.Row will return the row number of active rows and Rows.Count will count the rows in Excel and return the bottom-most row number and these two numbers will be the range for ROWS.
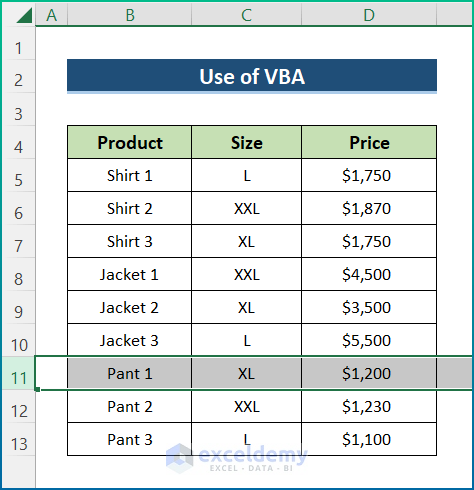
- Select the row from where you want to delete rows.
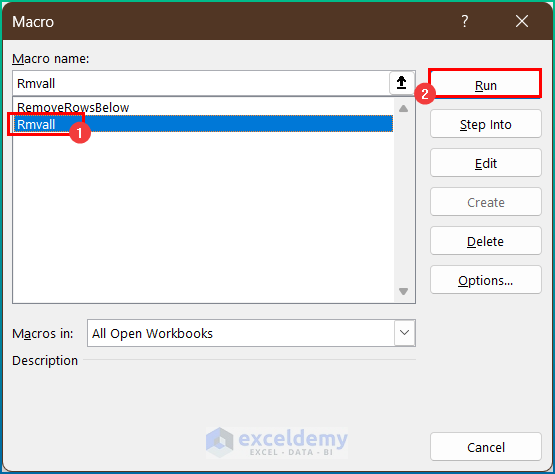
- Go to the Macros Option.
- Select Rmvall as the Macro name (the name used for the VBA code).
- Press Run.
- Get the following result.
Download Workbook
You May Also Like to Read
- How to Delete All Rows Not Containing Certain Text in Excel
- How to Delete Rows Based on Another List in Excel
- How to Remove Highlighted Rows in Excel
- Delete Row If Cell Contains Specific Value
- Delete Row If Cell Is Blank
- Delete Rows with Specific Text
- How to Delete Blank Rows
- How to Delete Empty Rows at the Bottom
<< Go Back to Delete Rows | Rows in Excel | Learn Excel
Get FREE Advanced Excel Exercises with Solutions!
