Method 1 – Using Context Menu
Steps:
➽ Select the rows that you want to delete.
➽ Right-click your mouse.
➽ Select Delete from the Context Menu.
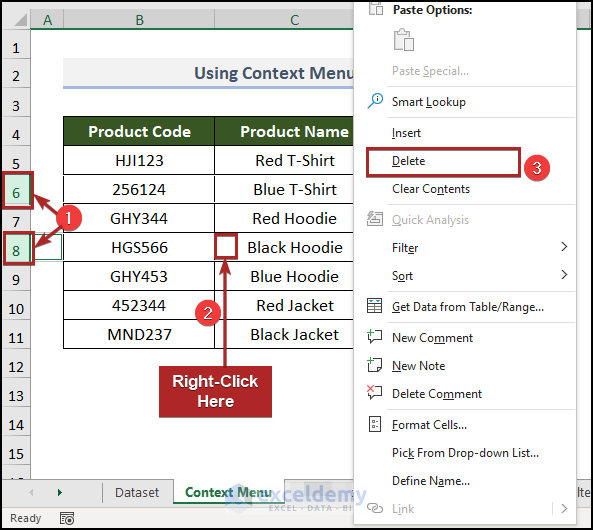
The selected rows will be deleted.
Method 2 – Utilizing Delete Command from Ribbon
Steps:
➽ Select the rows.
➽ Click as follows: Home > Cells > Delete > Delete Sheet Rows.
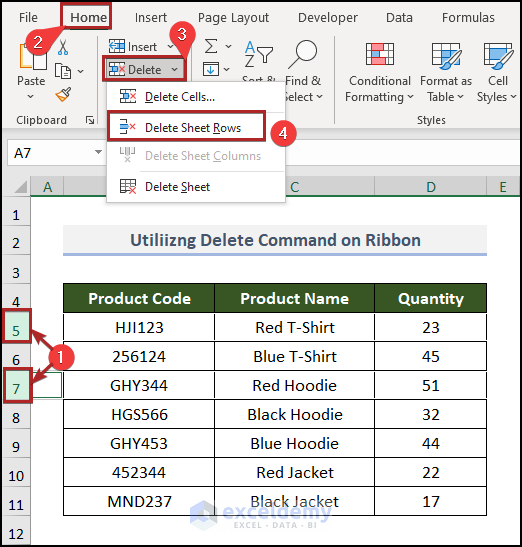
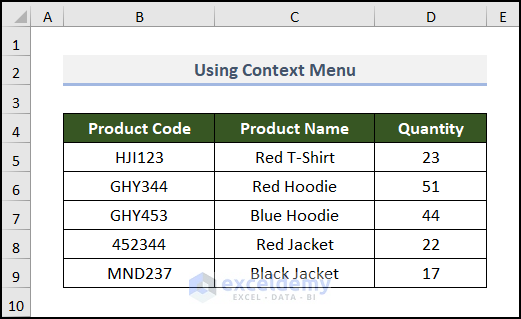
The selected rows will be deleted.

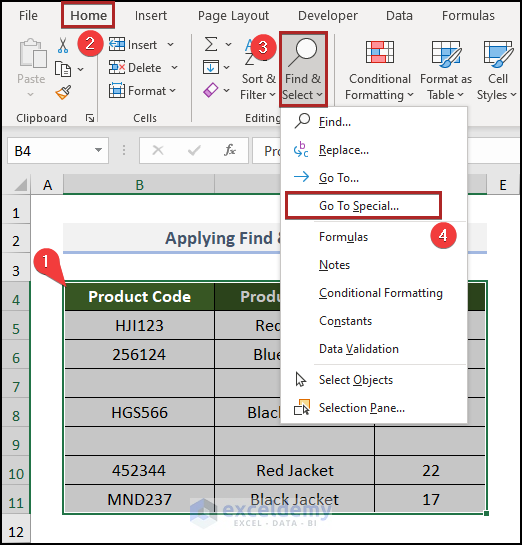
Method 3 – Applying Find & Select Tool
In this method, we will use the Find & Select tool to delete blank rows. This method is useful when you’re working with large spreadsheets or when you need to change certain text repeatedly. For illustration, we have placed two blank rows in the dataset.
Steps:
➽ Select the data range (B4:D11).
➽ Click Home > Editing > Find & Select > Go To Special….
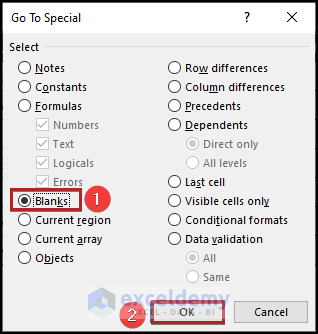
A dialog box named “Go To Special” will pop up.
➽ Mark on the Blanks option.
➽ Press OK.
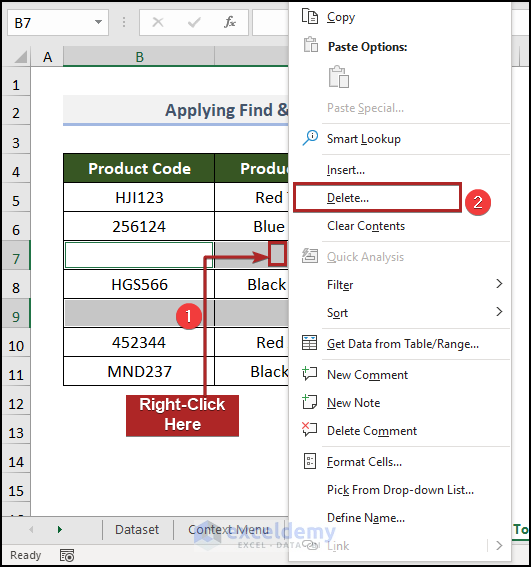
The blank rows are now highlighted.
➽ Right-click your mouse and select Delete from the Context Menu.
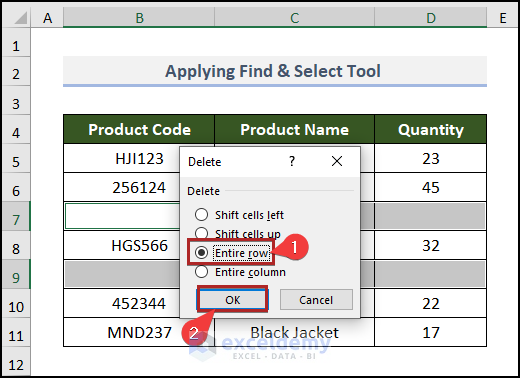
A new Delete dialog box will open up.
➽ Mark the choice of the Entire row and press OK.

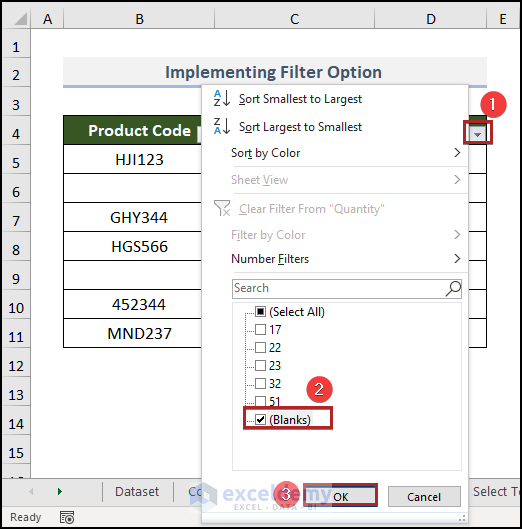
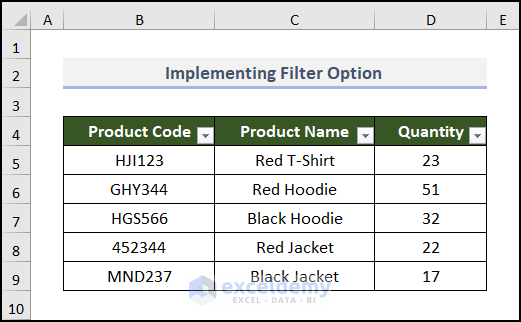
Method 4 – Implementing Filter Option
Steps:
➽ Select the data range including the title.
➽ Click in the sequence: Data > Filter.
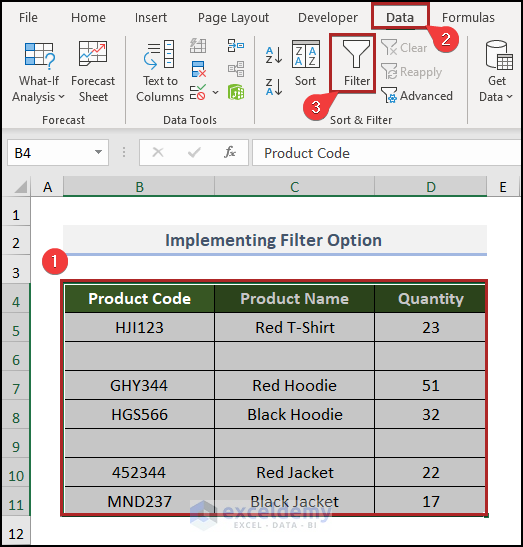
You will see the filter icon beside every heading of your dataset.
➽ Click on any filter icon and the filtering options will open up.
➽ Unmark everything except (Blanks).
➽ Click the OK button.
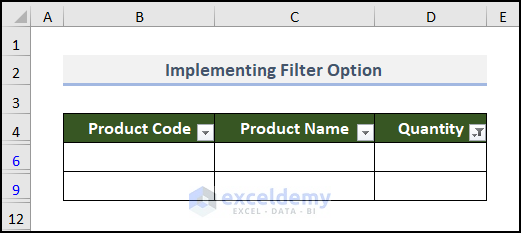
It will show only the blank rows.
➽ Select those blank rows and right-click your mouse.
➽ Click on Delete Row from the Context Menu.
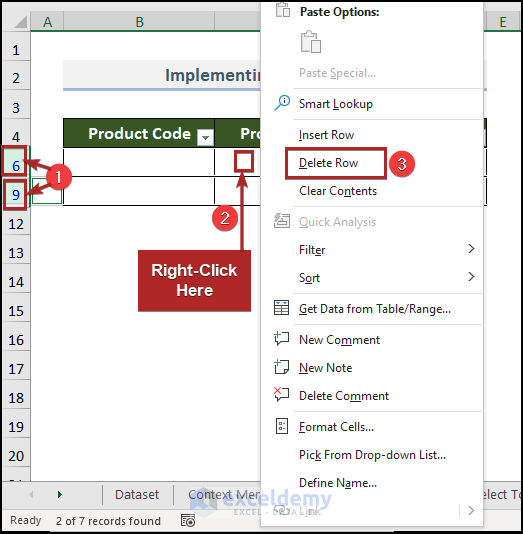
The blank rows are deleted. We will execute the following steps to display the other rows.
➽ Click on the filter icon.
➽ Mark the (Select All) option.
➽ Click OK.
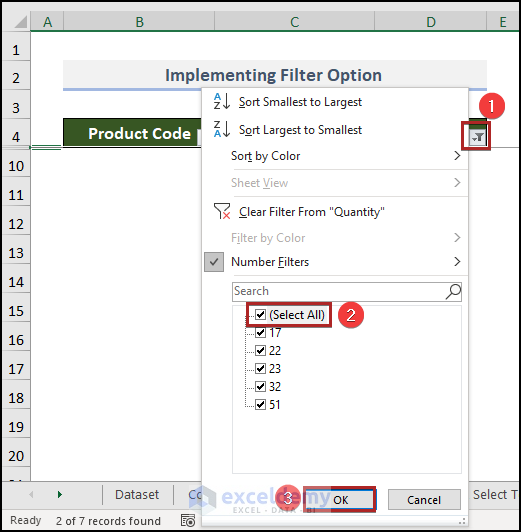
The filled rows will be displayed in the worksheet.
Related Content: How to Delete Filtered Rows in Excel?
Method 5 – Incorporating VBA Macro
Steps:
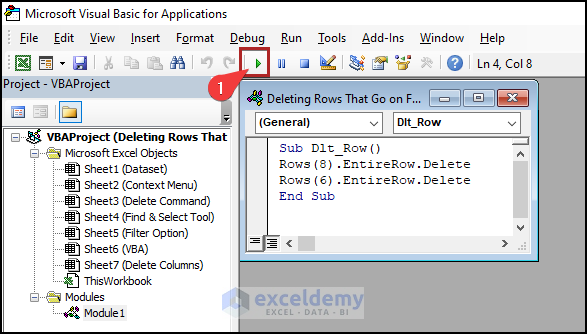
➽ Go to Developer tab >> Visual Basic option.
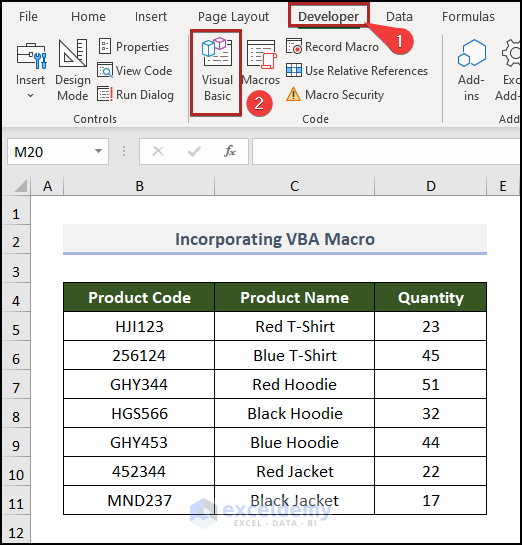
The Visual Basic Editor will open up.
➽ Go to Insert tab >> Module option.
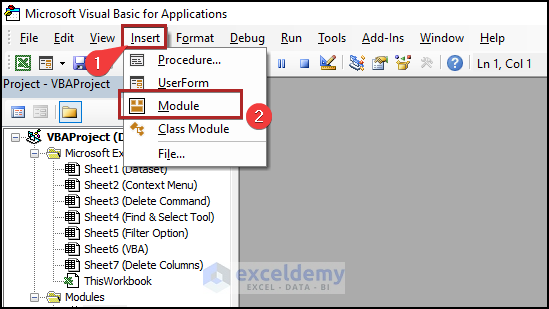
A Module will be created.
➽ Enter the following code into the module.
Sub Dlt_Row()
Rows(8).EntireRow.Delete
Rows(6).EntireRow.Delete
End Sub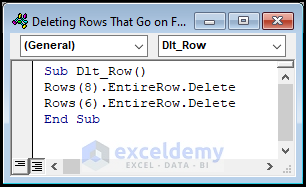
➽ Click on the Run icon or press the F5 key on the keyboard.
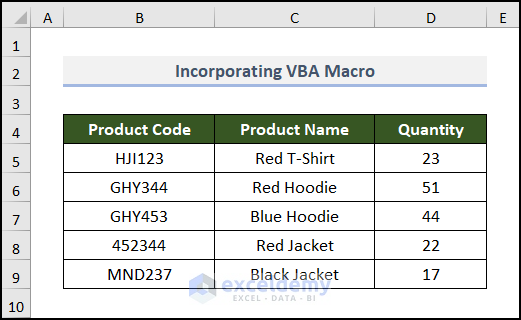
The result will be as shown in the following image.
How to Delete Columns That Go on Forever in Excel
Steps:
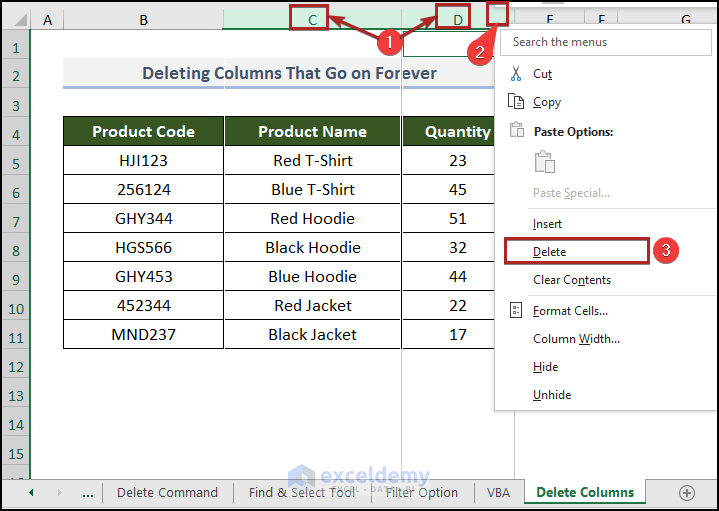
➽ Select columns C and D.
➽ Right-click anywhere inside these two column headings.
➽ Select the Delete option from the Context Menu.
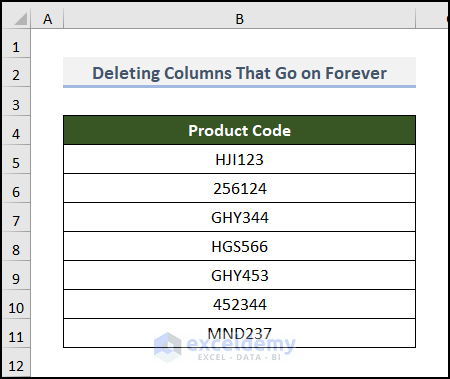
The selected columns will be deleted.
Download Practice Workbook
Related Articles
- How to Delete Hidden Rows in Excel?
- How to Delete Unused Rows in Excel?
- How to Find and Delete Rows in Excel
- How to Delete Multiple Rows in Excel Using Formula?
- How to Delete Multiple Rows in Excel with Condition?
- How to Delete Infinite Rows in Excel?
- How to Remove Rows Containing Identical Transactions in Excel?
<< Go Back to Delete Rows | Rows in Excel | Learn Excel
Get FREE Advanced Excel Exercises with Solutions!
