While working with Microsoft Excel, you will face a lot of situations where you need to delete rows. Some people love to work with the mouse and the Excel interface. Also, some people love to work with a keyboard shortcut. It makes their work process faster and saves a lot of time. In this tutorial, you will learn to delete rows with the keyboard shortcut in Excel. This tutorial will be resourceful with suitable examples and proper descriptions.
How to Delete Rows Using Excel Shortcuts: 5 Examples
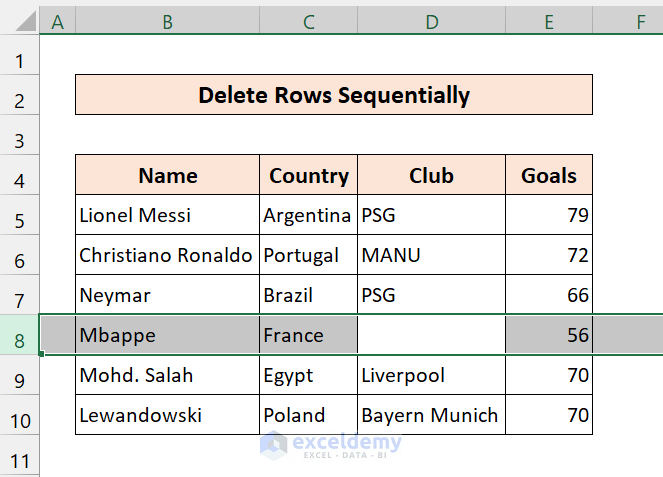
In the following section, we will show you how to delete multiple rows with the Excel shortcut. Remember, you can also delete a single with this. But the primary difference with that is selecting the rows. It may be sequential or non-sequential. Also, we are using this dataset to perform this:

Example 1 of 5: Delete Multiple Sequential Rows in Excel with Shortcuts
In the first example, I will show you the way you can select multiple rows that are one after another, and then delete them quickly.
Using the following shortcut, you can select and delete multiple rows at once.
SHIFT+SPACE
⇓
SHIFT+DOWN ARROW
⇓
CTR+ – (Minus Sign)
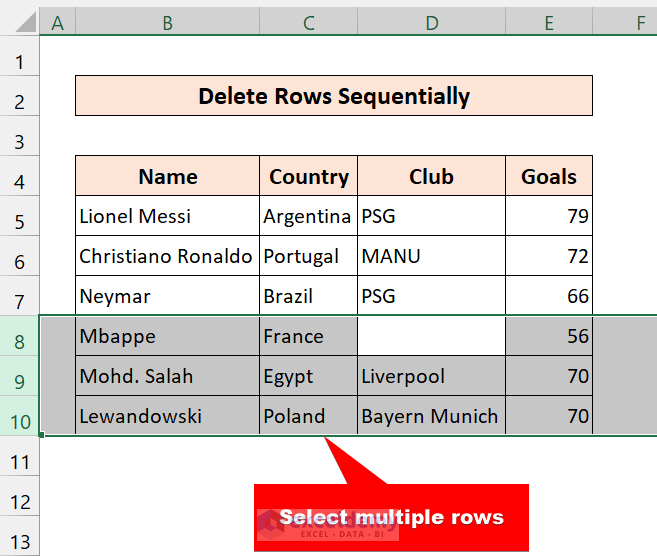
Now, we want to delete the last three rows from the dataset. These simple steps will help you to perform this.
📌 Steps
- First, select any cell from the dataset.

- Then, press SHIFT+SPACE. After that, it will select the entire row.
- Next, press SHIFT+DOWN ARROW to select multiple rows. Press it all together. Press SHIFT and then DOWN ARROW twice to select the next two rows.
- Now, press CTRL+ – (Minus Sign).
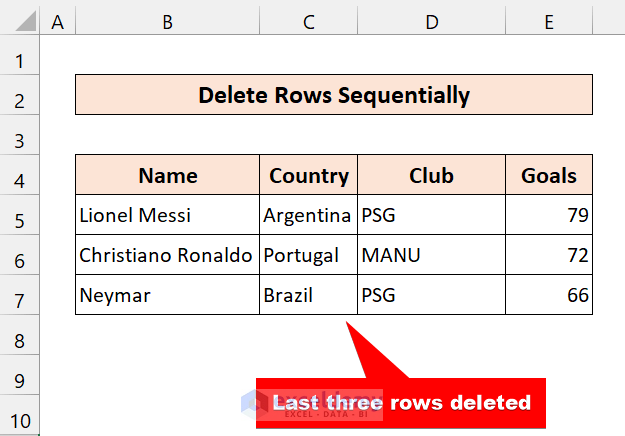
As you can see, we have successfully deleted multiple rows with a simple Excel shortcut.
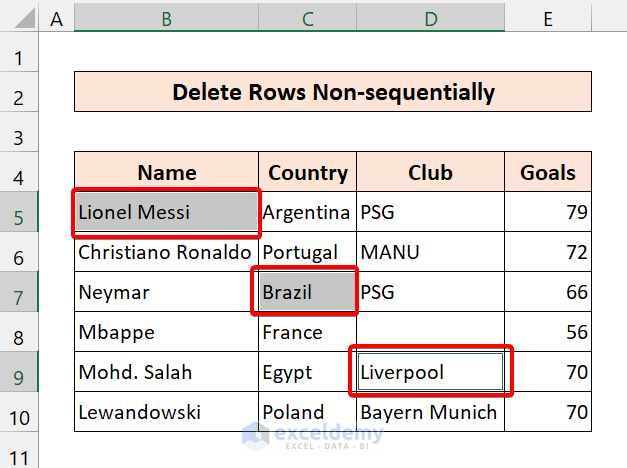
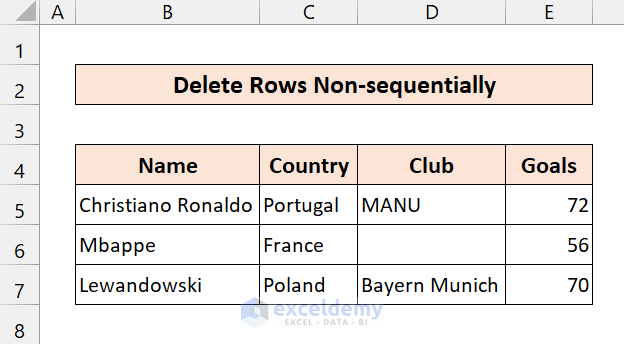
Example 2 of 5: Shortcut Keys to Delete Multiple Non-sequential Rows
Similar to the previous example, you can also delete non-sequential rows with an Excel shortcut. You can select many rows and delete them from the dataset in this way. Mainly, you have to choose multiple cells from the dataset to delete the entire rows.
Here, we want to delete rows 5,7, and 9 using the Excel keyboard shortcut.
📌 Steps
- First, press CTRL and select any cells from rows 5,7, and 9.
- Then, press CTRL+ – (minus sign).
- After that, select the entire row.
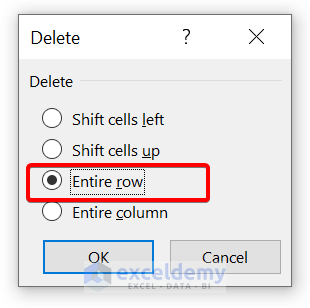
- Next, click on OK.
As you can see, we are successful in deleting multiple rows with the help of an Excel shortcut.
Example 3 of 5: Select a Cell and Delete Entire Row with Shortcut and Some Additional Clicks
In the next examples, we will provide you with three ways with the keyboard shortcut to delete rows in Excel. These sections will focus on a single row. You can use these techniques to delete a row with the shortcut. We recommend you learn and implement all these strategies into your worksheets. It will surely develop your Excel knowledge.
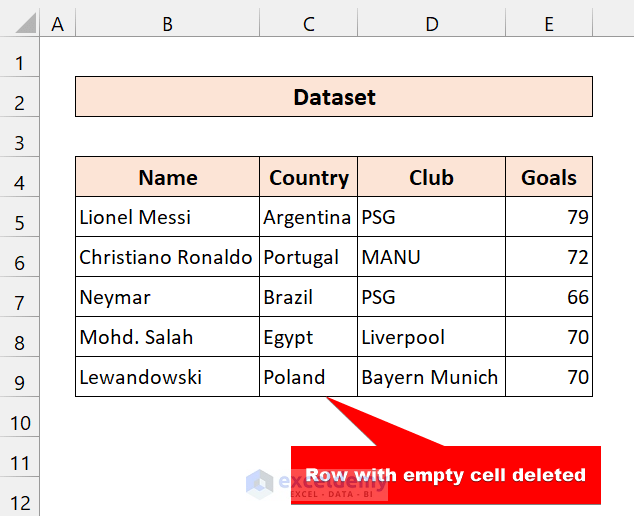
To demonstrate this tutorial, we are going to use this dataset:
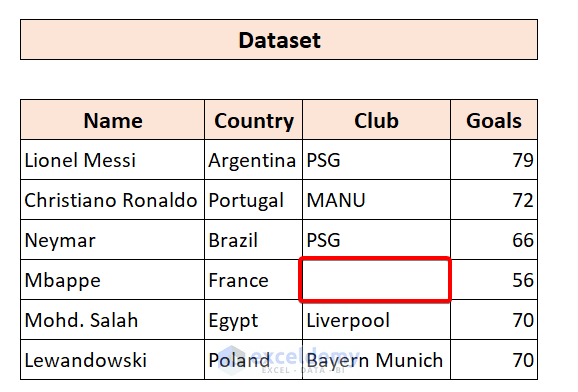
Here, our dataset shows some players’ statistics. And if you look closely, there is a blank cell in the dataset. So, our goal is to delete the entire row that contains the blank cell with the Excel shortcut. Let’s get into it.
The Excel shortcut to delete row(s) is:
Now, we use this shortcut more often. It is the go-to method for all Excel users. Just follow these simple steps to delete rows in Excel.
📌 Steps
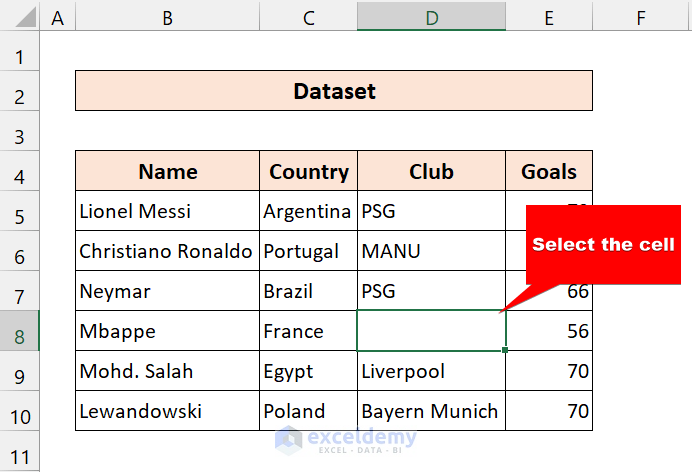
- First, select the empty cell.
- Then, press Ctrl + – (minus sign) together. After that, it will show a dialog box.
- Next, select the Entire row.
- Then, click on OK.
As you can see, we successfully deleted a row with the Excel shortcut. Now, you can delete multiple rows with this technique.
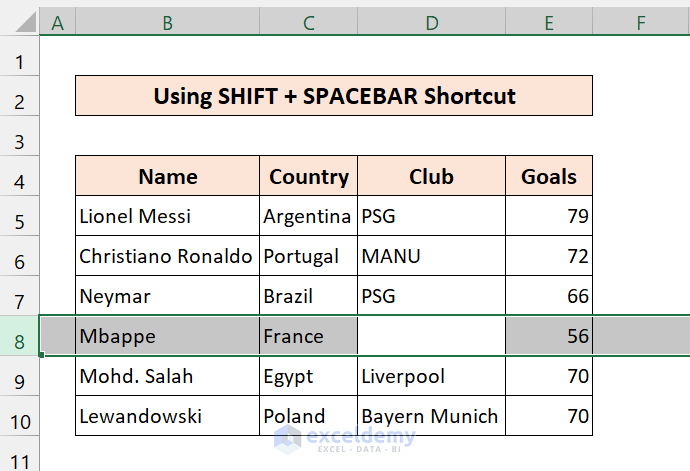
Example 4 of 5: Select a Cell and the Entire Row and Delete with 2 Excel Shortcuts
To delete an entire row, you can use this keyboard shortcut:
SHIFT+SPACE
⇓
CTRL+– (Minus Sign)
Now, this is a two-step process. You can also use this method to delete entire rows with an Excel keyboard shortcut. If you want to select an entire row quickly, definitely use this method.
📌 Steps
- First, select the empty cell.

- Then, press SHIFT+SPACE on your keyboard. After that, it will select the entire row.
- Then, press CTRL+ – (minus sign)
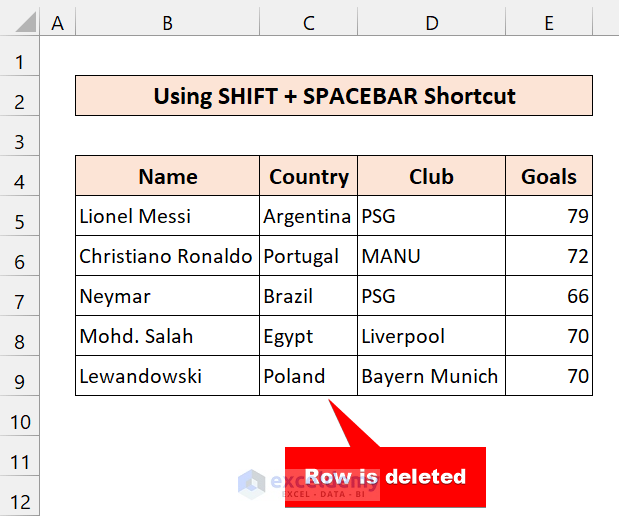
In the end, this Excel shortcut will delete entire rows quickly. Try this method on your worksheet to delete a whole row.
Example 5 of 5: Use of Excel Hotkeys (Alt + H + D + R) to Delete Rows
The next keyboard shortcut of Excel we are using:
Now, you won’t see people using this Excel shortcut. In fact, I also don’t use this. But, in my opinion, you should also learn this to expand your knowledge. Sometimes, knowing more methods makes you knowledgeable.
📌 Steps
- First, select any cell from your worksheet. Here, we are selecting the empty cell.
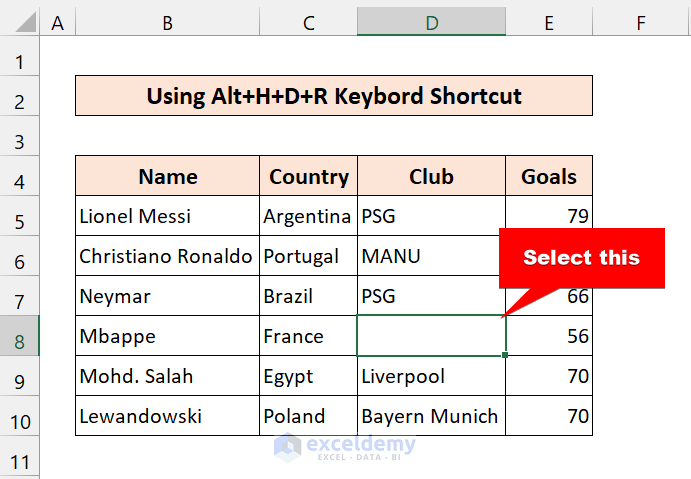
- Then, press Alt+H+D+R. You don’t have to press these altogether. Just press one by one. It will take you to the ribbon.
- After you have pressed R, it will delete the row.
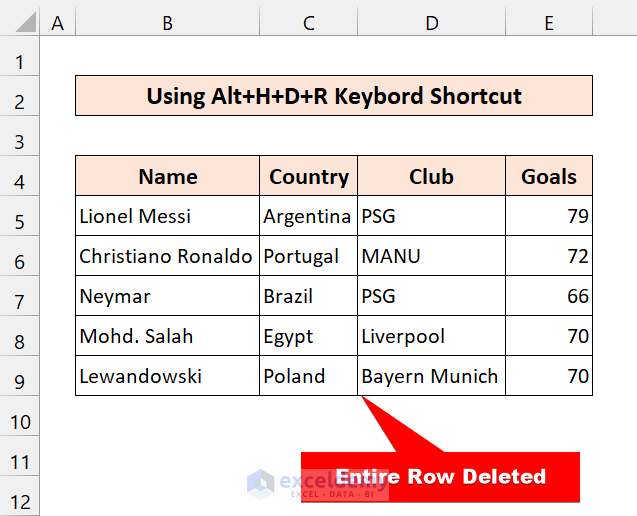
In the end, you can see successfully deleted the rows with this Excel shortcut quite easily.
2 Bonus Techniques to Delete Rows in Excel
Though our tutorial is all about using the Excel shortcut, I think this method is for beginners. If you are not a beginner, you can skip this.
1. Deleting Rows in MS Excel with the PC Mouse
📌 Steps
- First, select any cells from the dataset.
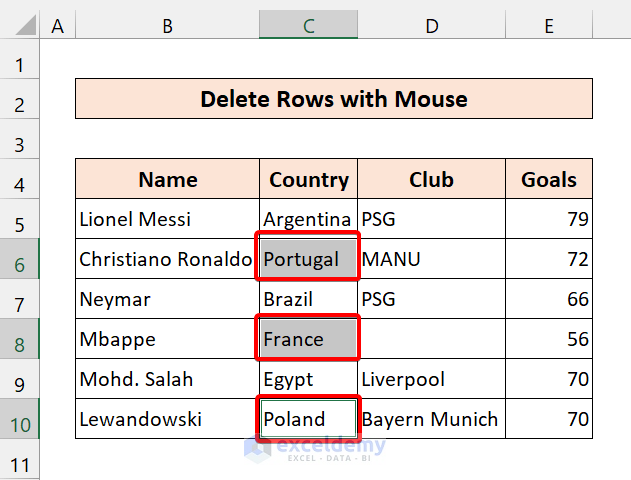
- Then, right-click on the mouse. Now, select Delete.
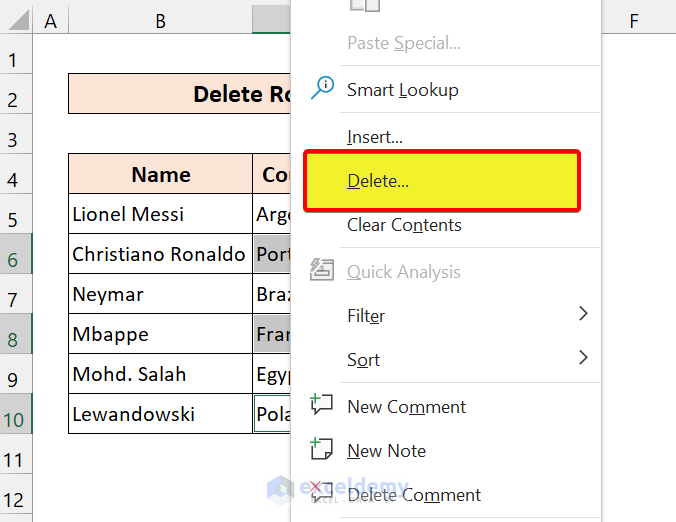
- Now, select the Entire row.
- After that, click on OK.

As you can see, we successfully deleted the rows using the Excel shortcut.
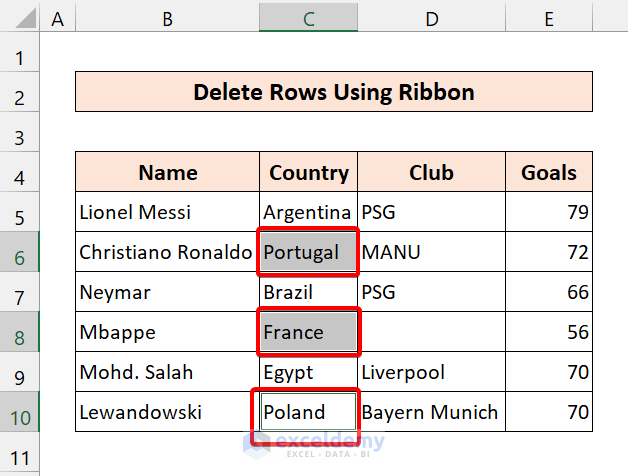
2. Deleting Rows Using the Ribbon
Now, you can use Excel’s ribbon to delete rows. If you love to work with the interface, you can use this method.
📌 Steps
- First, select any cells from the dataset.
- Then, from the Home tab, go to the Cells.
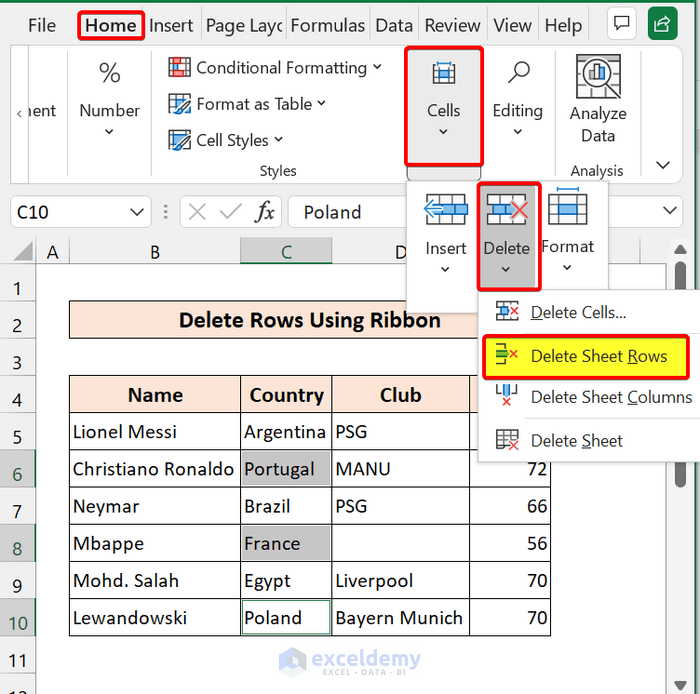
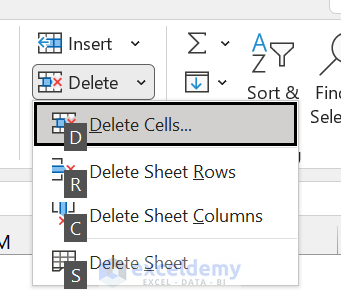
- Then, select Delete > Delete Sheet Rows.

In the end, we deleted rows with Microsoft Excel’s built-in ribbon.
💬 Things to Remember
✎ If you accidentally delete rows, just press CTRL+Z to bring those back.
✎ Always select the Entire row option. Otherwise, it will create unnecessary problems.
✎ If your dataset is large, you can also use VBA to delete rows and save you time.
✎ If you face a memory shortage while deleting rows, troubleshoot the probable reasons, i.e. use of Excel Add-ins, too many workbooks are active, use of numerous complex formulas in cells, etc., and solve the issues.
Conclusion
To conclude, I hope this tutorial has provided you with a piece of useful knowledge to delete rows with the keyboard shortcut in Excel. We recommend you learn and apply all these instructions to your dataset. Download the practice workbook and try these yourself. Also, feel free to give feedback in the comment section. Your valuable feedback keeps us motivated to create tutorials like this.
Related Article
<< Go Back to Delete Rows | Rows in Excel | Learn Excel
Get FREE Advanced Excel Exercises with Solutions!
