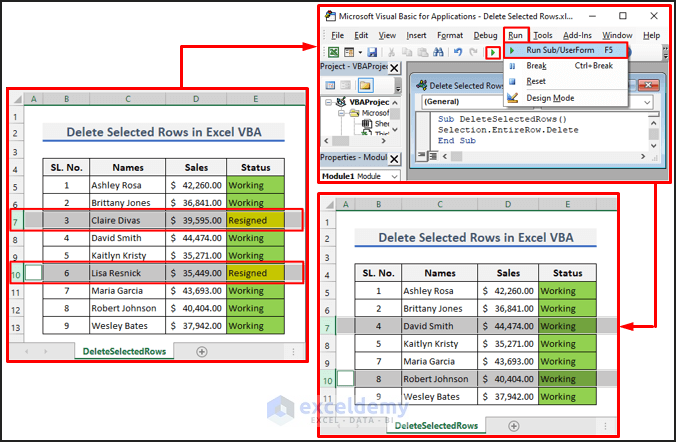
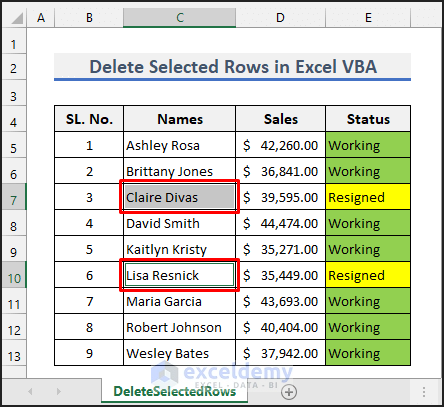
This article shows how to delete selected rows in Excel with VBA in the simplest possible way. Surely you can add or delete rows or columns manually even using keyboard shortcuts. But, if you want to learn how to delete selected rows using VBA, then this article will definitely help you. The following picture gives an idea of the purpose of this article.
How to Delete Selected Rows with Excel VBA: A Step-by-Step Guide
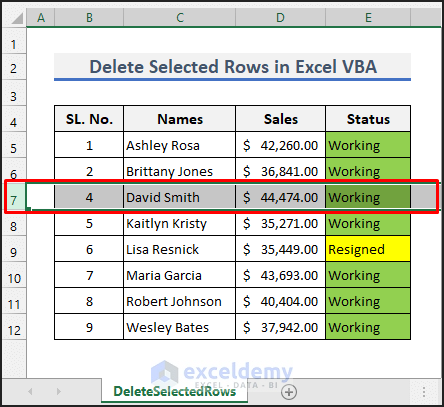
We will use the following dataset to illustrate the steps. The dataset contains the working status of a few employees.

Suppose you want to delete the rows for employees who have resigned. Then, follow the steps below to do that using Excel VBA.
📌 Steps
- Let’s try to delete a single row as a start. Then, we will repeat the procedure for multiple rows.
- First, select the cell number of the row you want to delete. You will find it at the left of each row. Let’s click on row number 7. This will select the entire row as follows.

- Then, press ALT+F11 (on Windows) or Opt+F11 (on Mac) to open the Microsoft Visual Basic for Applications window. You can also open it from the developer tab.
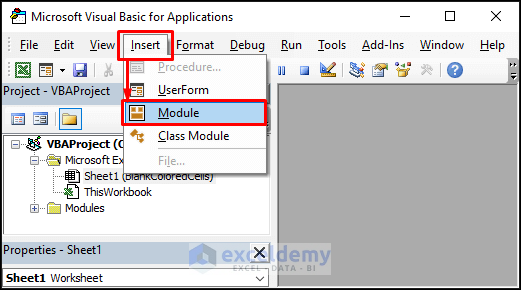
- Next, select Insert >> Module. This will open a new blank module.
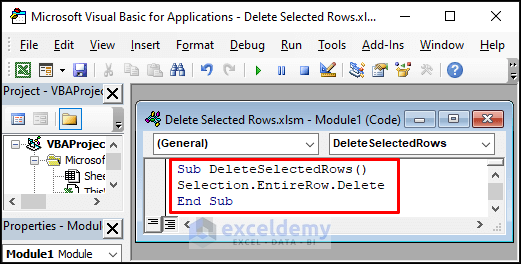
- After that, copy the following code using the copy button.
Sub DeleteSelectedRows()

Selection.EntireRow.Delete

End Sub- Then, paste the copied code on the blank module as shown in the following picture.
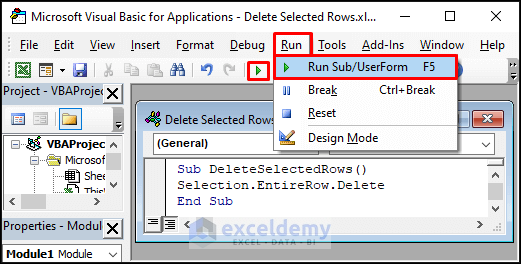
- Now, use the triangular icon or the Run tab to run the code as shown below. You can also press F5 as an alternative.
- After that, you will see that the row has been deleted. It is replaced by the next row as follows.
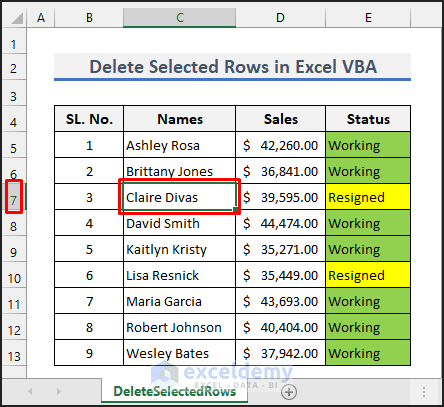
- You can select a cell(s) in the row instead to get the same results.
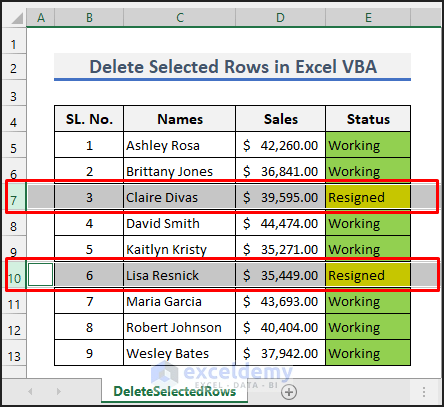
- Now, let’s try to delete multiple rows altogether. First, select a row by clicking on the row number. Then, hold CTRL and select another row(s). Let’s say we select rows 7 and 10.
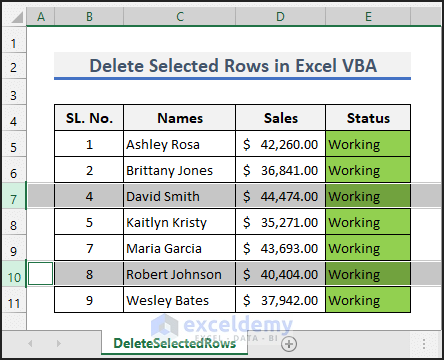
- After that, the procedure is just the same. Now, run the code as earlier. Then, you will see that the rows are deleted as shown below.
- Alternatively, you can select a cell(s) in those rows.
- Now, run the code and you will see the rows are deleted as earlier.
Read More: Excel VBA to Delete Entire Row
Things to Remember
- You cannot apply an undo command (CTRL+Z) with the changes made by VBA. So, back up your data before running the code if you need it later.
- To select consecutive rows, select the first-row number. Hold SHIFT and select the last row number. You can also select and drag the mouse to do that.
Download Practice Workbook
You can download the practice workbook from the download button below.
Conclusion
Now you know how to delete selected rows in Excel using VBA. Please use the comment section below for further queries or suggestions.
Related Articles
- Excel VBA to Delete Row Based on Cell Value
- How to Delete Row If Cell Contains Value Using Macro in Excel
- VBA Delete Rows
- How to Delete Unfiltered Rows in Excel Using VBA
- Excel VBA: Delete Row on Another Sheet
- Excel VBA to Delete Table Row
- How to Delete Rows in a Range with VBA in Excel
- Delete Row with VBA and Shift Up Cells in Excel

