If you are looking for simple ways to change page orientation in Excel, this article will serve the purpose. Excel by default uses the Portrait Orientation while printing a worksheet. But it might not be ideal for all cases. We can change the page orientation in Excel by following some super easy steps. So, let’s start with this article and learn all these steps to change page orientation in Excel.
Why Is Changing Page Orientation Necessary?
There are 2 kinds of orientation in Excel. They are Portrait and Landscape. The portrait type of orientation is suitable for data sets consisting of columns but a large number of rows. On the other hand, the Landscape type of orientation is suitable for data sets that have a large number of columns but a small number of rows. If the number of columns is higher and we use Portrait orientation, either we will not be able to see our whole data set on 1 page, or the data set will be highly congested. So, choosing the right page orientation is crucial while working with Excel.
How to Change Page Orientation in Excel: 2 Methods
In this article, we are going to learn 2 simple ways to change page orientation in Excel. After learning these methods, you will be able to change page orientation without facing any issues.
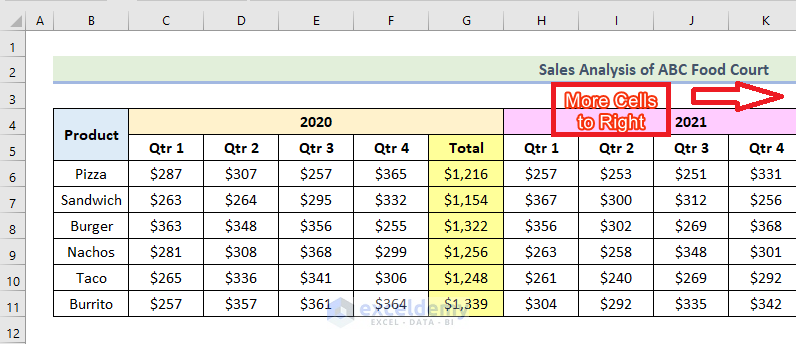
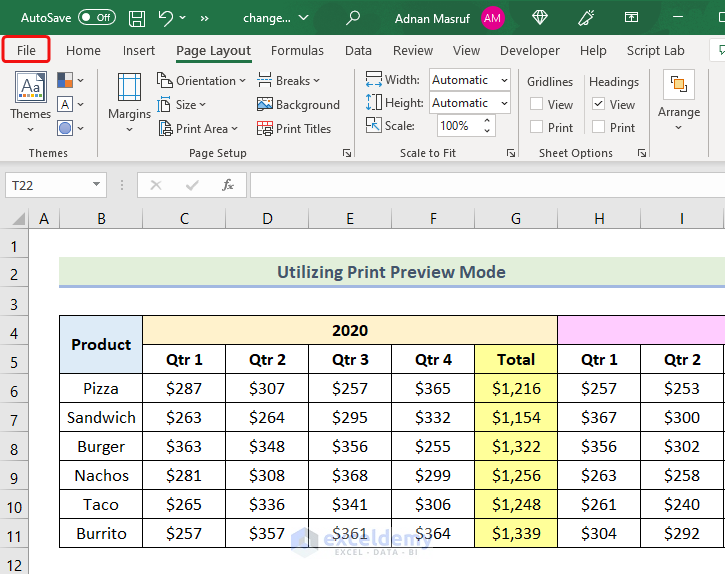
In the following data set, we have a Sales Analysis of ABC Food Court for the years 2020, 2021, and 2022. But the following image is not showing all of the data as all of the columns don’t fit here.
We have used Microsoft Excel 365 version for this article, you can use any other version according to your convenience.
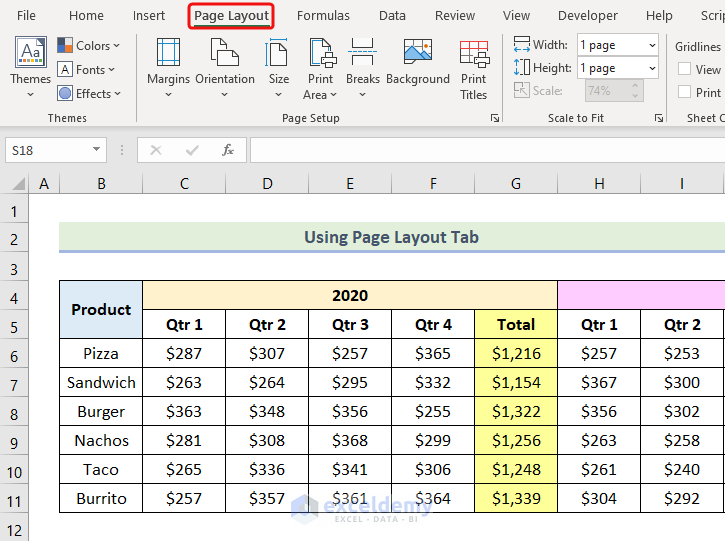
1. Using Page Layout Tab to Change Page Orientation
Using the Page Layout tab is one of the easiest ways of changing page orientation in Excel. Let’s do the steps outlined below.
Step 01: Changing Orientation
- First, go to the Page Layout tab from the ribbon.
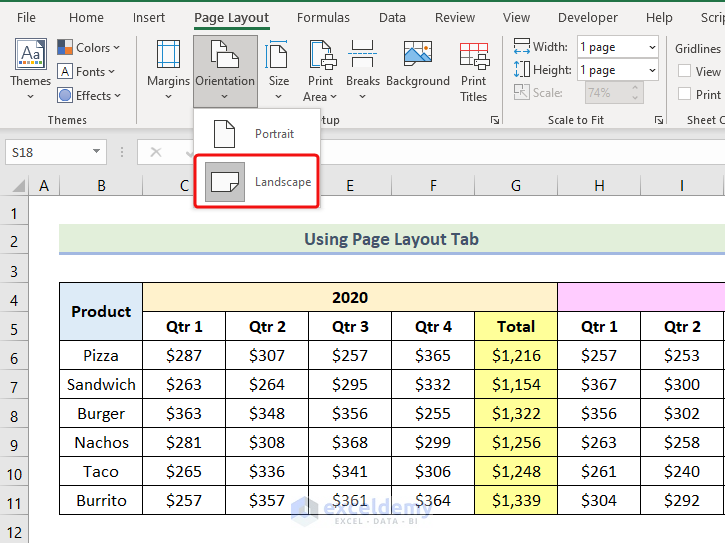
- After that, select Orientation from the Page Setup group under the Page Layout tab.
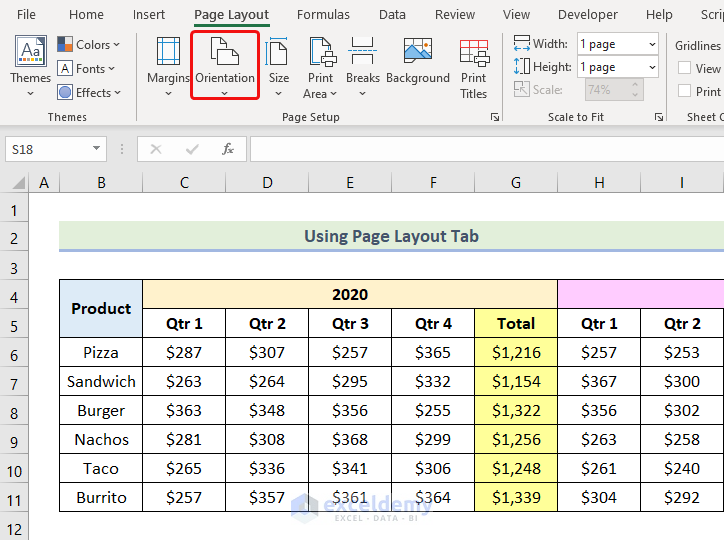
Afterward, you will see the following image on your worksheet.
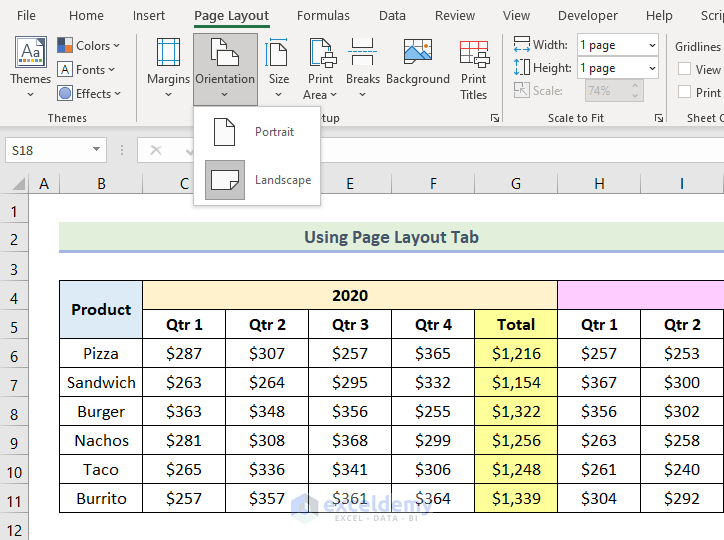
- Now, choose your preferred page orientation. In this case, as there are a large number of columns, we will choose the Landscape option.
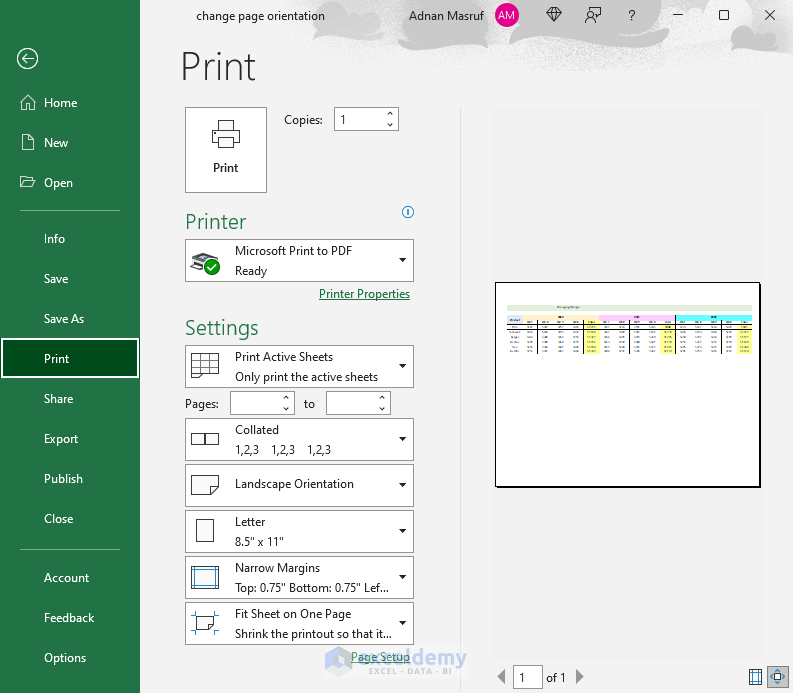
- After that, simply press CTRL+P to open the print menu like the following picture.
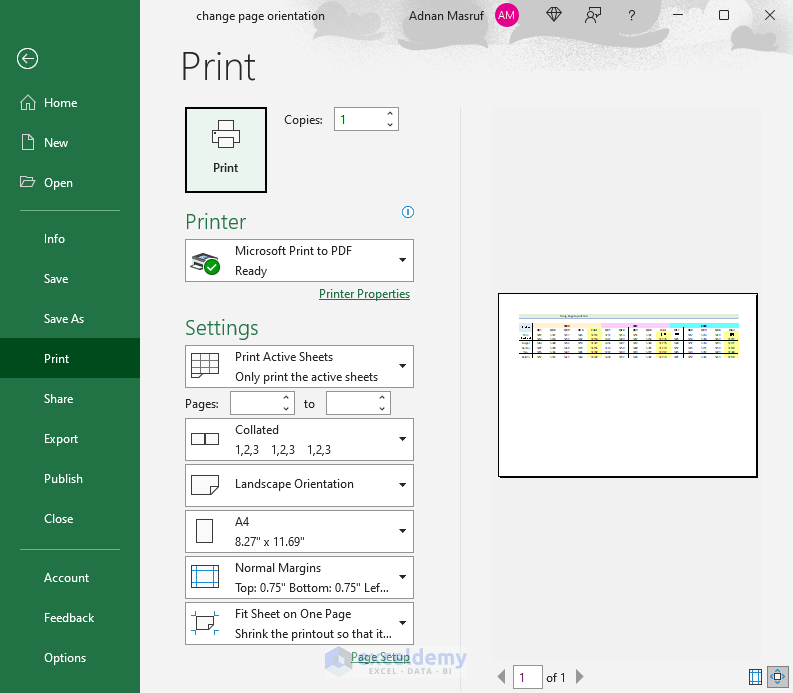
Here you can see that page orientation is in Landscape mode (See marked region of the image given below).
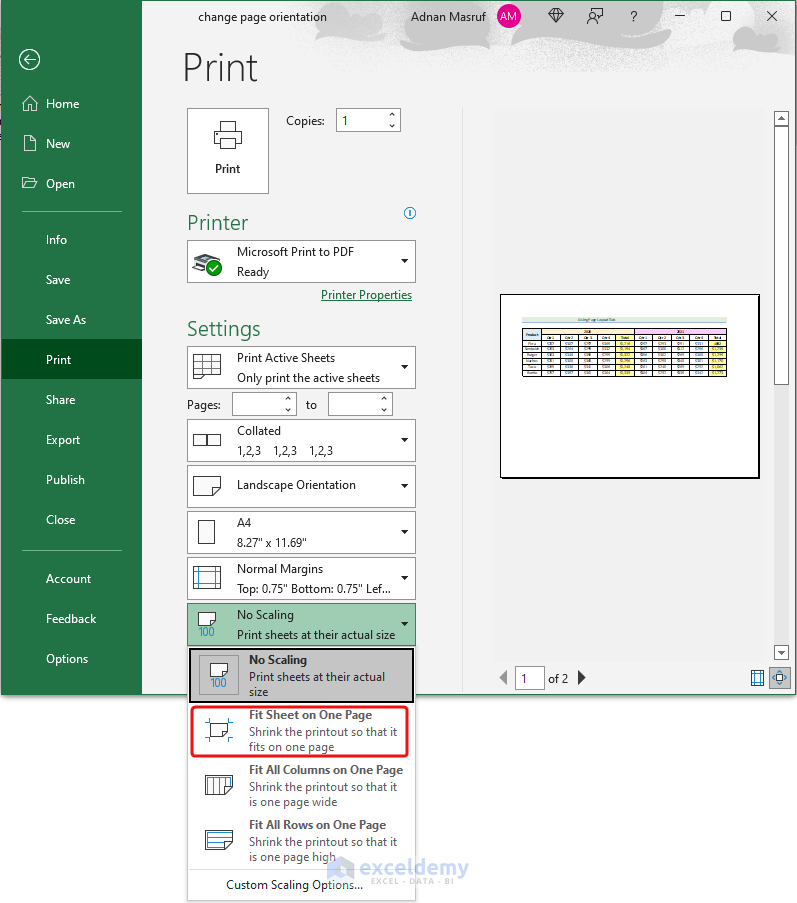
Step 02: Change Scaling Option
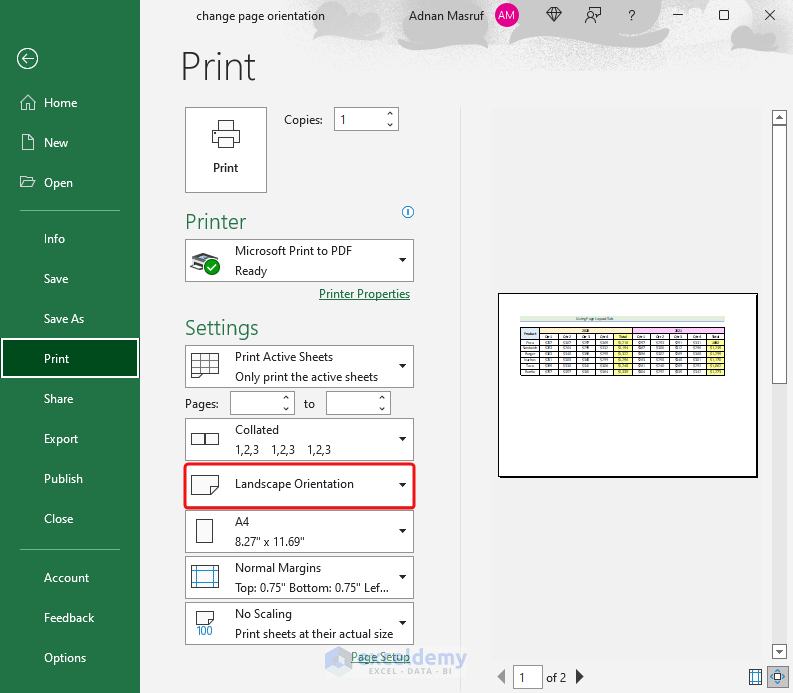
If you look carefully at the preview section, you will see that the full worksheet is not showing here. To print the complete worksheet we will use the following steps.
- First, click on the marked area of the following image.
- After that, choose Fit Sheet on One Page from the drop-down.
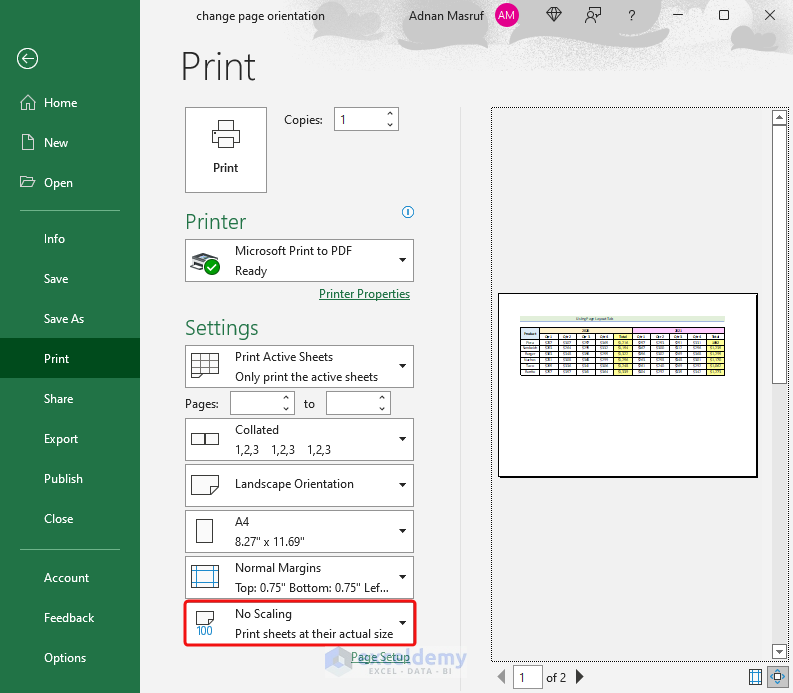
Afterward, you can see your full worksheet in the preview section.
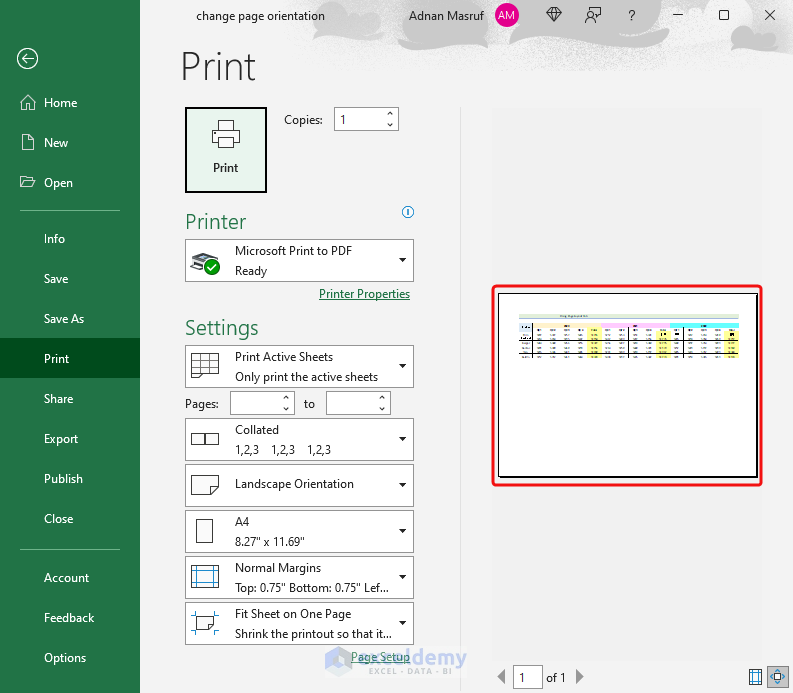
At this stage, you have successfully changed the page orientation. Now, you can go ahead and print the worksheet.
Read More: How to Adjust Page Size for Printing in Excel
2. Utilizing Print Preview Mode to Change Page Orientation
Using the Print Preview mode is an efficient method of changing page orientation in Excel. Let’s follow the steps that are mentioned below.
Steps:
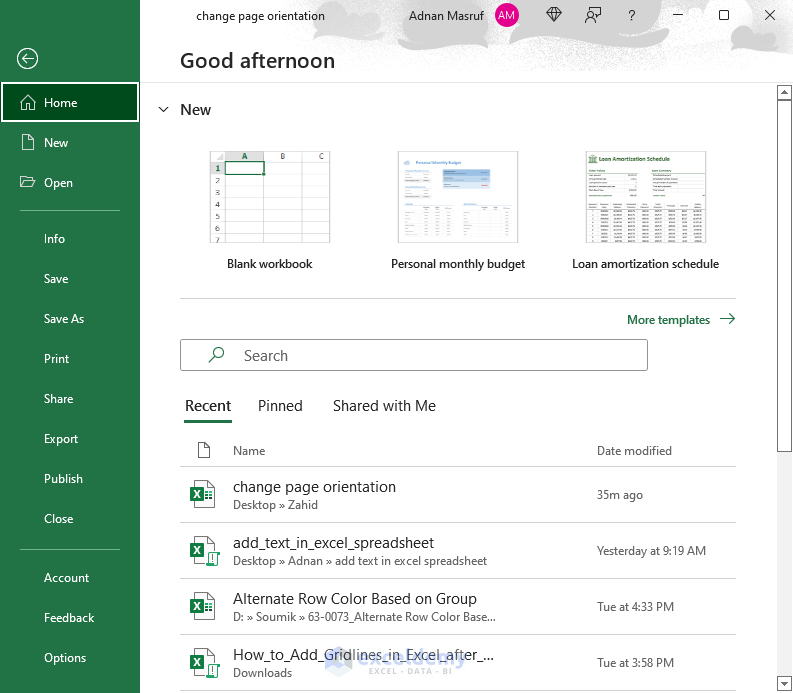
- First, go to the File tab from the ribbon.
After that, the following image will be available on your screen.
- Afterward, select the Print tab like the below-given picture.

After selecting Print, you will be able to see the following picture on your screen.
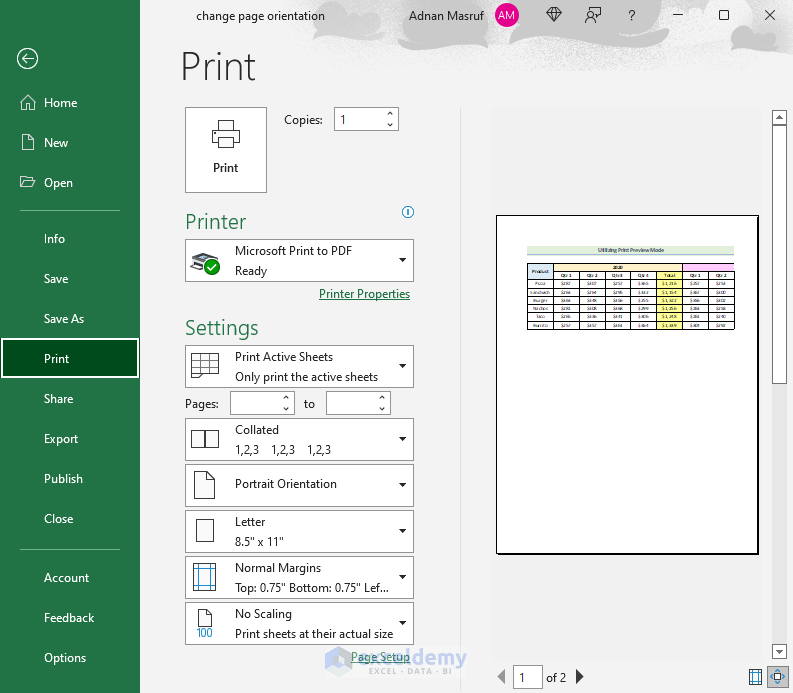
Note: You can also press CTRL+P to directly go to the print preview menu.
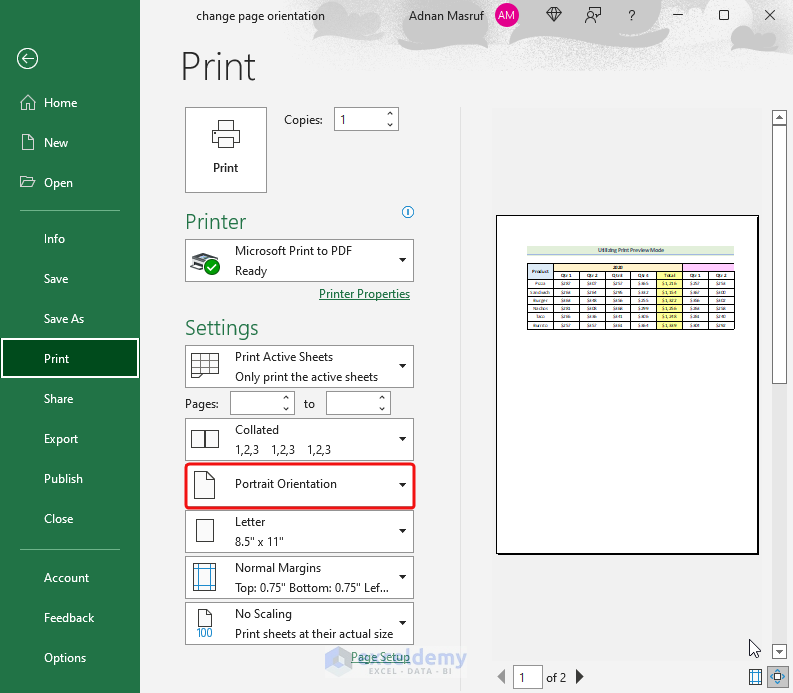
- Now, click on the area that is marked in the following image.
After that, a drop-down will be available like the picture given below.
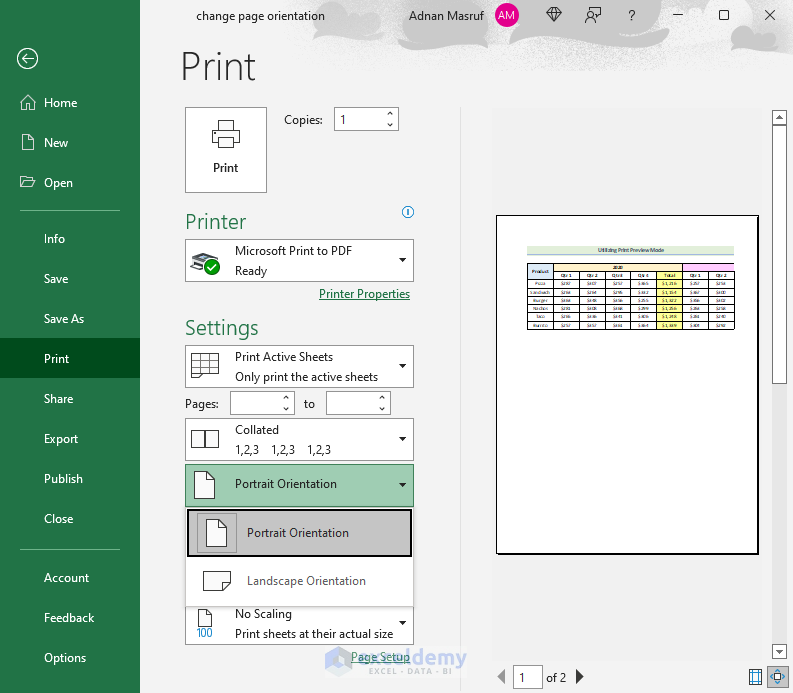
- Now, choose your preferred orientation from the drop-down. In this case, we will choose Landscape Orientation as our data set has a large number of columns.

- By following the previously mentioned steps, you can edit the scaling and get the following output.
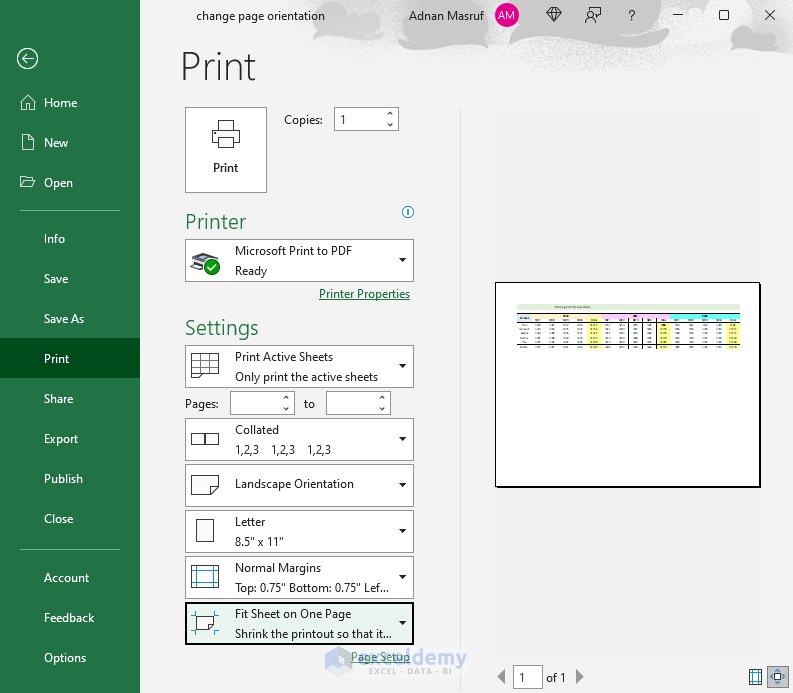
There you go! Your page orientation is changed to Landscape Orientation and it’s ready to be printed.
Read More: How to Change Orientation of Worksheet to Landscape in Excel
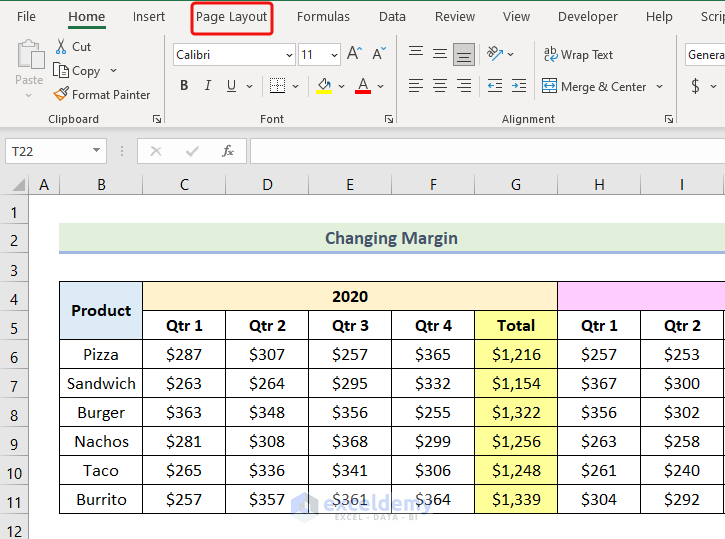
How to Change Page Margin in Excel
Margins are the blank spaces to the top, bottom, left, and right of a page. In Excel, there are 3 pre-specified margin options available for us. But we can also customize the margin according to our needs. Now, we will learn how we can change page margins in Excel.
Steps:
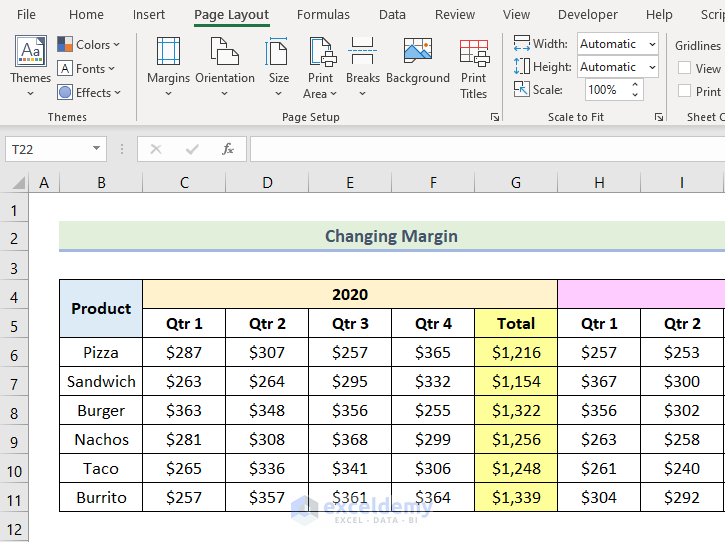
- First, go to the Page Layout tab from the ribbon.
After selecting the Page Layout tab, the Page Setup group will be available to you like the following image.
- Now, click on the Margins options from the Page Setup group.
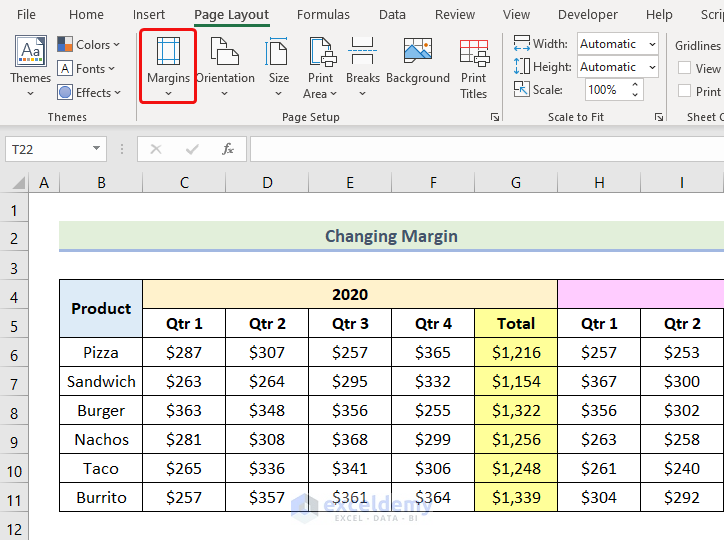
Afterward, a drop-down will be available like the following image.
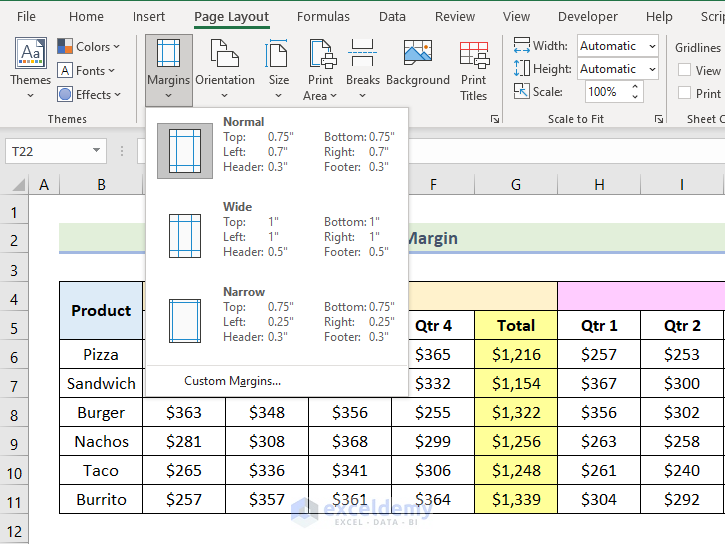
- Now, choose your preferred margin option. In this case, we will choose the Narrow option.
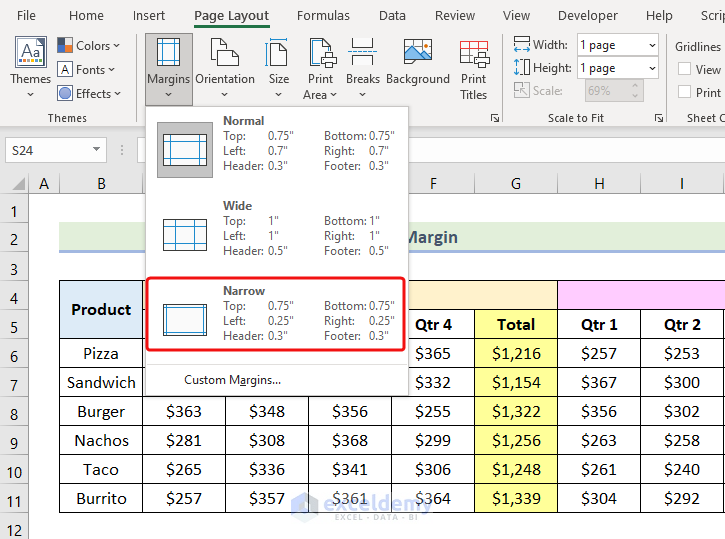
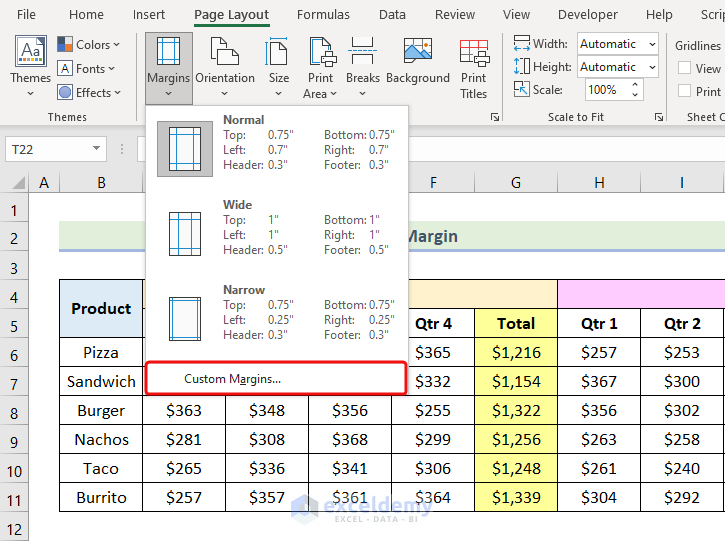
- If these preset options don’t satisfy your needs, you can customize your margin. To do this, click on Custom Margins from the Margins drop-down.
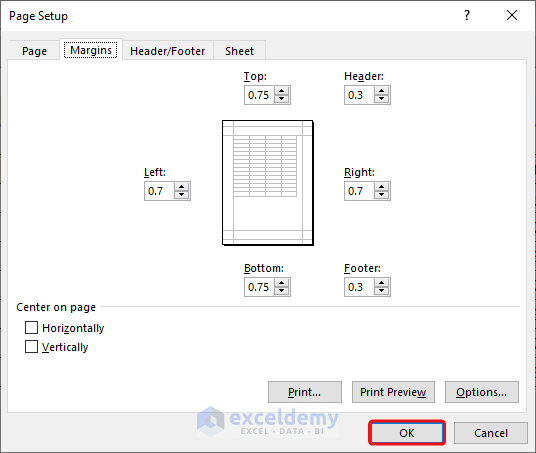
Afterward, a dialogue box will open named Page Setup like the following image.
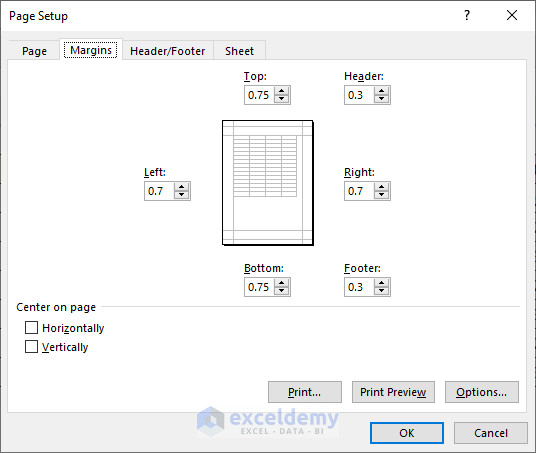
- Now, insert values in the marked boxes according to your needs.
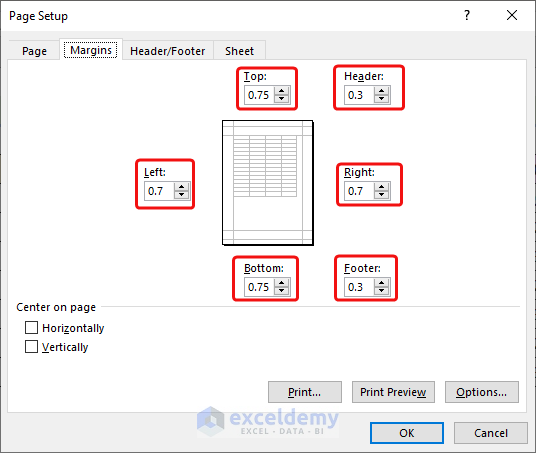
- After that, click OK.
- Afterward, simply press CTRL+P to open the print menu. You will be able to see that your preferred, margin option is applied to the worksheet.
- By following the previously mentioned steps, you can edit the scaling to print the whole worksheet on a single page.
After following these steps, you will see the following image on your screen
Congratulations! You have successfully changed the page margin in Excel.
Download Practice Workbook
Conclusion
Finally, we have come to the very end of the article. I sincerely hope that this article was able to guide you to learn how to change page orientation in Excel. Please feel free to leave a comment if you have any queries or recommendations for improving the article’s quality. To learn more about Excel, you can visit our website, ExcelDemy. Happy learning!
Related Articles
- How to Display Page Setup Dialog Box in Excel
- How to Save Excel as PDF Landscape
- How to Save Excel as PDF Fit to Page
- How to Make Excel Look Like a Page
<< Go Back to Page Setup in Excel | Print in Excel | Learn Excel
Get FREE Advanced Excel Exercises with Solutions!
