Step 1 – Customizing Page Setup
- Click on the Page Layout tab.
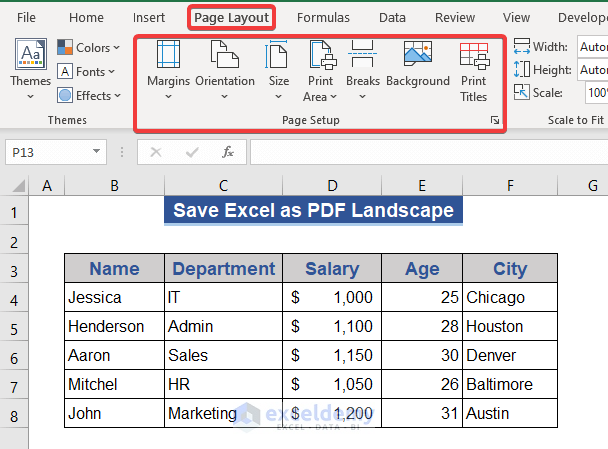
- In the Page Setup group, click on the down-arrow of the Margins button.
- Select Normal.
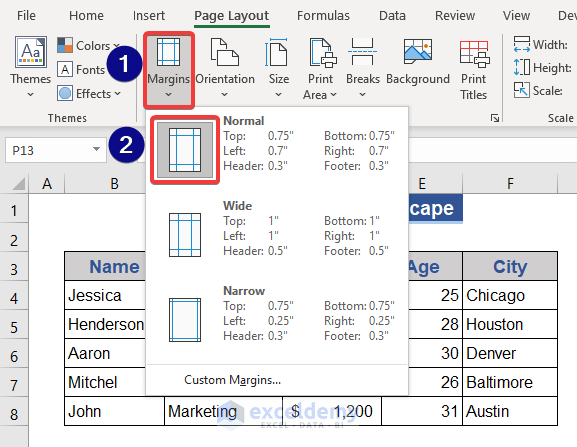
Normal is set as the default margin.
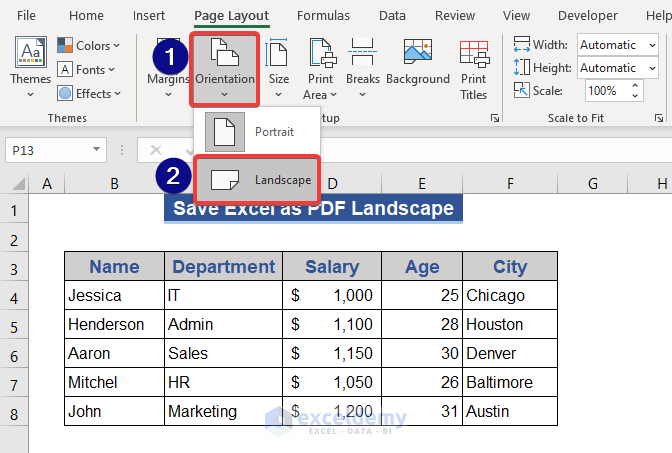
Now let’s change the orientation, the most important part of the process.
- In the Page Setup group, click on the down-arrow of the Orientation button.
- Select Landscape mode.
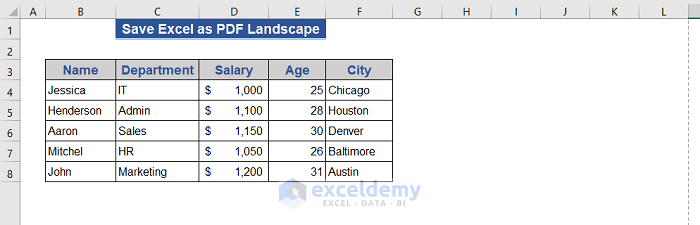
Our sheet now looks like this:
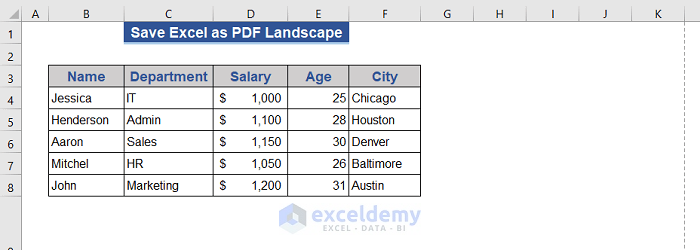
The dotted line on the right side indicates where the edge of the page will be in a PDF file.
Now, let’s set the paper size.
- Click the Size button.
- Select A4 as the paper size from the drop-down.
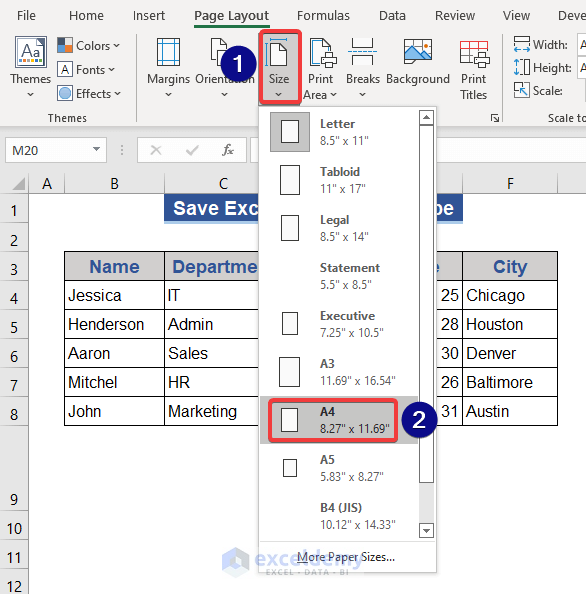
The dotted line changes according to the selected paper size. In our example, it has extended.
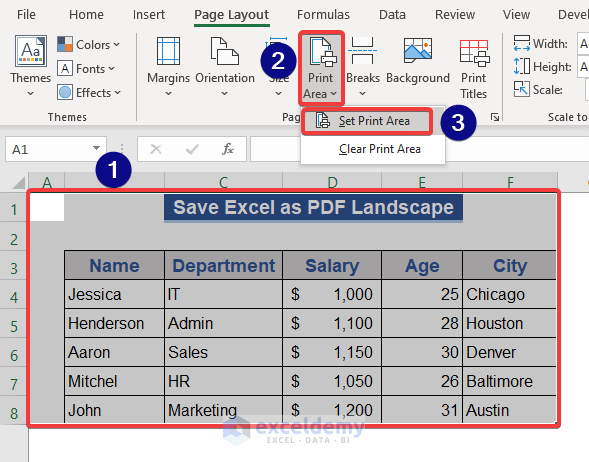
Step 2 – Defining the Print Area
In this step, we define the Print Area, Page breaks, and Page scaling respectively.
- Select the range to be printed in the worksheet.
- Select Print Area from the Page Setup group.
- Click Set Print Area.
- To add Page breaks, click on the Breaks button.
- Select Insert Page Break from the list.
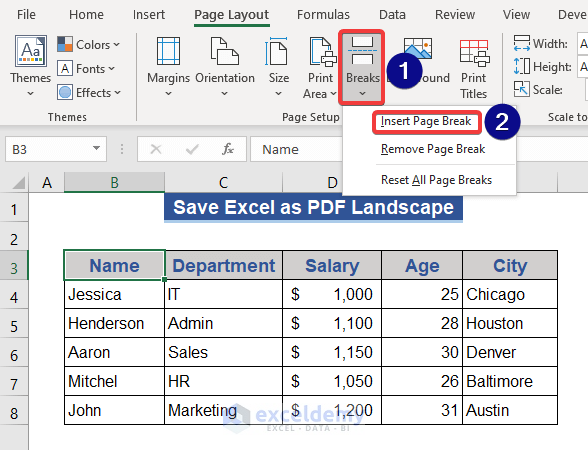
Page breaks will now be inserted when saving this file in PDF format.
- To set up the Page scaling, in the Scale to Fit group, keep Width, Height, and Scale in their default modes.
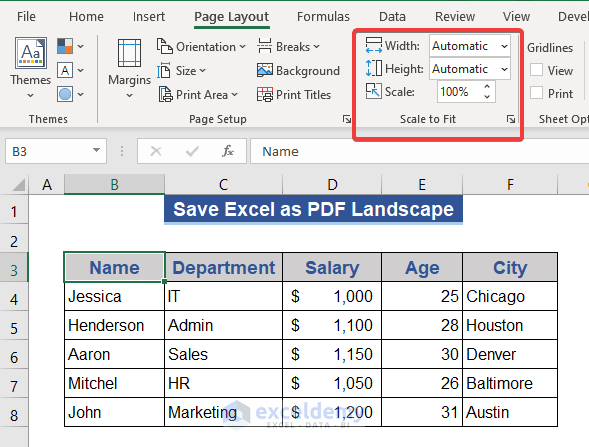
Step 3 – Setting Up Sheet Options for Landscape Orientation
Let’s set up our individual sheets before saving them in PDF.
- Click on Print Titles from the Page Setup group.

- The Page Setup window appears.
- Click the Sheet tab.
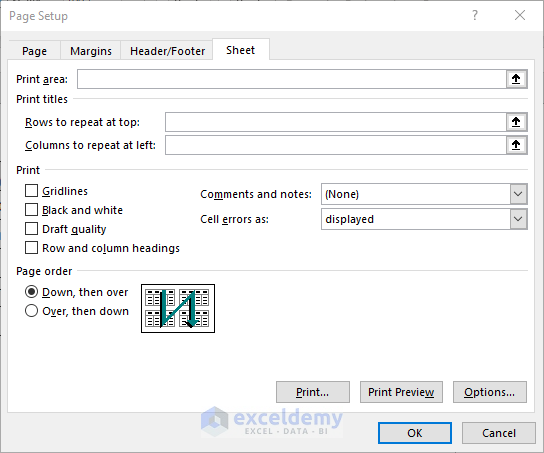
Here we can modify the Print area, Titles, Order and other sheet settings.
- Click on the Print area box.
- Select the range on the sheet to be printed.
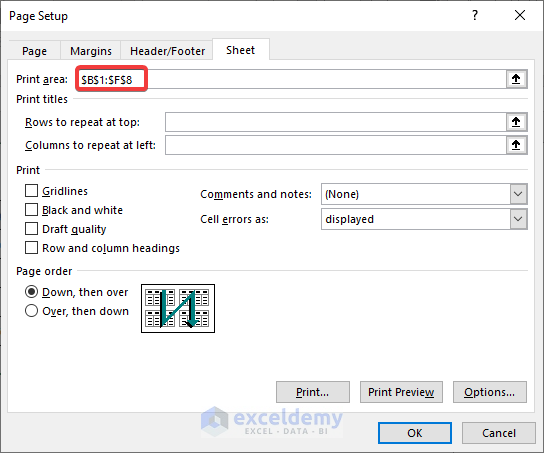
- Press OK.
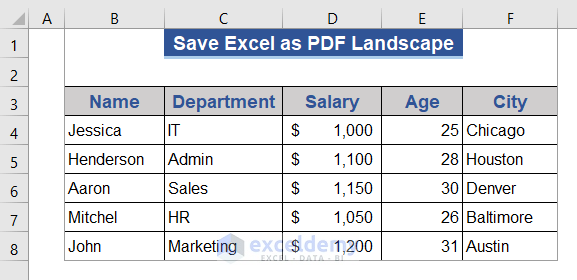
The selected area is marked for printing.
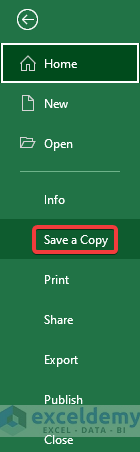
Step 4 – Saving in PDF Format
The Excel file is set up for landscape format. Let’s save it as a PDF.
- Click on the File tab of the worksheet.
- Select Save a Copy from the list.
- Browse to the location of the file in the File Manager and select it.
- Select PDF as the Save as type.
- Click Save.
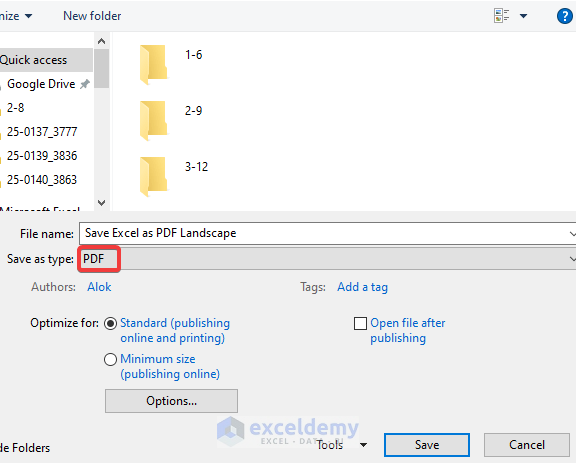
Our Excel file will be successfully saved as PDF in landscape mode.
Related Articles
- How to Change Page Orientation in Excel
- How to Change Orientation of Worksheet to Landscape in Excel
- How to Adjust Page Size for Printing in Excel
- How to Save Excel as PDF Fit to Page
- How to Make Excel Look Like a Page
<< Go Back to Page Setup in Excel | Print in Excel | Learn Excel
Get FREE Advanced Excel Exercises with Solutions!
