Method 1 – Applying Landscape Command to Change Orientation of Excel Worksheet
Steps:
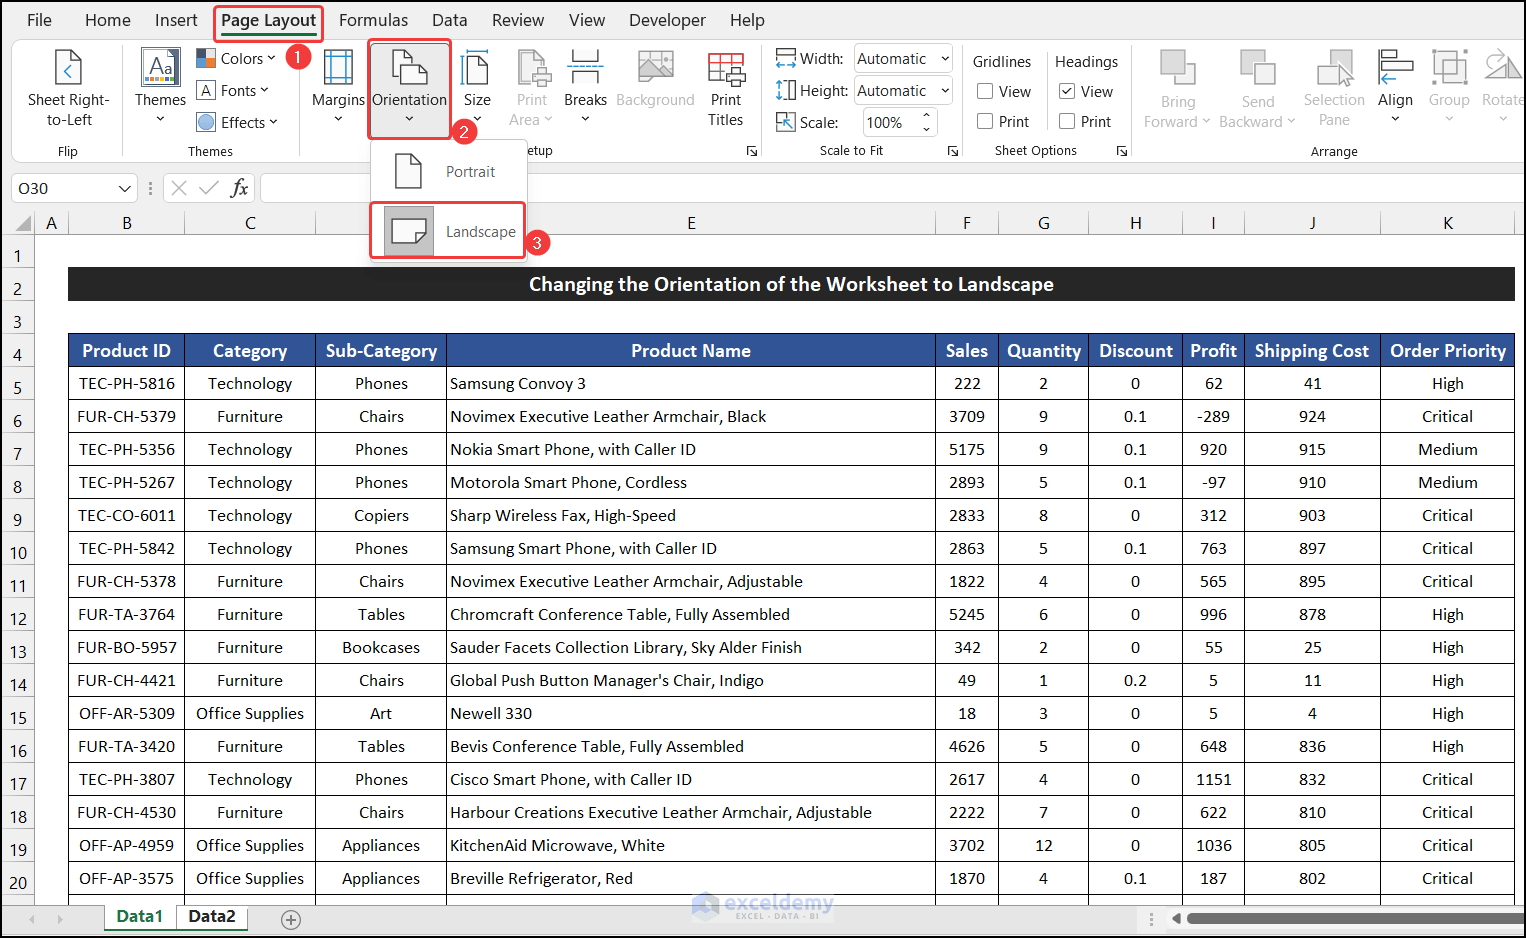
- Go to the Page Layout tab.
- From the Page Setup group, click on the drop-down arrow of the Orientation command.
- Select the Landscape option.
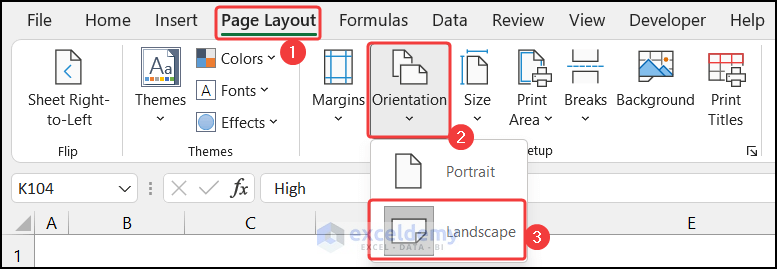
- Your dataset orientation will change from Portrait to Landscape.
Read More: How to Change Page Orientation in Excel
Method 2 – Using Page Setup Dialog Box to Change Worksheet Orientation to Landscape
Steps:
- Go to the Page Layout tab.
- From the Page Setup group, click on the Page Setup dialog box launcher.
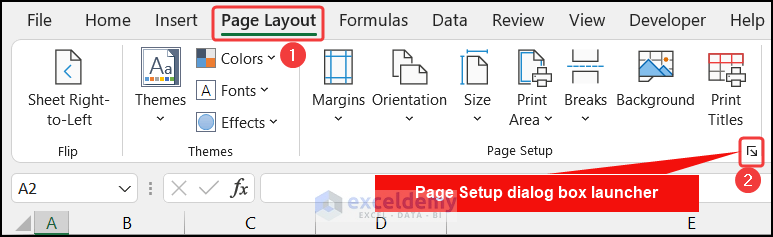
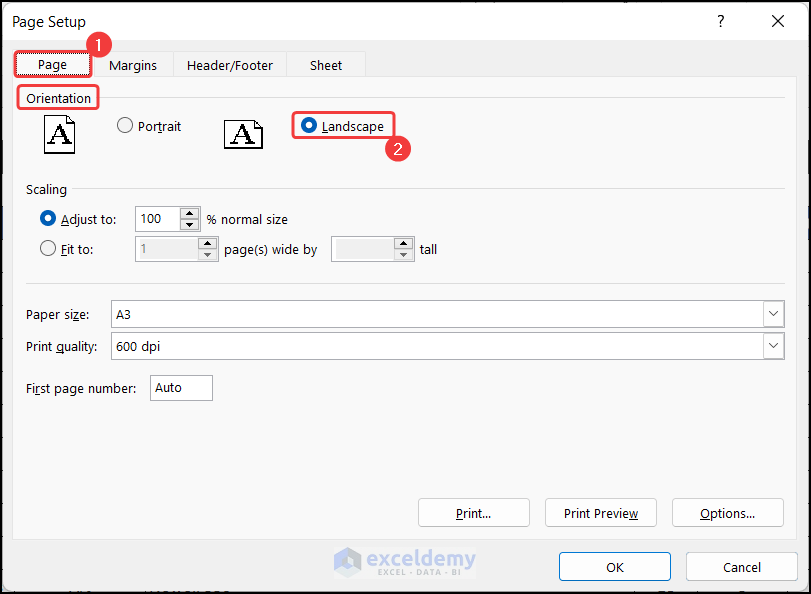
- A small dialog box named the Page Setup will appear.
- In the Page Tab, choose the Landscape option in the Orientation section.
- Click OK.
- The dataset orientation will change from Portrait to Landscape.
Method 3 – Changing Orientation of Multiple Excel Worksheets to Landscape
Steps:
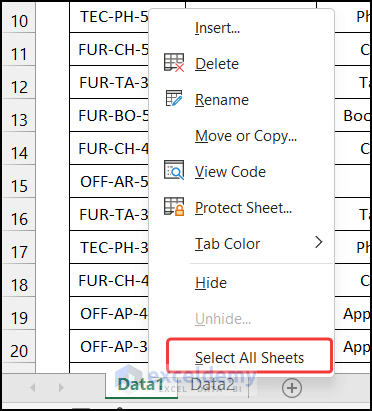
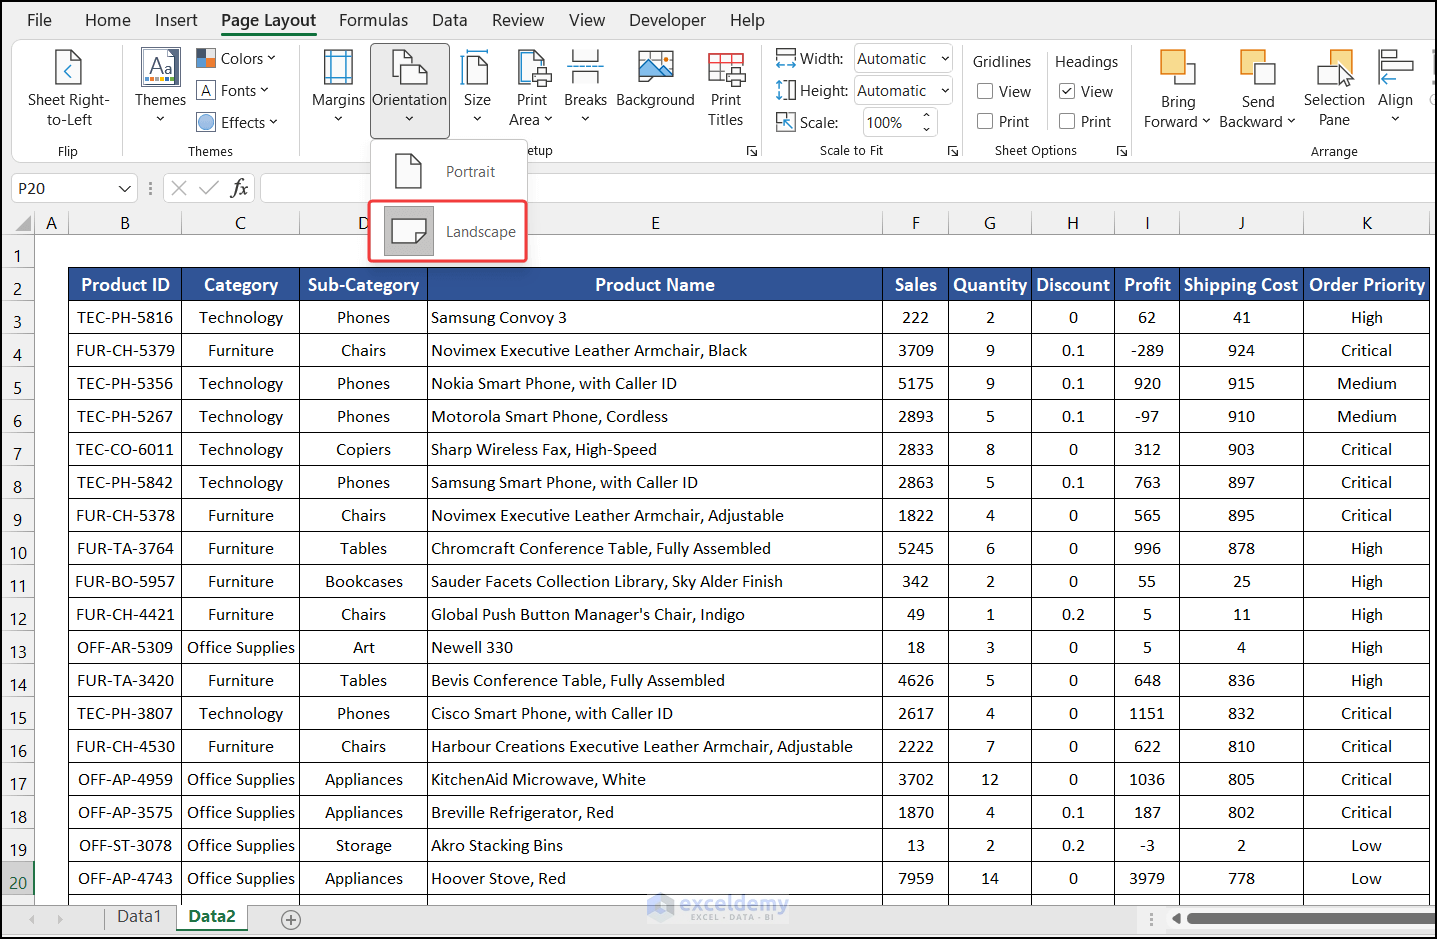
- Select multiple sheets in your workbook. To select all sheets, right-click on the sheet name from the Sheet Name Bar and choose the Select All Sheets option.
- If you don’t need to select all the sheets, wild press the ‘Ctrl’ key and click on your required sheet to select the worksheet.
- Go to the Page Layout tab.
- From the Page Setup group, click on the drop-down arrow of the Orientation command and select the Landscape option.
- The orientation of all selected sheets will change from Portrait to Landscape.
Method 4 – Changing Excel Worksheet to Landscape Orientation While Printing
Steps:
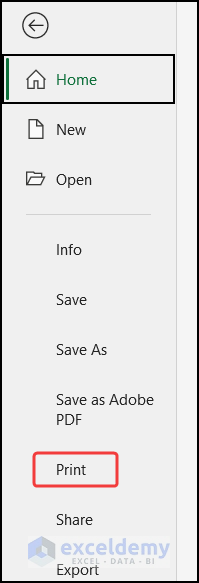
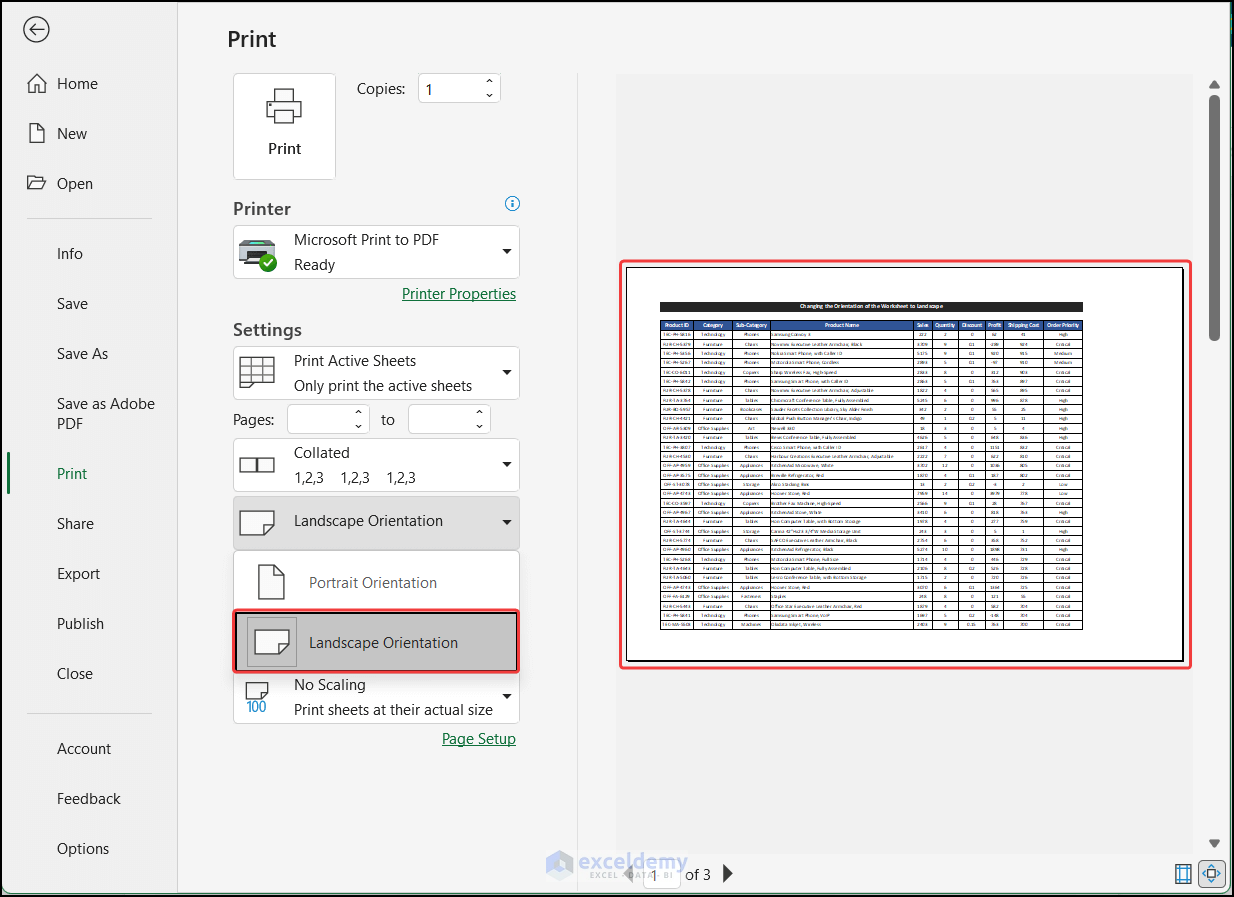
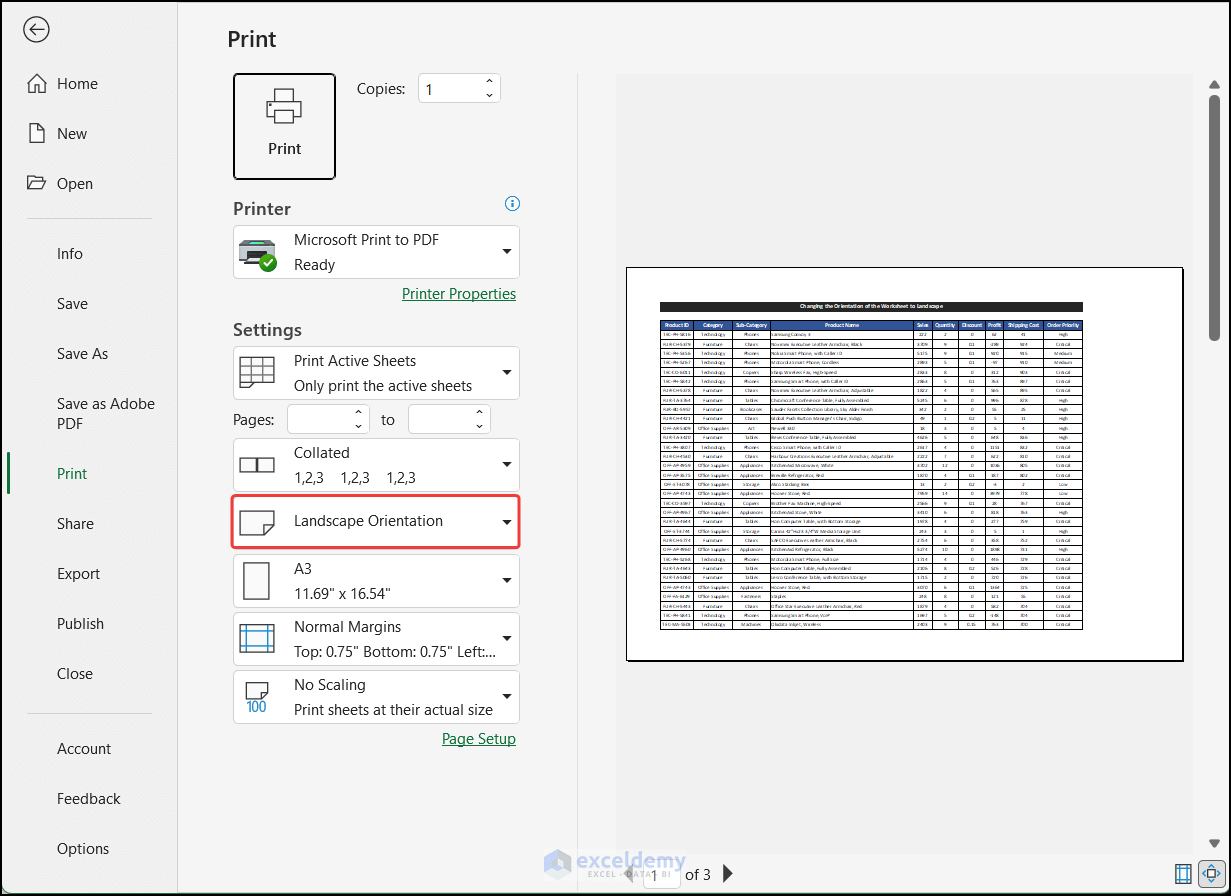
- Click on the File > Print You can also press ‘Ctrl+P’ to launch the print dialog box.
- You will see a preview of your dataset.
- Click on the drop-down of the Portrait Orientation option and choose Landscape Orientation.
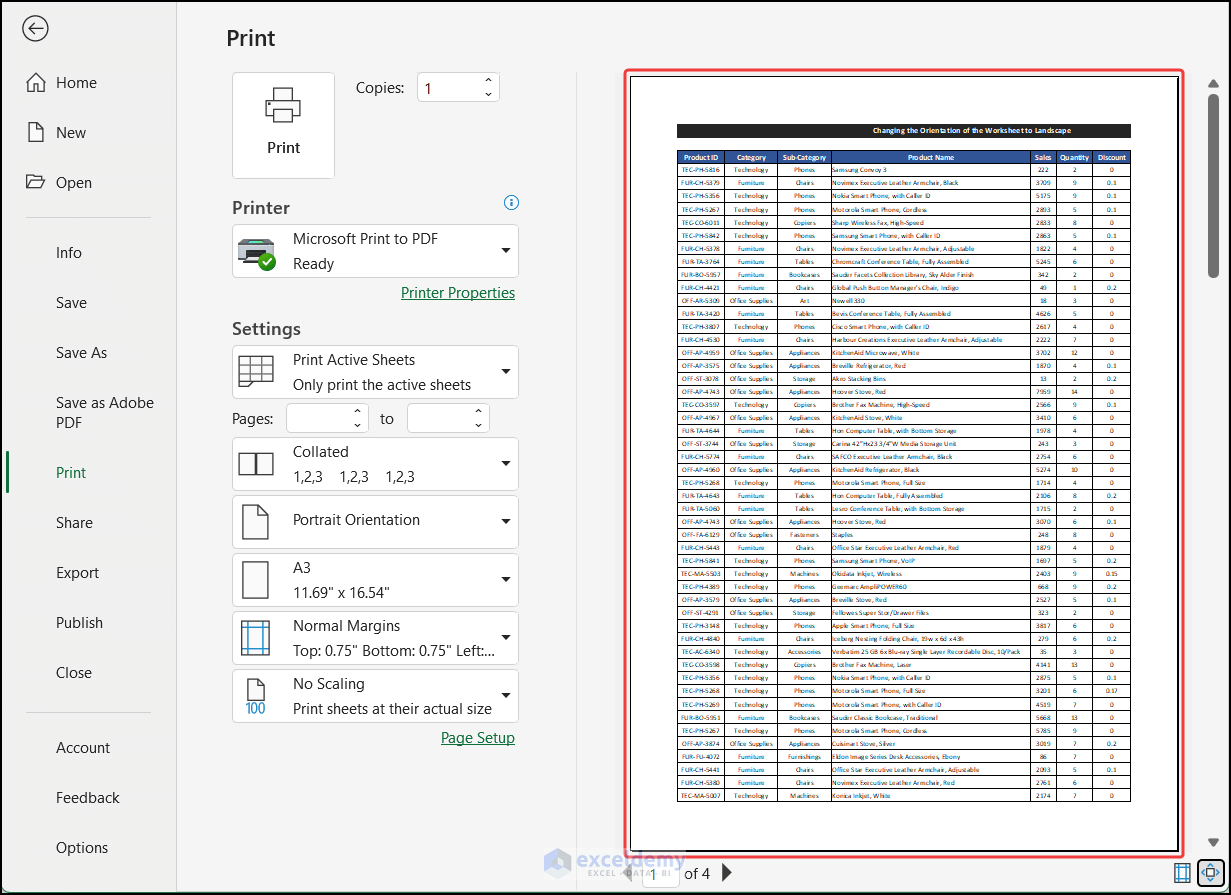
- The orientation will change from Portrait to Landscape and it will be also displayed on the print preview.
Method 5 – Applying VBA Macro to Change Worksheet Orientation to Landscape
Steps:
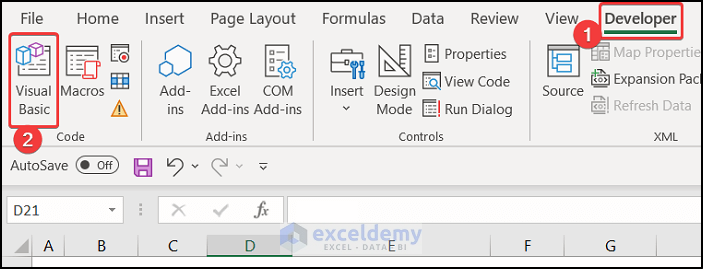
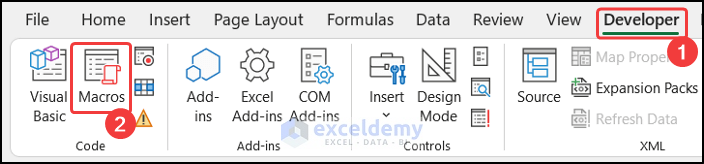
- Go to the Developer tab and click on Visual Basic. If you don’t have that, you have to enable the Developer tab. Or You can also press ‘Alt+F11’ for opening the Visual Basic Editor.
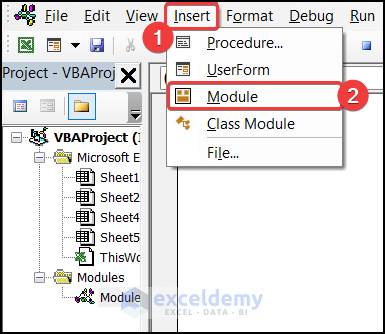
- A dialog box will open.
- In the Insert tab, click the Module option.
- Enter the following visual code in that empty editor box.
Sub Oriente_to_Landscape()
With Worksheets("Data1")
 .PageSetup.Orientation = xlLandscape
End With
End Sub- Press ‘Ctrl+S’ to save the code.
- Close the Editor.
- In the Developer tab, click on Macros from the Code group.
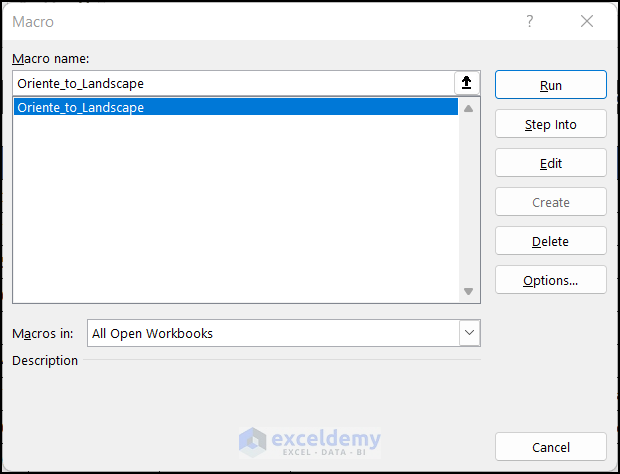
- A small dialog box titled Macro will appear.
- Select the Oriente_to_Landscape option and click the Run button to run the code.
- Press ‘Ctrl+P’ to open the print preview.
- The orientation of the dataset will change from Portrait to Landscape and it will be also displayed on the print preview.
Download Practice Workbook
Related Articles
- How to Adjust Page Size for Printing in Excel
- How to Save Excel as PDF Landscape
- How to Save Excel as PDF Fit to Page
- How to Make Excel Look Like a Page
<< Go Back to Page Setup in Excel | Print in Excel | Learn Excel
Get FREE Advanced Excel Exercises with Solutions!
