If you are a shop owner or have a small business, you might need a cash bill invoice to give to your customers with the cost of each purchased item and other essential amounts like any shopping cost or discount that your customer might redeem. You might find it tiresome to make such a cash or bill invoice format yourself and the formats you will find on the internet might not be a great fit for your need. But if you are a little bit familiar with Excel, then you can make the cash bill format on your own and customize it whenever you need to do so. In this tutorial, I will show you how to make a cash bill format in Excel.
Download Practice Workbook
Download this practice book to exercise the task while you are reading this article.
6 Easy Steps to Create a Cash Bill Format in Excel
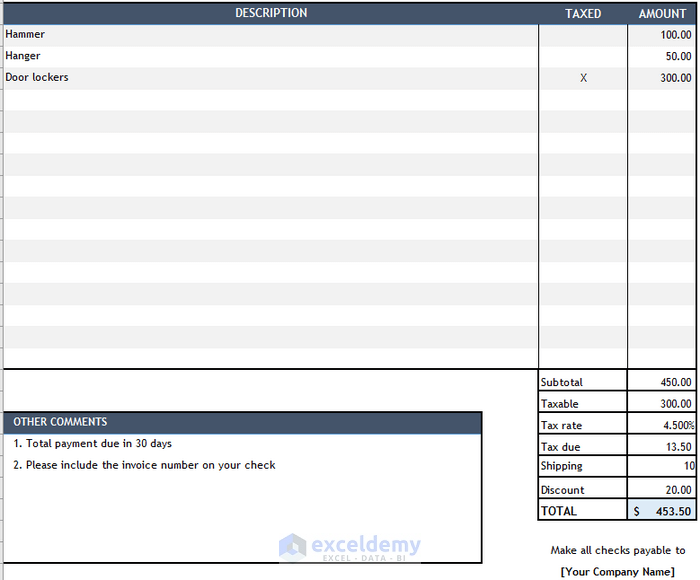
The image below shows the cash bill invoice we are going to create. We will prepare this bill invoice format in 6 easy steps.
Step 1: Adjust the Row Height and Remove Gridlines
- First, you need to adjust row height so that it would be easy for you and the customer to read the cash bill invoice easily. So, select all the cells of a new worksheet by pressing CTRL+A. And then click on the Format drop-down from the Home From the drop-down list, select the Row Height option like the image below. We will also select Middle and Center align from the Alignment section.
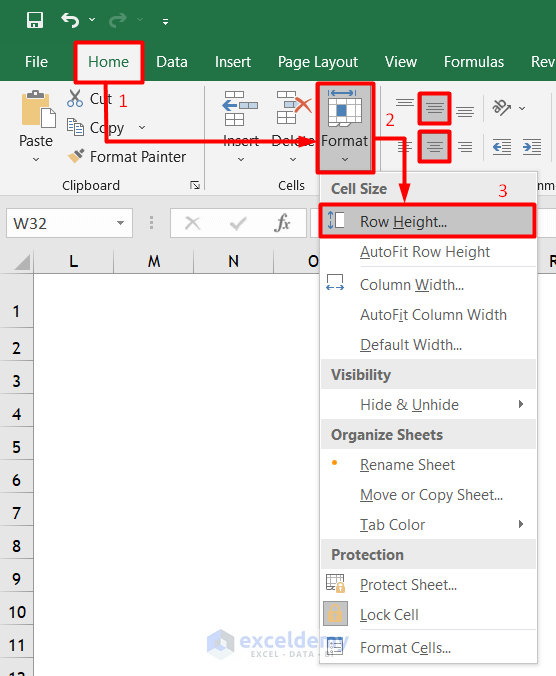
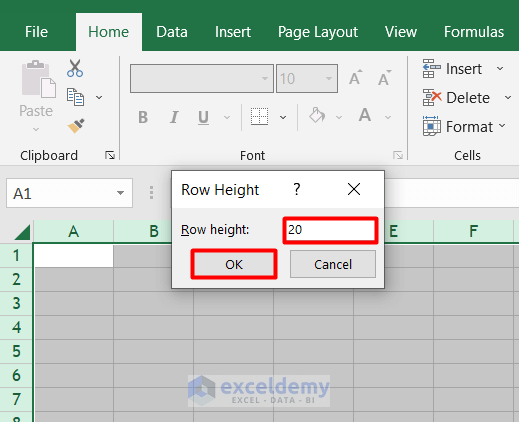
- Enter 20 as Row height. It will increase the height of the cell. So, it will be easy to read the cash bill invoice easily.
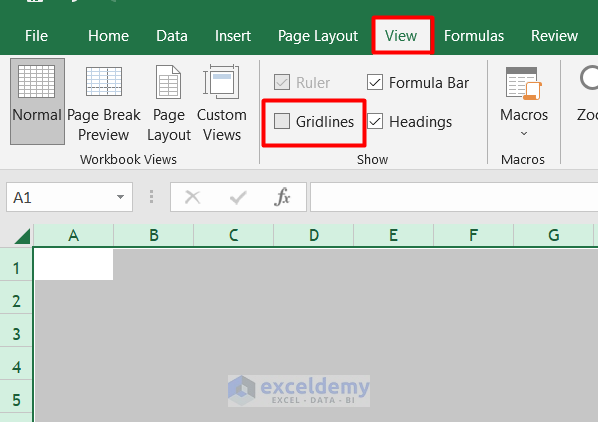
- Next, we will remove the gridline so the cash invoice will not look very cluttered. Go to the View tab and remove the tick next to the box named Gridlines under the Show.
Step 2: Insert Company or Business Credentials for the Cash Bill Format in Excel
- Now, we will put some credentials of the business or shop that we are going to create this cash bill for. We will enter the company name, address in our cash bill invoice. Select cell E1 and F1 together and click on Merge and Center from the Home.
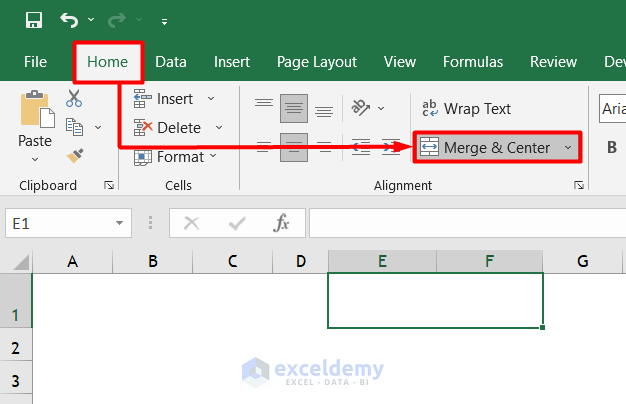
- Now write INVOICE in capital letter in the merged cells. Select font Arial and font-size 28. Also, drag the cell a little bit downward using the fill handle like the image below. You should also drag the cell horizontally in the left and right direction so that the word will fit in the cell properly. You can also change the font color. We have changed ours to Blue.

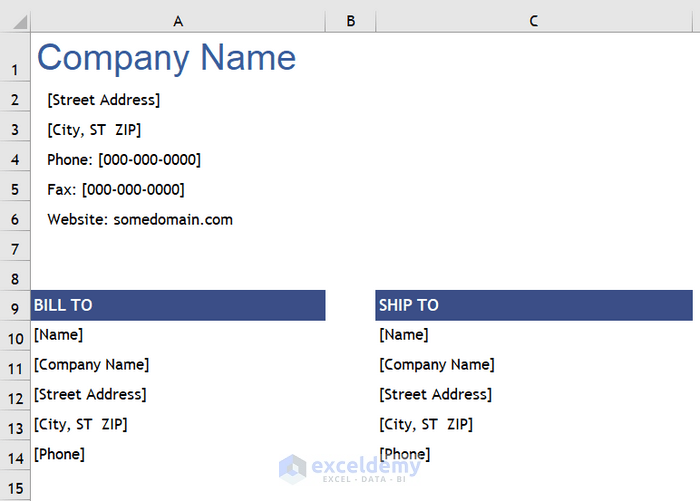
- Now we will merge cells A1, B1, and C1 to write down the company name. We will select font Arial and font-size 24 for this one.

- After that, we will write down the company credentials like Steet Address, Mail Information, Phone, Fax, Website, etc. in cells A2 to A6.

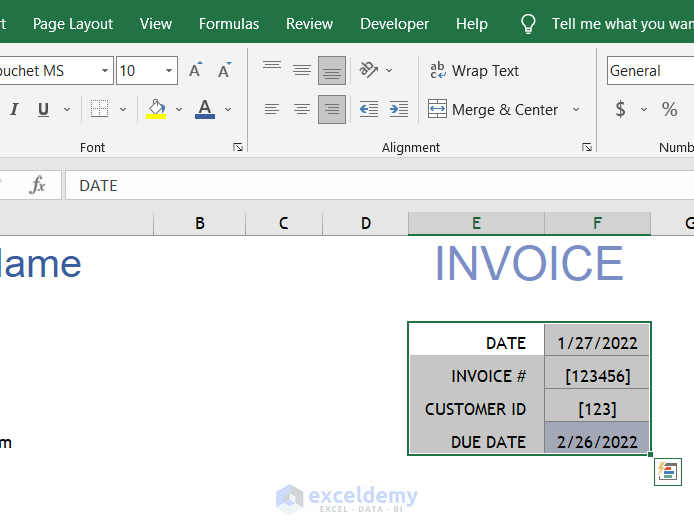
- We will enter invoice information in cells E3 to F6 like the image below. We have entered =TODAY() formula to get today’s date in the DATE cell, and add 30 to that date for the DUE DATE.
Step 3: Insert Billing and Shipping Information for the Invoice Bill Format in Excel
- We will insert the Billing Information in cells A9 to A14 and Shipping Information in cells C9 to C14.
Similar Readings
- Labour Contractor Bill Format in Excel (Download Free Template)
- Hotel Bill Format in Excel (Create with Easy Steps)
- Tally Bill Format in Excel (Create with 7 Easy Steps)
- Transport Bill Format in Excel (Create in 4 Simple Steps)
Step 4: Insert Description, Price, and Tax Amount of the Purchased Items
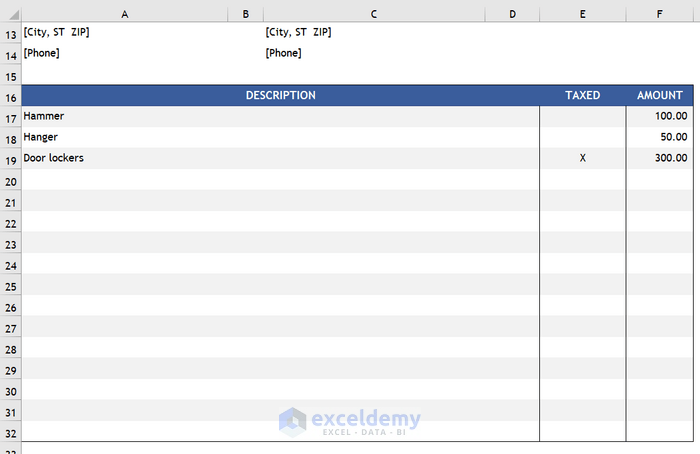
- We will now create a table that we will use to enter the description, tax amount, and price of every product that a customer will purchase. The image below shows the table that we will use to enter the information of the purchased product.
- Now we will calculate the final amount to be paid by the customer. In cell F33, we will sum the prices of all the products. We will call it subtotal. The formula for this will be like below:
=SUM(F17:F32)- In the next cell (F34), we will sum up the price of the taxable products. If a product is taxable, we will put an “X” in the Taxed column of our table. We will write down the below formula, to sum up, the prices of taxable products.
=SUMIF(E17:E32,"=x",F17:F32)This formula will add the amounts in the F17:F32 range that have corresponding “X” in the E17:E32 range.
- After that, we will enter the tax rate in the following cell (F35).
- Now, we will calculate the total tax amount in cell F36. The formula for this will be:
=ROUND(F34*F35,2)We will multiply the total taxable amount (F34) with the tax rate (F35) and round the result to 2 decimal points.
- Following that, we will now insert the shipping cost and discount amount if we have such amounts in cells F37 and F38.
- Lastly, we will calculate the total amount to be paid by the customer. We will enter the following formula in cell F39:
=F33+F36+F37-F38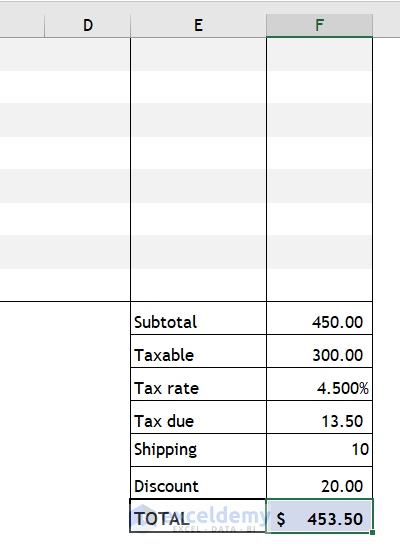
Step 5: Insert Additional Comments
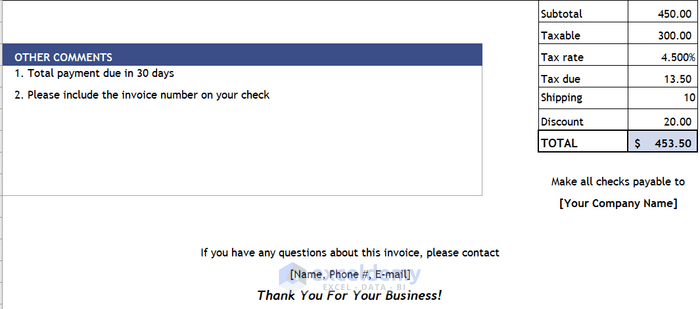
- In the last step of making a cash bill invoice format, we will insert some comments and instructions for our customers. You can use your own comments and instruction. See the image below.
Step 6: Make a PDF of the Cash Bill Format
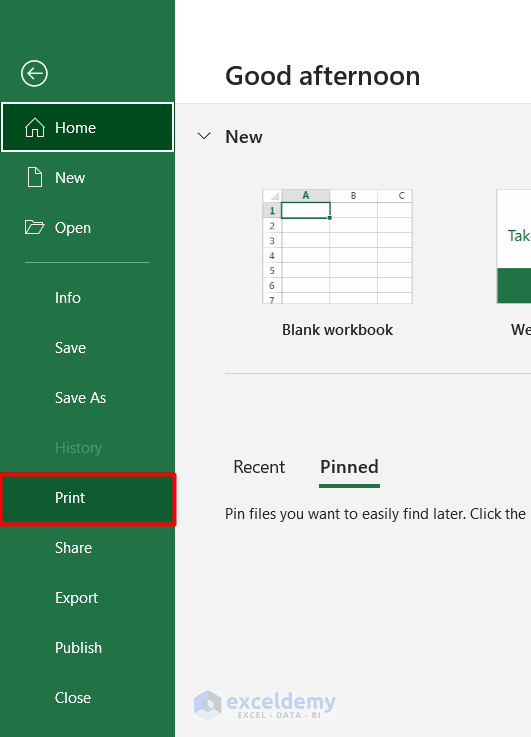
- You can make a PDF of the invoice and send it to your customer via email. To do that, click on the File tab, and from there select the Print.
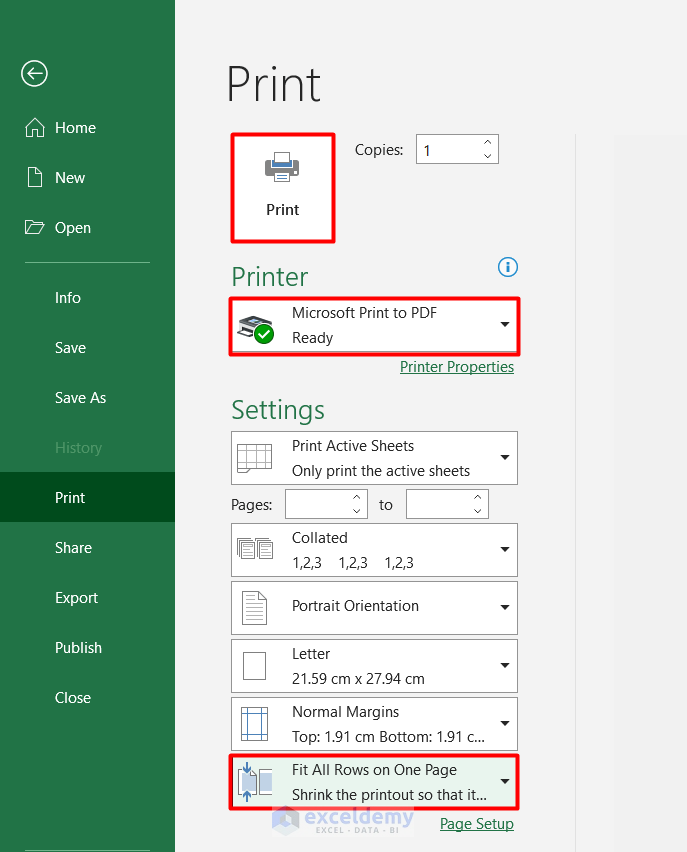
- Select Microsoft Print to PDF as Printer.
- Select Fit All Rows on One Page from the last drop-down in the Settings You will see in the Print preview that the entire invoice is visible.
- Click on Print to generate the PDF of the invoice.
Things to Remember
- You can add more fields to your cash bill format if you need to do so. You can download the template file we have provided and customize it as you like.
- Change the Page type in the Print section if you need to. We have selected Letter. But you can choose other paper types.
Conclusion
In this article, we have learned how to create a cash bill or invoice format in Excel. If you have any queries or recommendations about this article, please do leave a comment below. Have a great day!!!
Further Readings
- Excel Invoice Tracker (Format and Usage)
- Tax Invoice Format in Excel (Download the Free Template)
- Create GST Invoice Format in Excel (Step-by-Step Guideline)
- Invoice Excel Formula

