If anyone wants to highlight a point or focus on the gist part of a piece of writing, then adding bullet points is one of the best options. In Excel, there are no direct ways to insert bullet points. It’s also important to align those bullet points corresponding to the writing, or the writing will lose its charm. In this article, we will show you how to align bullet points in Excel.
How to Align Bullet Points in Excel: 2 Handy Approaches
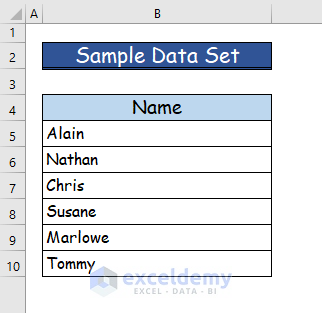
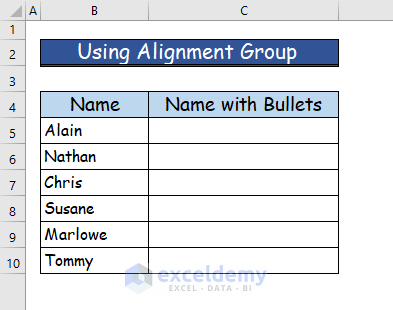
Take the following data set to accomplish the task of this article. In the data table, we have some random names into which we will insert bullet points and align them after inserting them. Now, you will see two different methods to align bullet points. In the first method, we will insert the Text Box feature of Excel and then align bullet points in it, and in the second one, we will align the bullet points in an Excel cell by using the Alignment group.
1. Inserting Text Box to Align Bullet Points in Excel
In our first approach, we will first create a Text Box in Excel and then align the text with bullet points in it. Follow the following steps to understand the procedure.
Step 1:
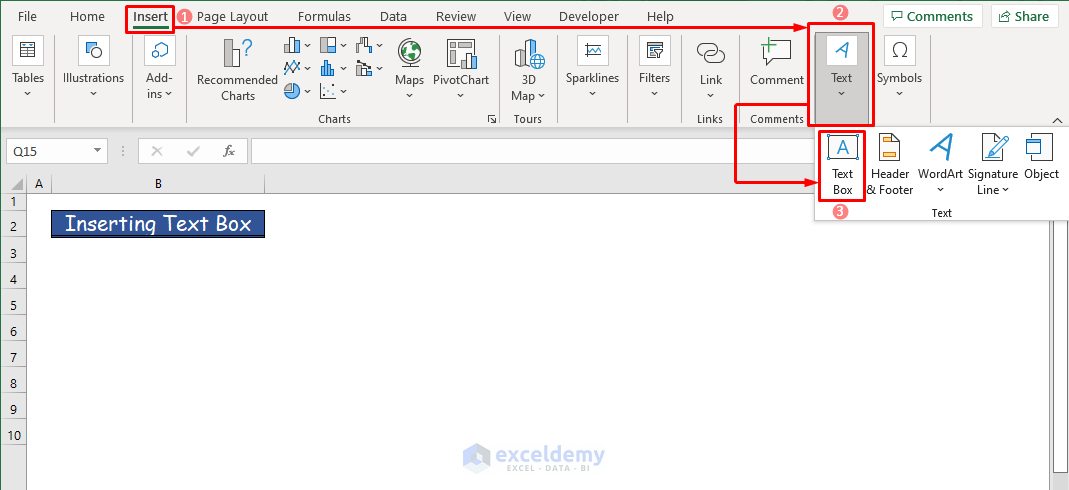
- First of all, we will create the text box.
- For that, go to the Insert tab of the ribbon and then go to the Text group.
- From there, choose the Text Box command.
Step 2:
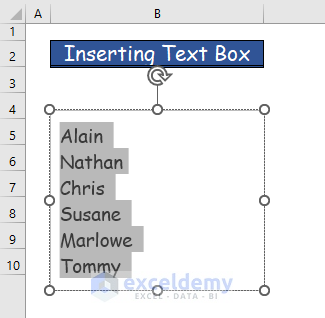
- Then, draw the text box in your worksheet according to the requirements.

Step 3:
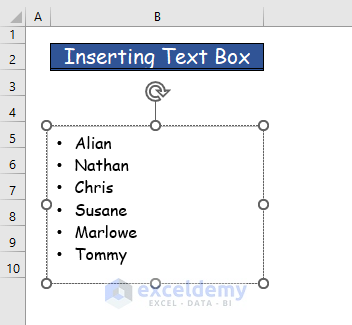
- Thirdly, insert all the text from the sample data set into the box.

- Then, select the text in the box using the mouse.
Step 4:
- Fourthly, right-click on the mouse after selecting the text.
- Then, from the menu, choose the Bullets command.
- There, you will see many types of bullet points that you can insert.
- From there, choose the Filled Round Bullets command or any type that you prefer.
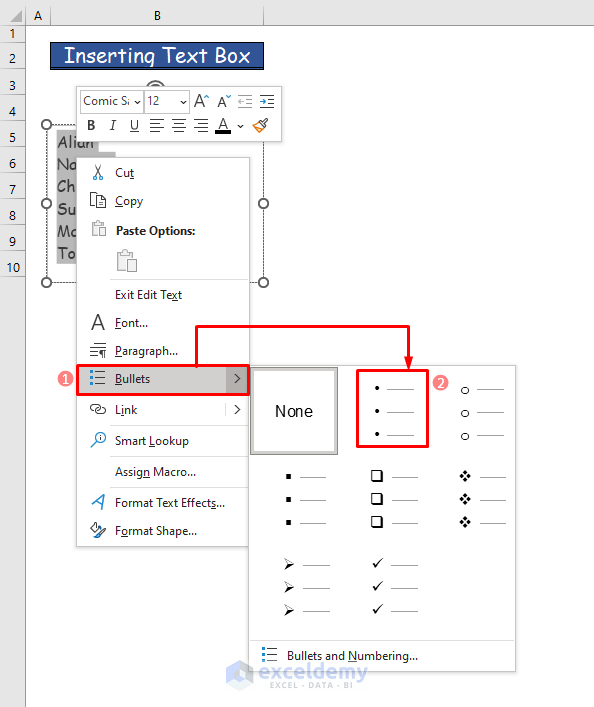
- After that, you will see that your text will get the bullet point feature.
Step 5:
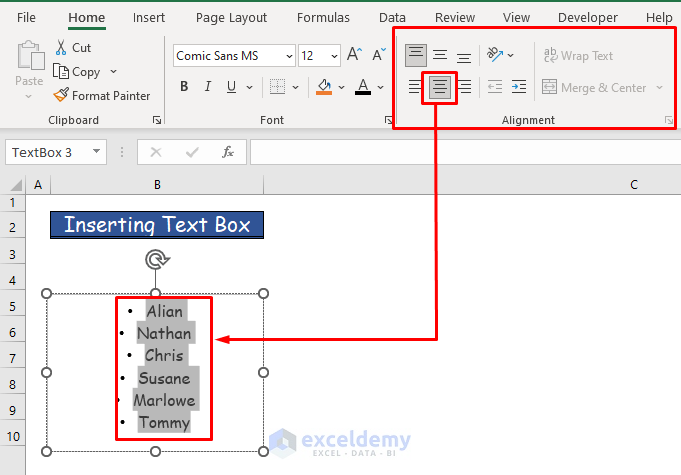
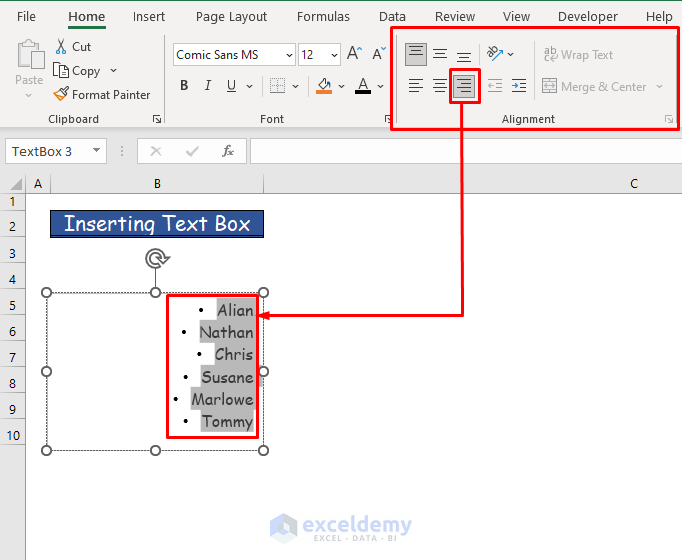
- Now, we will align these bullet points in the text box.
- To do that, go to the Home tab of the ribbon, and from there go to the Alignment group.
- There, you will see the texts will have the Align Left command in them.
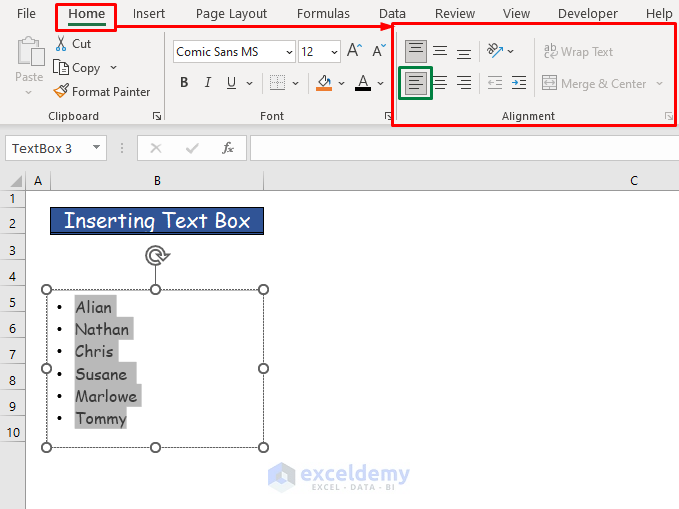
- To align them in the center, choose the Center command from the group.
- Finally, you can align the texts with bullets on the right by using the Align Right command.
Read More: How to Remove Bullets and Numbering in Excel
2. Using Alignment Group to Align Bullet Points in a Cell
In our second approach, we will add bullet points directly into an Excel cell rather than in a text box. Follow the following steps for a better understanding.
Step 1:
- First of all, make the following data set for our procedure.
- Here, we will add an extra column to see the names after adding bullet points.
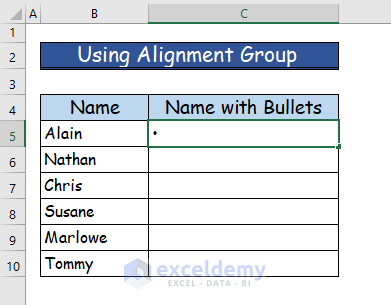
Step 2:
- Now, select a cell in column C and double-click on it.

- Then, press Alt+7 on the keyboard. You have to press this 7 on the numeric keypad.
- After pressing the command, you will see a bullet point has been added in cell C5.
Step 3:
- Now, type the text in the cell and it will have the bullet point before it.
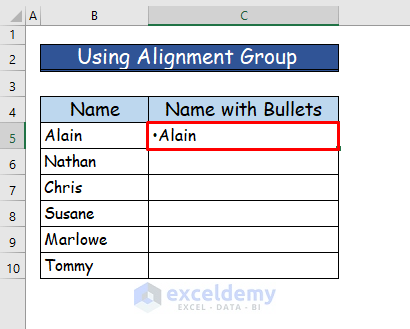
- Then, repeat the same process for all the cells.
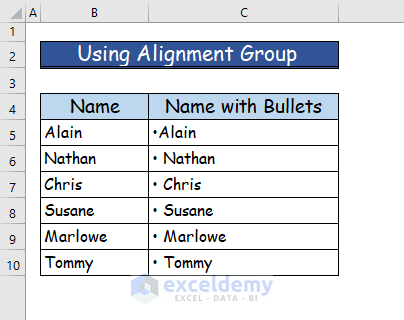
Step 4:
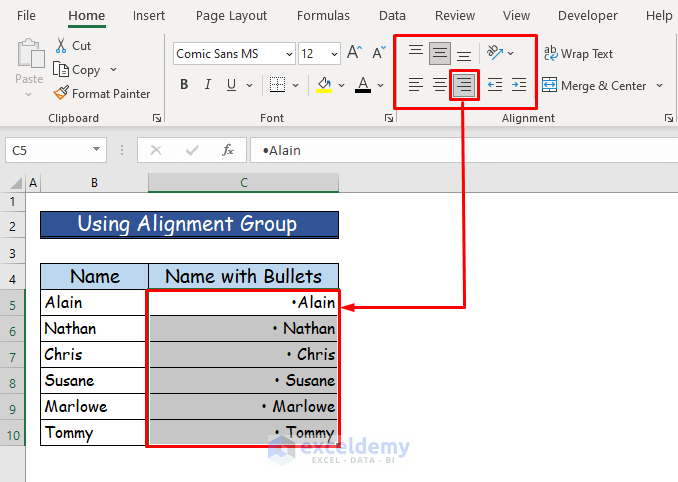
- Fourthly, select all the names with bullet points in column C.
- Then, go to the Alignment group of the Home tab.
- Here, you will see all the names with bullets are aligned on the left.
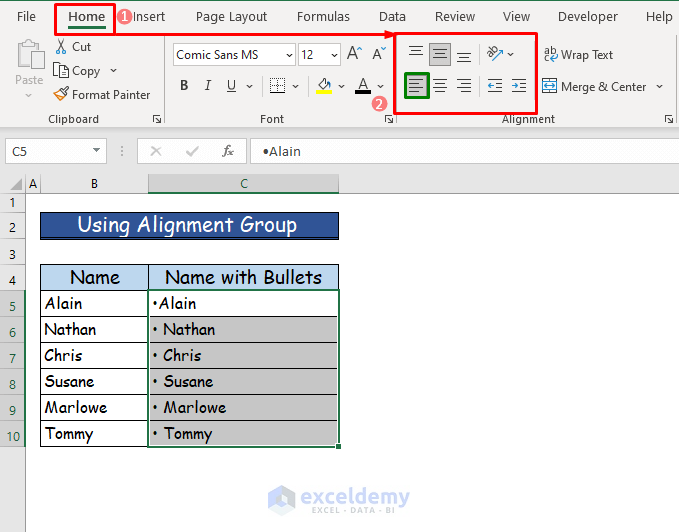
- To align them in the center, choose the Center command from the group.

- In case, you want the right side alignment, then choose the Align Right command from the group.
Download Practice Workbook
You can download the free Excel workbook from here and practice on your own.
Conclusion
That’s the end of this article. I hope you find this article helpful. After reading this article, you will be able to align bullet points in Excel by using any of the methods. Please share any further queries or recommendations with us in the comments section below.
Related Articles
- Add Bullet Points in Excel Text Box
- How to Add Multiple Bullet Points in Excel Cell
- Excel Bullets and Numbering Greyed Out
<< Go Back to Bullets and Numbering in Excel | Worksheet Formatting | Learn Excel
Get FREE Advanced Excel Exercises with Solutions!
