
We may use Excel’s AutoFill tool to fill a list of similar values or a sequence of consecutive entries. It’s generally shown at the bottom-right corner of a selection. However, you may want to disable it to ignore data redundancy. In this tutorial, we will show how to turn off AutoFill in Excel by applying functions and VBA codes.
In the sections below, we’ll show you how to disable AutoFill in three different methods. To complete the task, we will first use the Options function and then run a VBA code. We’ll turn off AutoFill for a table that’s important to know subsequently.
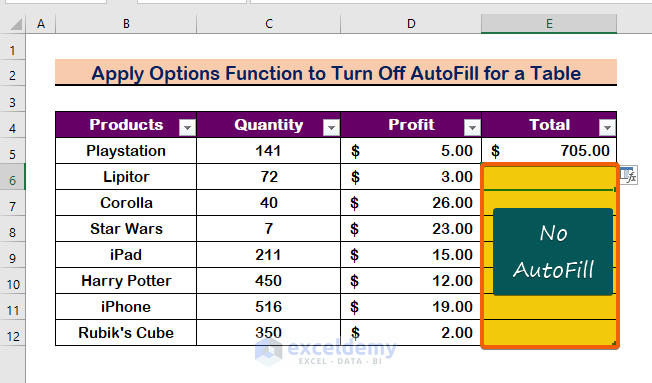
1. Using the Excel Options Function to Turn Off AutoFill in Excel
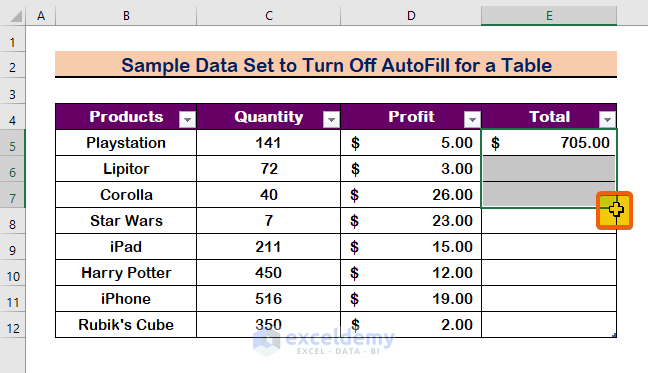
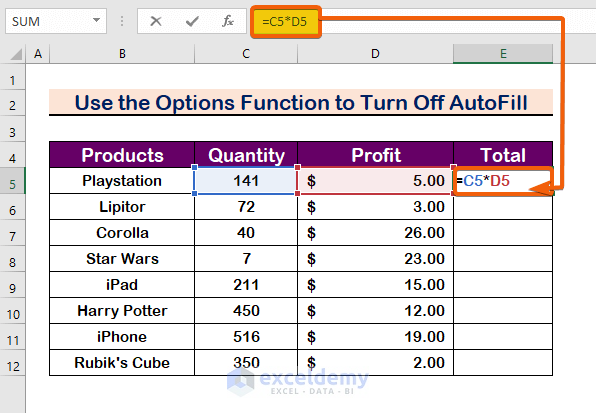
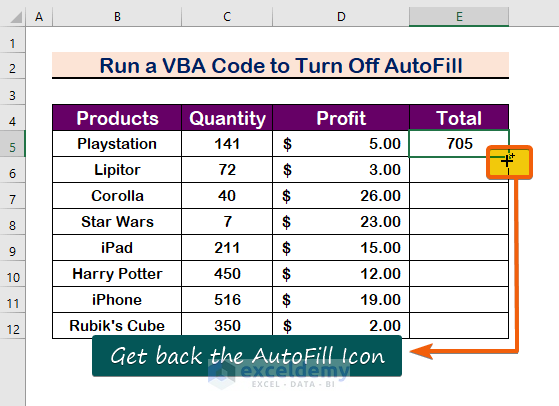
For example, suppose you have a data collection of various best-selling items, each with its profit and quantity. Now, you want to find the total profit in cell E5 by multiplying the profit by the quantity.
You will get the result by applying the formula below.
The AutoFill tool will appear on the bottom-left side of the screen at that instant, as presented in the figure below.
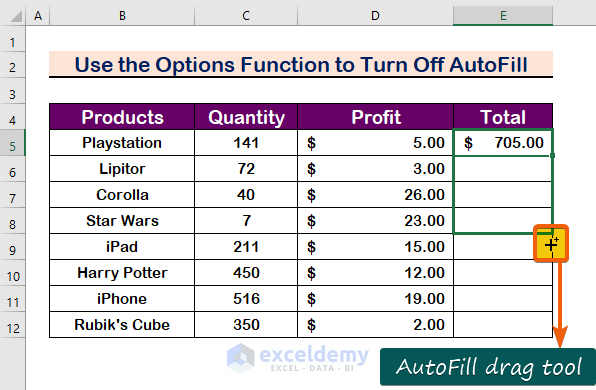
The autofill tool fills the cells with formulas. This will help you to autofill a column in Excel.
However, you want to turn off the AutoFill. To do this task follow the steps below.
Step 1:
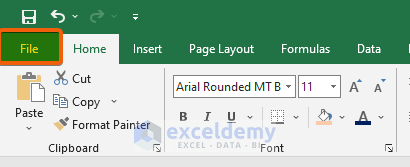
- Go to the Ribbon and click on File.
Step 2:
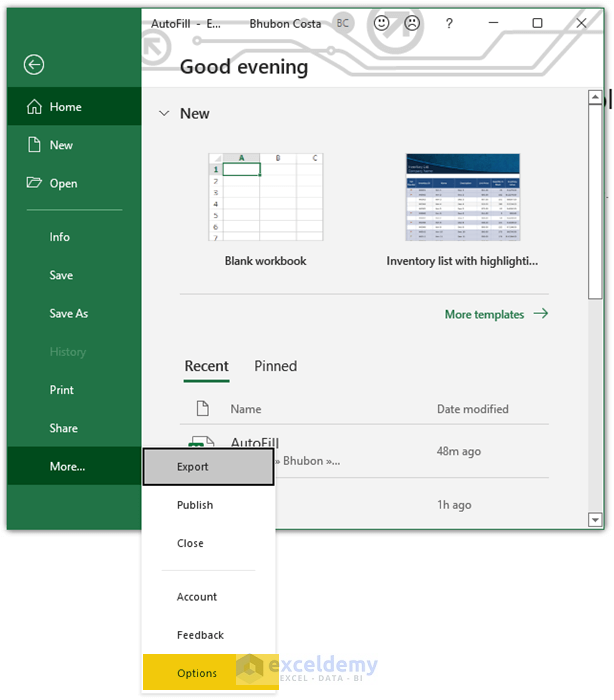
- Select the Options function from the list.
Step 3:
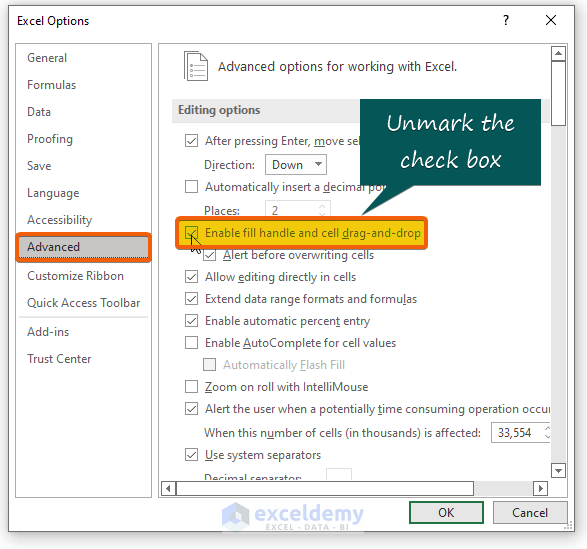
- Select the Advanced
- Then, unmark the check box tagged with Enable fill handle and cell drag-and-drop.
- Finally, press Enter.
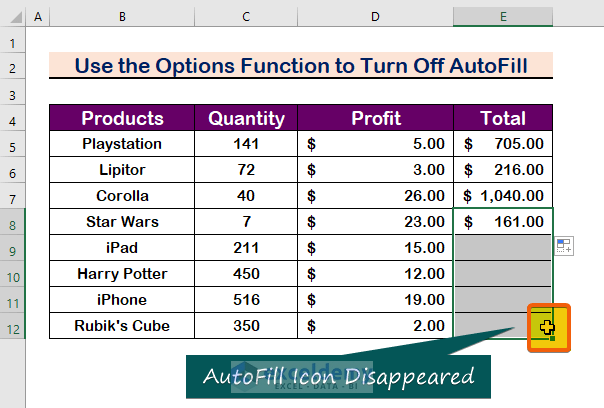
As a consequence, you’ll get the outcome with no AutoFill tool available.
Read More: Fix: Excel Autofill Not Working
2. Running a VBA Code to Turn Off AutoFill in Excel
You can use VBA codes to make it work in addition to applying functions. To complete the work, follow the steps given below.
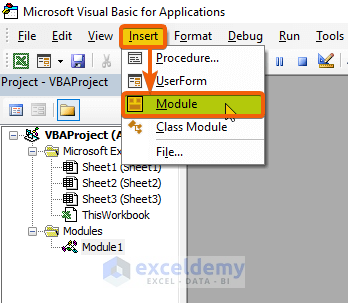
Step 1:
- Firstly, press Alt + F11 to open the VBA Macro in your worksheet.
- Click on Insert.
- Then, choose Module.
Step 2:
- Paste the following VBA
Sub Disable_Cell_Drag_Drop()
Application.CellDragAndDrop = False
End Sub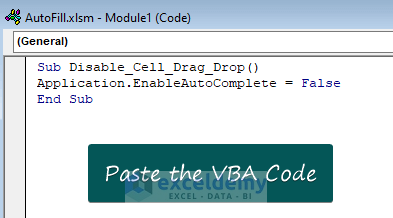
Step 3:
- Save the program and press F5 to run it.
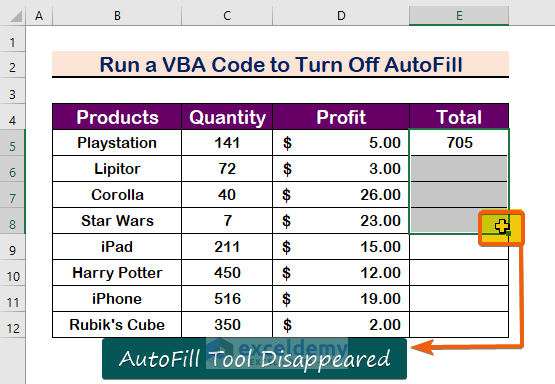
As a result, you’ll see that the AutoFill feature has vanished from your current worksheet.
Sub Disable_Cell_Drag_Drop()
Application.CellDragAndDrop = True
End Sub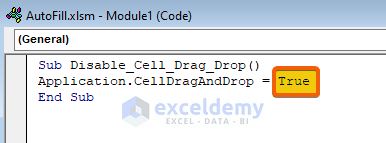
Therefore, you will get back the AutoFill tool.
Additionally, you can fill the blank cell with the same formula by applying the AutoFill tool.

Read More: How to Apply AutoFill Shortcut in Excel
3. Turning Off AutoFill for a Table in Excel
The preceding approaches will fail if the data set is formatted as a table. Because, after typing a formula in a column, the cells will fill automatically.
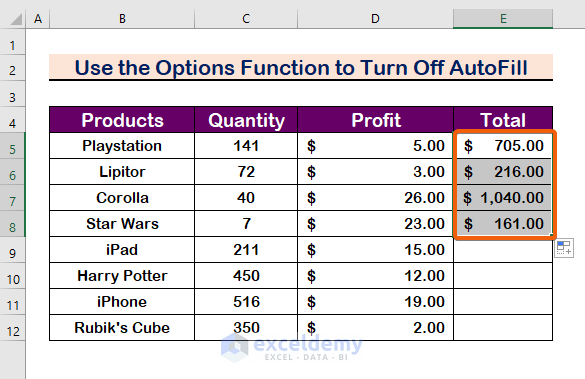
For example, we have entered the following formula in cell E5.
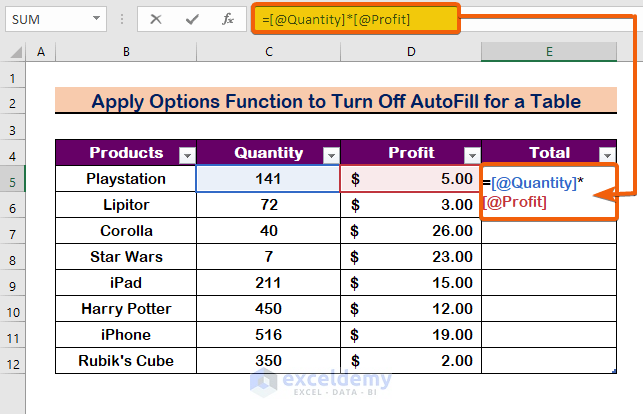
Each cell in the column is filled by itself when you enter the formula, as illustrated in the figure below.

But now, to turn off AutoFill, go through the procedures below.
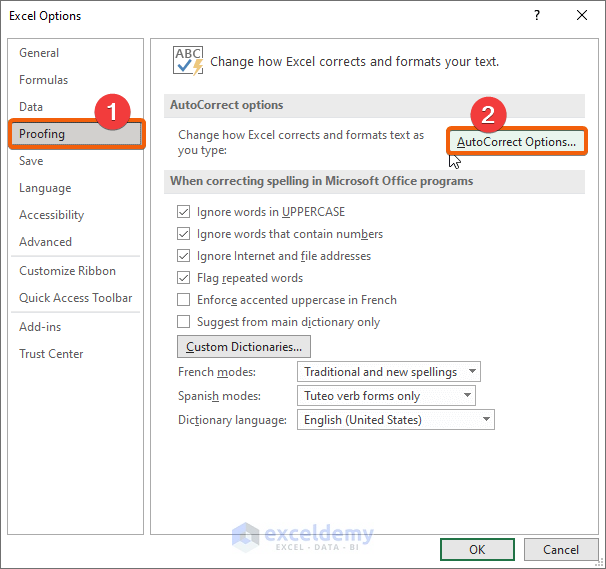
Step 1:
- Firstly, select the Options function from the File
- Choose the Proofing
- Then, click on the AutoCorrect Options.
Step 2:
- Click on the AutoFormat As You Type option.
- Finally, unmark the leveled option in the below image.
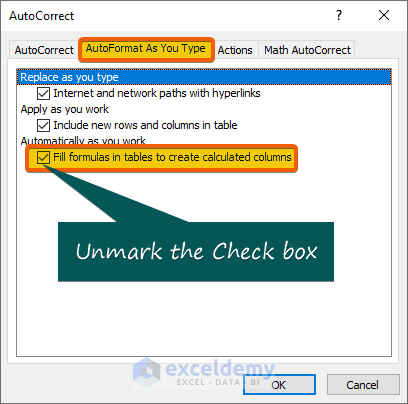
As a result, you’ll notice that when you re-enter the formula, it won’t fill automatically.
Read More: [Fixed!] Auto Fill Options Not Showing in Excel
Download Practice Workbook
Download this practice workbook to exercise while you are reading this article.
Conclusion
To conclude, I hope this tutorial has shown you how to turn off AutoFill by using functions and VBA codes. Examine the practice book and apply what you’ve learned. Because of your support, we are willing to repay projects like this.
Please do not hesitate to get in touch with us if you have any queries. Please leave a comment below to let me know what you think.
Related Articles
- AutoFill Cell Based on Another Cell in Excel
- How to AutoFill Sequential Letters in Excel
- How to AutoFill from List in Excel
- How to Create a Custom AutoFill List in Excel
- [Fixed!] AutoFill Formula Is Not Working in Excel Table
- [Solved:] Excel Double Click AutoFill Not Working
<< Go Back to Excel Autofill | Learn Excel
Get FREE Advanced Excel Exercises with Solutions!
