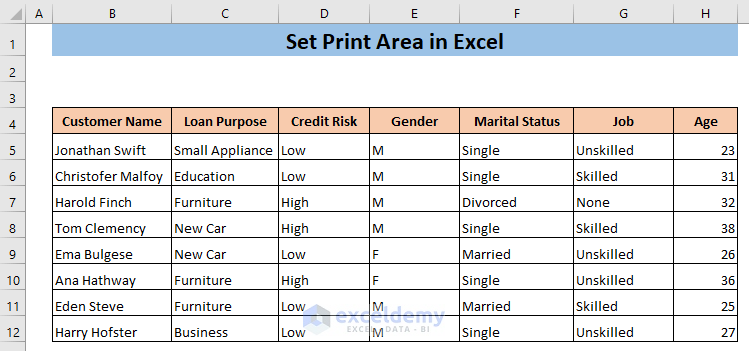
In the sample dataset we only want to print a portion of the content.
Method 1 – Set Print Area From Page Layout Tab
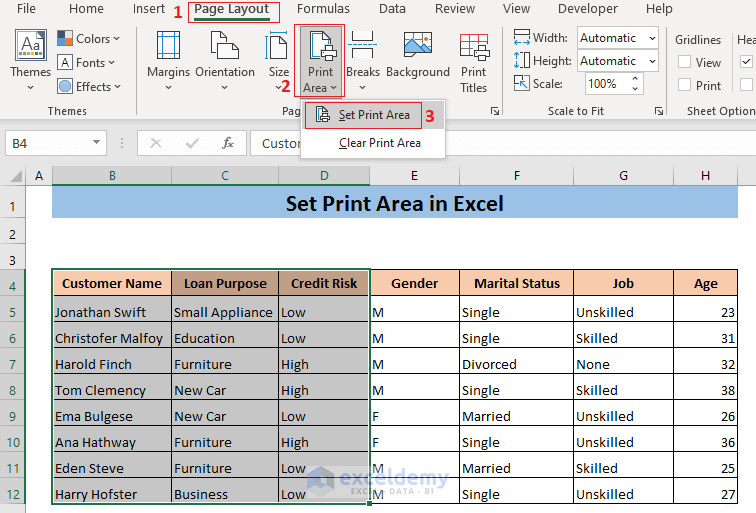
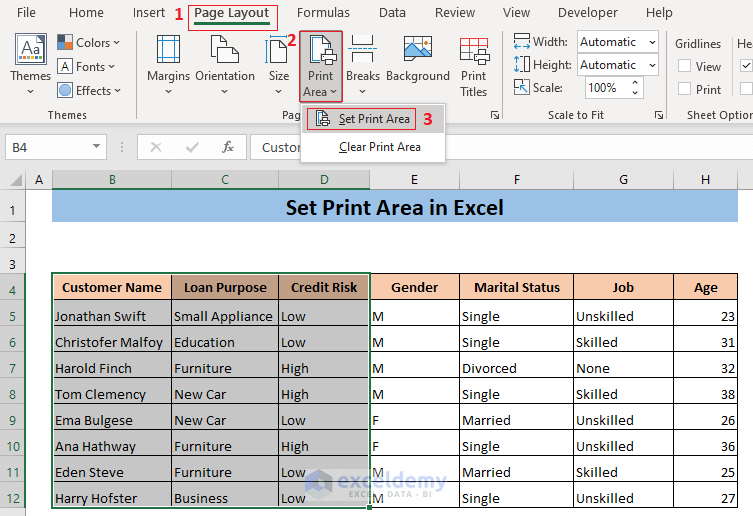
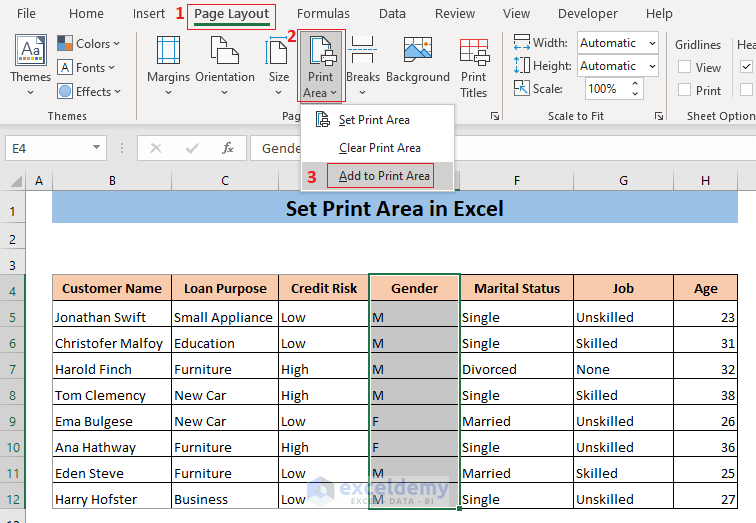
- Select the cells you want to set as the print area.
- Go to Print Layout > Print Area and select Set Print Area.
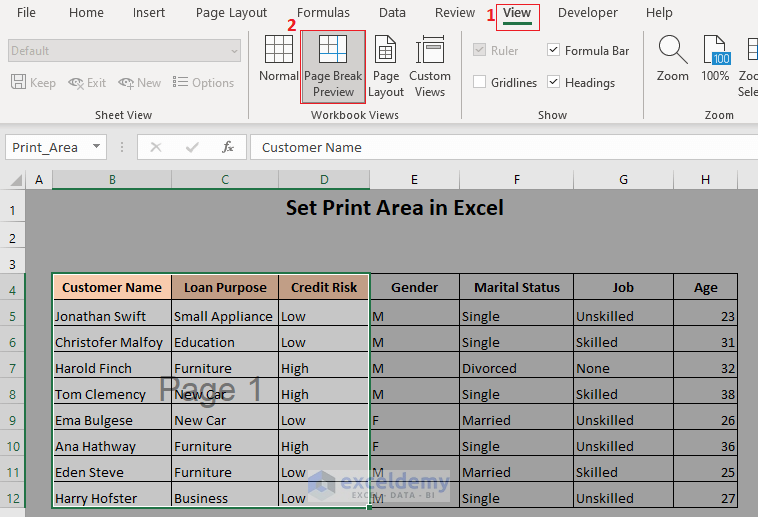
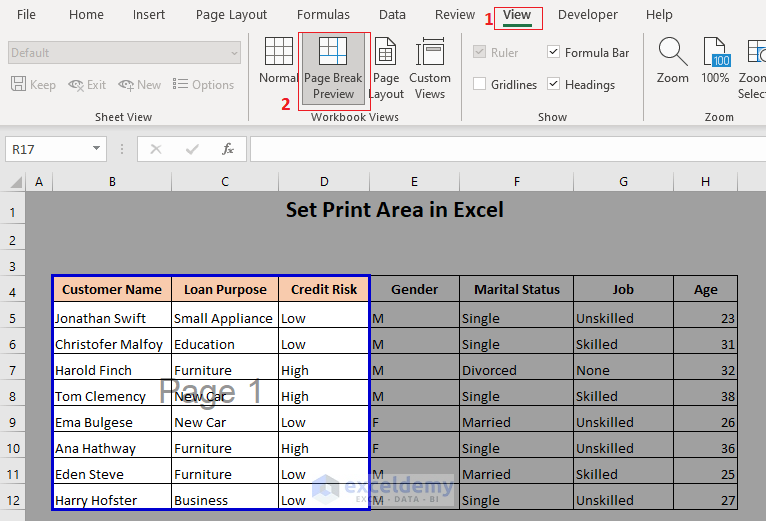
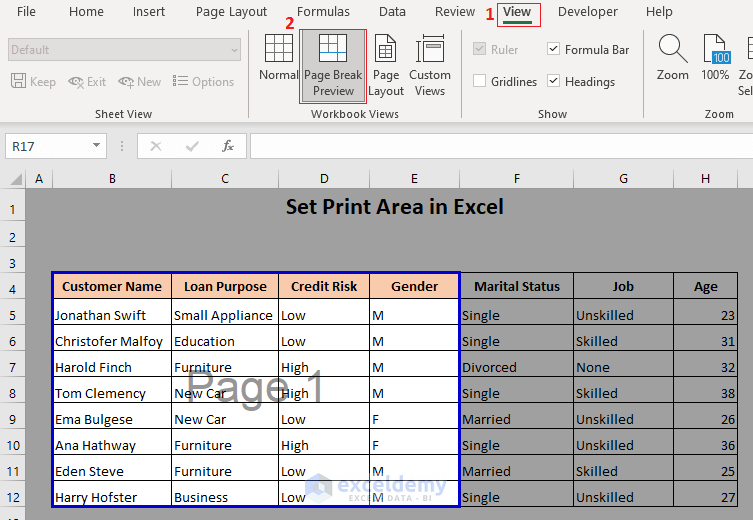
- To view the print area, go to the View tab and select Page Break Preview.
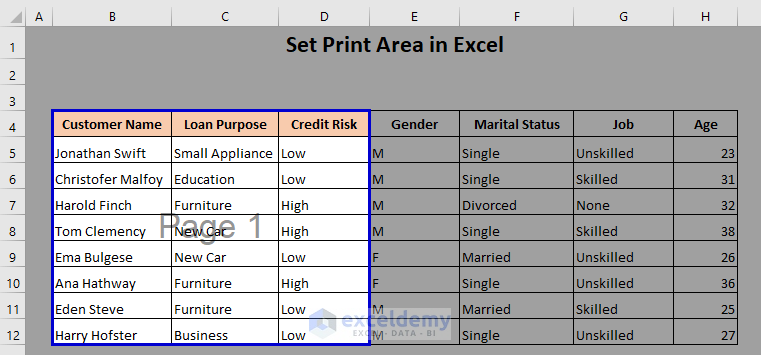
- The spreadsheet will be shown in Page Break view. The cells that are set as the print area are marked as page 1.
Method 2 – Set Print Area From Page Setup Window
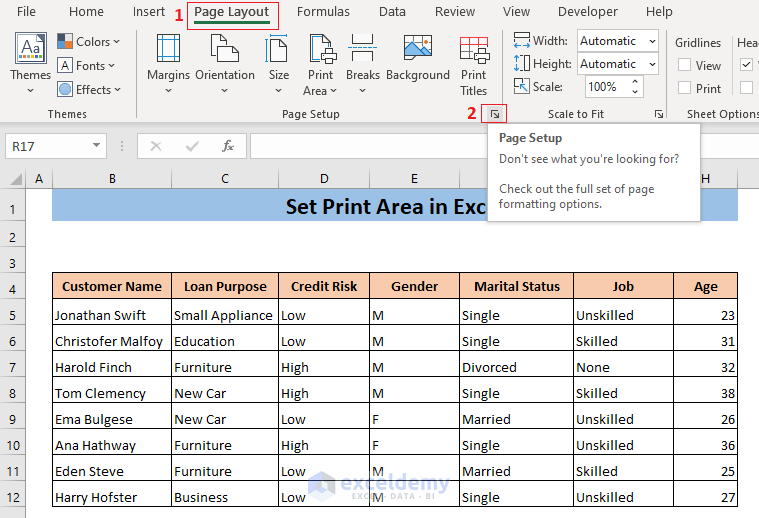
- Go to the Page Layout tab and click on the little arrow icon from the bottom right corner of the Page Setup ribbon.
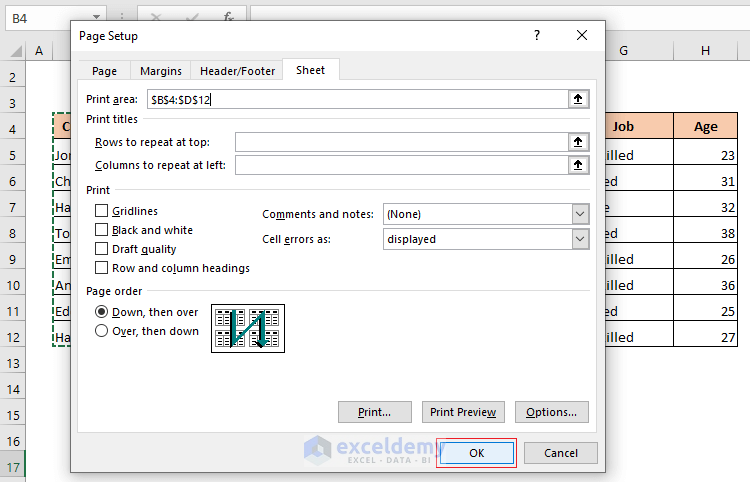
- Go to the Sheet tab in the Page Setup window and click on the Collapse icon from the end of the Print area box.

- Select the cells to be set as the print area and click on the Expand icon in the Page Setup – Print area box.
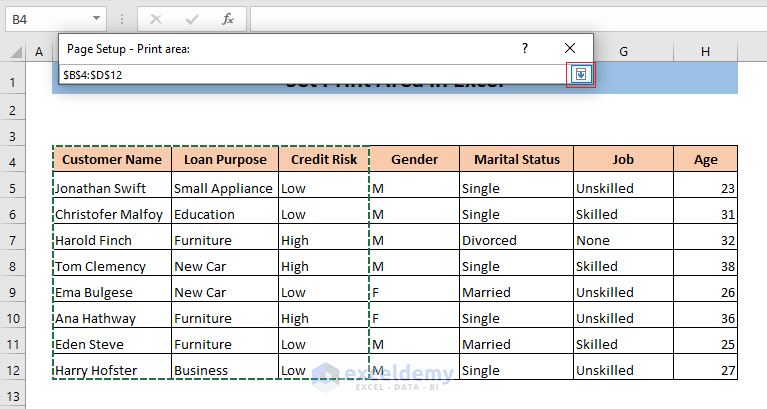
- It will expand the Page Setup window.
- Click on OK.
- To view the print area, go to the View tab and select Page Break Preview.
- The spreadsheet will be shown in Page Break view. The cells that are set as the print area are marked as page 1.
Method 3 – Set Multiple Print Areas in Excel
- Select the cells to be set as the print areas.
- Go to Print Layout > Print Area and select Set Print Area.
- Select adjacent cells to the first print area and go to Page Layout > Print Area > Add to Print Area.
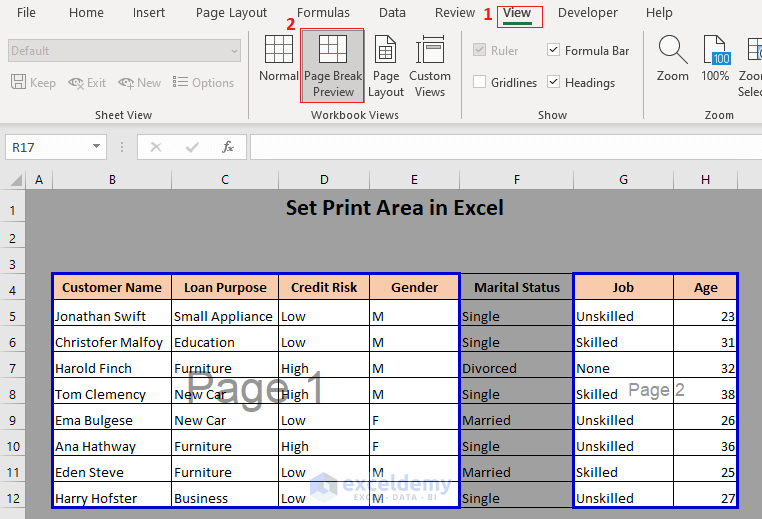
- These cells will be added to the previous print area, as shown in the Page Break Preview of the View tab.
- Select cells which are not adjacent to the first print area and go to Page Layout > Print Area > Add to Print Area.
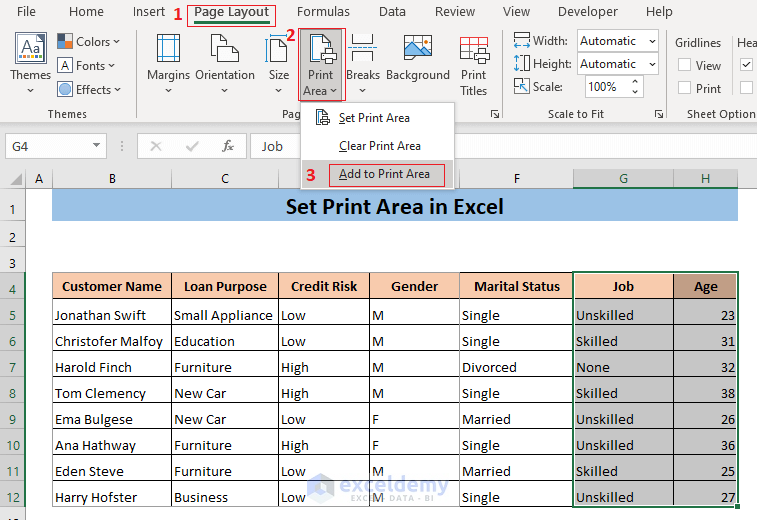
- Excel will set these cells as a different print area.
Method 4 – From Page Break Preview
- Go to the View tab and select Page Break Preview.
- Set the print area by dragging the blue lines from the outside of the page to the correct location.
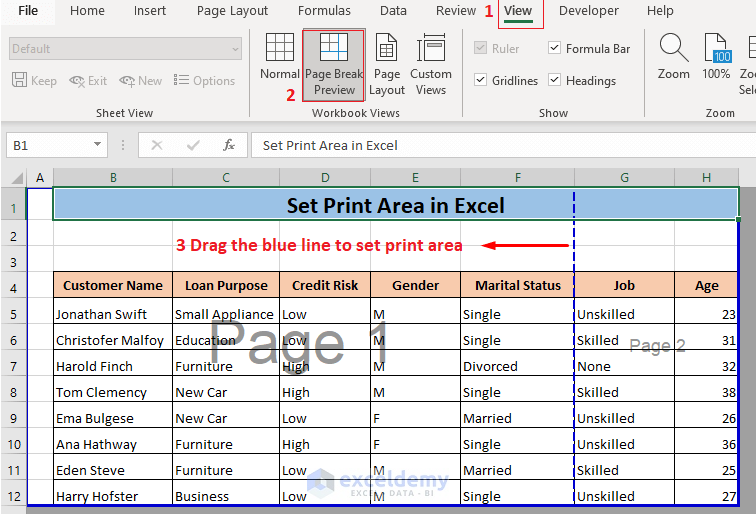
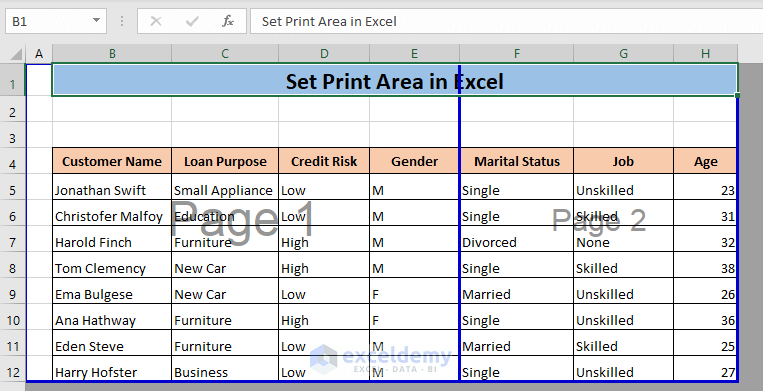
- The blue lined boxed area has been set as the print area.
Read More: How to Set Print Area for Multiple Pages in Excel
Method 5 – Set Print Area in Multiple Sheets Using VBA
- Press ALT+F11 to open the VBA window.
- In the VBA window, go to the Insert tab and select Module.
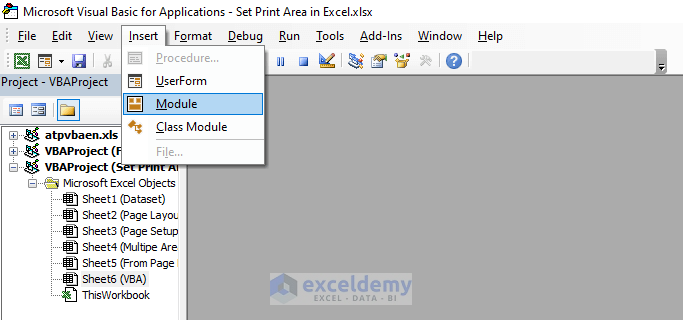
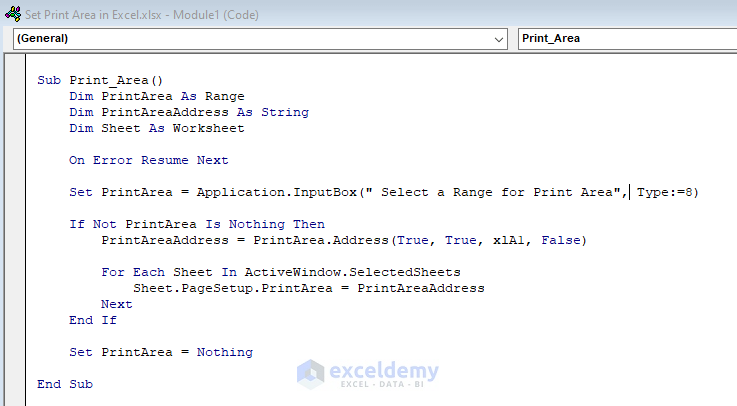
- Enter the following code in the Module(Code) window.
Sub Print_Area()
Dim PrintArea As Range
Dim PrintAreaAddress As String
Dim Sheet As Worksheet
On Error Resume Next
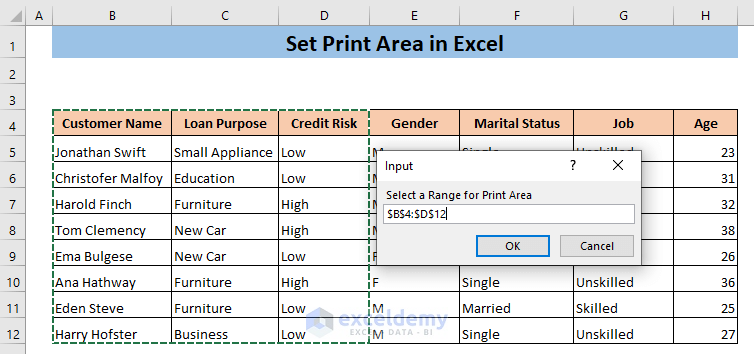
Set PrintArea = Application.InputBox(" Select a Range for Print Area", Type:=8)
If Not PrintArea Is Nothing Then
PrintAreaAddress = PrintArea.Address(True, True, xlA1, False)
For Each Sheet In ActiveWindow.SelectedSheets
Sheet.PageSetup.PrintArea = PrintAreaAddress
Next
End If
Set PrintArea = Nothing
End SubThe code will create a Macro named Print_Area. This Macro will open a window where you can input the selected cells and set the print area.
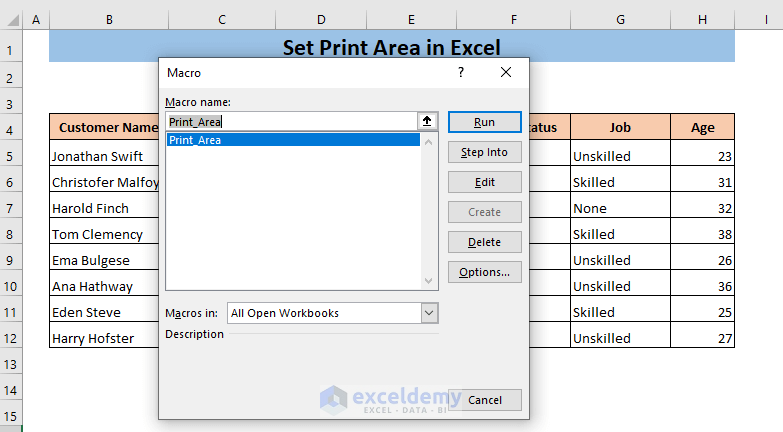
- To apply the Macro for a single sheet, press ALT+F8.
- Select Print_Area from the Macro name box and click on Run.
- Select the cells to be set as print areas and click OK in the Input window.
Excel will set the selected cells of this sheet as the print area.
This Macro will also allow the user to set a cell range from multiple sheets as the print area.
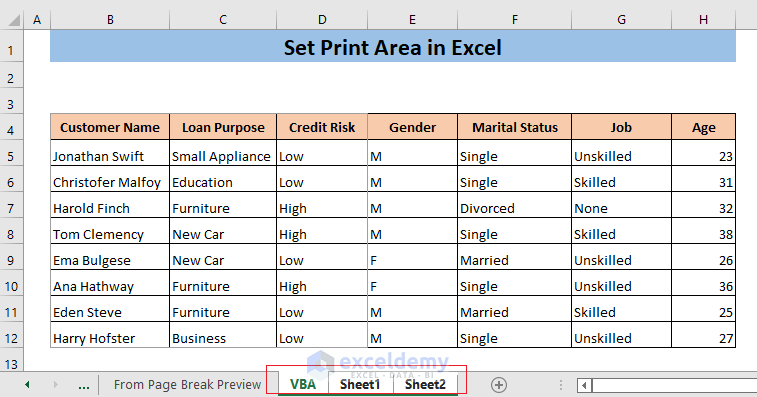
- Select the sheets by pressing CTRL and clicking on the sheet name from the Status Bar.
- Press ALT+F8.
- Select Module1.Print_Area from the Macro name box and click on Run.
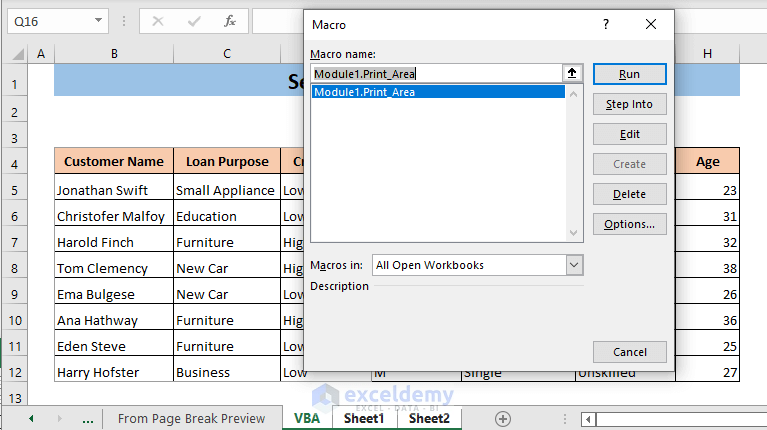
- A window named Input will appear.
- Select the cells to be set as print areas and click OK in the Input window.

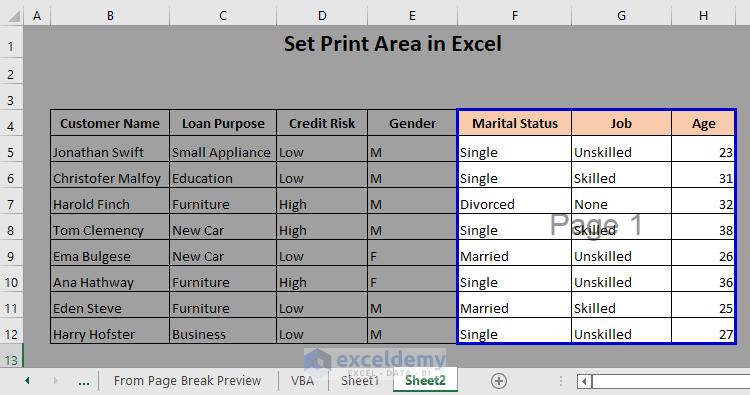
- The selected cells will be set as the print area in all the selected sheets.
- The Page Break Preview of any of these sheets will show the selected cell ranges are set as the print areas.
Download Practice Workbook
Related Articles
- How to Print Selected Area in Excel
- How to Print Selected Area in Excel on One Page
- How to Set Print Area with Blue Line in Excel
- How to Center the Print Area in Excel
<< Go Back to Page Setup | Print in Excel | Learn Excel
Get FREE Advanced Excel Exercises with Solutions!
