Solution 1 – Using Page Break Preview
If the Excel Set Print Area feature isn’t working as expected, try this first solution. Page Break Preview provides direct control over the bounds of the printing area. Follow these steps:
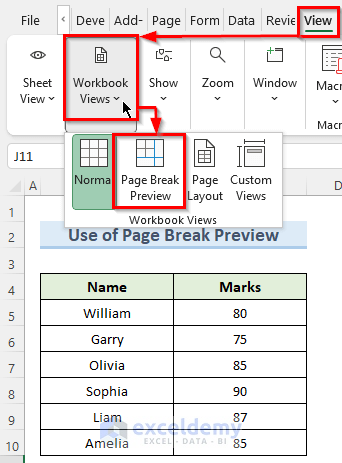
- Go to the View tab and select Workbook Views.
- Choose Page Break Preview.
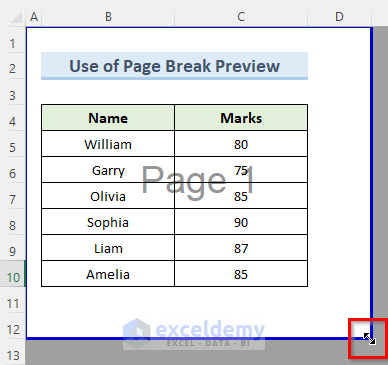
- You’ll see a blue border line around the dataset.
- Adjust the print area by dragging the border line with your mouse.
Solution 2 – Clearing Previously Set Print Area
Sometimes, a wrong print area is already set, causing issues with the newly configured print area. To resolve this, follow these steps:
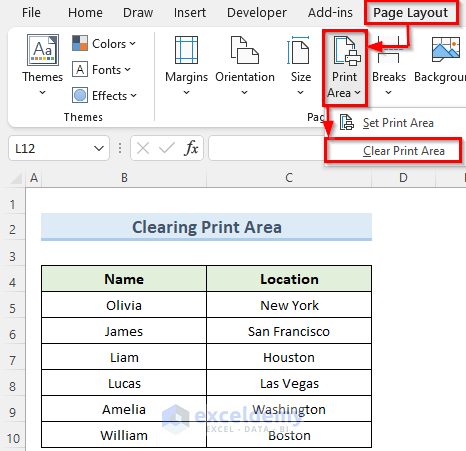
- Navigate to the Page Layout tab and click on Print Area.
- Select Clear Print Area.
- This action will remove any previously set print area.
Extending the Print Area in Excel
If your print area is missing columns or rows, you can add them. Follow these steps to Extend the Print Area in Excel:
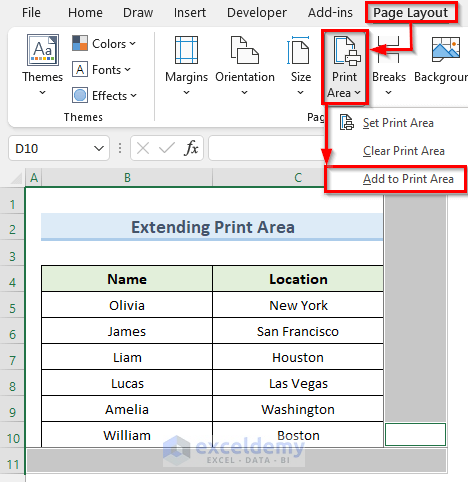
- Select the cells you want to add to the print area (they must be adjacent to the current print area).
- Go to the Page Layout tab and click on Print Area.
- Choose Add to Print Area.
- Excel will include the new cells in the current print area.
Things to Remember
- If you don’t want to print the entire worksheet, select only the cells you need to avoid printing problems.
- The blue border in Page Break Preview defines the print area; adjust it accordingly.
- Confirm that Excel has set the print area correctly by pressing Ctrl+P and reviewing the page previews.
- If columns are missing in the print, check if their width exceeds the paper size and adjust accordingly.
Download Practice Workbook
You can download the practice workbook from here:
Related Articles
- How to Change Print Area in Excel
- How to Show Print Area in Excel
- How to Delete Extra Pages in Excel
- [Solved:] Print Area Is Grayed Out in Excel
<< Go Back to Page Setup | Print in Excel | Learn Excel
Get FREE Advanced Excel Exercises with Solutions!
