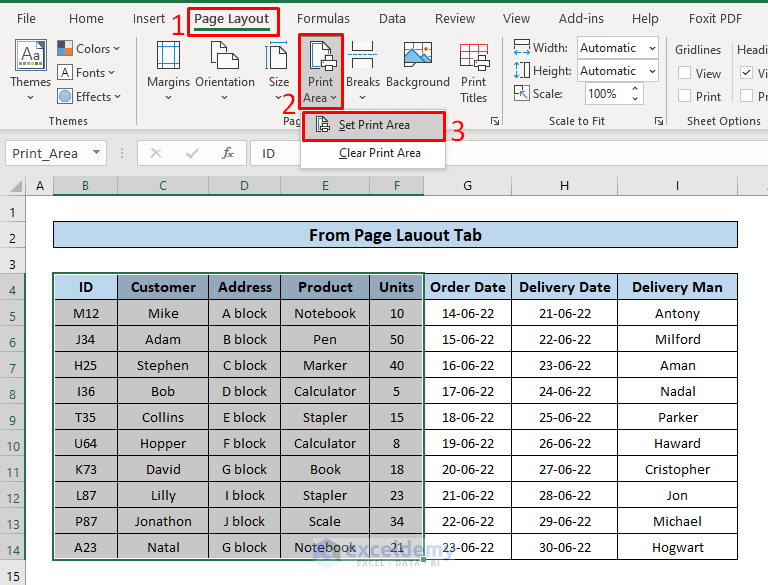
Method 1 – Set Print Area from Page Layout Tab
- Select the area you want to print> go to the Page Layout tab> click Print Areas> select Set Print Area. Your print area is selected.
- Go to the View tab> then Page Break Preview and your sheet will show the print area.
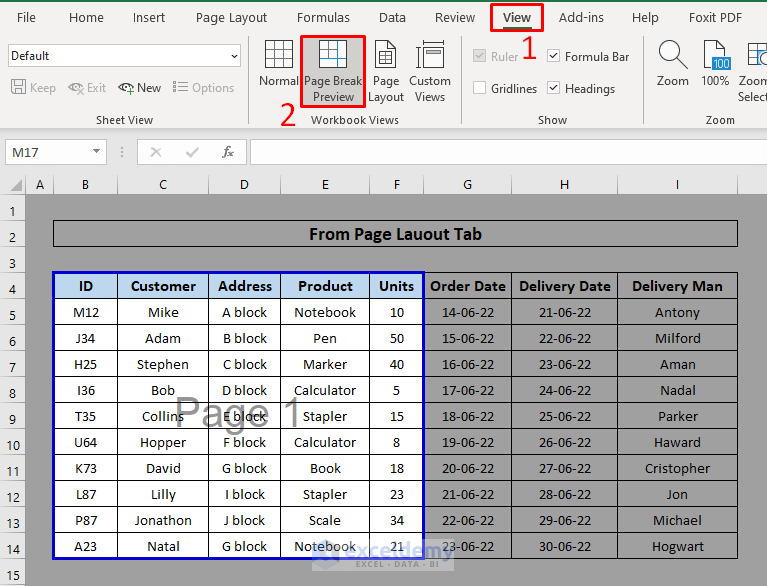
You can set print areas in the blink of an eye in this way!
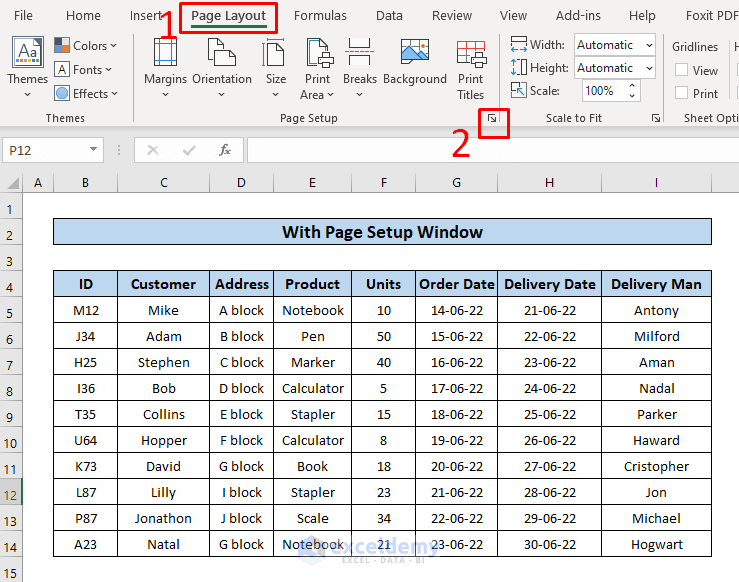
Method 2 – Set Print Area with Blue Line from Page Setup Window
- Go to the Page Layout tab> click the Page Setup window.
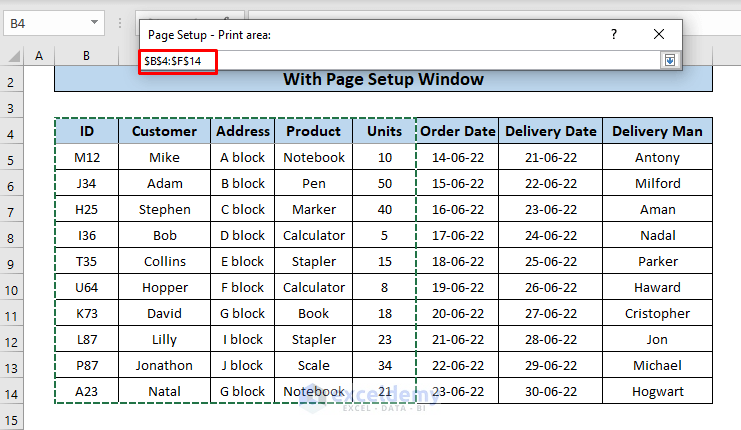
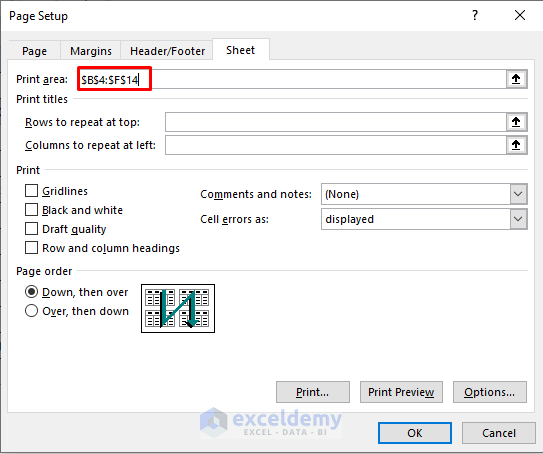
- The Page Setup dialogue box will show up. Here, from the Sheet icon, click the arrow in the Print Area box.
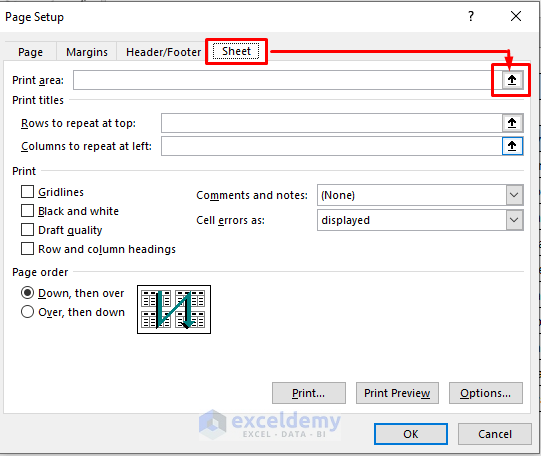
- Assign the range of the print area.
- Close the dialogue box by clicking OK. Excel has set the print area already.
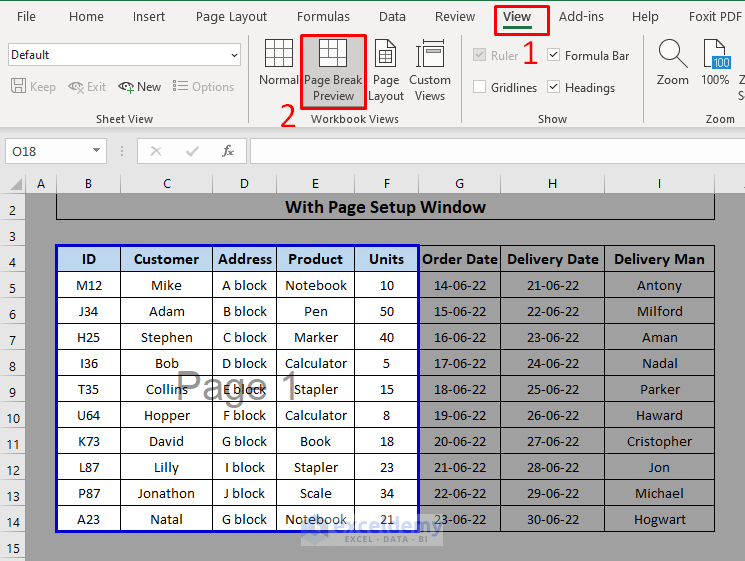
- Go to the View tab> then Page Break View and you will show the print area.
Set the print area with this method.
Method 3 – Adding Extra Print Area
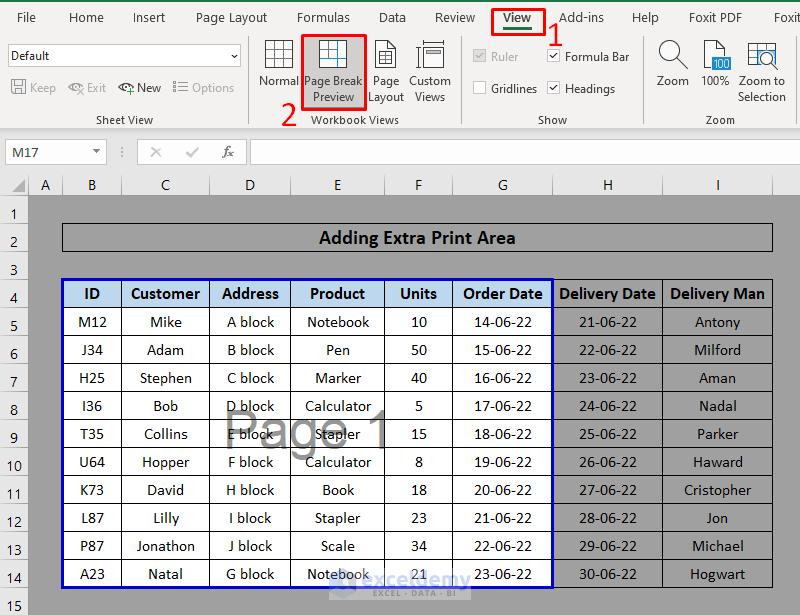
- Check the previously set area from the View tab> Page Break Preview option. Assigned a print area previously and you can see that in the screenshot below.
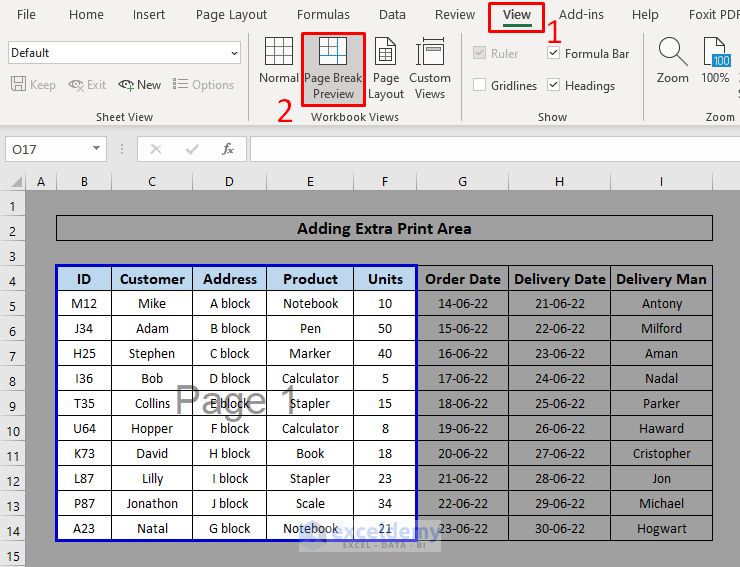
- Select the area you want to add to the previously selected print area. We chose the adjacent column (i.e. Order Date Column).
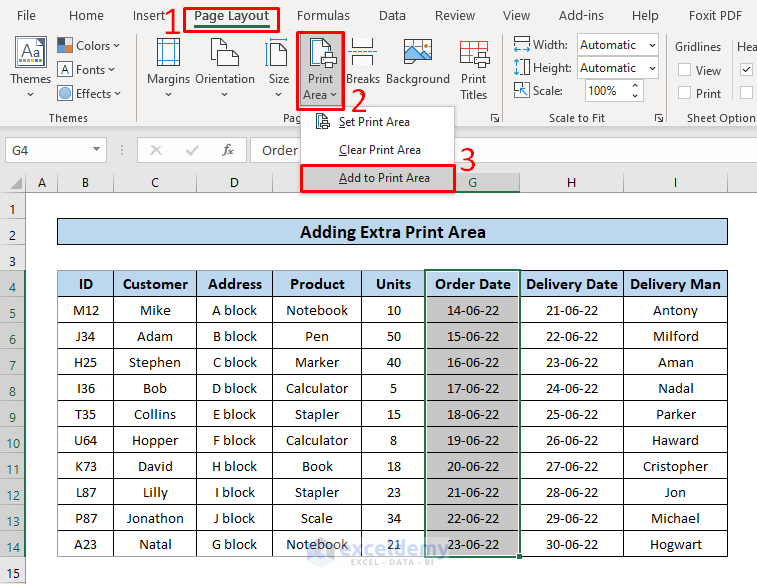
- Go to the Page Layout tab> click Print Area> select Add to Print Area.

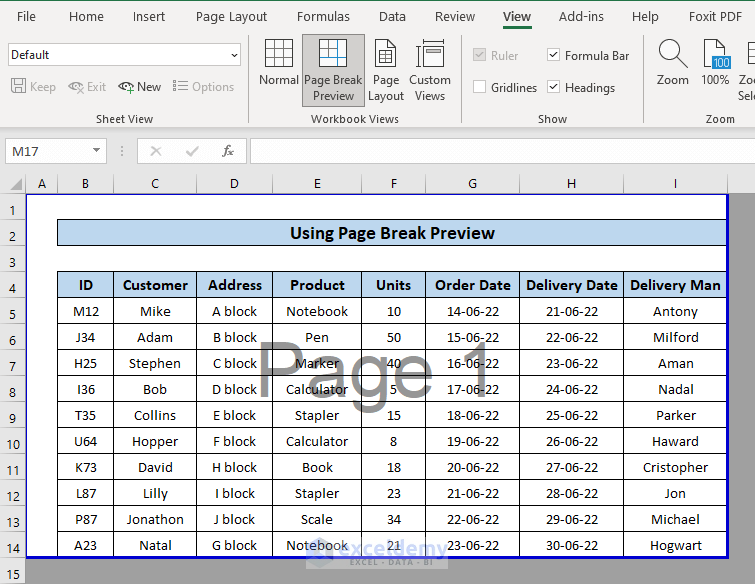
- Your print area is selected. You can check this from the View tab> Page Break Preview.
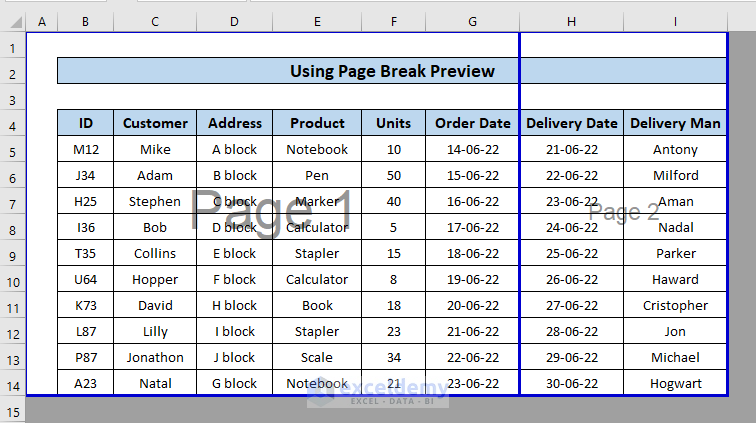
Method 4 – Use of Page Break Preview Option to Set Print Area
- Go to the View tab> click Page Break Preview. A page break line will appear showing the boundary line for the first page. Drag this line with the cursor to control the print area.
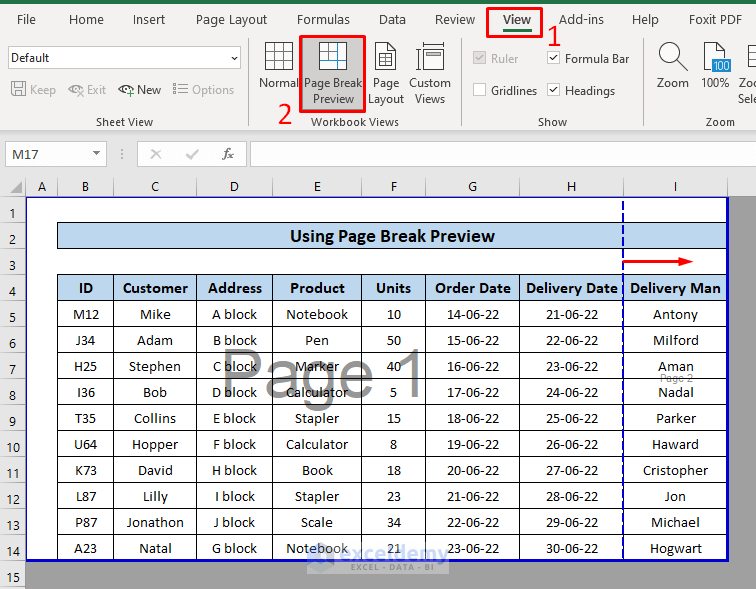
- After dragging the break line, the area under the line will be on the first page.
- The area outside the first border line will be in the second page after printing.
These are the steps you can follow for setting the print area.
Method 5 – Using VBA Macro to Set Print Area with Blue Line
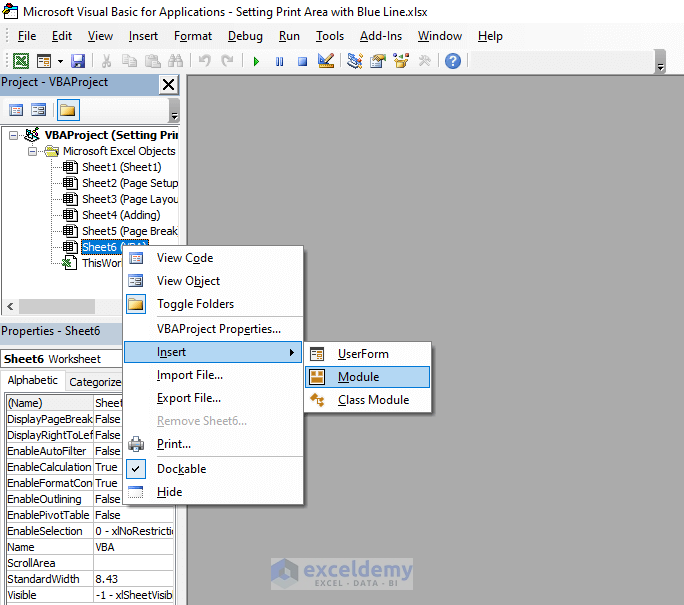
- Press ALT+F11 to open the Visual Basic Editor window.
- Right-click on your working sheet (i.e. Sheet6) > select Insert> click Module.
- Enter your code in that window. You can use the following:
Option Explicit
Sub Set_Printing_Area()
Dim rfPrintArea As Range
Dim rfPrintAreaAddress As String
Dim rfSheet As Worksheet
On Error Resume Next
Set rfPrintArea = Application.InputBox(" Select a Range for Print Area", Type:=8)
If Not rfPrintArea Is Nothing Then
rfPrintAreaAddress = rfPrintArea.Address(True, True, xlA1, False)
For Each rfSheet In ActiveWindow.SelectedSheets
rfSheet.PageSetup.PrintArea = rfPrintAreaAddress
Next
End If
Set rfPrintArea = Nothing
End Sub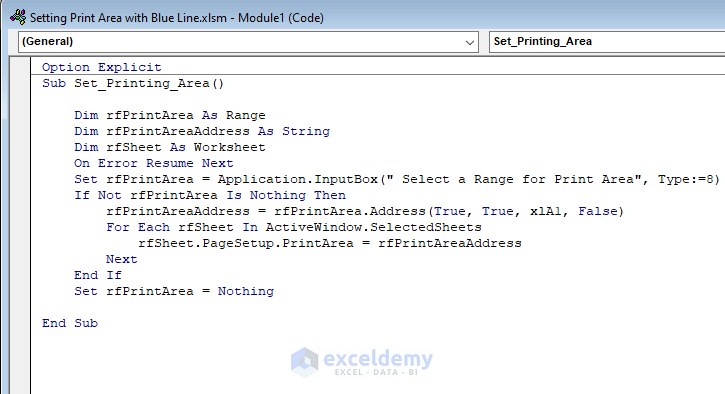
- Save the macro-enabled workbook and hit ALT+Q to close the macro window.
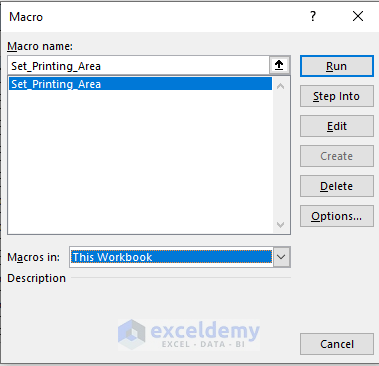
- Click ALT+F8 and the macro dialogue box will come up. Select the Macro name and click run to execute the code.
- Assign a range for the area to print. Click OK.
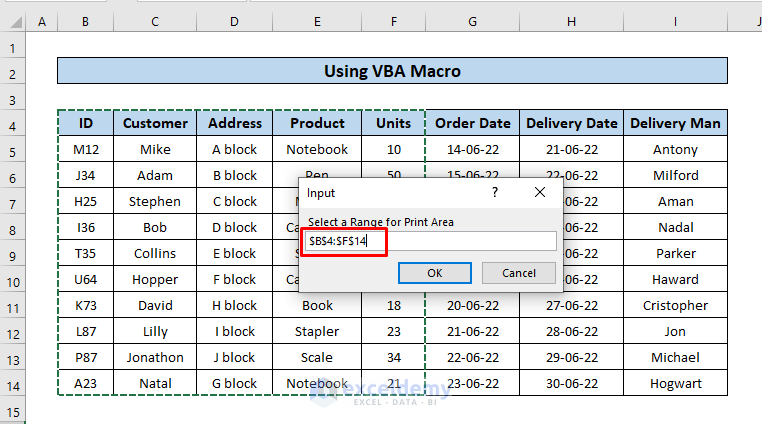
- Excel has set the print area. You can check it from the Page Break Preview option.

Download Practice Workbook
You can download the practice book below.
Related Articles
- How to Print Selected Area in Excel on One Page
- How to Set Print Area for Multiple Pages in Excel
- How to Center the Print Area in Excel
<< Go Back to Page Setup | Print in Excel | Learn Excel
Get FREE Advanced Excel Exercises with Solutions!

