Method 1 – Using the Set Print Area Command to Change the Print Area in Excel
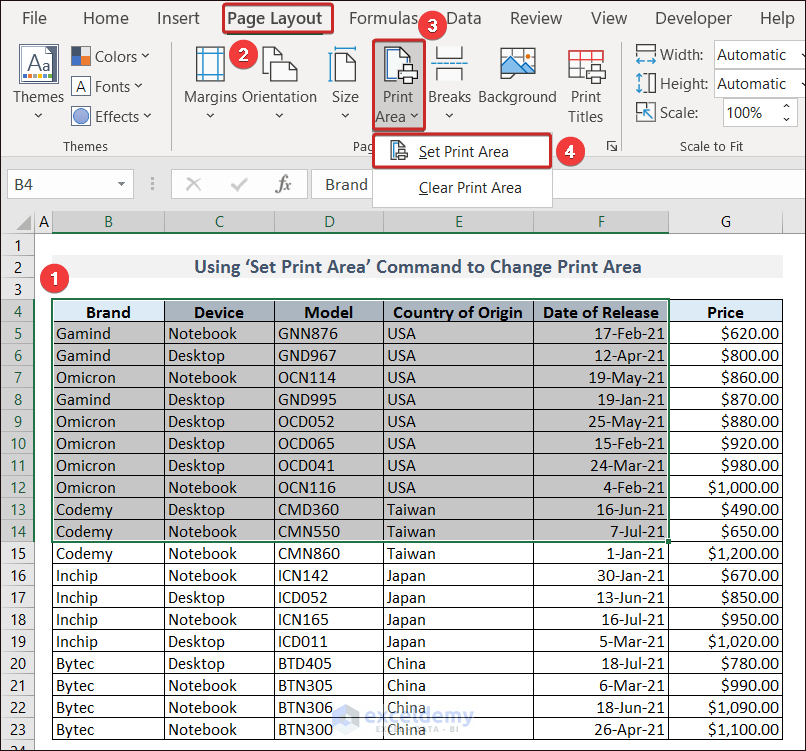
The print area changed to B4:F14.
- Go to the File tab and click Print.
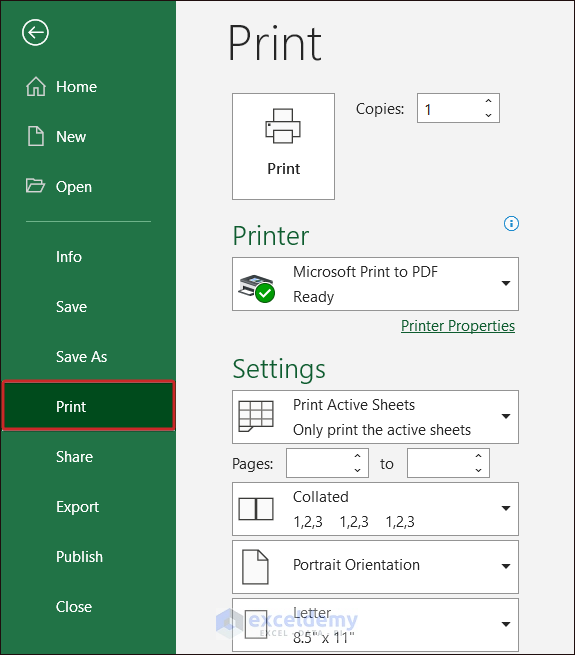
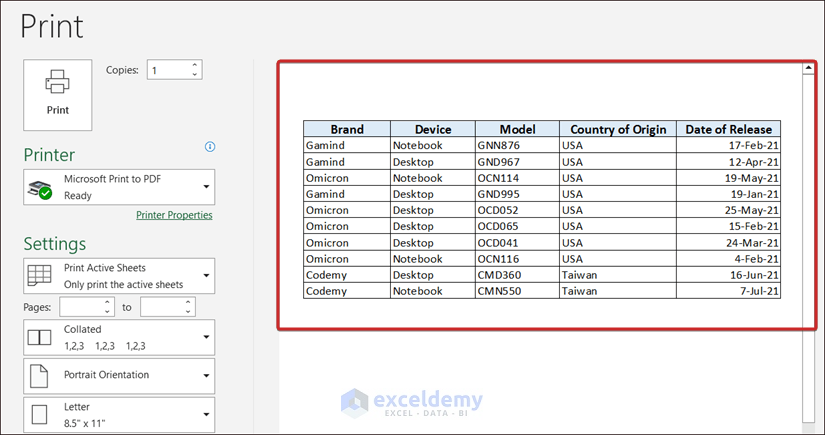
See the Print Preview.
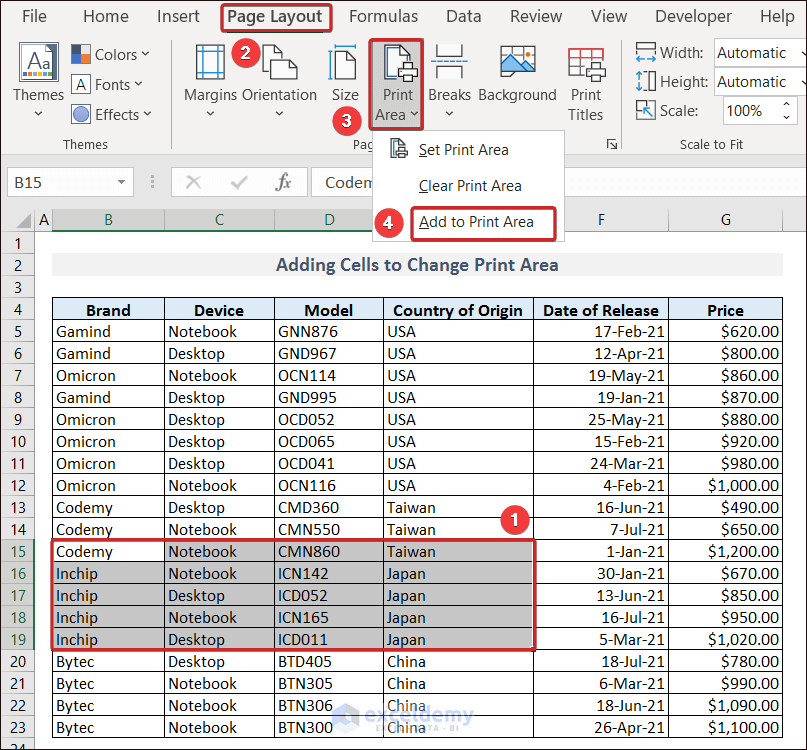
Method 2 – Changing the Print Area in Excel by Adding Cells
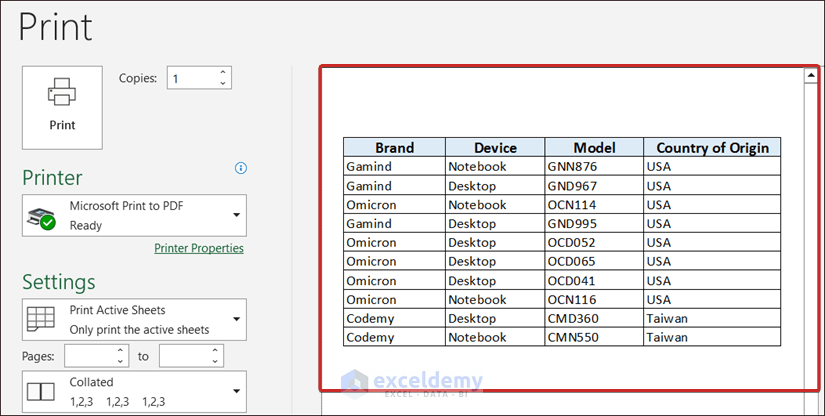
- Define the print area: B4:E14 and see the Print Preview.
To add cells from B15 to E19 to that print area:
- Select your Print Area —> Page Layout Tab —> Print Area —> Add to Print Area
- Press CTRL + P to see the Print Preview: B4:E14 are added to the print area.

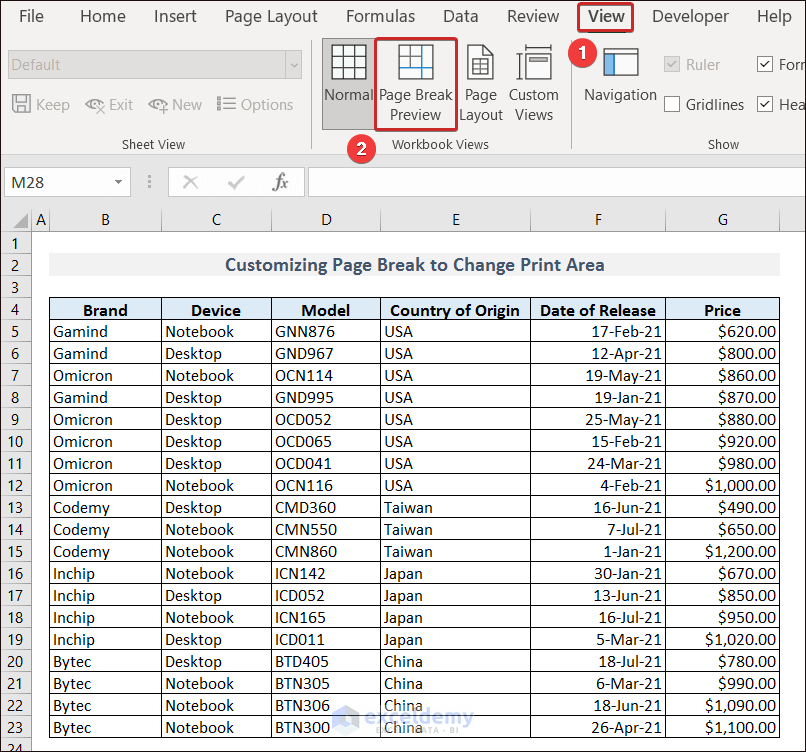
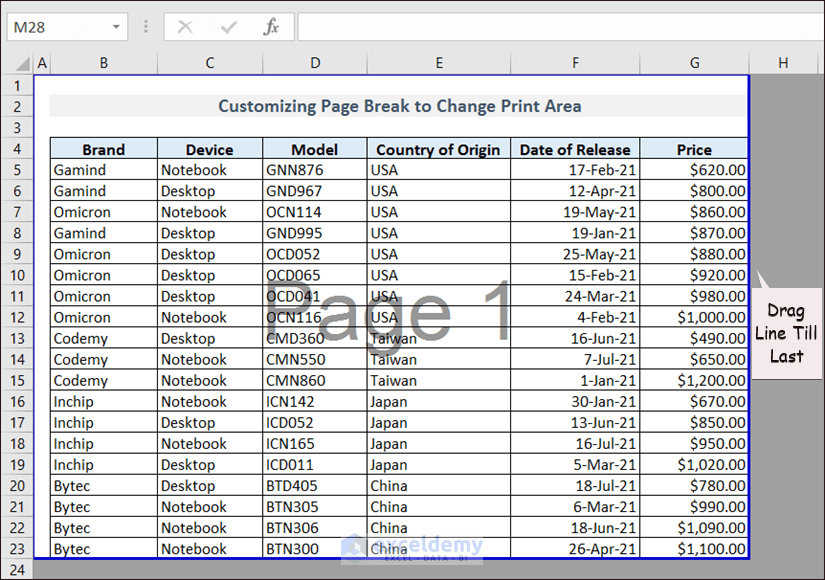
Method 3 – Customize the Page Break to Change Print Area in Excel
- Go to the View tab and click Page Break Preview.
Page 1 is separated from page 2 with a page break line. This line defines the print area of the first page.
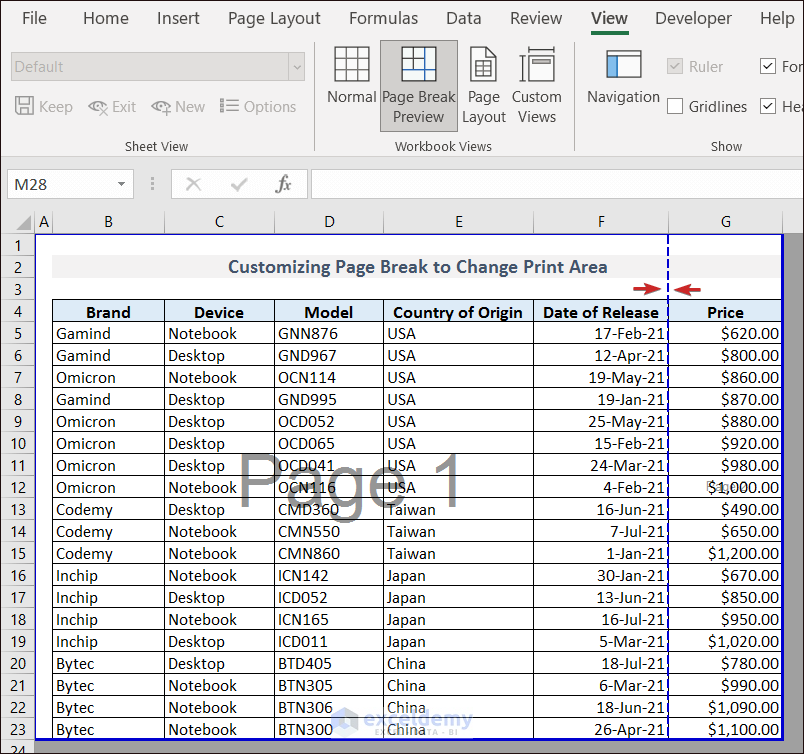
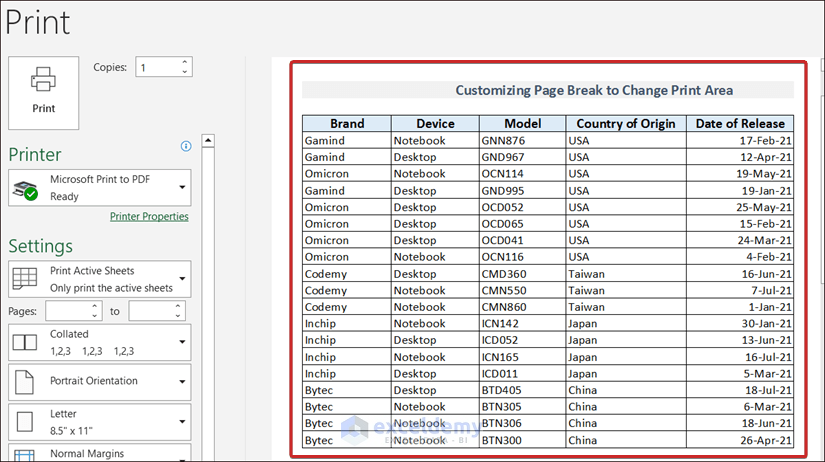
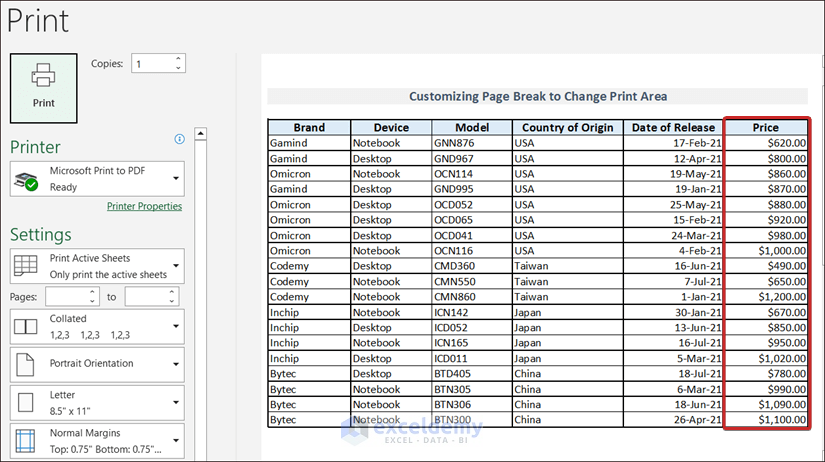
- Click CTRL + P and see the print area in Print Preview.
- To change the print area, drag the page break line. Here, to the last column.
- Go to Print Preview again to see the print area.
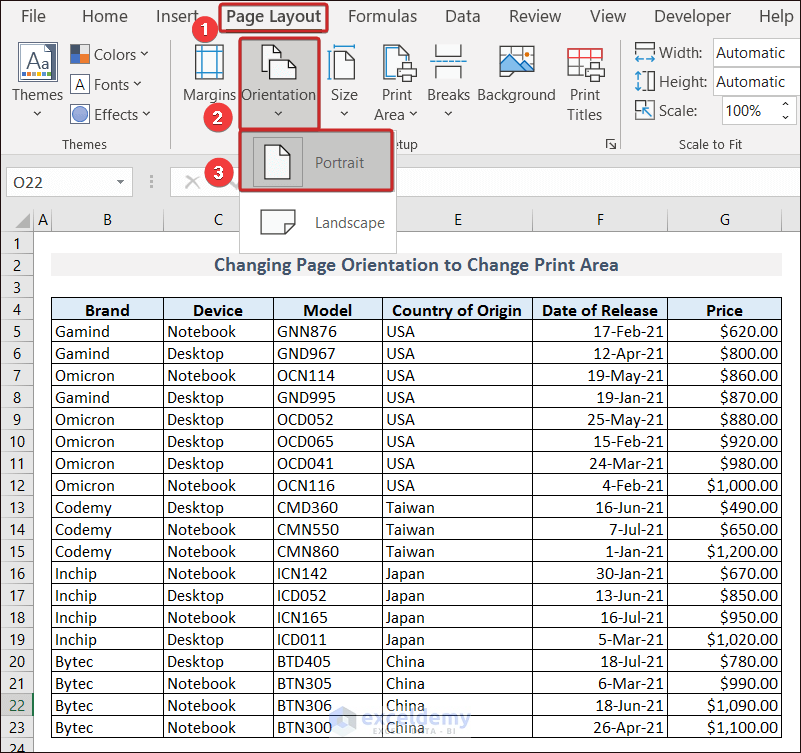
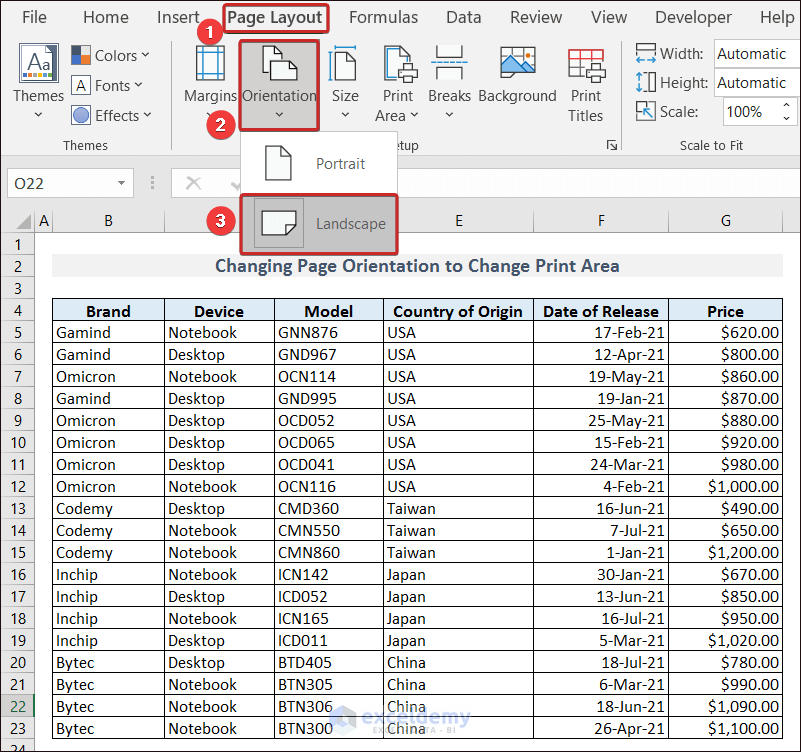
Method 4 – Change the Page Orientation to Change the Print Area in Excel
- Go to Page Layout and select Portrait in Orientation.
In Print Preview, the print area comprises data till the F column (Date of Release).
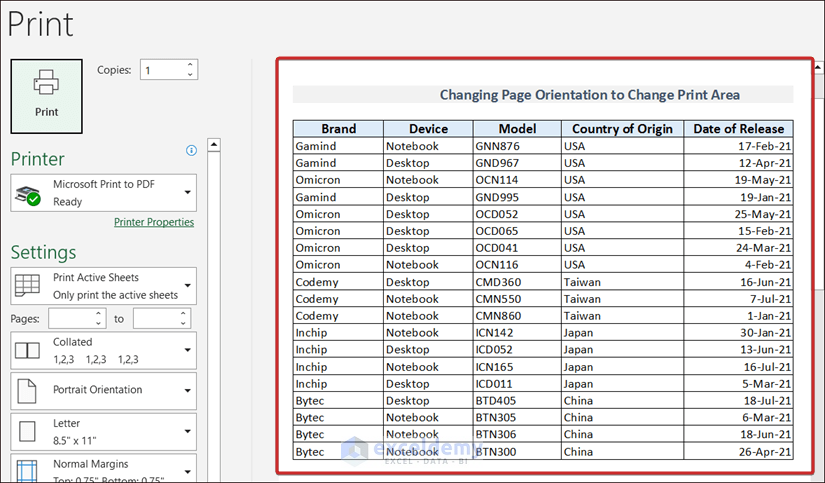
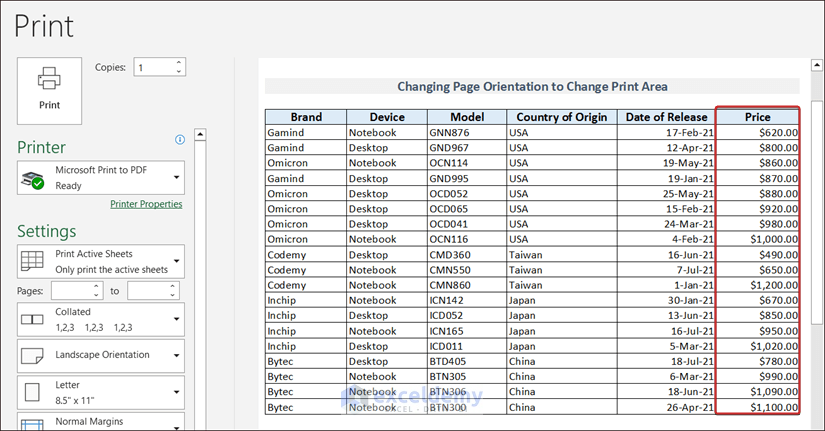
- Change the Orientation to Landscape.
In Print Preview the print area includes column G (Price).
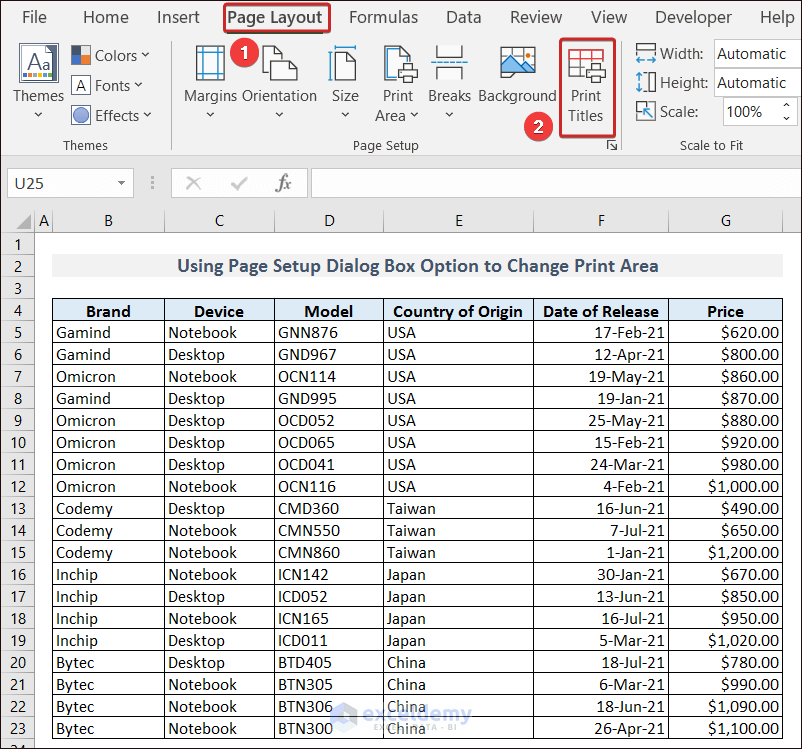
Method 5 – Using the Page Setup Dialog Box Option to Change the Print Area
To open the Page Setup dialog box:
- Go to Page Layout and select Print Titles.
- Click Sheet and define the range in Print area.
- Click OK.
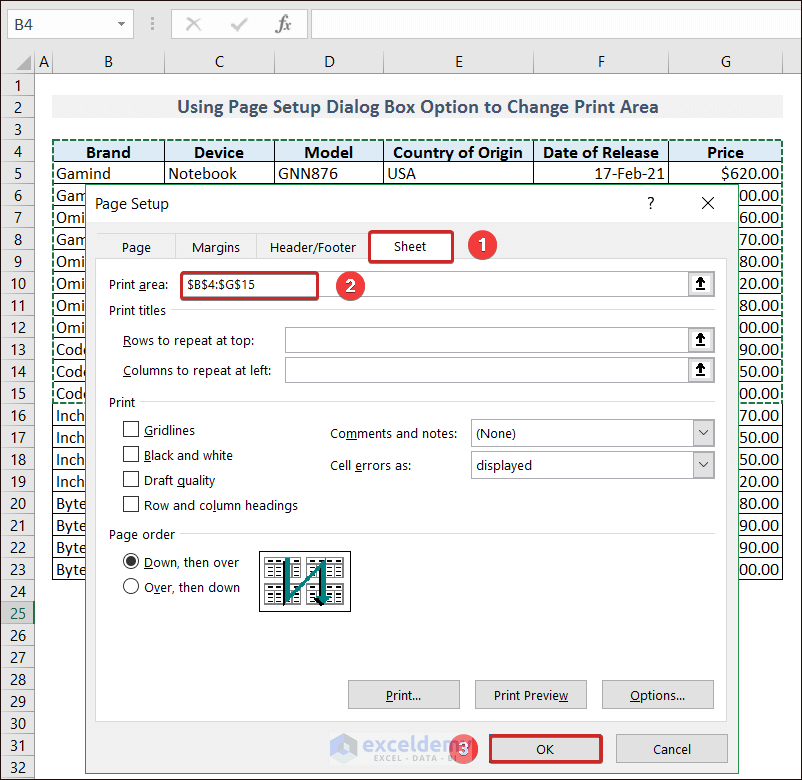
The area is displayed in Print Preview.
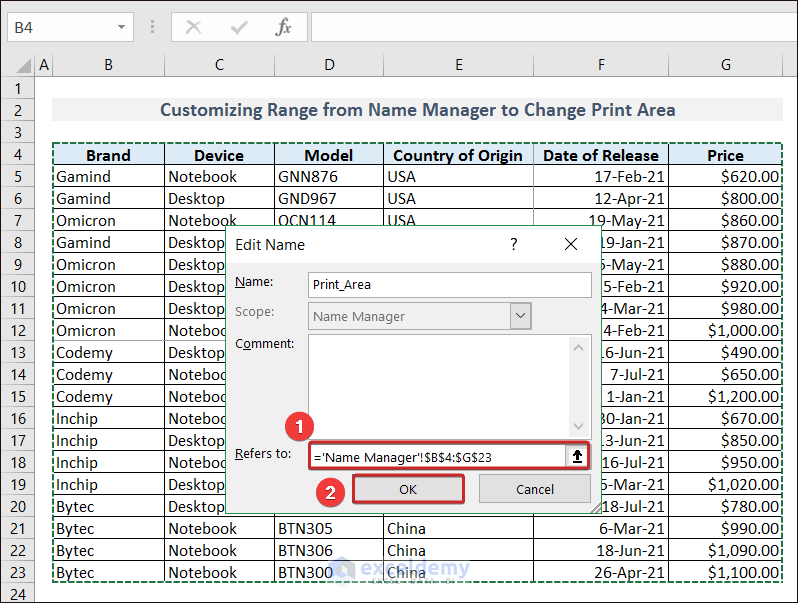
Method 6 – Customize the Range in Name Manager to Change the Print Area
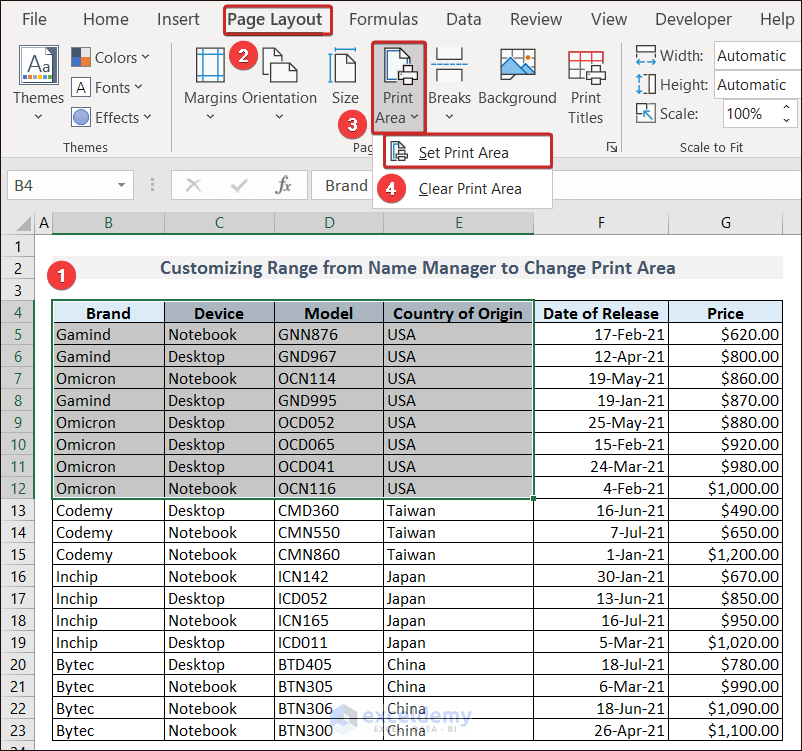
- Select your Print Area —> Page Layout Tab —> Print Area —> Set Print Area
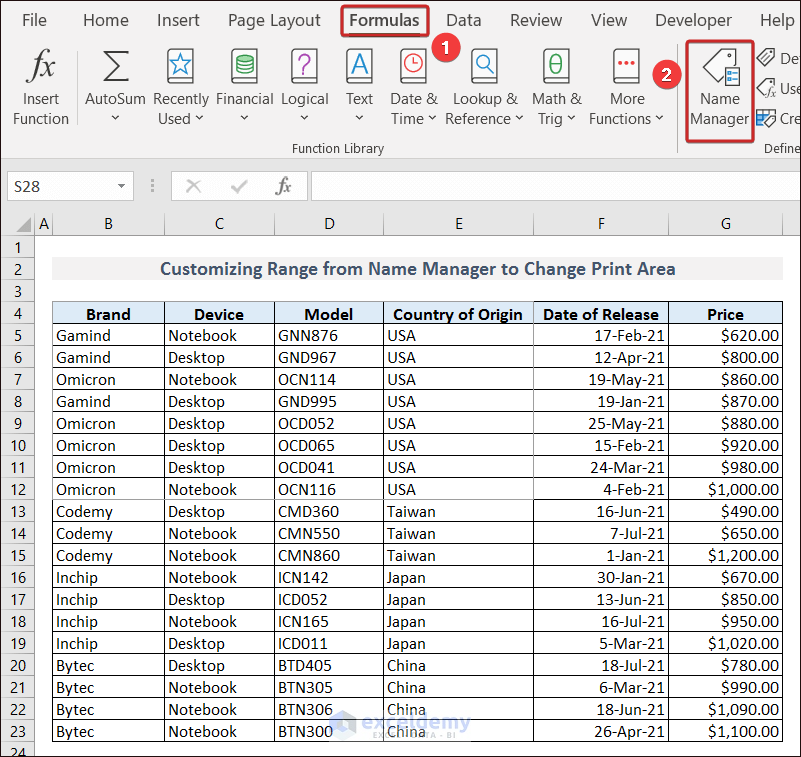
- Click Name Manager in Formulas.
- Select the defined name and click Edit.
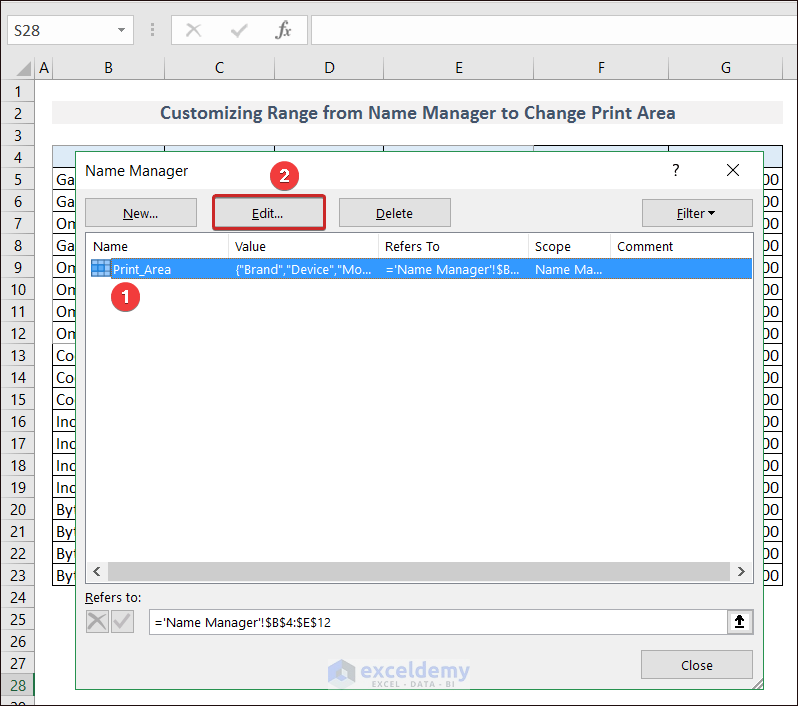
- Enter your range in Refers to and click OK.
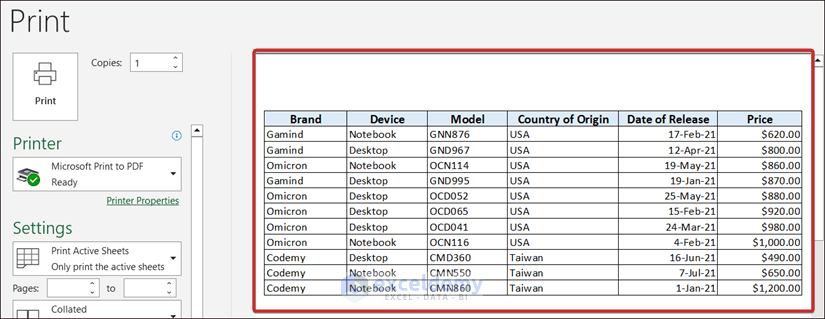
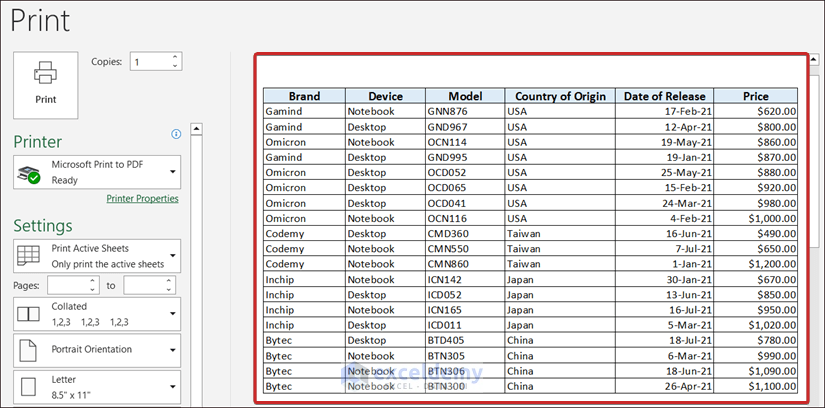
See the print area in Print Preview.
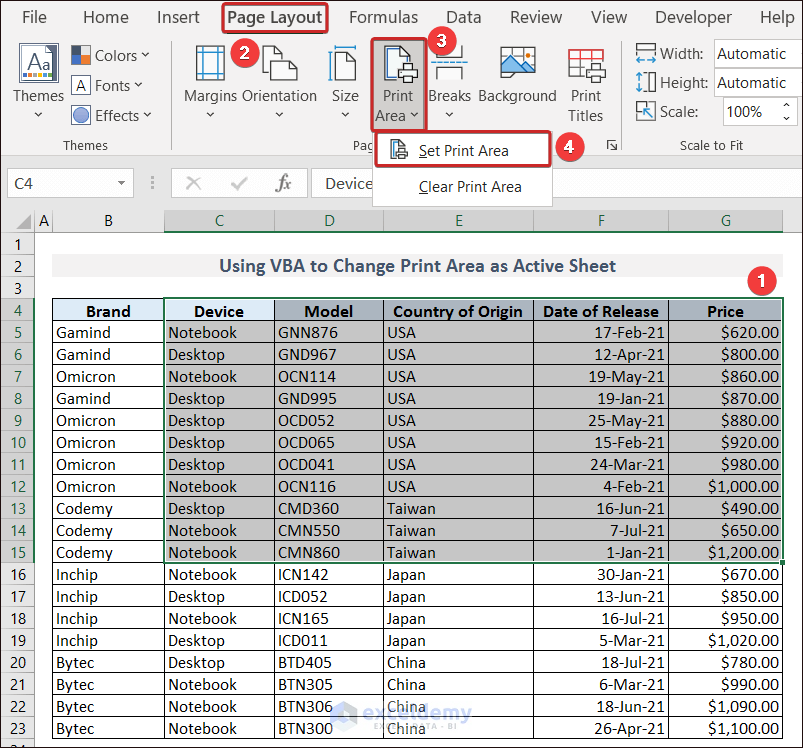
Method 7 – Using VBA to Change the Print Area in the Active Sheet in Excel
- Select your Print Area —> Page Layout Tab —> Print Area —> Set Print Area
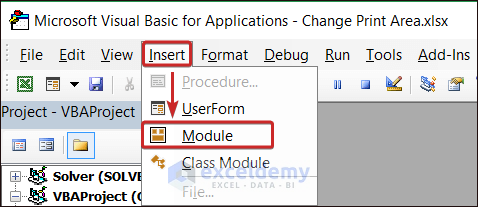
- Go to the Developer tab and click Visual Basic to open the Visual Basic Editor.
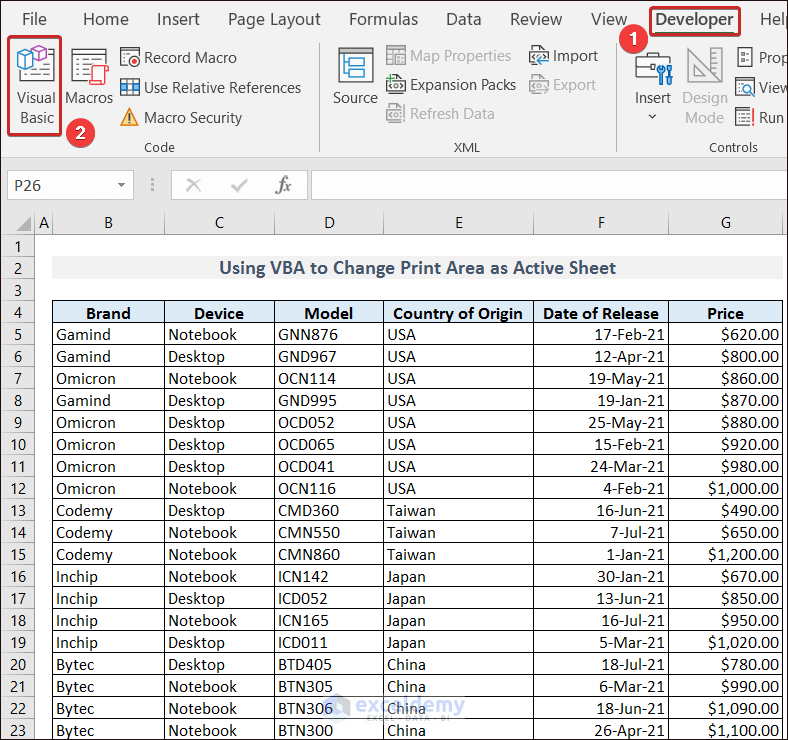
- Click Module in Insert.
- Enter the following code and press F5 to run it.
Sub PrintAreaCustomization()
Dim Active_PrintArea As String
Active_PrintArea = ActiveSheet.PageSetup.PrintArea
For Each Worksheet In ActiveWorkbook.Worksheets
    If Worksheet.Name <> ActiveSheet.Name Then
        Worksheet.PageSetup.PrintArea = Active_PrintArea
    End If
Next
End Sub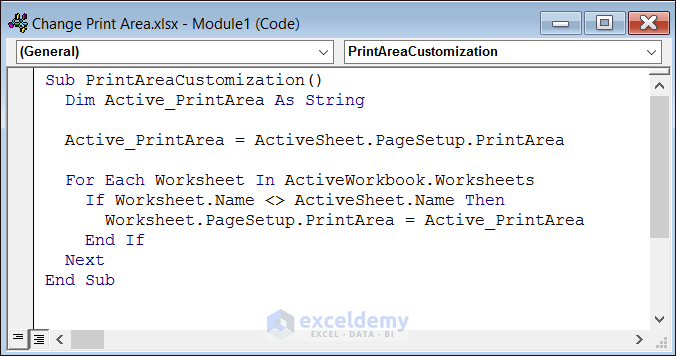
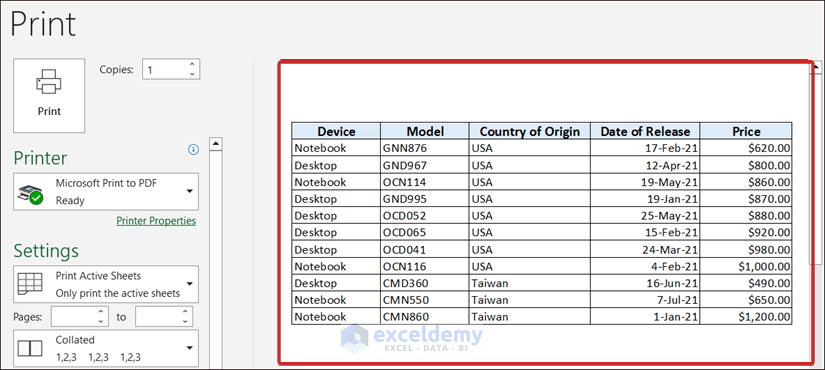
Go to Print Preview and see the print area.
Problems in Changing the Print Area in Excel and Solutions
1. Unable to Set Print Area in Excel
Excel may not identify the defined print area.
Solution: Clean the previous print area and set a new one.
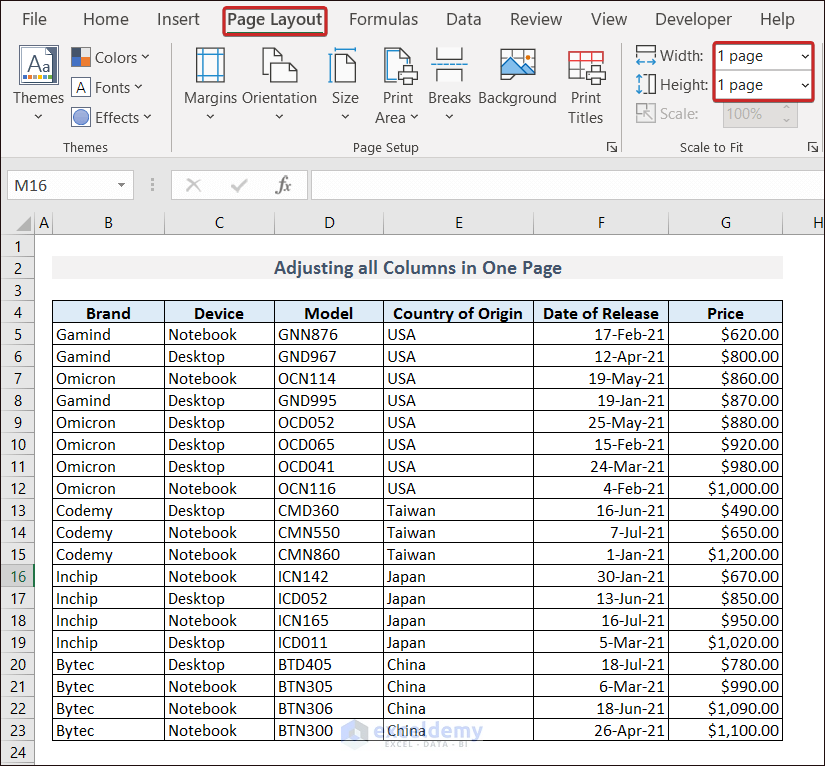
2. Columns aren’t Printed
The column width exceeds the paper width.
Solution: Adjust the columns to fit one page: set the Width and Height to 1 page in Page Layout.
3. The Print Area is Printed in Multiple Pages
Solution: Ensure cell ranges are adjacent.
Read More: [Fixed!] Excel Set Print Area Not Working
How to Set specific Rows or Columns on Every Page While Printing in Excel
- Go to Print Titles in Page Layout.

- Select the columns in Columns to repeat at left and click OK.
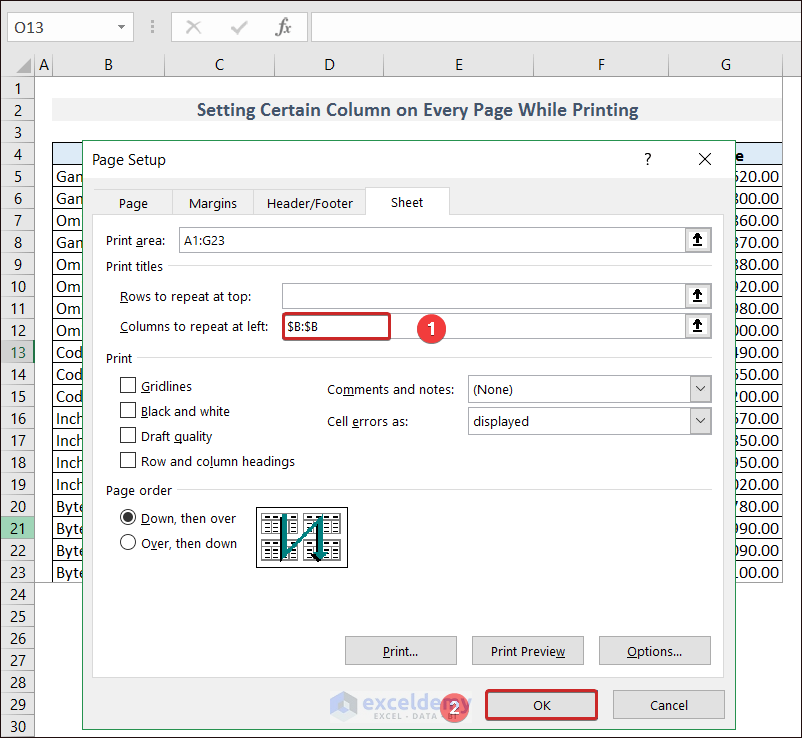
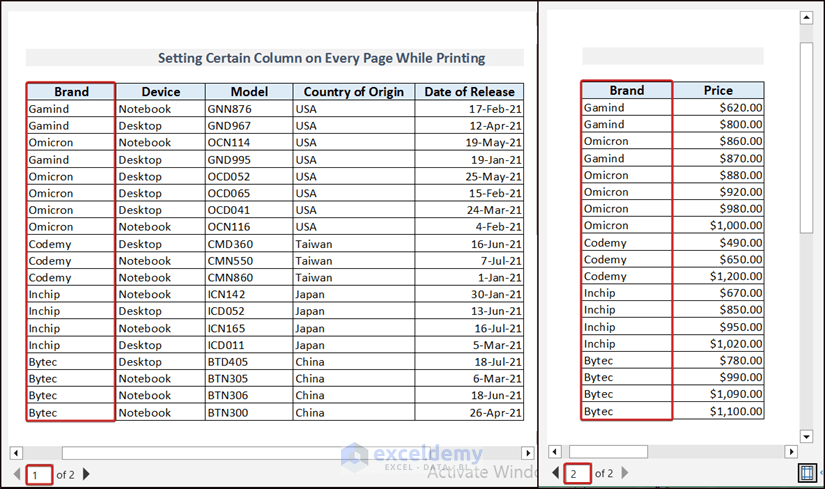
The column is displayed on both pages in the Print Preview.
How to Clear the Print Area in Excel
- Go to:

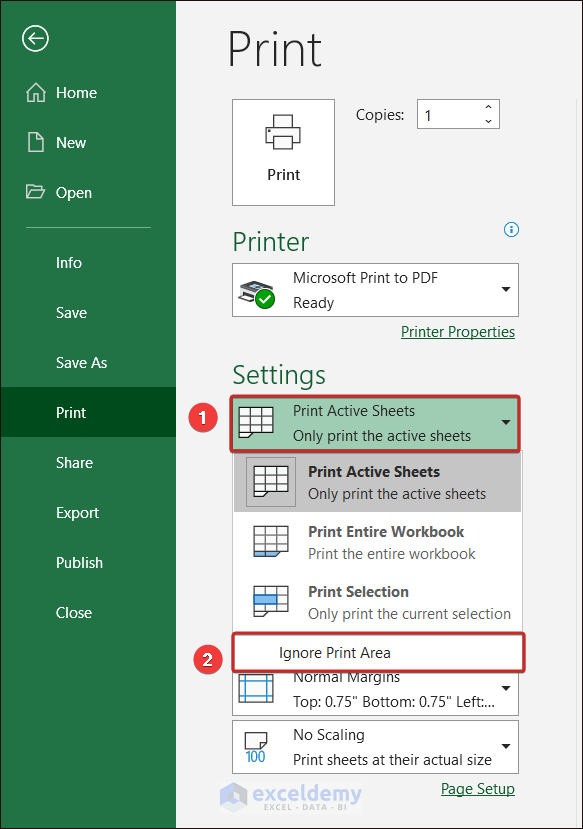
How to Ignore the Print Area in Excel
- Go to Print in File.
- Click Print Active Sheets and choose Ignore Print Area.
Read More: How to Delete Extra Pages in Excel
Frequently Asked Questions
1. What to do when the Excel format is not printing?
- Make sure the print area is correctly selected. Clear it and set a new print area.
- Check the printer settings.
- Check the page orientation and adjust your margins.
- Save the Excel file in PDF format and print it.
2. How to Set Multiple Print Areas in Excel?
Select the first print area and press CTRL to select other print areas.
3. How to Set Multiple Print Areas on One Page in Excel?
Copy a print area and paste it as a Linked Picture in a new sheet using Paste Special.
4. How to Lock the Print Area in Excel?
Use the following VBA code and run it.
Private Sub Workbook_BeforePrint(Cancel As Boolean)
    Worksheets("Sheet_Name").PageSetup.PrintArea = "Print_Area"
End Sub
Download Practice Workbook
Download the practice workbook.
Related Articles
<< Go Back to Page Setup | Print in Excel | Learn Excel
Get FREE Advanced Excel Exercises with Solutions!
