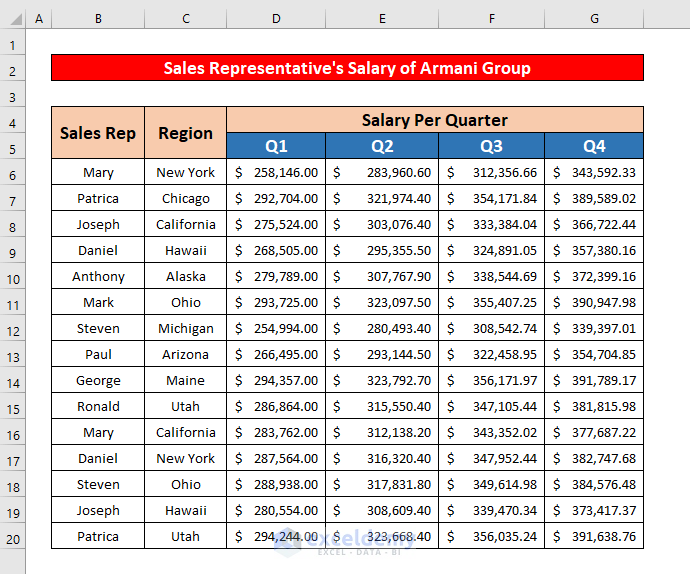
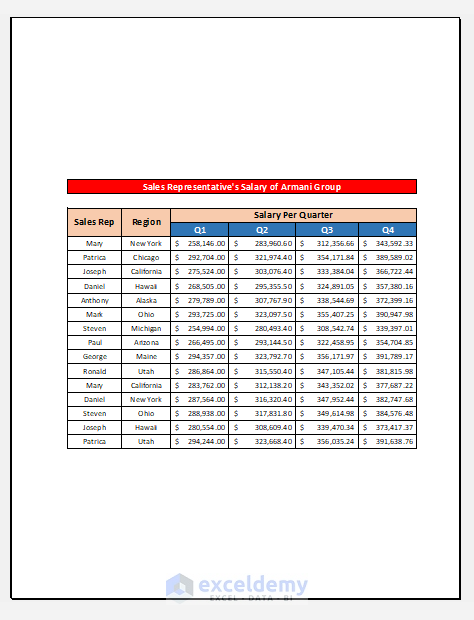
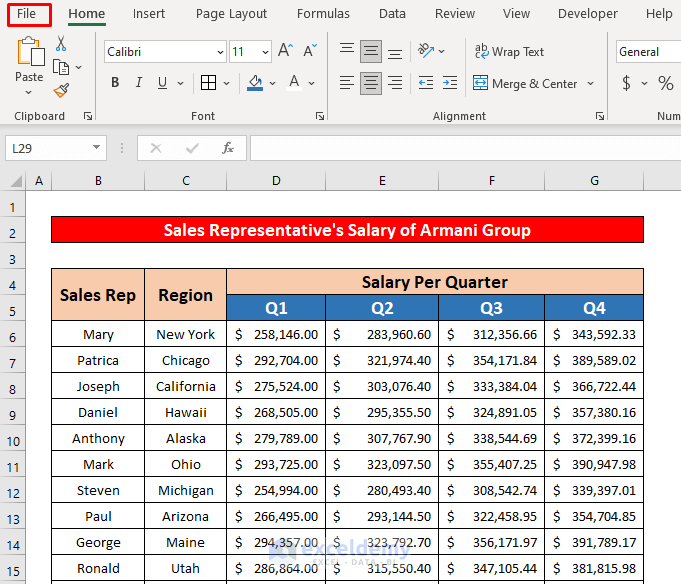
The dataset contains the salary statements of the sales representatives.
Method 1 – Using Keyboard Shortcuts to Center the Print Area in Excel
Step 1:
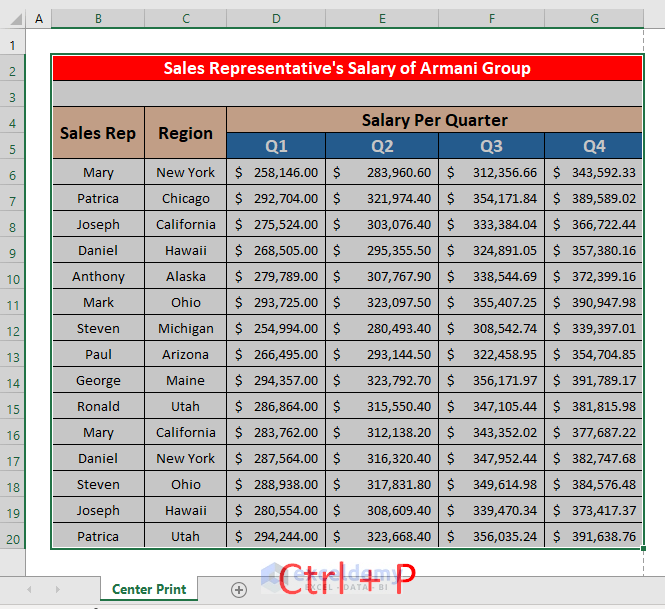
- Select the entire data range and press Ctrl and P.
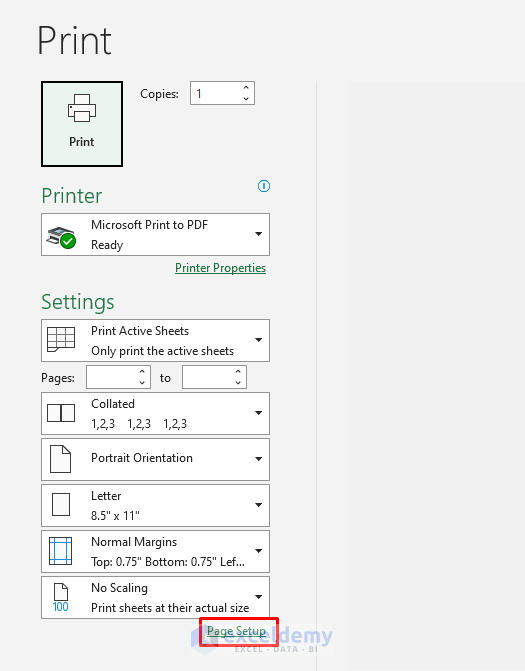
- In the new window, click Page Setup.
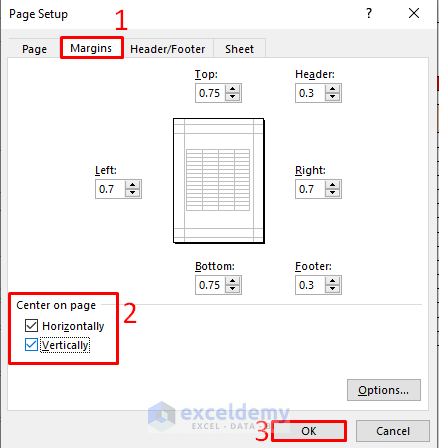
- In Page Setup, click Margins.
- Click Horizontally and Vertically in Center on Page.
- Click OK.

Step 2:
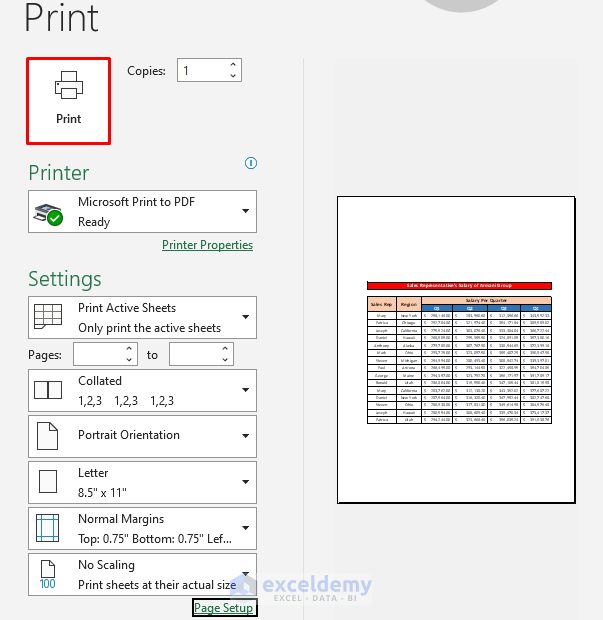
The Print Preview is displayed.

- Click Print.

Method 2 – Applying the Custom Margins Command to Center the Print Area in Excel
Step 1:
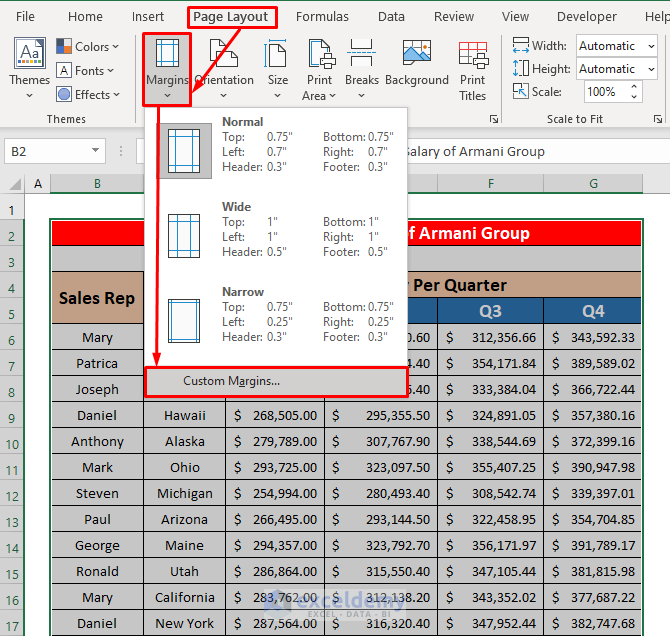
- Select the entire dataset in Page Layout and go to:
Page Layout → Page Setup → Margins → Custom Margins
Step 2:
- Click Custom Margins.
- In Page Setup, click Margins.
- Click Horizontally and Vertically in Center on Page.
- Click OK.

This is the Print Preview.
- Click Print.

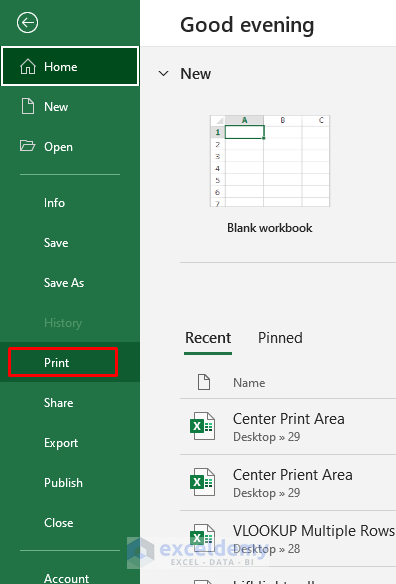
Method 3 – Use the File menu to Center the Print Area in Excel
Step 1:
- Select the entire data range and click File.
- In the new window, click Print.
- In Print options, choose Page Setup.
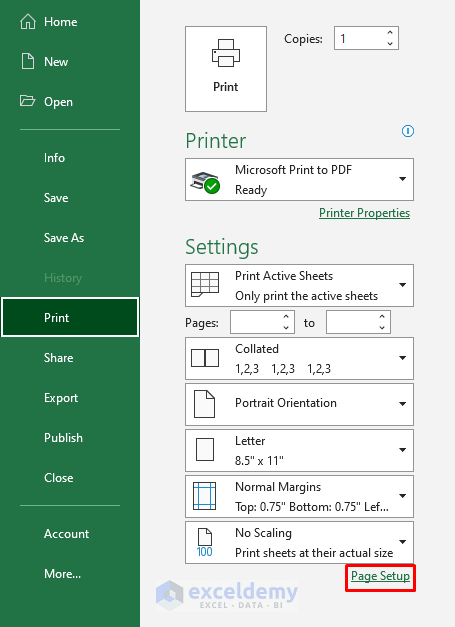
- In Page Setup, click Margins.
- Select Horizontally and Vertically in Center on Page.
- Click OK.

Step 2:
This is the Print Preview.

- Click Print.

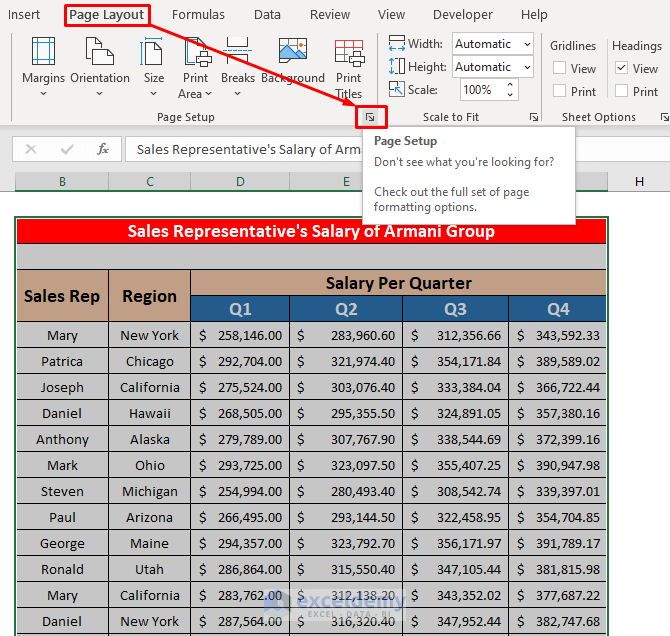
Method 4 – Using the Page Layout Command to Center the Print Area in Excel
Step 1:
- Select the entire dataset and in Page Layout, go to,
Page Layout → Page Setup → Arrow Button
Step 2:
- Click the Arrow Button to display the Page Setup window.
- Click Margins.
- Select Horizontally and Vertically in Center on Page.
- Click OK.
This is the Print Preview.

- Click Print.
Download Practice Workbook
Download the practice workbook.
Related Articles
- How to Print Selected Area in Excel on One Page
- How to Set Print Area in Excel
- How to Set Print Area with Blue Line in Excel
- How to Set Print Area for Multiple Pages in Excel
<< Go Back to Page Setup | Print in Excel | Learn Excel
Get FREE Advanced Excel Exercises with Solutions!
