If you are looking for some special tricks to set a row as print titles in Excel, you’ve come to the right place. In Microsoft Excel.
There are numerous ways to set a row as print titles. In this article, we’ll discuss four methods to set a row as print titles. Let’s follow the complete guide to learn all of this.
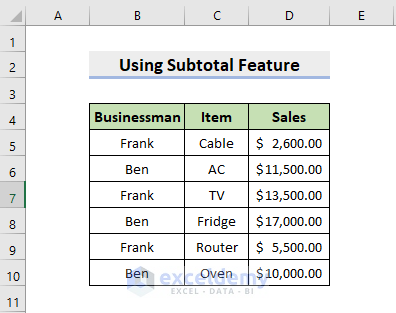
Here, we have a dataset that represents the businessmen, items, and sales of New York state. Our main goal is to set a row of print titles on every page.

In the following section, we will use 4 methods to set a row of print titles on every page.
1. Using Print Titles Option to Set Row as Print Titles in Excel
You have to follow the following steps to set a row as print titles using the Print Titles feature.
📌 Steps:
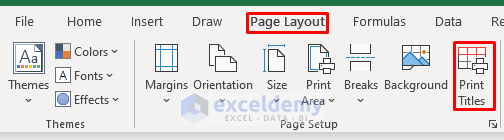
- Firstly, go to the Page Layout tab and select Print Titles.

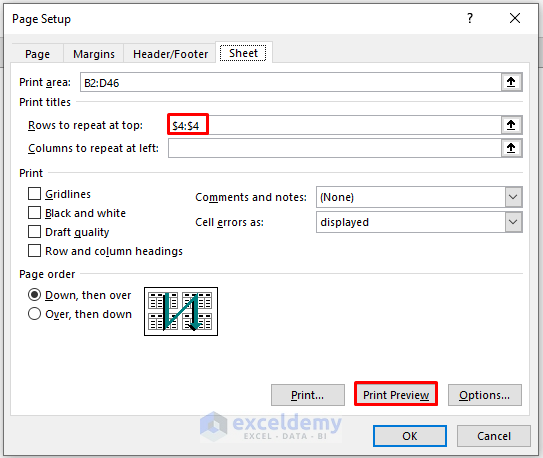
- When the Page Setup dialogue box opens, select the Print area and type B2:D46 and you have to select row 4 in the option Rows to repeat at top. Click on Print Preview.
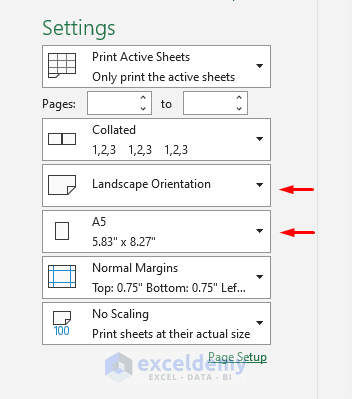
- Next, you have to select Landscape Orientation and as page size select A5 under the Settings.

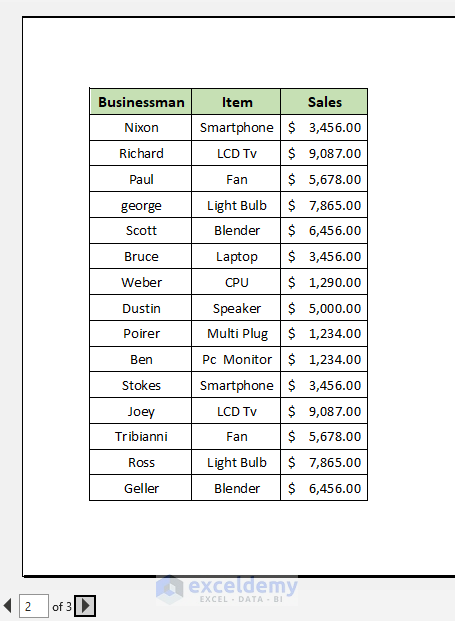
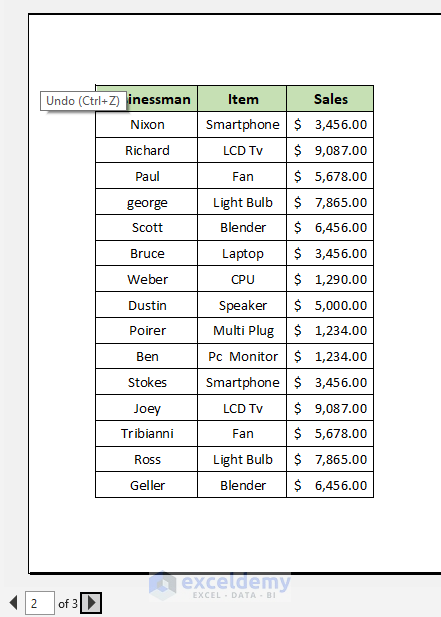
- Finally, in three pages you will get the Titles in Print preview.

- On page 2, you will find the remaining data.
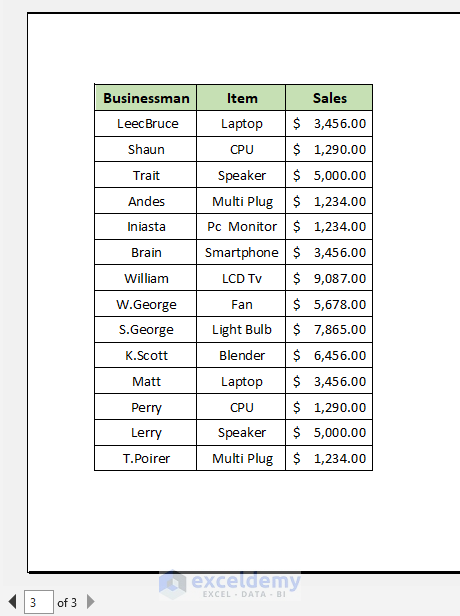
- There is more information on page 3.

Read More: How to Set Multiple Rows as Print Titles in Excel
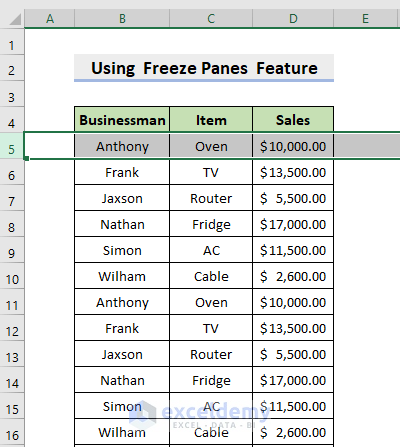
2. Using Freeze Panes Feature in Excel to Set Row as Print Titles
You have to use the following steps to set rows as print titles on every page by using the Freeze Panes feature. In Excel, Freeze Panes keep rows and columns visible while the rest of the worksheet scrolls.
📌 Steps:
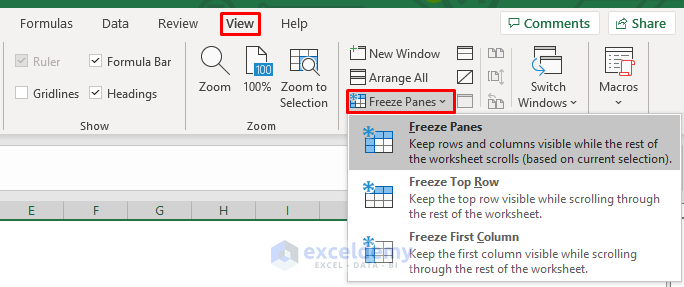
- Firstly, select the row directly below the row you wish to freeze.
- Next, go to the View tab and select Freeze Panes.
- No matter how far you scroll down, you will see your desired rows.

- Here are the remaining data with titles.

- Now, go to the Page Layout tab and select Print Titles.
- When the Page Setup dialogue box opens, select the Print area and type B2:D46 and you have to select row 4 in the option Rows to repeat at top. Click on Print Preview.

- Next, you have to select Landscape Orientation and as page size select A5 under the Settings.
- Finally, in three pages you will get the Titles in Print Preview.

- On page 2, you will find the remaining data.
- There is more information on page 3.
Read More: How to Set Print Titles in Excel
3. Setting Row as Print Titles Using Subtotal Command
It is sometimes necessary to print titles in Excel following a common group of names. In order to print titles on every page, we will be using the Subtotal feature. You have to follow the following steps to set a row as print titles using the Subtotal feature.
📌 Steps:
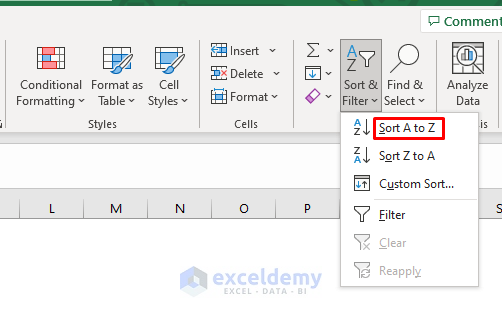
- Start by selecting a range of cells.

- Next, go to the Home tab, select the Sort & Filter And click on Sort A to Z.
- The following output will appear after sorting the name.

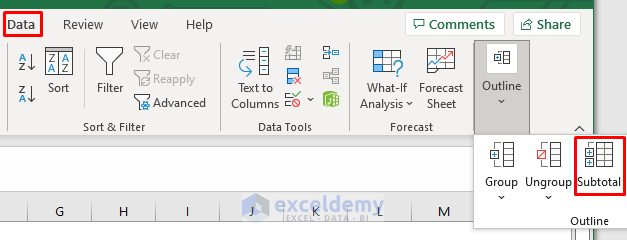
- Then, go to the Data tab. Under the Outline group, select the Subtotal feature.
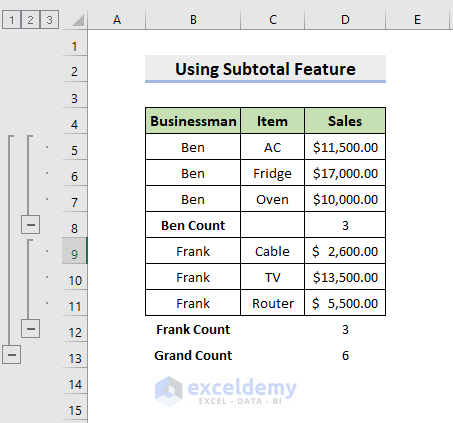
- When the Subtotal dialogue box opens, select the Count in the “Use function”, and check Page break between groups, and click on OK.

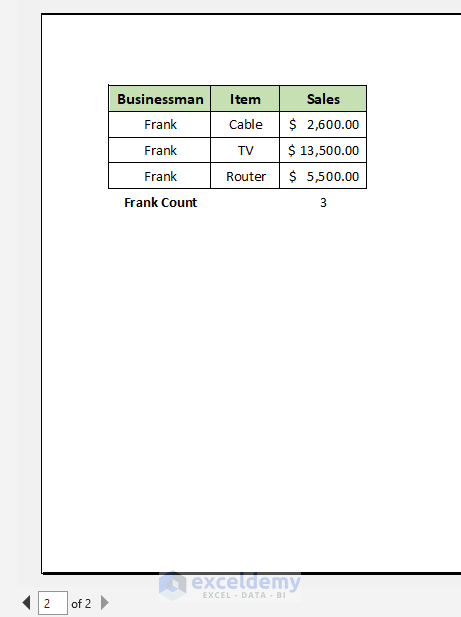
- After that, you will get the following output.
- Now, go to the Page Layout tab and select Print Titles.

- When the Page Setup dialogue box opens, select the Print area and type B2:D12 and you have to select row 4 in the option Rows to repeat at top. Click on Print Preview.

- Next, you have to select Landscape Orientation and as page size select A5 under the Settings.

- Finally, you can view the Titles in Print preview on both pages.

- On page 2, you will find the remaining data.
Read More: [Fixed!] Print Titles Must Be Contiguous and Complete Rows or Columns
4. Applying VBA Macro to Set Row as Print Titles
Now, we will use VBA code to set a row as print tiles in Excel.
📌 Steps:
- Firstly, press ALT+F11 or you have to go to the tab Developer, select Visual Basic to open Visual Basic Editor, and click Insert, select Module.

- Next, you have to type the following code
Sub Printtitles()
Dim VBA As Worksheet
Dim VBA2 As Worksheet
Dim ws As Sheets
Set ws = ActiveWorkbook.Worksheets
Set VBA2 = ws(1)
For Each VBA In ws
VBA.PageSetup.PrintTitleRows = VBA2.PageSetup.PrintTitleRows
Next VBA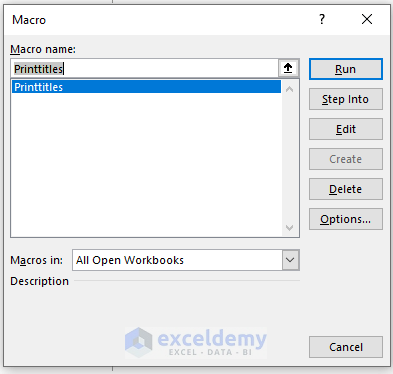
End Sub- After that, close the Visual Basic window And press ALT+F8.
- When the Macro dialogue box opens, Select Printtiles in the Macro name. Click on Run.
- Finally, you will get the following output.

Read More: How to Remove Print Titles in Excel
Download Practice Workbook
Download this practice workbook to exercise while you are reading this article.
Conclusion
That’s the end of today’s session. I strongly believe that from now you may set a row as print titles in Excel. If you have any queries or recommendations, please share them in the comments section below.
Related Articles
- How to Set Print Titles to Repeat in Excel
- How to Select Column A as Titles to Repeat on Each Page
- How to Print Titles in Excel Except for Last Page
- Print Titles in Excel Is Disabled, How to Enable It?
<< Go Back to Print Titles | Page Setup | Print in Excel | Learn Excel
Get FREE Advanced Excel Exercises with Solutions!
