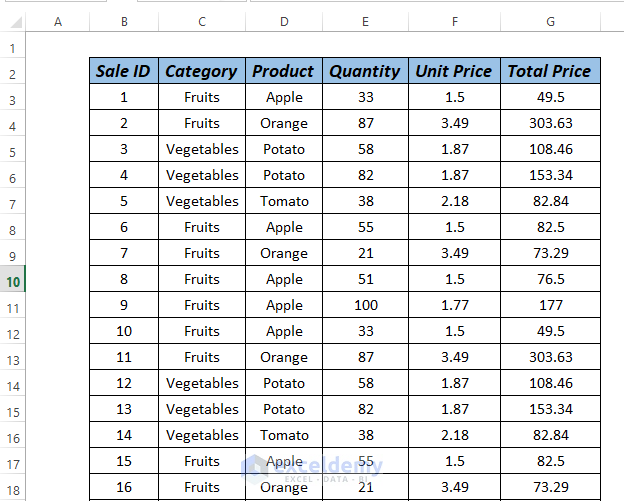
We occasionally need to print exported files or files that we have received from others. In that case, we may face difficulties with print titles that come as Title, Header, or Row and Column Headers. We have a sample dataset containing these 3 issues.
How to Remove the Titles from Print in Excel: 3 Ways
Method 1 – Remove the Print Titles Using Page Setup
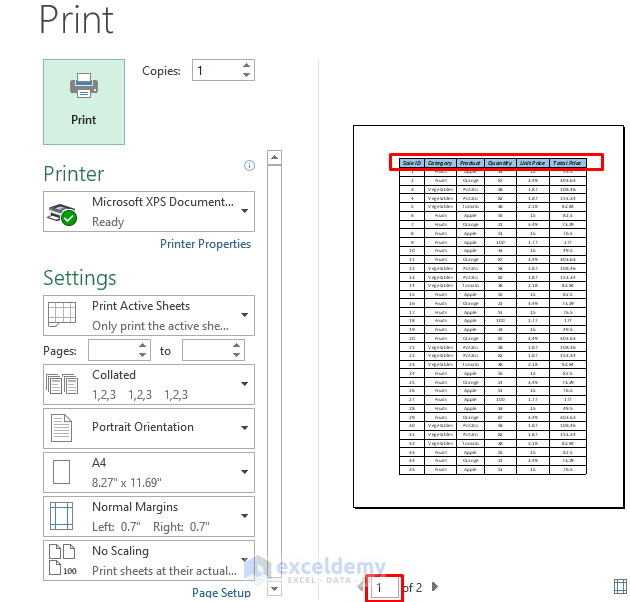
When we try to print our file we see that Sale ID, Category, Product, Quantity, Unit Price, and Total Price, these titles appear every time.
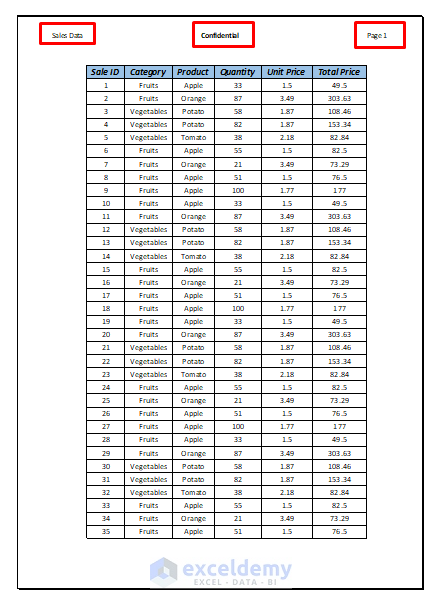
This is the first page of the worksheet and contains the title.
When we go to the next page, the same title appears.
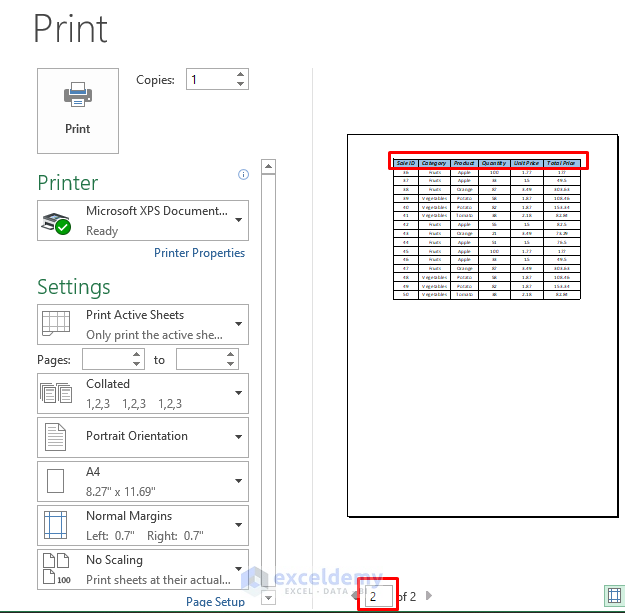
We want this title to appear only on our first page.
Steps:
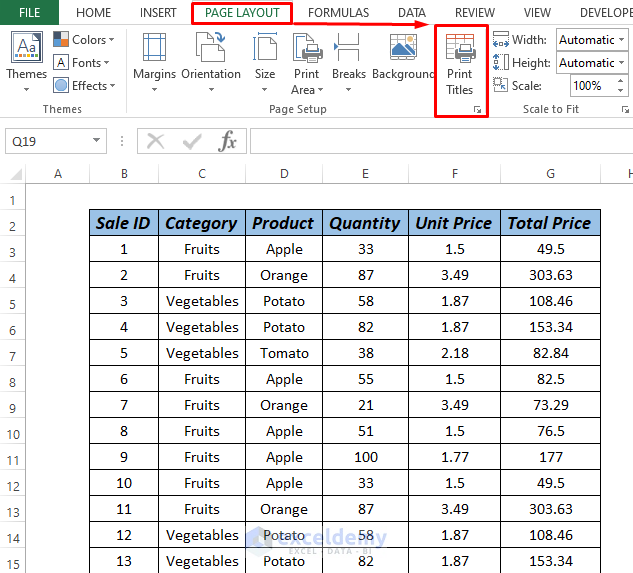
- Go to PAGE LAYOUT and click Print Titles.
- A dialog box will pop up and we can see $2:$2 in the Rows to repeat at top box.
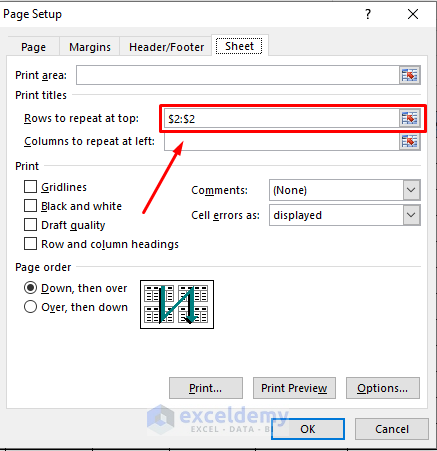
- Remove this row reference and click OK.
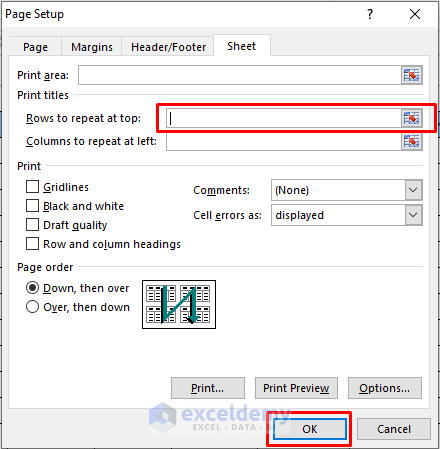
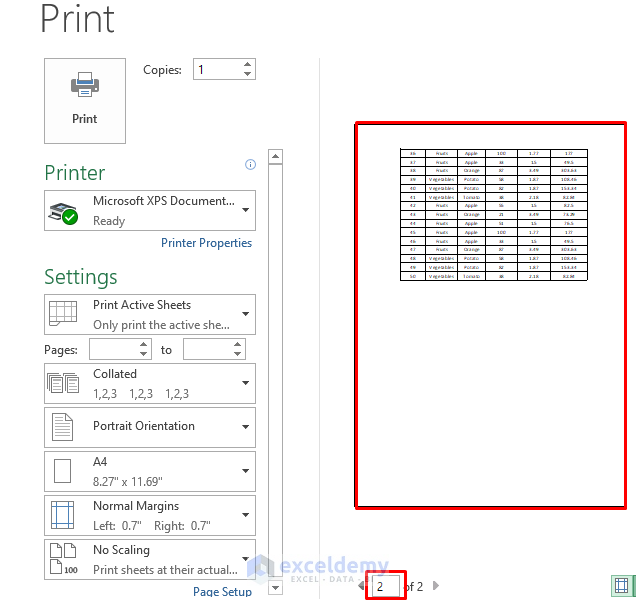
- Press Ctrl + P and we can see no print title on page 2.
Read More: How to Set Print Titles in Excel
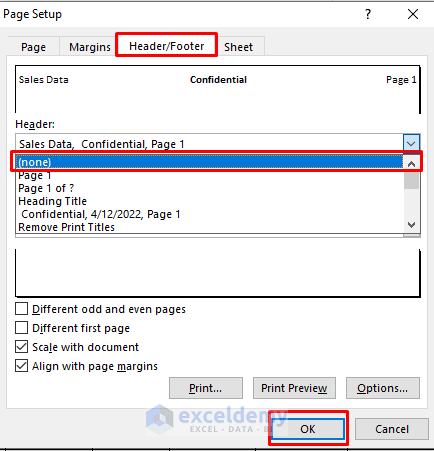
Method 2 – Use the Header Option to Remove Print Titles
You can see Sale, Confidential, and Page Number above the printing page.
Steps:
- Go to PAGE LAYOUT and select Print Titles.
- A dialog box will pop up.
- Select None from the drop-down box of Header from the Header/Footer tab.
- If preview this page, it will look like the following image.

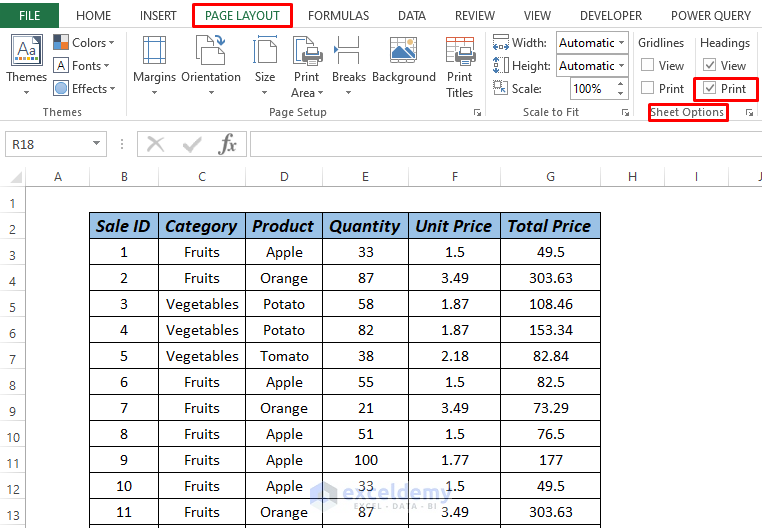
Method 3 – Remove Row and Column Titles
Sometimes while printing, we can see row and column headers/titles are also being printed or we can see it in the Print Preview section.
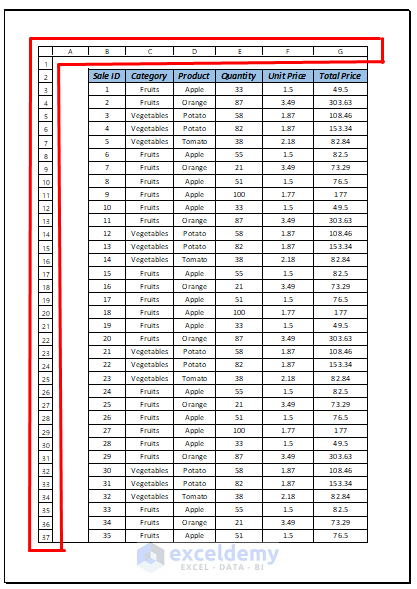
Steps:
- Go to PAGE LAYOUT and uncheck Print in the Sheet Option as shown in the image below.
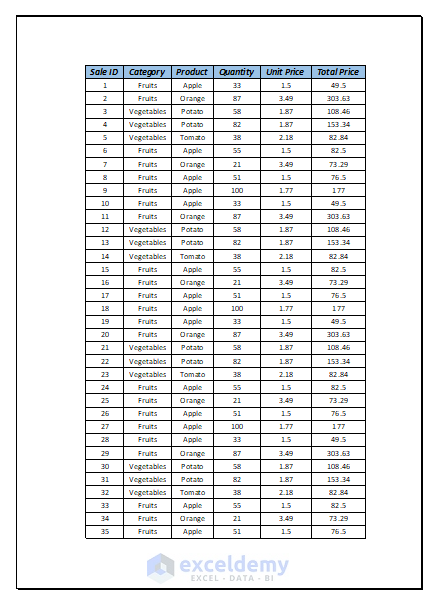
- Our image will look like the following when we want to print.
Read More: How to Set a Row as Print Titles in Excel
Practice Section
We’ve attached a Practice sheet where you may practice these methods.

Download the Practice Workbook
Related Articles
- How to Set Print Titles to Repeat in Excel
- How to Select Column A as Titles to Repeat on Each Page
- How to Print Titles in Excel Except for Last Page
- [Fixed!] Print Titles Must Be Contiguous and Complete Rows or Columns
- Print Titles in Excel Is Disabled, How to Enable It?
<< Go Back to Print Titles | Page Setup | Print in Excel | Learn Excel
Get FREE Advanced Excel Exercises with Solutions!
