In Microsoft Excel, sometimes print preview does not show all pages. It may occur due to the size of the print area. Today, we will show a step-by-step solution when the print preview in Excel does not show all pages. We will also discuss the way to fix it if the full spreadsheet page is not printing. So, without any delay, let’s start the discussion.
Print Preview in Excel Does Not Show All Pages: Step-by-Step Solution
In this section, we will see the solution to the ‘print preview does not show all pages’ problem. This problem occurs because of the pre-selected print area. We can overcome this problem by clearing the print area. Now, we will discuss the solution in quick steps.
STEP 1: Check Pages in Print Preview
- First of all, we will check the number of pages in the print preview.
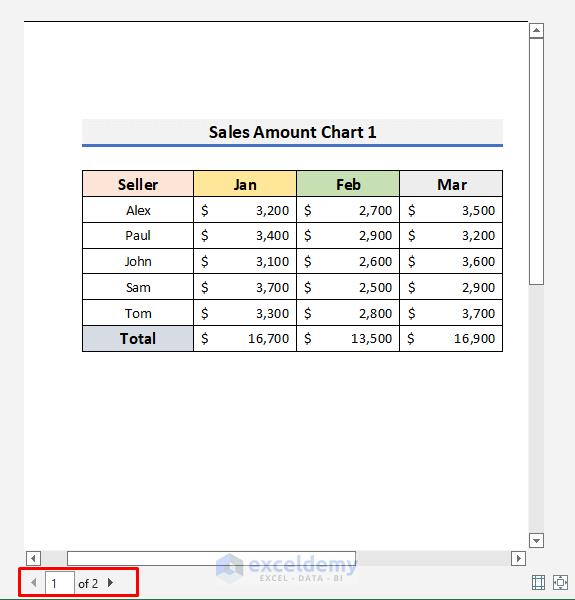
- For that purpose, we have 2 sales amount charts. We want to print these two charts on two separate pages.

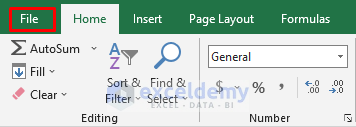
- After that, click on the File tab.
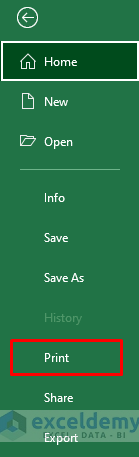
- Then, select Print.
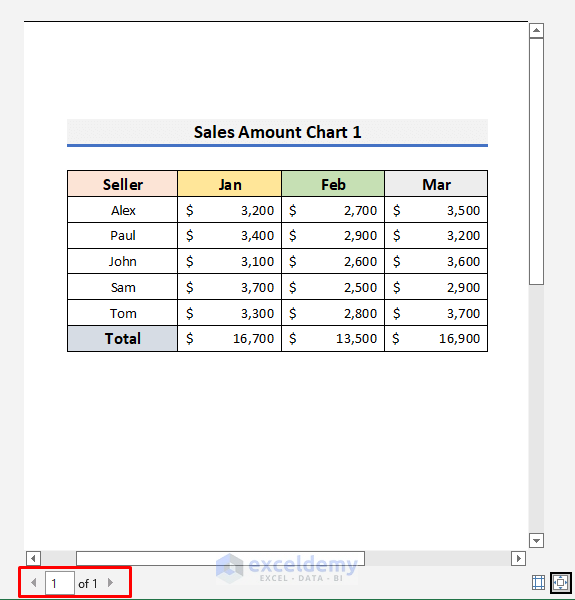
- After selecting print, you will see the print preview.
- Alternatively, you can press Ctrl + P to open the print preview.
- Here, we have only 1 page instead of 2. So, the print preview does not show all pages in this case.
STEP 2: Clear Print Area
- To fix this problem, we need to clear the print area.
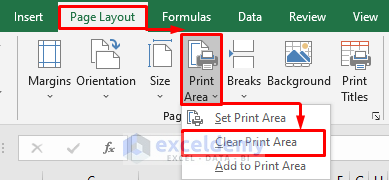
- To do so, go to the Page Layout tab and click on the Print Area option. A drop-down menu will appear.
- Select Clear Print Area from there.
STEP 3: Check Print Preview Again
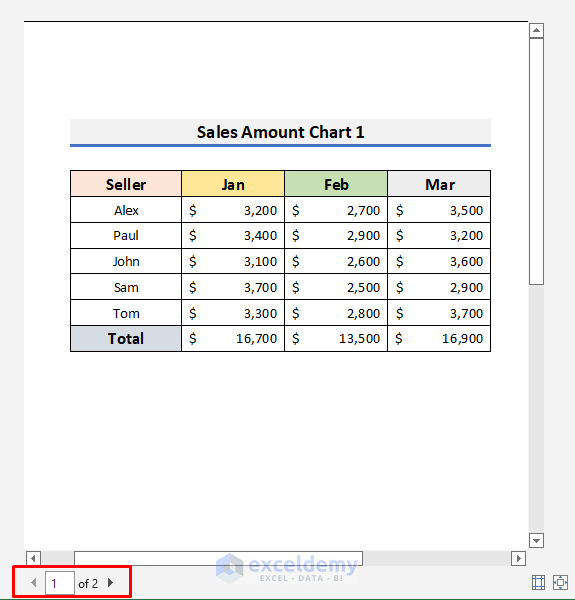
- Finally, press Ctrl + P to see the print preview again.
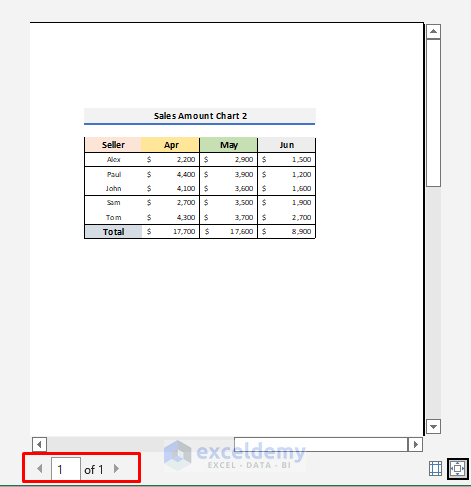
- This time you will see both pages.
- On the first page, you will see the Sales Amount Chart 1.
- And on the second page, you will see the Sales Amount Chart 2.

Read More: [Fixed!] Print Preview in Excel Doesn’t Match Document
How to Fix If Full Excel Spreadsheet Page Is Not Printing?
Sometimes, Excel users need to print the full Excel spreadsheet on a page. We can do that by following some steps. Suppose, we have two sales charts in an Excel sheet.

If we see the print preview of this sheet, we will see two separate pages.
Let’s follow the steps below to see how we can print a full Excel spreadsheet on a page.
STEPS:
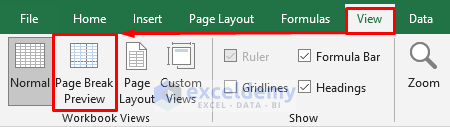
- Firstly, go to the View tab and select Page Break Preview.
- As a result, the Excel spreadsheet will look like the picture below.
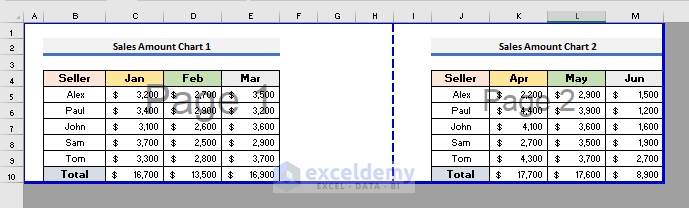
- Secondly, put the cursor on the blue line in the bottom-right corner. The cursor will turn into a double arrow symbol.
- Now, use this double arrow cursor to resize the blue border line.

- After that, put the cursor on the dotted blue line and move the line to the right-most side.

- As a result, the Excel sheet will look like the picture below.

- Finally, press Ctrl + P to see the print preview.
- In the below picture, you can see the first chart on Page 1.

- Also, if we scroll to the right side, we will see Chart 2.
Download Practice Book
You can download the practice book from here.
Conclusion
In this article, we have discussed the solution to the Print Preview in Excel Does Not Show All Pages problem. I hope the solution will help you to fix your problem. Moreover, we have also demonstrated how you can print a full spreadsheet on a page. Furthermore, you can also download the practice book to test your skills. Last of all, if you have any suggestions or queries, feel free to ask in the comment section below.
Related Articles
- How to Delete Blank Pages in Print Preview in Excel
- [Fixed!] Table Border Not Showing in Print Preview
- [Fixed!] Print Preview Not Available in Excel
<< Go Back to Print Preview in Excel | Print in Excel | Learn Excel
Get FREE Advanced Excel Exercises with Solutions!
