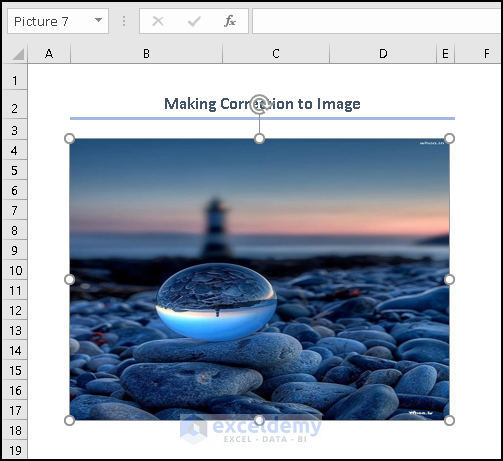
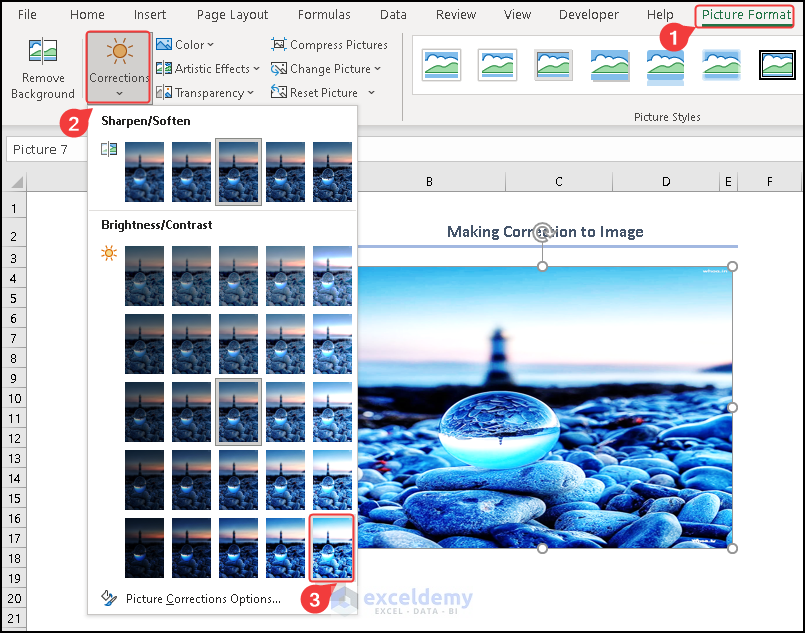
Method 1 – Making Correction to an Image
- Get picture format, you have to select the image first in every case.
- Choose Picture Format option from the ribbon >> Correction.
- Select any correction you want.
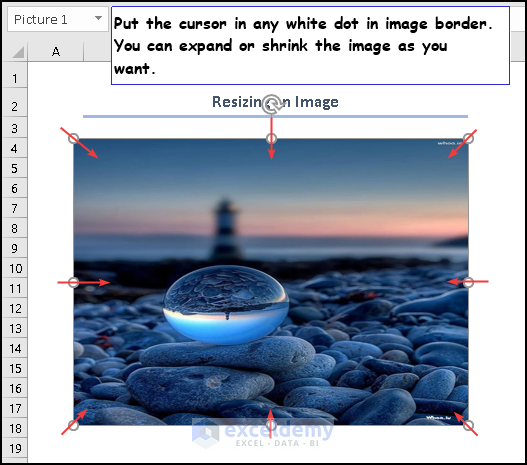
Method 2 – Resizing an Image
- After clicking on the image, you will see six white dot at six points of the image. Place the cursor on any dot and expand or shrink as you want.
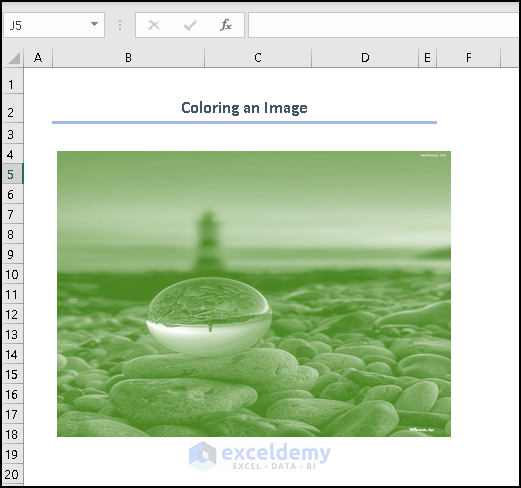
Method 3 – Coloring an Image
- Choose Picture Format >> Color >> Select any color you want.
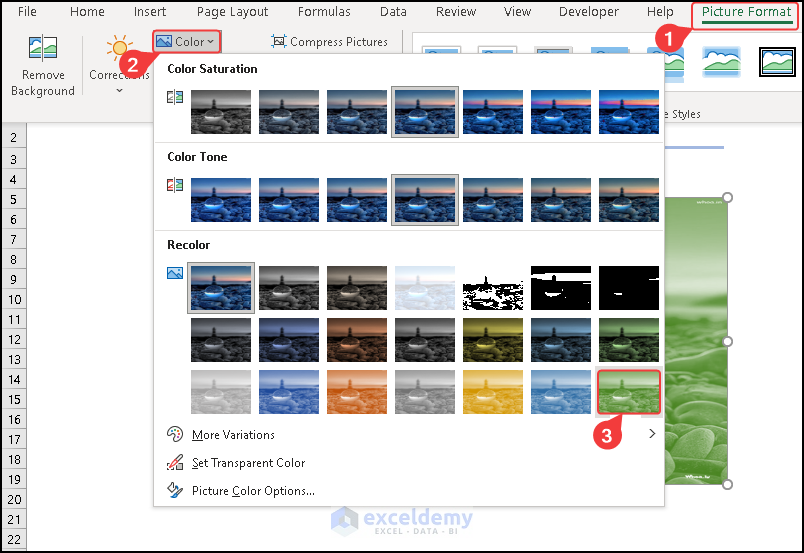
- After selecting the desired color, we get the below image.
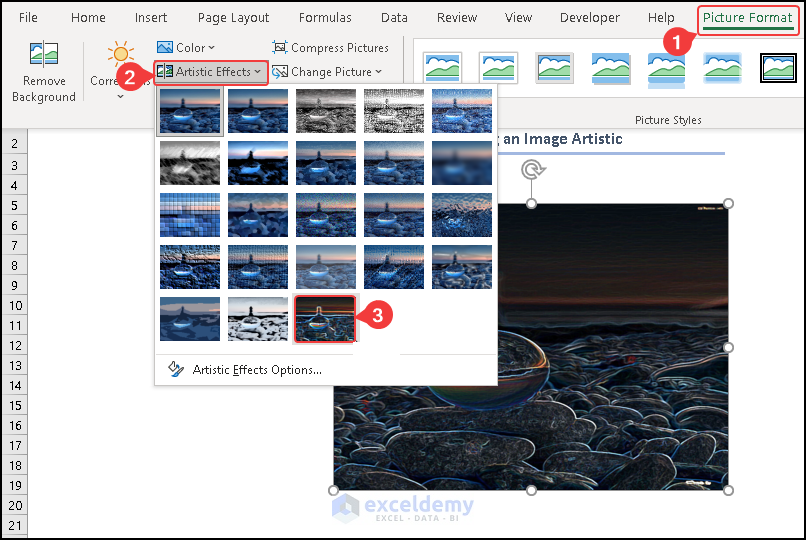
Method 4 – Making an Image Artistic
- Choose Picture Format >> Artistic Effects >> Select any effect.
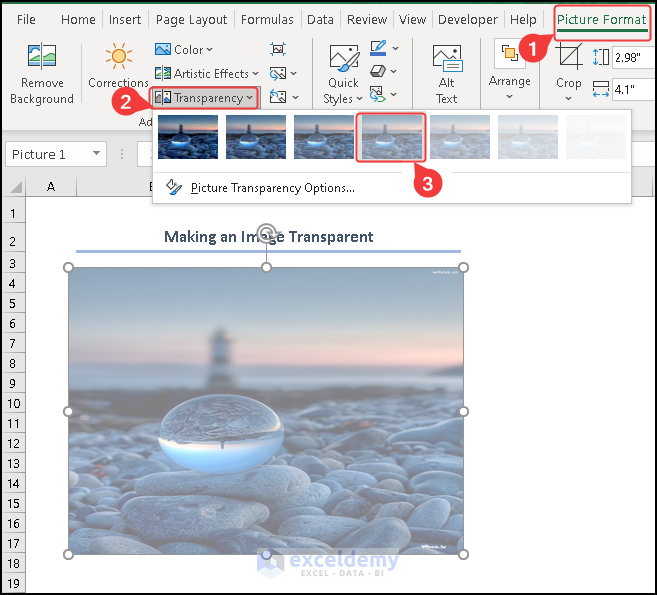
Method 5 – Making an Image Transparent
- Choose Picture Format >> Transparency >> Choose any level of transparency.
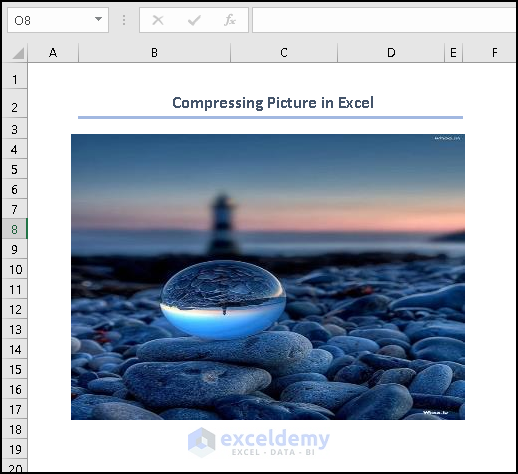
Method 6 – Compressing Picture in Excel
- Choose Picture Format >> Adjust >> Compress Pictures.
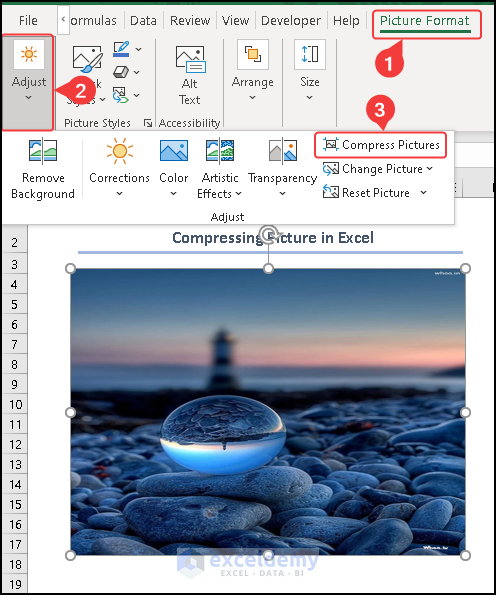
- Select any of the options from the Resolution section and press OK.
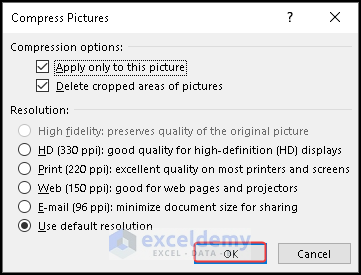
- After compressing, we get the image below.
Method 8 – Resetting Picture in Excel
- Select Picture Format >> Adjust >> Reset Pictures >> Select the desired option to reset.
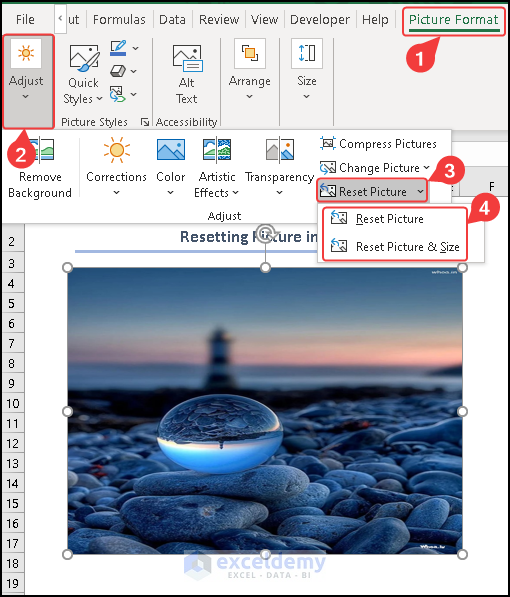
Have two options and select any of the options from the list.
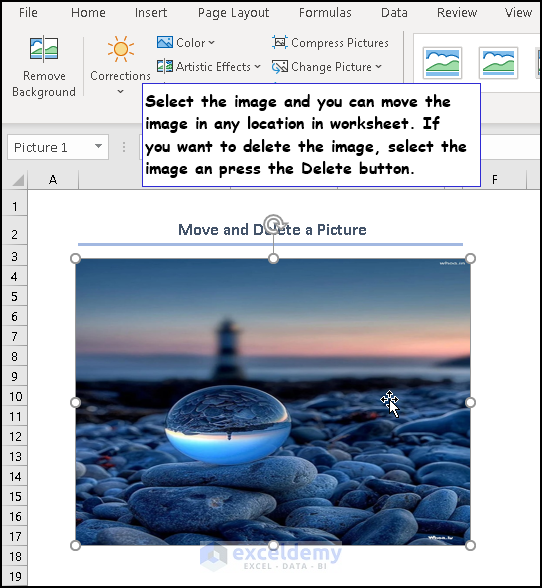
Method 9 – Move and Delete the Picture
- Select the image and drag the cursor to move it anywhere.
- To delete, select the image and press Delete.
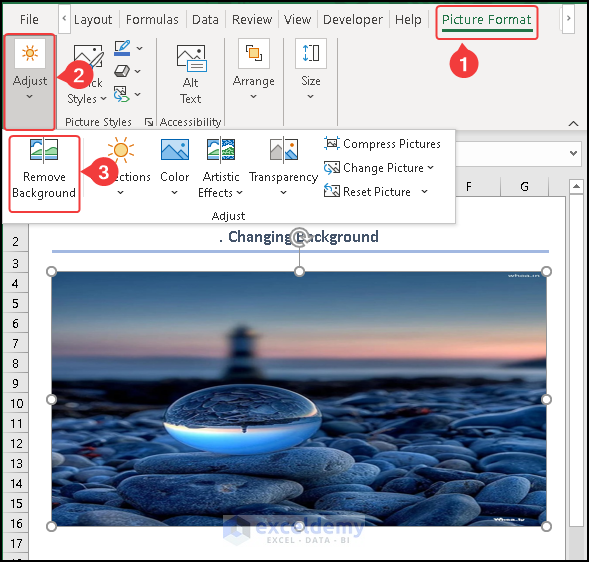
Method 10 – Changing the Background of the Image
- Choose Picture Format >> Adjust >> Remove Background.
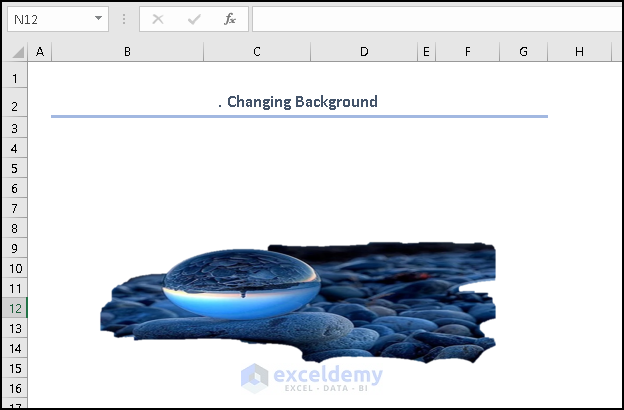
- You can see the background is gone from the below image.
Method 11 – Change Picture Style
- Choose Picture Format >> Quick Styles >> Select any styles.

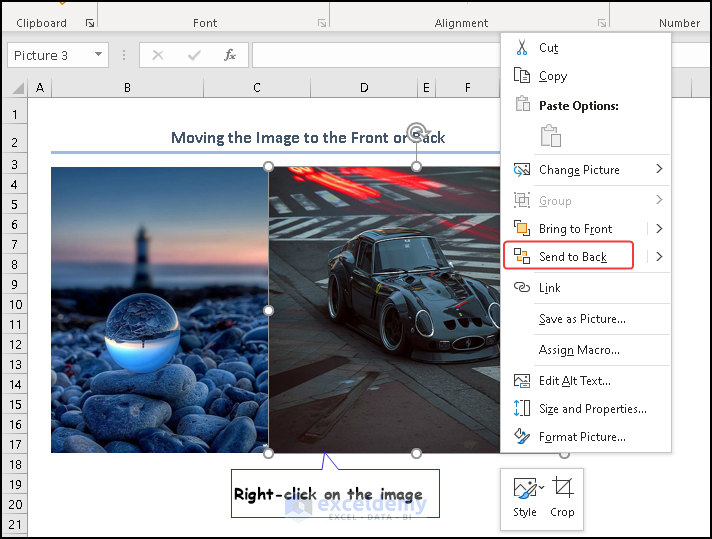
Method 12 – Move the Image to the Front or Back
- After right-clicking on the image select Send to Back option from the Context Menu.
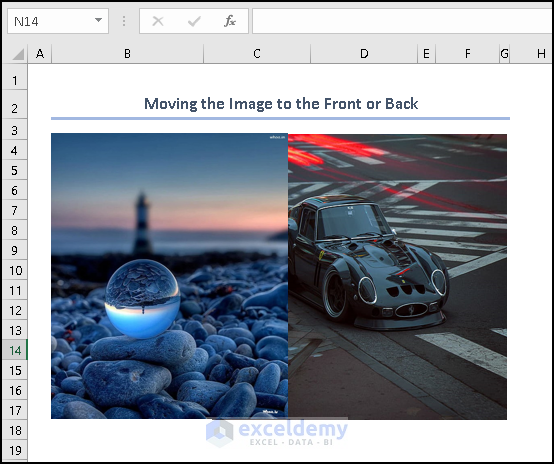
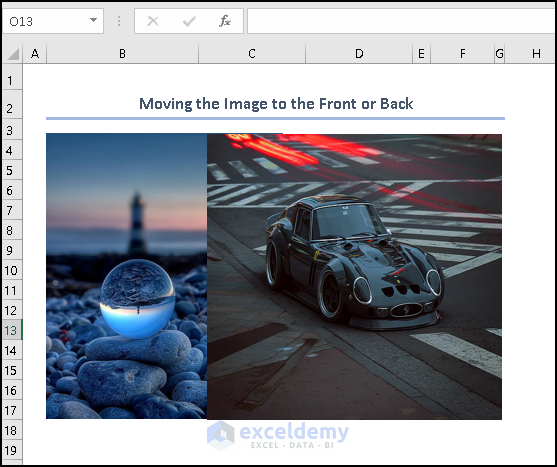
- You see that the image of the car has gone behind.
- Right-click on the image and select Bring to Front.
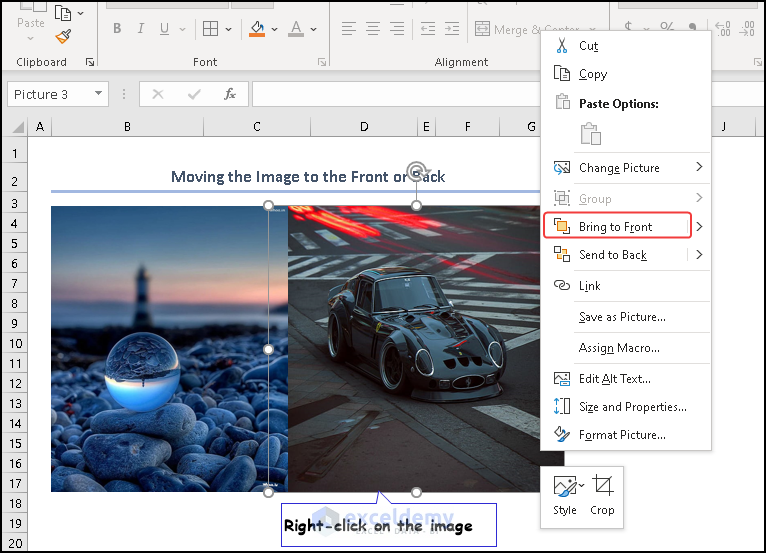
- You will see the image has come forth.
How to Change Picture in Excel
- Select Picture Format >> Adjust >> Change Picture.
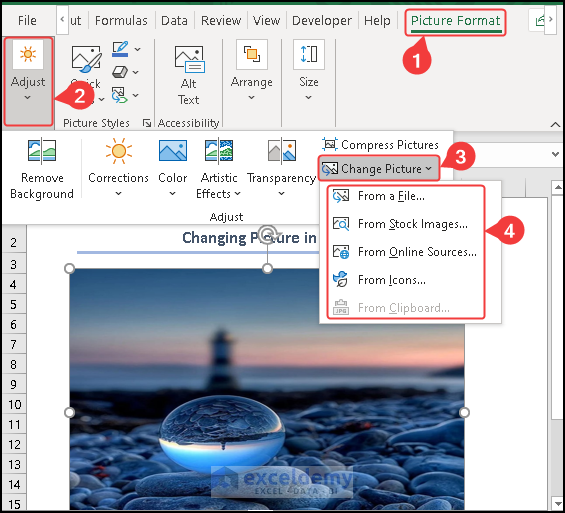
There are multiple source options available.
How to Insert Picture in Excel Worksheet
- Choose Insert >> Illustration >> Pictures.
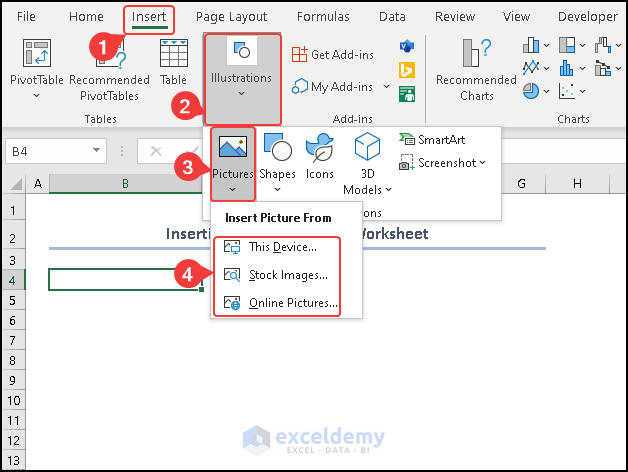
- Choose any source.
- We selected the image from This device.
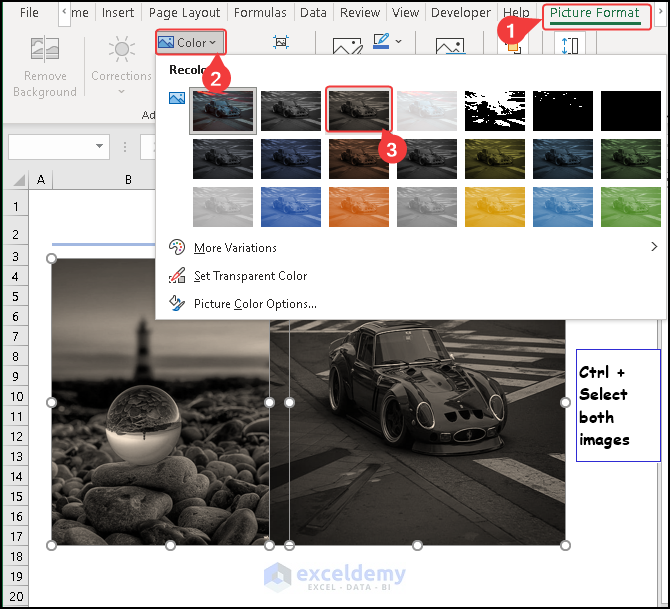
How to Handle Multiple Images in Excel
- Press Ctrl + select two images.
- Select any type of picture formatting.
- We demonstrated color formatting.
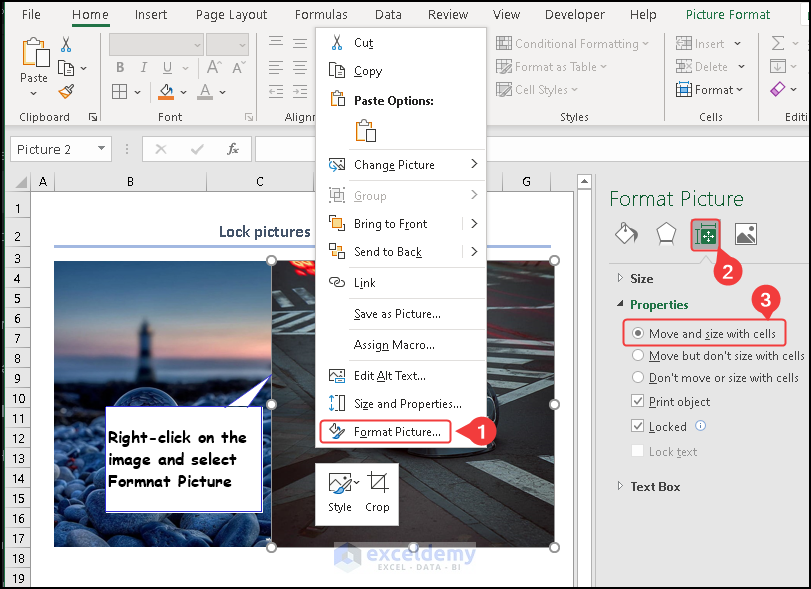
How to Lock Pictures with Cells in Excel
- Right-click on Image >> Choose Format Picture option from the Context Menu.
- Choose Size and Properties >> Select Move and size with cells.
Things to Remember
- Use high-resolution images to maintain clarity and sharpness when resizing or printing pictures within your Excel sheet.
- Excel supports various image formats, such as JPEG, PNG, GIF, and BMP. Choose a format that suits your needs while considering compatibility and file size.
- Adjust print settings in the Page Setup menu to ensure pictures appear correctly when printing, and consider using the Fit to options for optimal sizing.
Frequently Asked Question
1. How can I move a picture to a specific location within the worksheet?
You can move a picture by clicking and dragging it to the desired location within the worksheet. Alternatively, you can cut and paste the picture to move it.
2. Is it possible to apply filters or effects to pictures in Excel?
Yes, Excel allows you to apply basic filters and effects to pictures. Right-click on the picture, select Format Picture, and explore the available options under the Picture Effects tab.
3. Can I link a picture to a website or another file in Excel?
Yes, you can hyperlink a picture to a website or another file. Right-click the picture, choose Hyperlink, and then enter the URL or file path you want to link to.
4. How can I maintain picture quality when printing an Excel worksheet?
To maintain picture quality when printing, ensure that you use high-resolution images and adjust the print settings for optimal image output. You can also adjust the scaling options in the Page Setup menu.
Download Practice Workbook
You may download the following Excel workbook for better understanding and practice it yourself.
<< Go Back to Excel Insert Pictures | Learn Excel
Excel Picture Format: Knowledge hub

