In this Excel tutorial, you will learn how to
– Insert pictures in Excel
– Insert a picture into an Excel cell and fit it to its size
– Add a picture to a header or footer in Excel
– Compress pictures to reduce Excel file size
– Fix when you can’t insert pictures in Excel
We have used Microsoft 365 to prepare this tutorial. You can use these methods in Excel 2021, 2019, 2016, and 2013. But you can use the IMAGE function only in Microsoft 365.
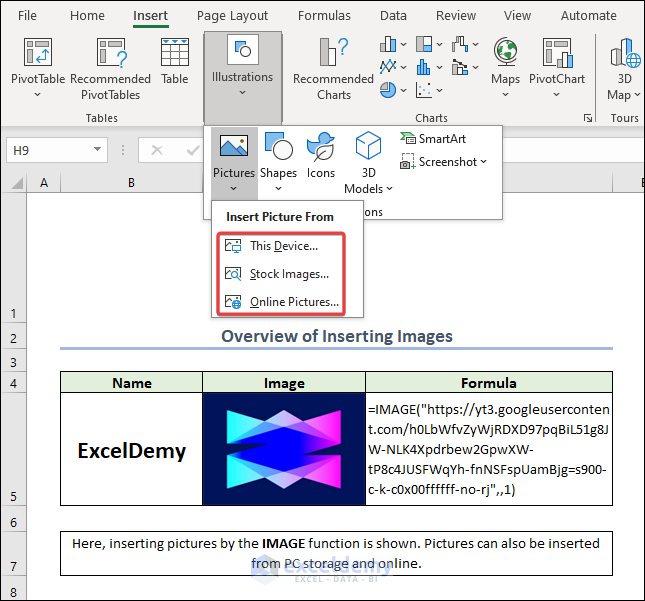
In the following, we have inserted the logo of ExcelDemy in a worksheet using the IMAGE function.
Download Practice Workbook
Why Do We Need to Insert Pictures in Excel?
Although Excel is mostly recognized for its numerical capabilities, you can also add images, charts, and other visual components to your worksheet.
A viewer can easily read important data when you insert pictures into the worksheet. Inserting pictures also helps us to make appealing reports and presentations.
How Many Methods Are Available to Insert Pictures in Excel?
There are 4 different ways to insert pictures in Excel. You can use the Pictures command from the Insert tab, copy-paste options, Fill Command of Shapes, or the IMAGE function to add pictures in Excel. You’ll get a detailed guide about these methods in the sections below.
1. Insert Picture Using Pictures Command from Computer Storage/Stock Images/Websites
We can insert pictures in an Excel sheet using the Pictures command from the Insert tab in three basic ways. The following sections have a concise overview of them.
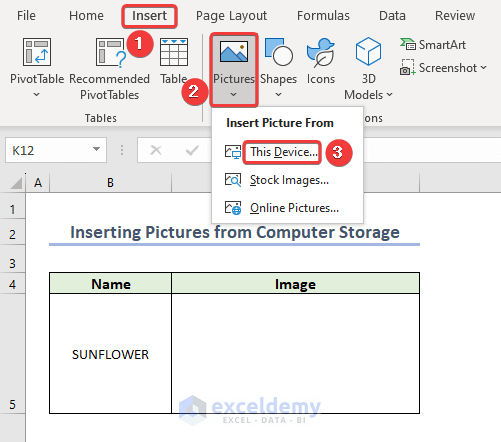
1.1 Insert Pictures in Excel from Computer Storage
To insert pictures from computer storage, you need to use the This Device option from the Pictures command. Here, I want to insert a picture of a sunflower from my computer’s storage. To do that:
- First, go to the Insert tab >> select Pictures >> then click on This Device.
- After that, the Insert Picture window will appear.
- Browse for the desired image and click on the Insert.
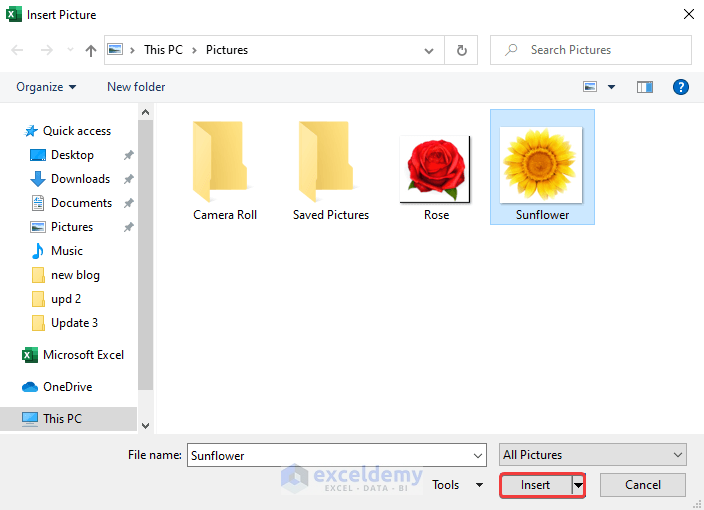
- The image will be inserted into the Excel sheet.
- Resize it according to your choice.
- Also, you can drag the image to the desired position.

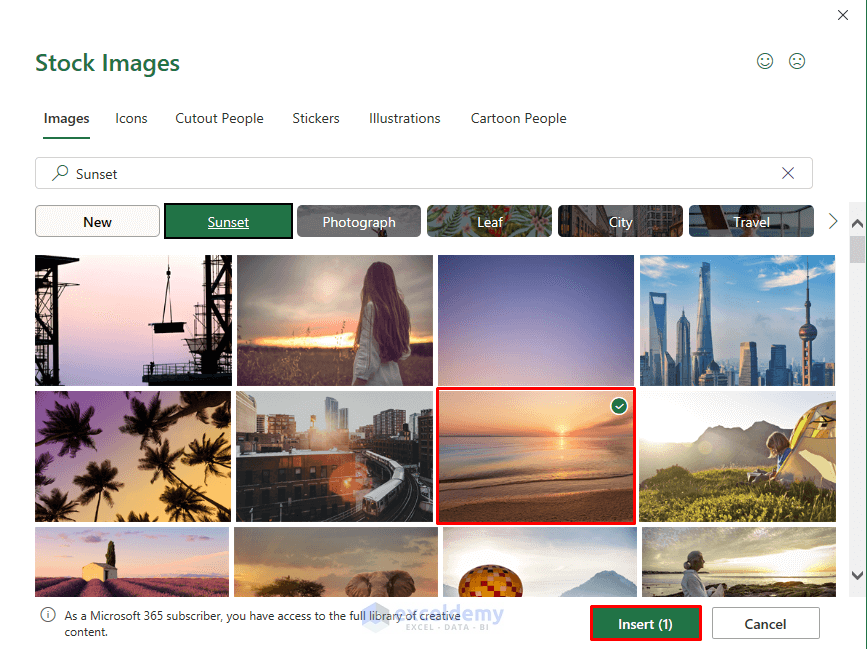
1.2 Insert Excel Stock Images
- First, go to the Insert tab >> select Pictures >> click on Stock Images.
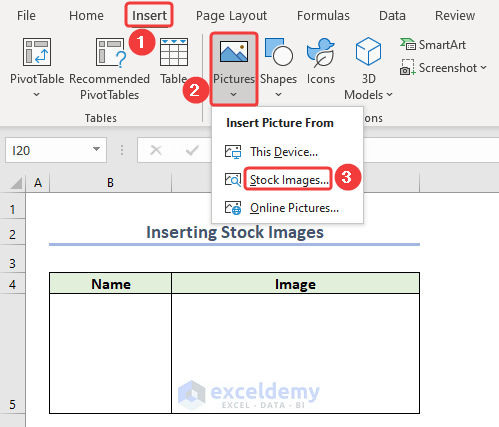
- After that, the Stock Images window will appear.
- Select the desired image or icon and click on Insert.
- You may search for specific pictures or icons from the Stock Images. You can select multiple items if you want.
Click on the image to get a detailed view
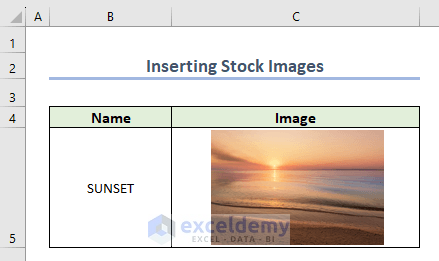
- As a result, the image will be inserted into the Excel sheet.
- Resize and reposition it according to your choice.
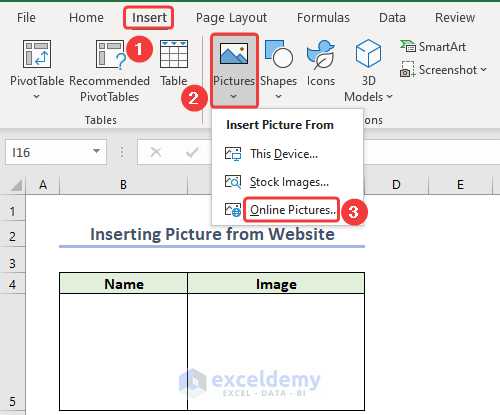
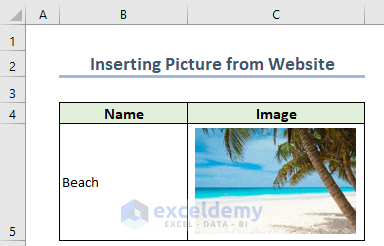
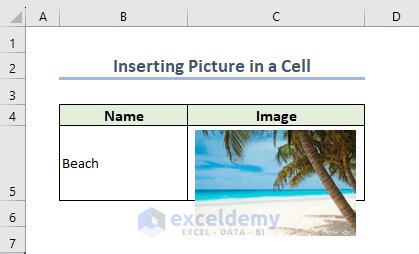
1.3 Insert Online Pictures from Websites
- Go to Insert tab >> click on Pictures >> select Online Pictures.
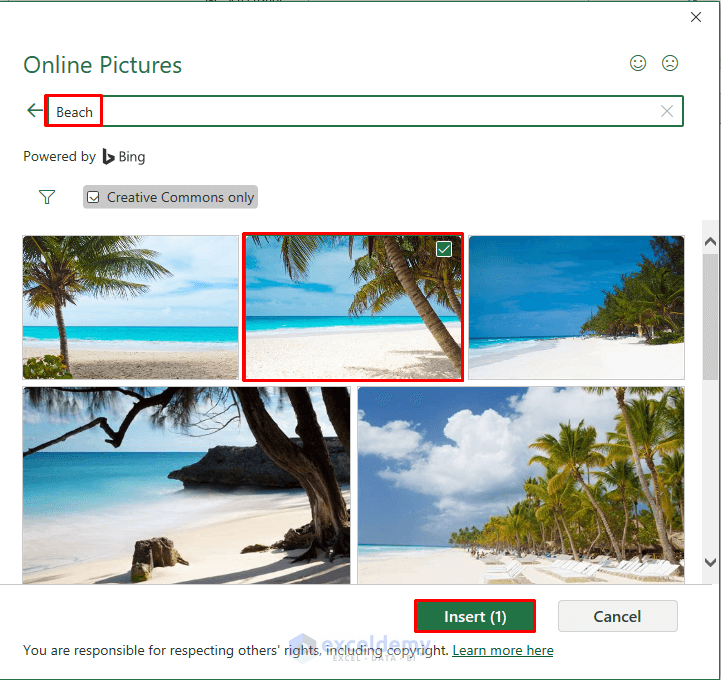
- After that, the Online Pictures window will appear.
- There will be several images for respective categories.
- Browse for the desired image and click on the Insert option.
- Here, we selected a picture of a beach.
- The image will be inserted into the Excel sheet.
- You can resize it according to your needs.
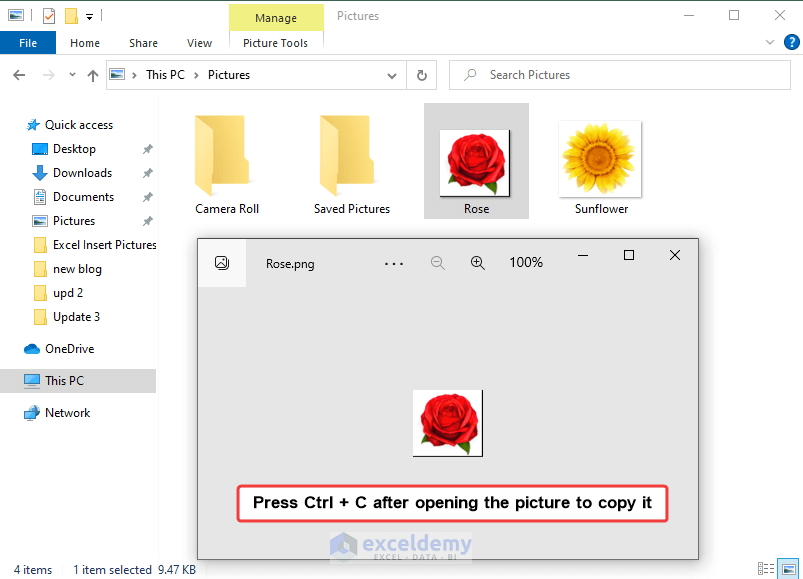
2. Insert Picture in Excel Using Copy & Paste Feature
- First, open the picture.
- Next, press Ctrl + C to copy it. You can also copy the picture from the Context Menu.
Click on the image to get a detailed view
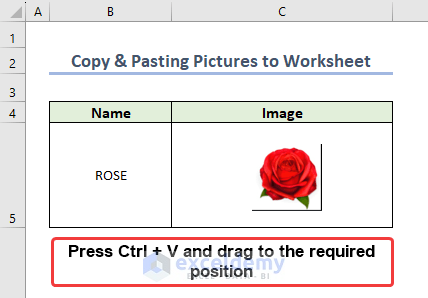
- Now, go back to the Excel sheet and press Ctrl + V to paste it.
- The image will be inserted into the Excel sheet.
- Resize it according to your choice.
- Also, drag the image to your desired position.
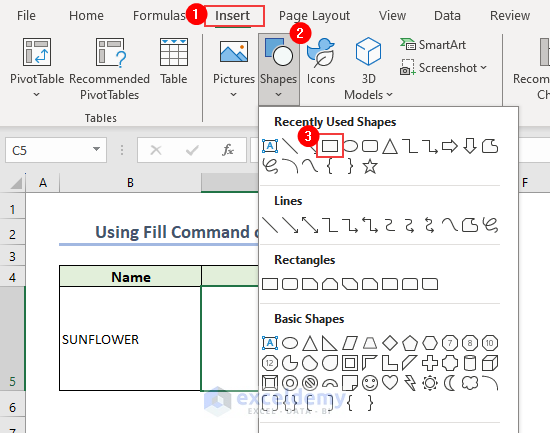
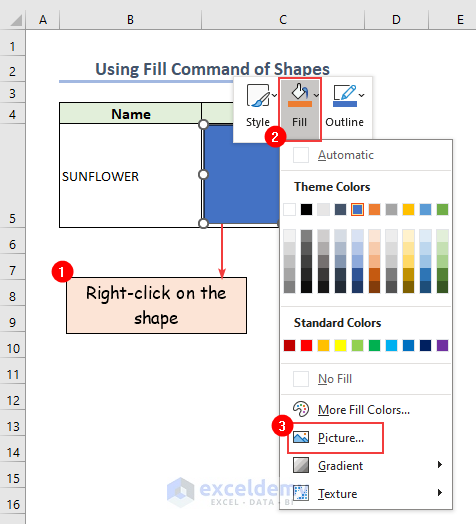
Insert Picture Using Fill Command of Shapes
Filling a Shape with a picture is useful to fit the picture in a cell along with the shape and in this case, changing the cell size will also change the size of the picture.
- First, select Insert >> Shapes and choose a shape you want. Here I selected a rectangle.
- After that, resize the shape to a cell so that it fits perfectly in it.
- Next, right-click on the shape and select Fill >> Picture.
- The Insert Picture window will pop up.
- There will be options to choose the source of the picture.
- Select any of them according to your choice.
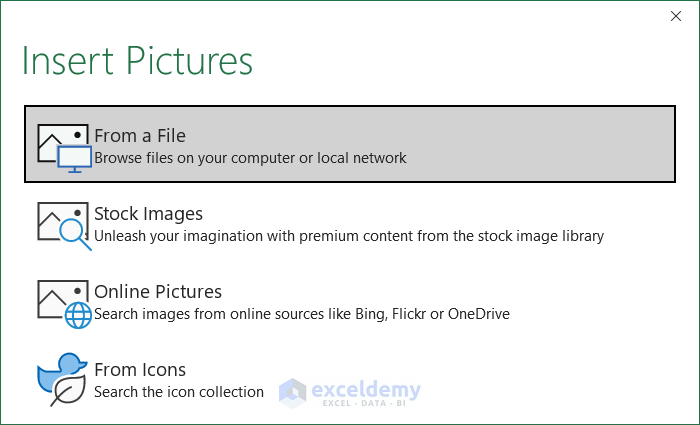
- We select ‘From a File’ to insert the picture from the computer storage.
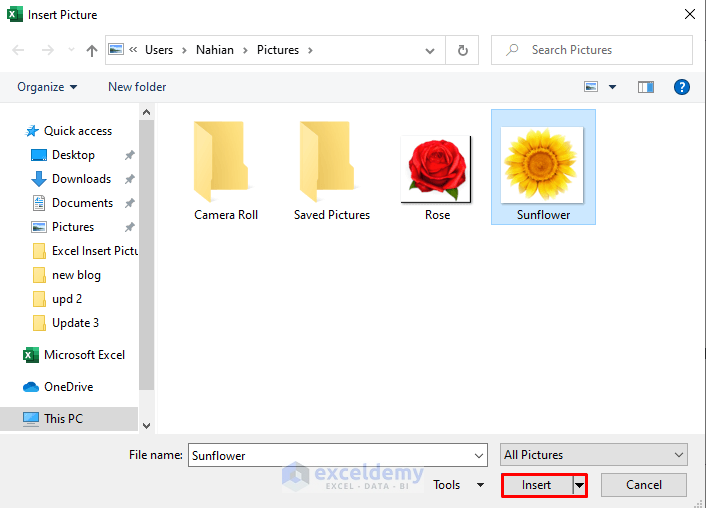
- The browser will show up.
- Select the desired picture and click on Insert.
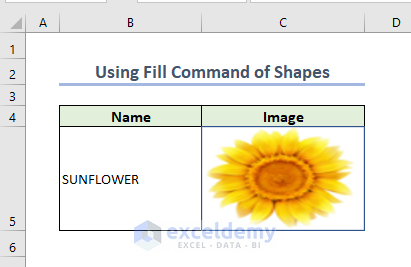
- Next, you will see the picture filled in the shape.
- Also, the image size changes with the size of the cell.
4. Use IMAGE Function in Excel to Insert Pictures
We can use the IMAGE function to insert pictures from websites that follow ‘https’ protocol. But first, have a look at the function syntax.
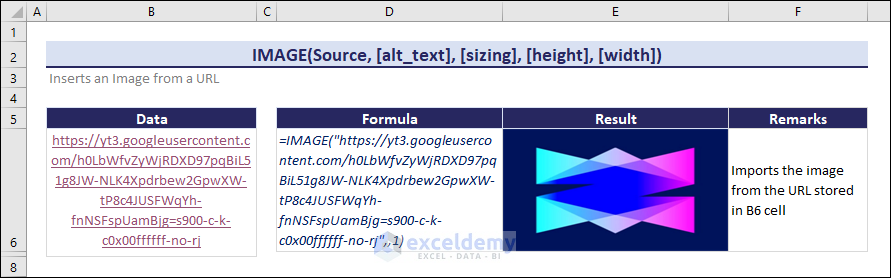
Introduction to Excel IMAGE Function
Summary:
The IMAGE function returns the picture from a URL that follows “https” protocol. Pictures that have .bmp, .jpg/.jpeg, .gif, .tiff, .png, .ico, and .webp extensions are suitable for the IMAGE function.
Syntax:
The syntax of the IMAGE function is as follows:
=IMAGE(source,[alt_text], [sizing],[height],[width])Arguments:
| Argument | Required/Optional | Explanation |
|---|---|---|
| source | Required | URL of the picture in the website. |
| [alt_text] | Optional | Alt text for the picture. |
| [sizing] | Optional | Option to fit or fill image to a cell automatically or manually. |
| [height] | Optional | Setting the height of the image. |
| [width] | Optional | Setting the width of the image. |
Return Value:
Returns the image from the respective link.
Available in:
Microsoft 365
Here is an overview of the IMAGE function. It was used to insert the ExcelDemy logo in the worksheet.
Click the Image for a detailed view
Process of Inserting Picture Using IMAGE Function
Say, we want to insert a picture of a company logo. For this purpose, type the following formula and press Enter.
=IMAGE("https://yt3.googleusercontent.com/h0LbWfvZyWjRDXD97pqBiL51g8JW-NLK4Xpdrbew2GpwXW-tP8c4JUSFWqYh-fnNSFspUamBjg=s900-c-k-c0x00ffffff-no-rj",,1)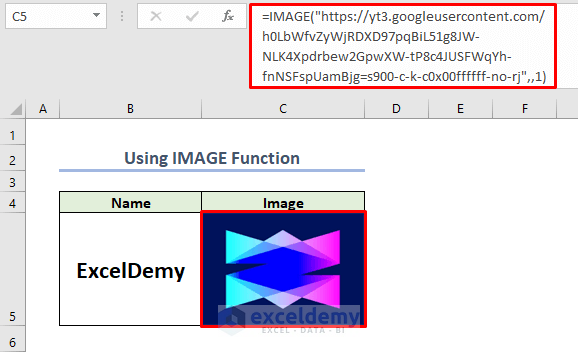
Here, the link inside the inverted commas is the source of the picture of the company logo. You need to insert the link between inverted commas to get your desired picture.
We cannot edit the image inserted by the IMAGE function. But if we change the size of the cell containing the picture, the size of the picture will also change.
How to Insert Picture Into Excel Cell?
To insert a picture into a cell, you need to follow two major steps. First, you need to insert a picture in the worksheet and then, fit it with cell size.
You can insert a picture in the worksheet by following the 4 ways mentioned earlier. By default, a picture doesn’t fit with an Excel cell.
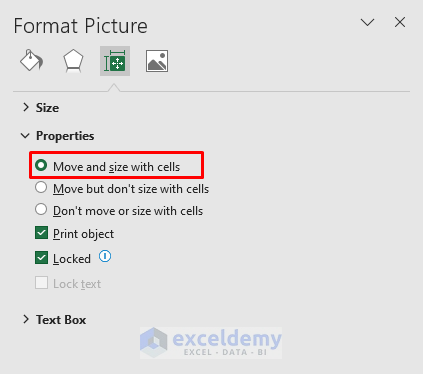
- To fit the picture in a cell with its size, right-click on the picture and select Size and Properties from the Context Menu.
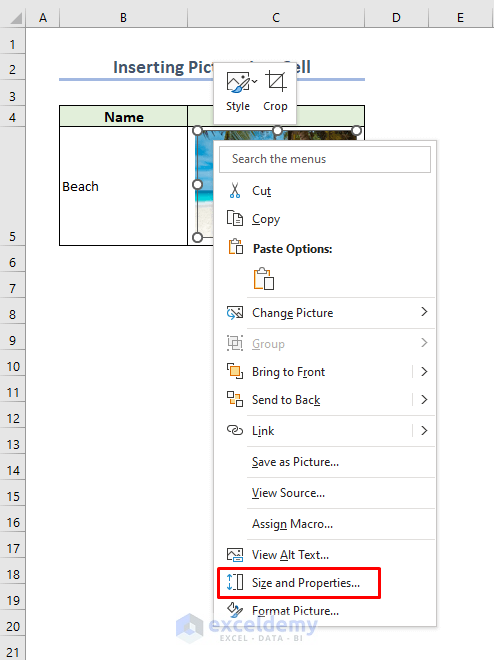
- The Format Picture window will appear.
- Select ‘Move and size with cells’ from the Properties section.
- Next, change the size of the cell containing the picture.
- You will see that the size of the picture also changes.

Thus, you can insert pictures into Excel cells and change their size.
How to Insert Picture to a Header or Footer in Excel?
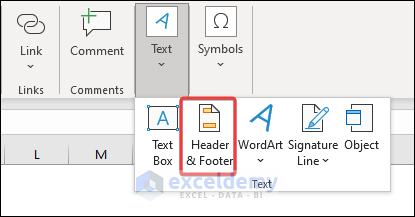
- To insert a picture to the header or footer of an Excel sheet, first select Text >> Header & Footer under the Insert tab.
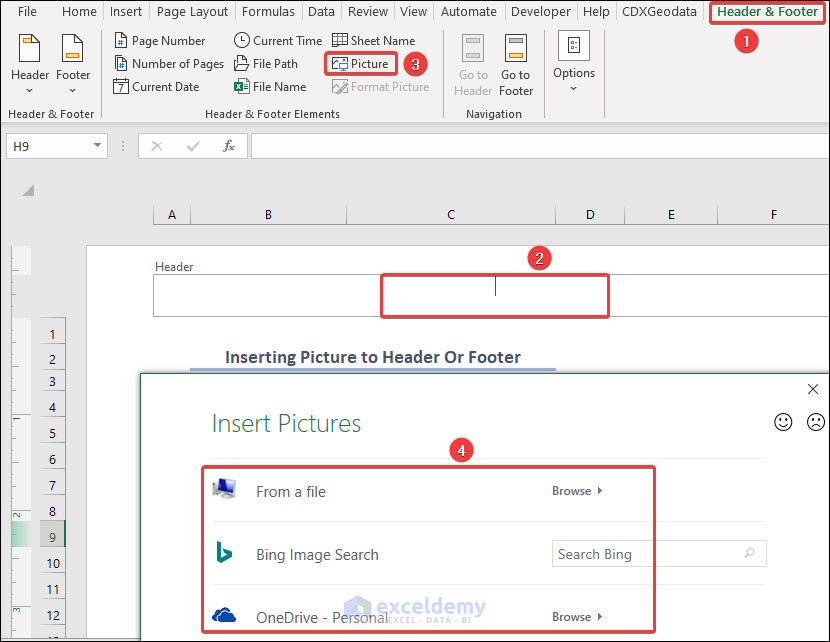
- After that, select any portion of the Header in the Excel sheet. Here we selected the middle section of the Header.
- Next, under the Header & Footer tab, select Picture.
- Thereafter, the Insert Pictures window will appear.
- There are three options in it. Select any of them according to your preference.
- Here, I want to insert a picture from my computer, so I selected From a file.
Click the image to get a detailed view
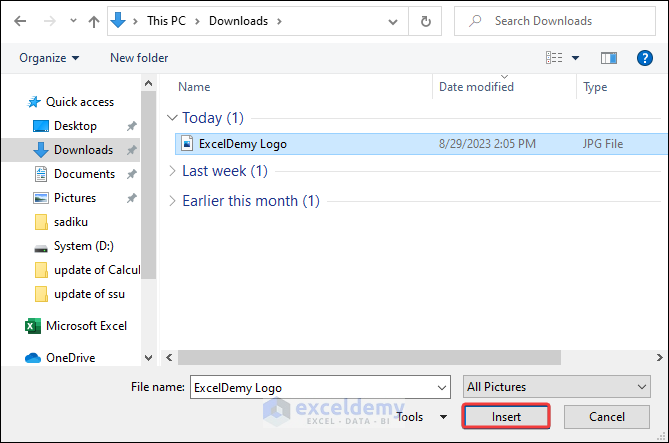
- Later, browse for the picture and select Insert.
- You can see that there is a &[Picture] placeholder in the Header. Select any cell outside the Header.
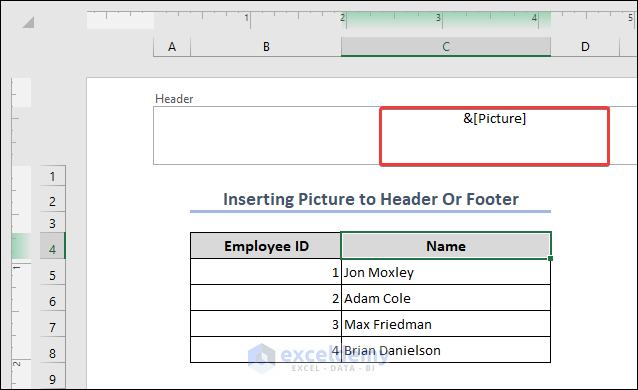
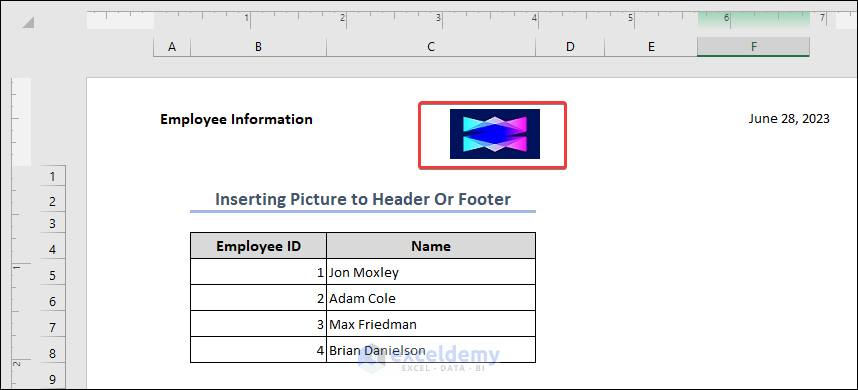
- You can finally see the picture appears in the Header.
Click the image to get a detailed view
By following the same procedure, you can insert a picture in the Footer too.
How to Compress Pictures to Reduce the File Size in Excel?
To compress pictures and reduce the file size in Excel, you can follow these steps:
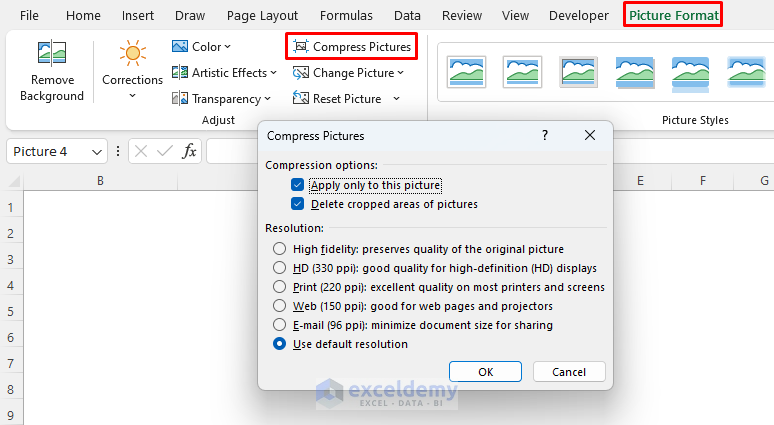
- Select the picture(s) you want to compress and then go to the Picture Format tab.
- After that, click on the “Compress Pictures” button in the “Adjust” group.
- In the “Compress Pictures” dialog box, you will have two checkboxes:
- “Apply only to this picture” and
- “Delete cropped areas of this picture“.
There are other options to choose the resolution of the image. Select one of them according to your preference.
Click the image to get a detailed view
- Click the “OK” button to start the compression process.
- Excel will compress the selected pictures according to your chosen options.
After compression, the file size of the Excel document should be reduced, and the picture(s) should be optimized for the selected output resolution.
What to Do When Pictures Can’t Be Inserted in Excel?
There are several reasons for which you may not be able to insert a picture in your Excel workbook. Some of them are given below.
- If you are working on a protected worksheet, it may restrict certain actions such as inserting pictures.
- Check if the worksheet is protected and remove the protection if necessary. To do so, go to the “Review” tab in the Excel ribbon and click on “Unprotect Sheet“.

- While inserting a picture as an embedded object from another program, ensure that the program and file are compatible with Excel. Some programs may not support the direct embedding of objects into Excel.
- If you are using an older version of Excel or a file saved in compatibility mode, certain features may not be available, including the ability to insert pictures. Try saving the file in the latest Excel format or opening it in a newer version of Excel.
- Some Excel add-ins or extensions can interfere with the insertion of pictures. Try disabling any add-ins or extensions and check if you can insert pictures afterward.
Which Things You Have to Keep in Mind?
While inserting pictures in Excel, you have to keep some necessary matters in your mind.
- Make sure your picture is in JPEG, PNG, GIF, and BMP.
- It’s a good practice to resize your pictures before inserting them into Excel. Large pictures can take up a lot of disk space and may slow down your Excel file.
- Keep an eye on the file size of your pictures, especially if you plan to share or email the Excel file.
- Each picture in Excel has properties that you can modify. Right-click on the picture and select “Format Picture” to access properties like border, transparency, rotation, and more. Adjust these properties to customize the appearance of your pictures as needed.
- Adding multiple high-resolution pictures to an Excel file can increase its size and affect performance. If you notice the file becoming too large or slowing down, consider reducing the image sizes or compressing them using an external image editor before inserting them into Excel.
Frequently Asked Questions
1. How can I insert data from pictures in Excel?
If you want to insert data from a picture in Excel, select Data >> Get Data >> From Other Sources >> From Picture >> Picture from File/Picture from Clipboard. After that, you will have a Review option if Excel cannot read the data from the picture properly. Correct the mistakes and Insert the data. In this way, you can extract data from a picture.
2. How do I add a hyperlink to a picture in Excel?
You can add a hyperlink to a picture in Excel by following the procedures below.
- Right-click on the picture and select Link from the Context menu.
- There you have several options. If you want to link the picture to a website or existing file on your computer, select Existing File or Web Page and copy the link in the Address section.
There are other options for linking pictures to a place in the Excel workbook, to a new workbook, and to Email attachments.
3. How can I align multiple pictures evenly in Excel?
To align multiple pictures, select them by holding the Ctrl key and clicking on each picture. After that, select the Picture Format tab and choose Align ribbon from the Arrange group. There, you will have different options to align the pictures. If your pictures are arranged vertically, you can select Align Left or Align Right to move them to the left or right. You can also select Distribute Vertically to keep all the pictures at the same distance from each other. Explore the other options according to your choice.
Conclusion
In the end, we discussed the ways to insert pictures in Excel. Each method has its advantages. If you want to insert an image from the website, it’s better to use the IMAGE function as it stores the image in a cell with fitting. We can assume that these topics will guide you to become an expert in inserting and editing images in the Excel workbook. If you have any suggestions or feedback regarding this article, please share them in the comment box.
Excel Insert Pictures: Knowledge Hub
<< Go Back to Learn Excel
Get FREE Advanced Excel Exercises with Solutions!
