Method 1 – Inserting an Image from Your Device
Steps
- Select the desired cell (e.g., C5).
- Go to the Insert tab.
- Click the drop-down arrow under Illustrations and choose Pictures.
- Select This Device.
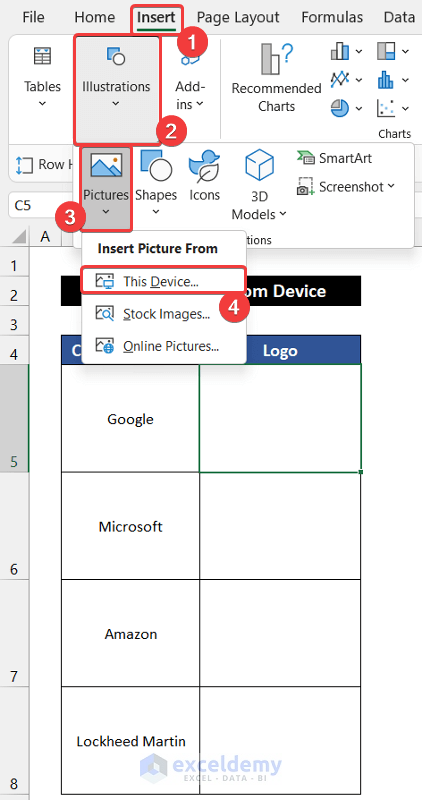
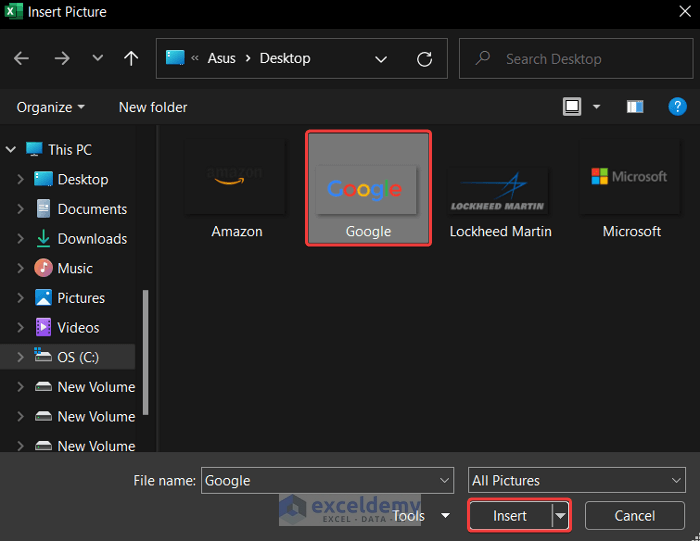
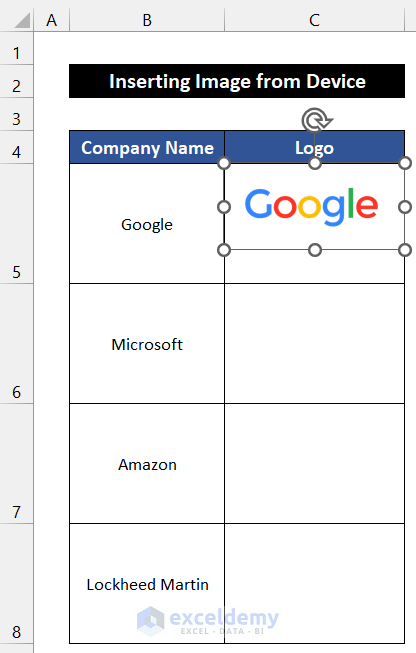
- In the Insert Picture dialog box, choose the desired image (e.g., Google logo).
- Click Insert.
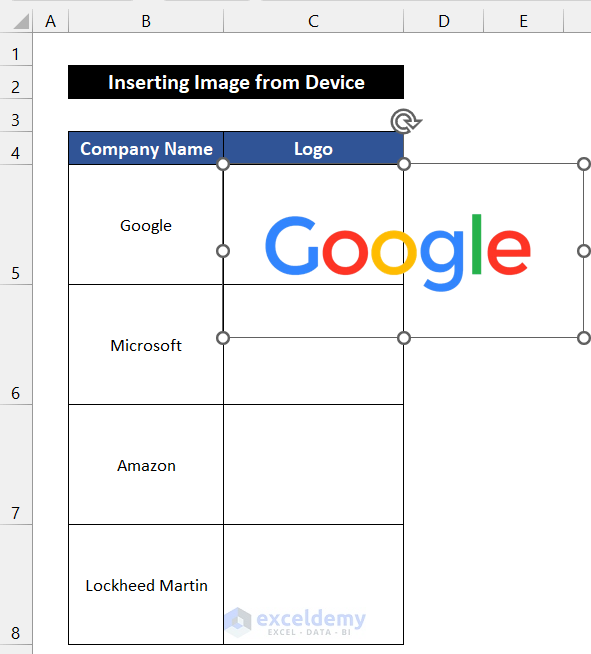
- The image is larger than the selected cell size.
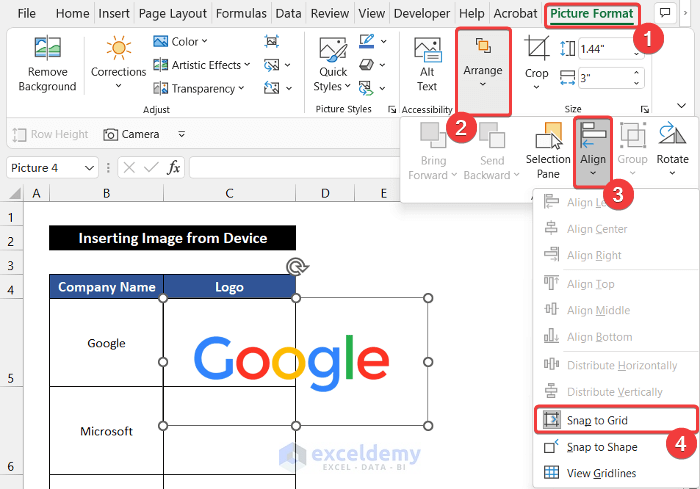
- To fit the image within the cell, go to the Picture Format tab:
- Click the drop-down arrow under Align in the Arrange group.
- Select Snap to Grid.
-
- Resize the image as needed.
- Right-click the image and choose Size and Properties.
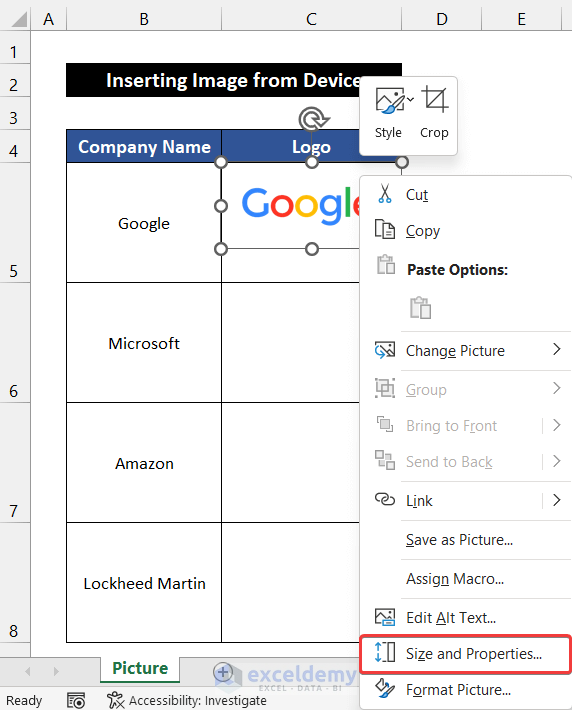
- In the Format Picture side window, under Size & Properties, select Move and size with cells.
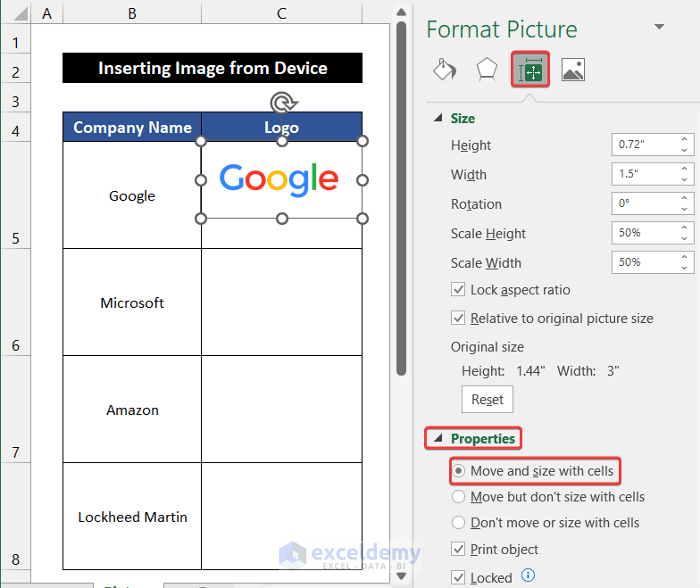
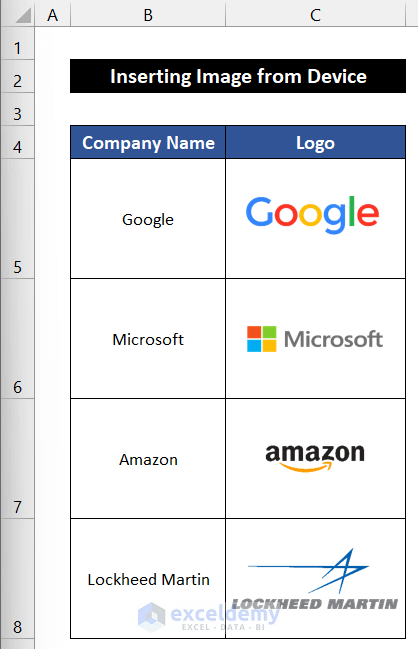
- The image will insert inside the cell. If you insert a column or modify the column size, the image will move with the cell.
- Repeat the process for other images.
Read More: How to Insert Picture in Excel Cell Background
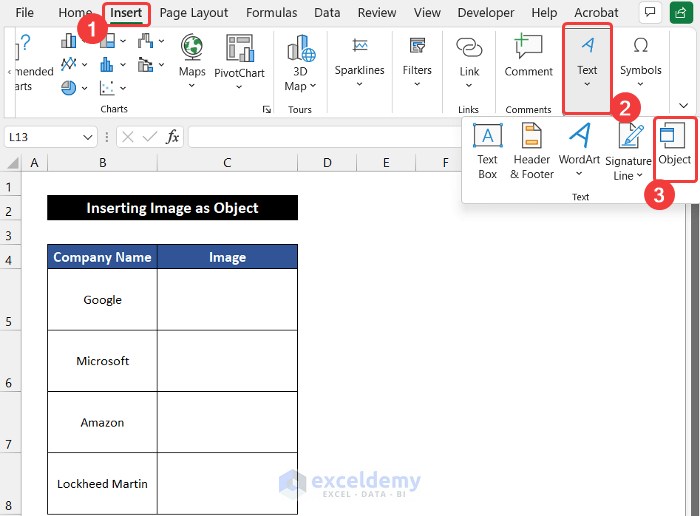
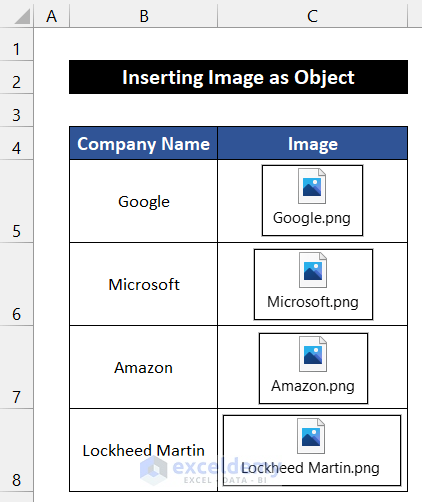
Method 2 – Inserting an Image as an Object
- Select the desired cell (e.g., C5).
- Go to the Insert tab.
- Click the drop-down arrow under Text and choose Object.
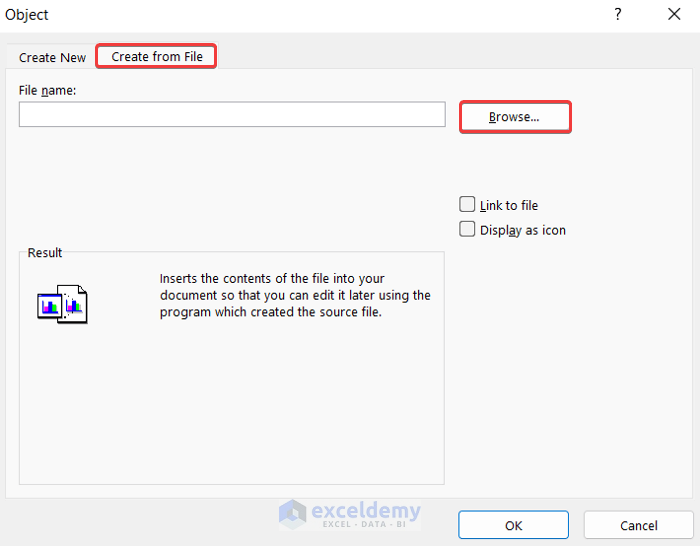
- In the Object dialog box:
- Go to the Create from File tab.
- Click Browse.
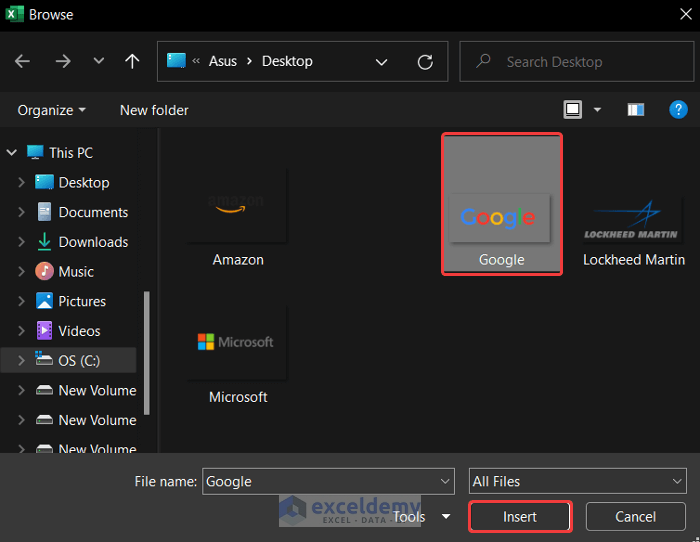
- Another dialog box titled Browse will appear.
- Choose the desired image (e.g., Google logo).
- Click Insert.
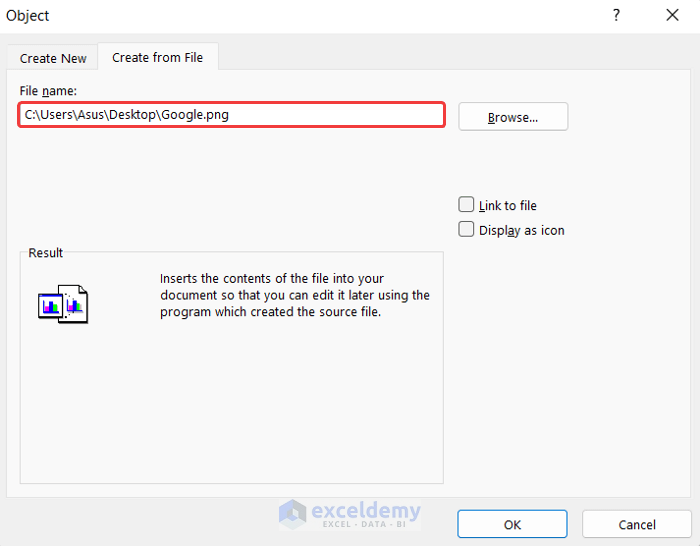
- The image location will appear in the File name box.
- Click OK.
- To position the image precisely, go to the Shape Format tab:
- Disable Snap to Grid from the drop-down under Align in the Arrange group.
- Right-click the object and select Format Object.
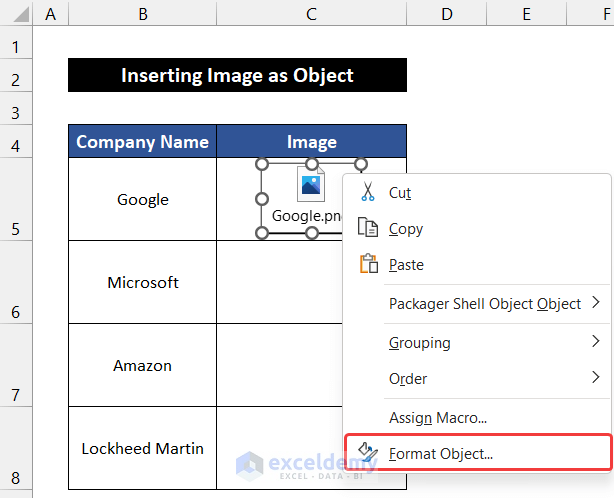
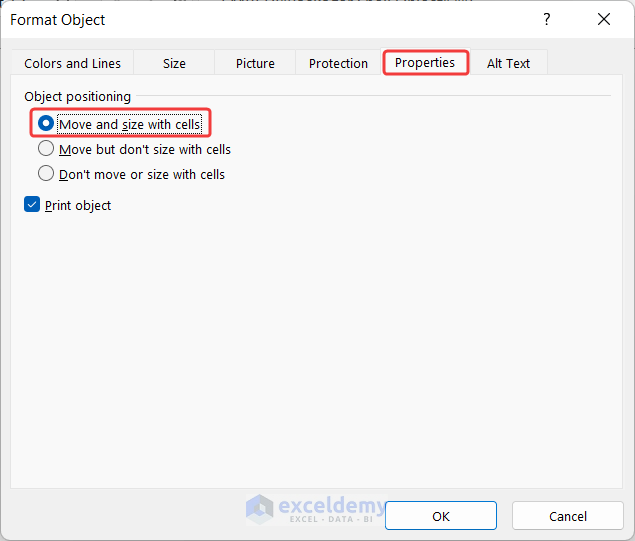
- In the Format Object dialog box, under Properties, choose Move and size with cells.
- Repeat for other images.
- To view an image, double-click it and use the Open Package Contents dialog.
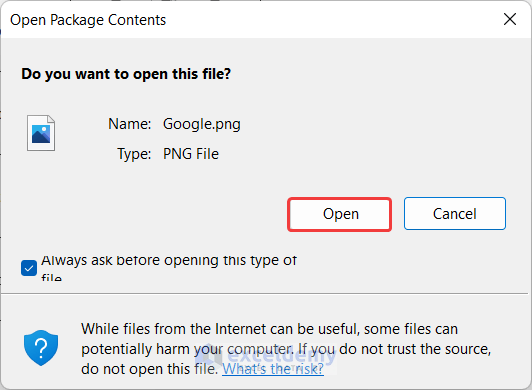
- You will be able to see the image through the image viewer of your device.

Read More: How to Insert Picture in Excel Cell Automatically
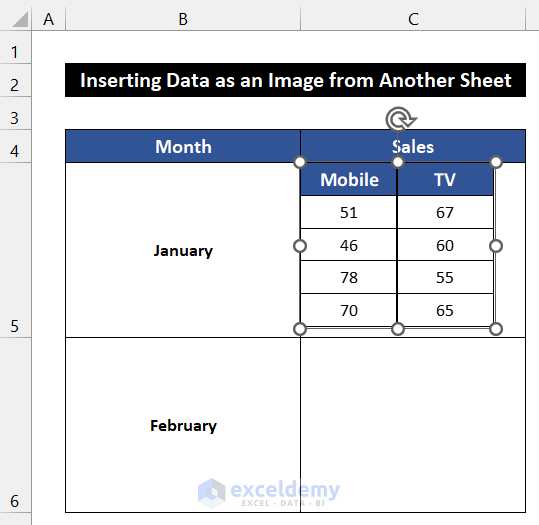
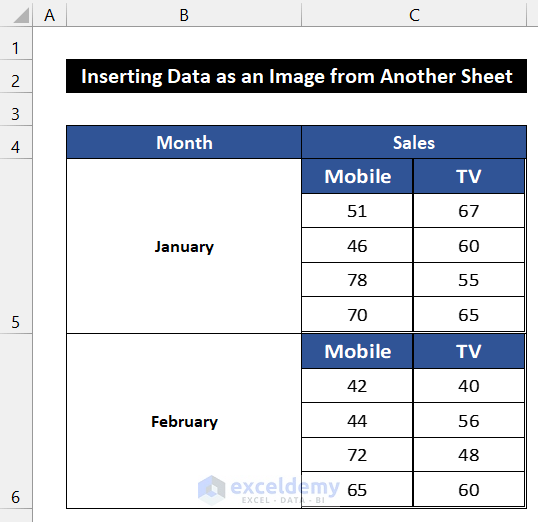
Method 3 – Inserting Data from Another Sheet as an Image
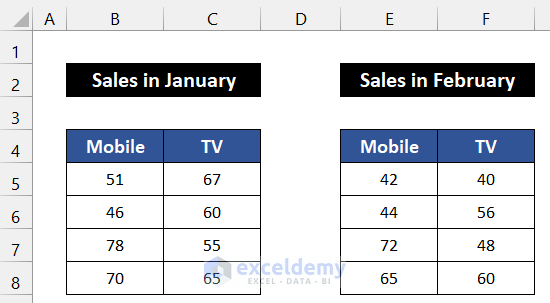
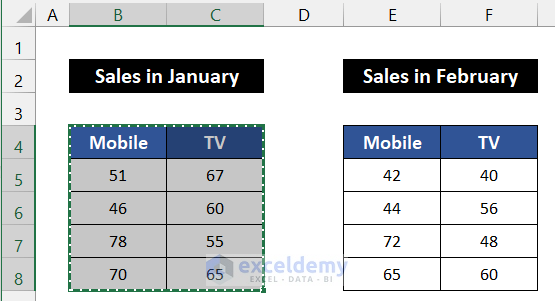
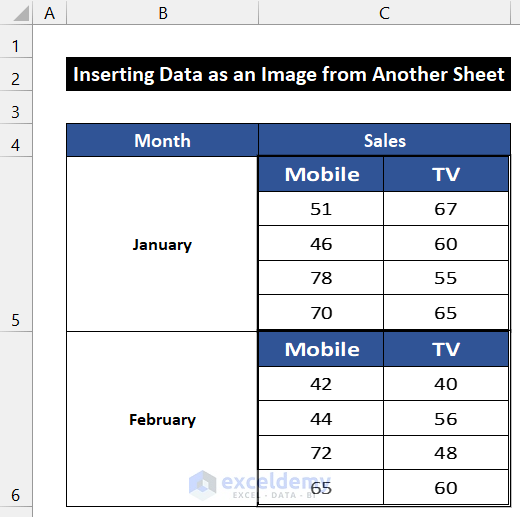
In this method, we’ll demonstrate how to insert a dataset from another sheet as an image in Excel. There are two approaches: using the Copy as Picture feature and the Camera tool. Let’s consider sales data for the months of January and February, located in the cell ranges B4:C8 and E4:F8, respectively. Follow the steps below:
3.1 Copy as Picture and Insert Image as an Attachment
Here, we will show the process of copying a dataset as an image in Excel and inserting it in a cell as an attachment.
Steps
- Select the range of cells B4:C8.
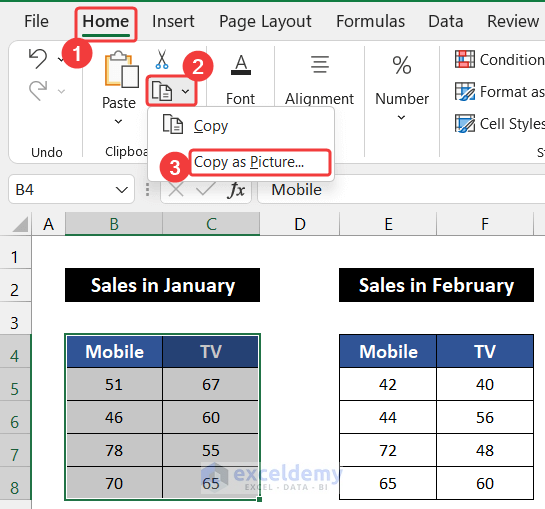
- In the Home tab, click the drop-down arrow next to Copy in the Clipboard group.
- Choose Copy as Picture.
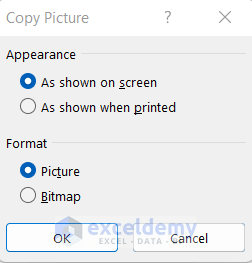
- In the Copy Picture dialog box:
- Select As shown on screen in the Appearance section.
- Choose Picture in the Format section.
- Click OK.
- The dataset will be copied as an image.
- Navigate to another sheet (e.g., the Copy-Paste sheet) and select cell C5.
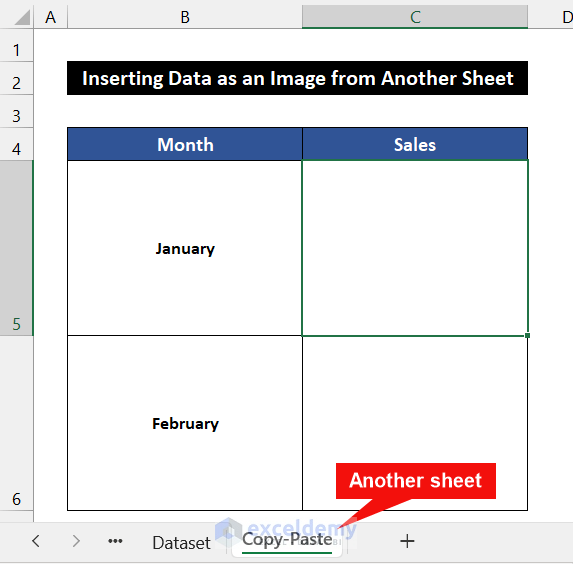
- Press Ctrl+V to paste the image into that cell.
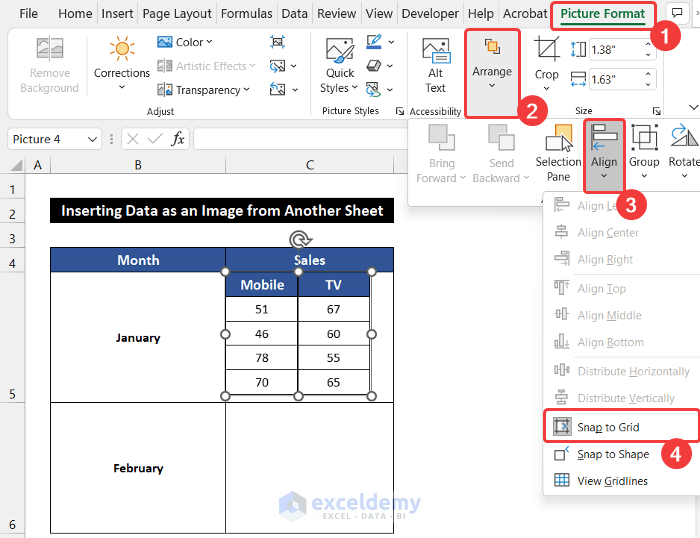
- To fit the image within the cell:
- Go to the Picture Format tab.
- Click the drop-down arrow next to Align in the Arrange group.
- Select Snap to Grid.
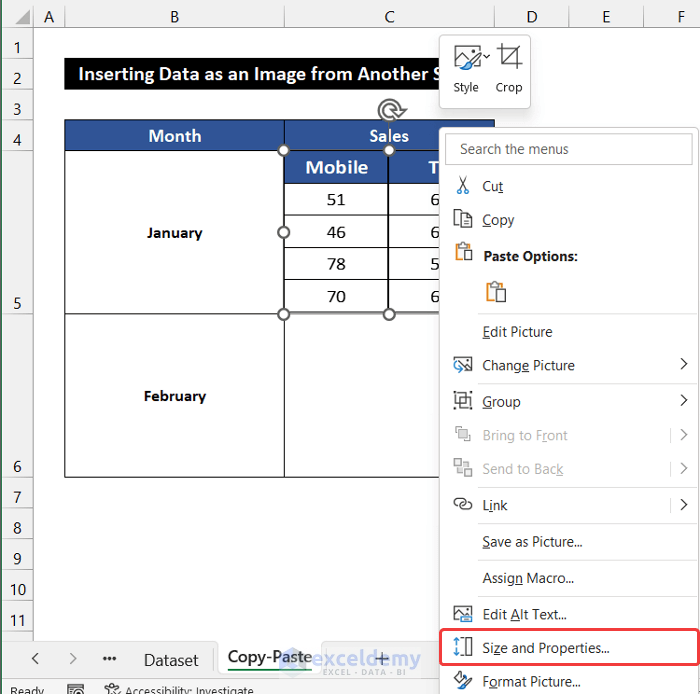
- Resize the image as needed.
- Right-click the image and choose Size and Properties.
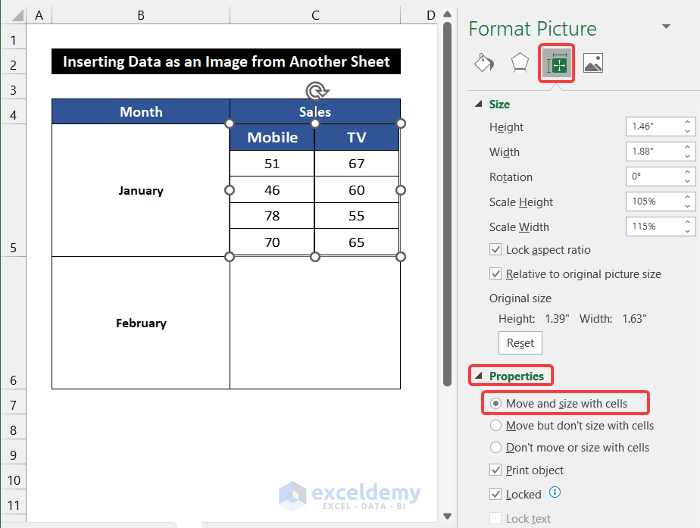
- In the Format Picture side window:
- Go to the Size & Properties tab.
- Select Move and size with cells in the Properties section.
- Repeat the process to insert the dataset for the month of February.
Read More:How to Insert a Picture in Excel Header
3.2 Using the Camera Tool to Insert an Image in an Excel Cell as an Attachment
In this method, we’ll utilize Excel’s built-in Camera tool to insert a dataset as an image within an Excel cell. Follow these steps:
- If the Camera tool isn’t in your Quick Access Toolbar:
- Click on File > Options.
-
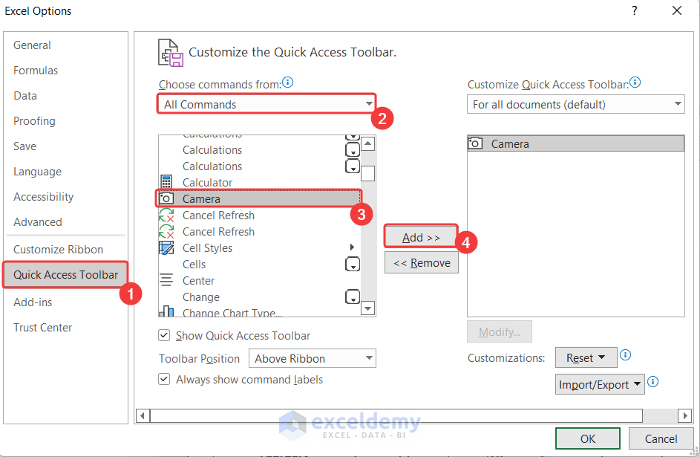
- In the Excel Options dialog box, select Quick Access Toolbar.
- Change Choose commands from to All Commands.
- Scroll down and find the Camera command.
- Add it to the toolbar.
-
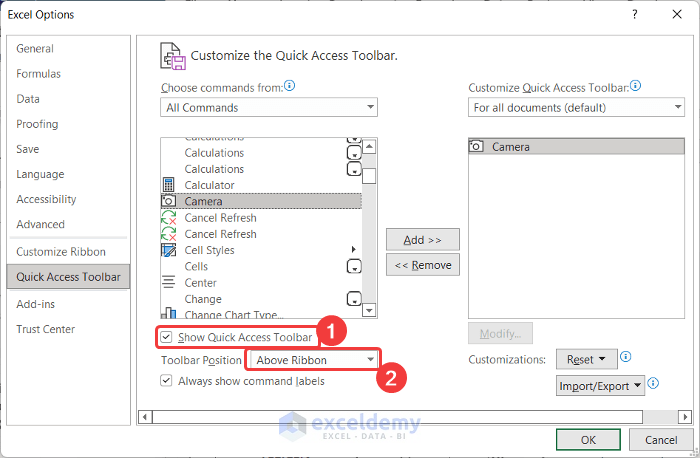
- Check Show Quick Access Toolbar and set the position to Above Ribbon.
- Click OK.
-
- You will see the Camera tool above the built-in Excel ribbon.

- Choose the range of cells (e.g., B4:C8).
- Click the Camera tool in the Quick Access Toolbar.
- The dataset will be selected.
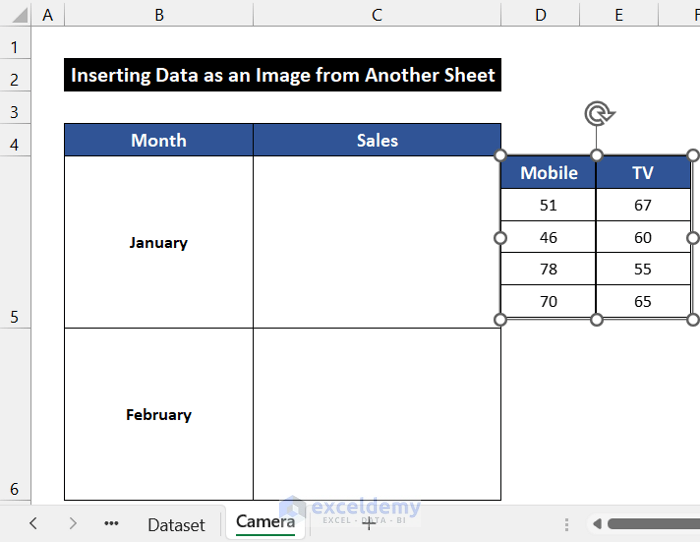
- Go to a new sheet (e.g., Camera).
- Click on cell C5 to paste the image there.
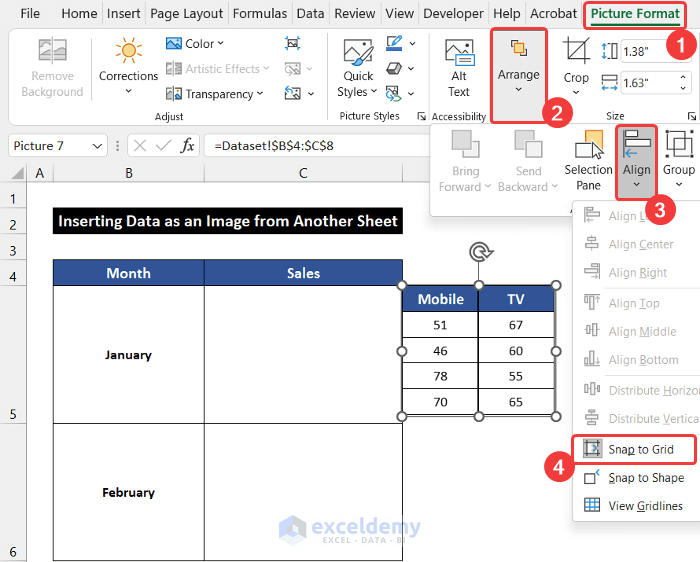
- To fit the image within the cell:
- Go to the Picture Format tab.
- Click the drop-down arrow next to Align in the Arrange group.
- Select Snap to Grid.
-
- Resize the image as needed.
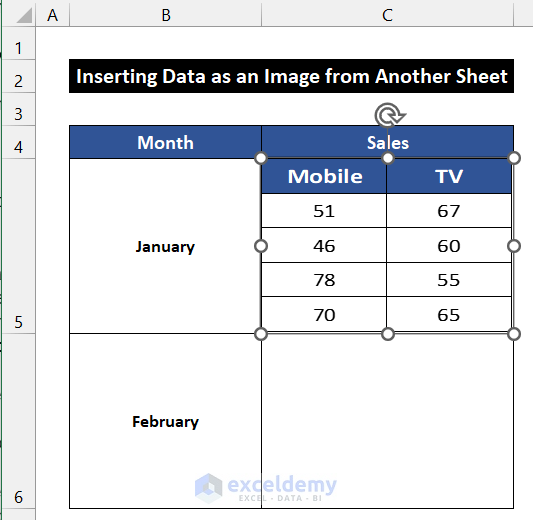
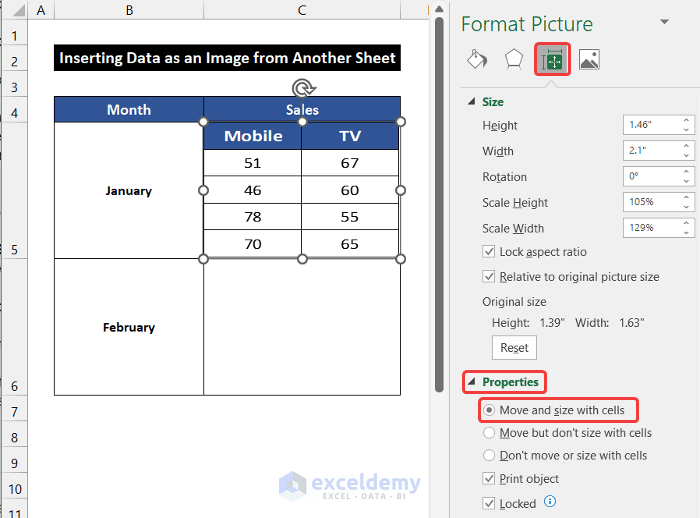
- Right-click the image and choose Size and Properties.
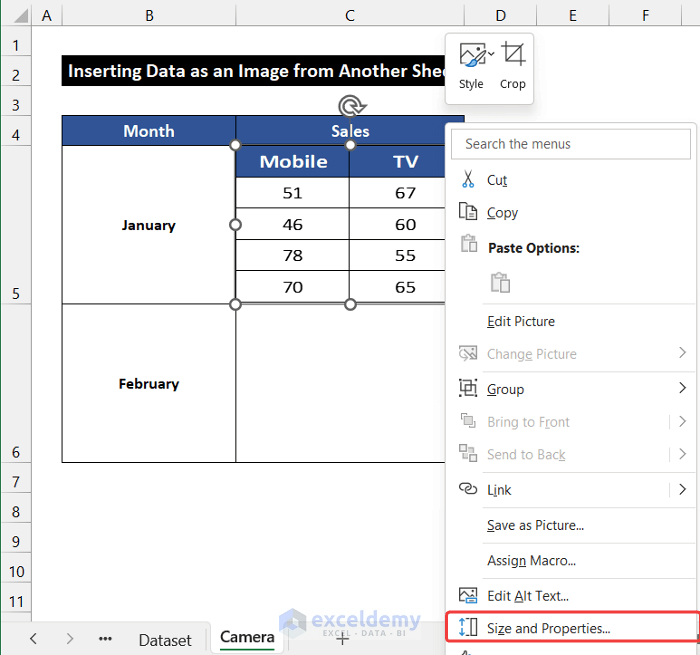
- In the Format Picture side window:
- Under the Size & Properties tab, select Move and size with cells.
- Repeat for Other Datasets:
- Follow the same process to insert the dataset for the month of February.
Read More: How to Insert Pictures Automatically Size to Fit Cells in Excel
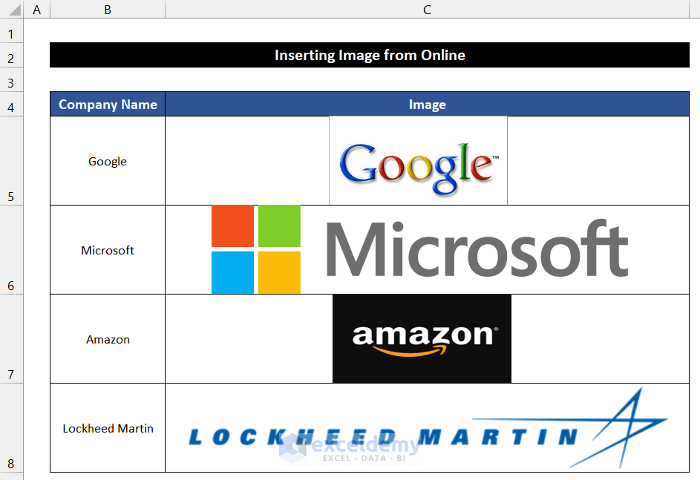
Method 4 – Inserting an Online Image as an Attachment in an Excel Cell
Let’s insert an image from online into an Excel cell as an attachment. We’ll use images from four institutions. Follow these steps:
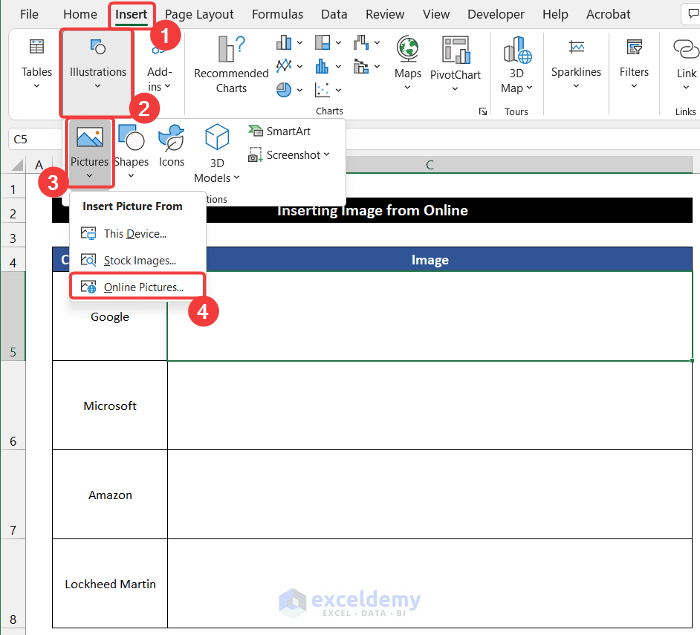
- Choose the desired cell (e.g., C5).
- Go to the Insert tab.
- Click the drop-down arrow next to Illustrations and select Pictures.
- Choose Online Pictures.
- In the Search box, type Google and press Enter.
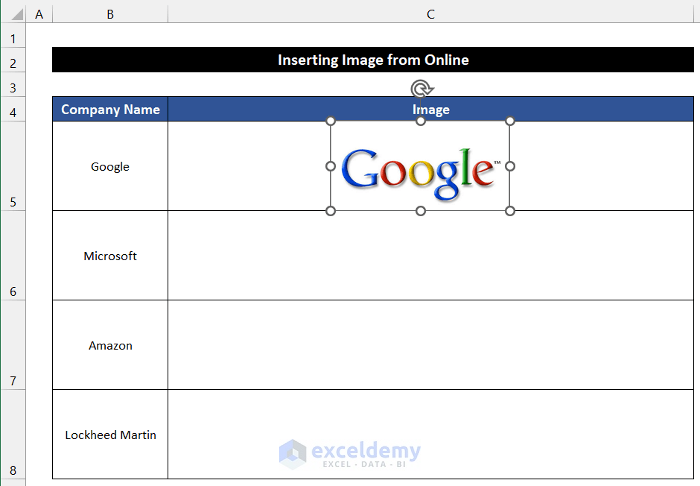
- Select your desired image (e.g., the 4th picture).
- Click Insert.
- The image is far larger than our cell size.
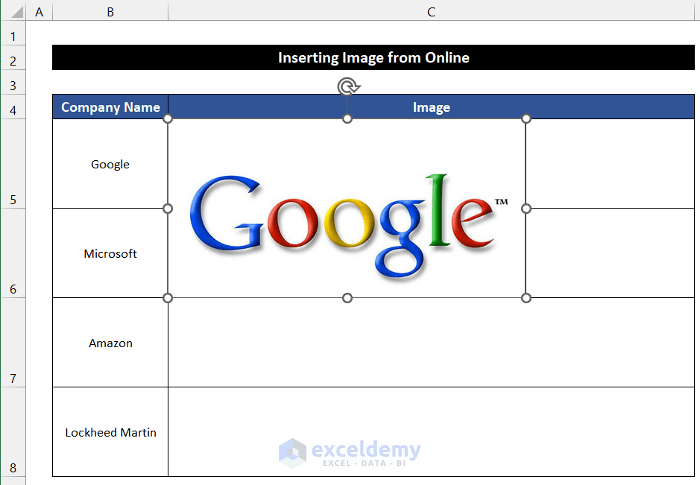
- To fit the image within the cell:
- Go to the Picture Format tab.
- Click the drop-down arrow next to Align in the Arrange group.
- Select Snap to Grid.
-
- Resize the image as needed.
- If needed, disable Snap to Grid and position the image according to your preference.
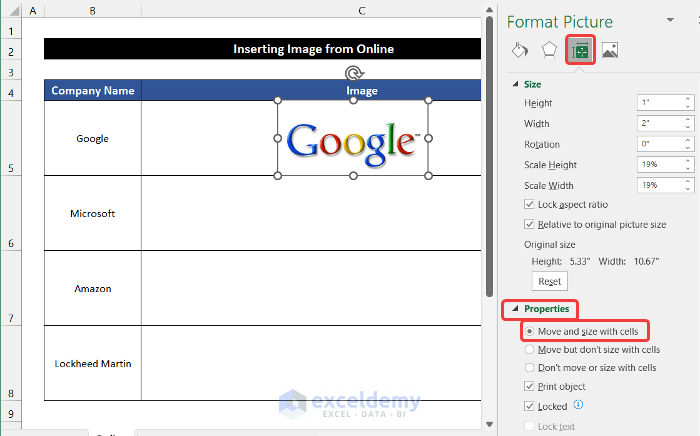
- Right-click the image and choose Size and Properties.

- Under the Size & Properties tab, select Move and size with cells.
- Follow the same process to insert the remaining images.
Read More: How to Insert Multiple Pictures at Once in Excel
Things to Remember
- To ensure the image size changes with cell modifications:
- Align all four edges of the image with the cell edge.
- Even if you’ve selected the Move and size with cells option, proper alignment is crucial for resizing.
Download Practice Workbook
You can download the practice workbook from here:
Related Articles
- How to Link Picture to Cell Value in Excel
- How to Insert Picture in Excel Cell with Text
- How to Lock Image in Excel Cell
- How to Insert Picture in Excel Using Formula
- How to Insert Clipart in Excel
<< Go Back to Excel Insert Pictures | Learn Excel
Get FREE Advanced Excel Exercises with Solutions!
