Practice Workbook
3 Methods to Insert a Picture into Excel Cell
Method 1 – Copy-Paste Method to Insert a Picture into an Excel Cell
- Copy the picture from the other applications by selecting it and pressing Ctrl + C.
- Paste it to the Excel spreadsheet by pressing Ctrl + V.
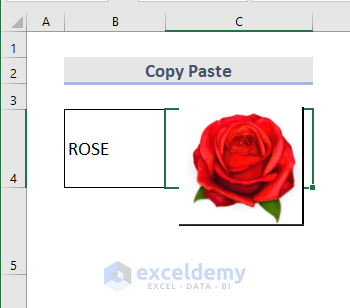
- Make the cell bigger so that the picture can fit.
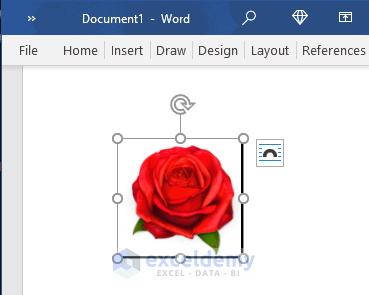
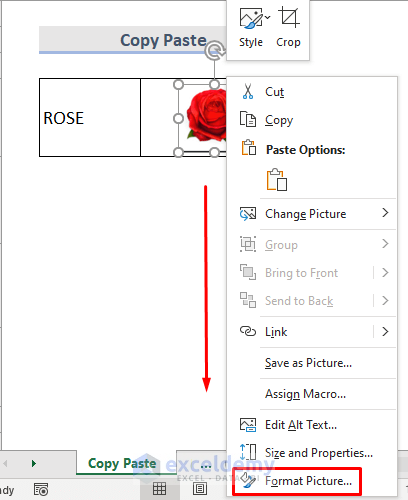
- Resize the picture and right-click on it.
- Select Format Picture from the Context Menu options.
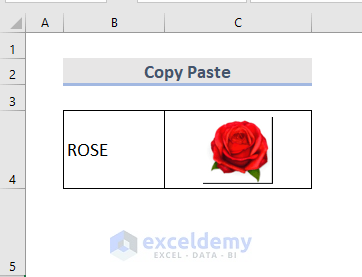
- A dialog box opens on the right side of the sheet. From the Size & Properties part, select Properties and check Move and size with cells.

- We can copy or move the cell now, and the picture will remain the same size as the cell.
Read More: How to Insert an Image into a Cell with Excel VBA (2 Methods)
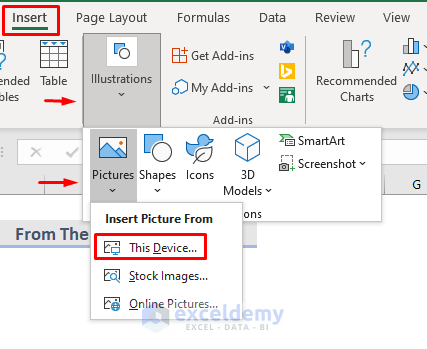
Method 2 – Insert a Picture from the Computer into an Excel Cell
- Go to the Insert tab.
- From the Illustration drop-down, select Picture and choose This Device.
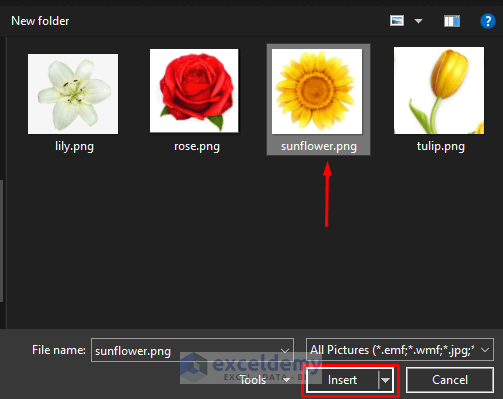
- The Insert Picture dialog box opens.
- Select the required picture and Click on Insert. You can also select multiple pictures by holding the Ctrl key while selecting.
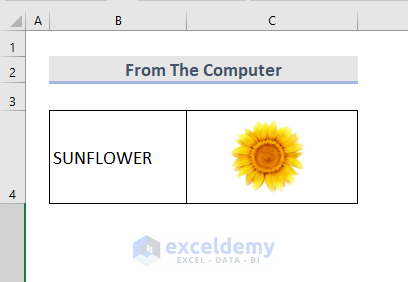
- We can see the selected picture in the worksheet.
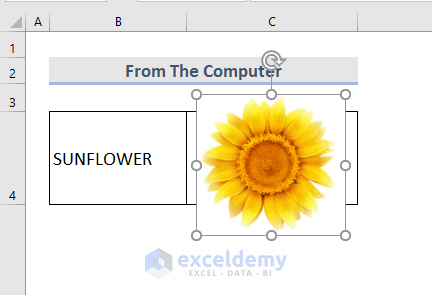
- Resize the picture and fit it into the cell as shown in Method 1.
Read More: Excel VBA: Insert Picture from Folder (3 Methods)
Method 3 – Insert an Online Picture into an Excel Cell
- Select the Insert tab from the ribbon.
- Go to Illustrations, then to Pictures, and select Online Picture.
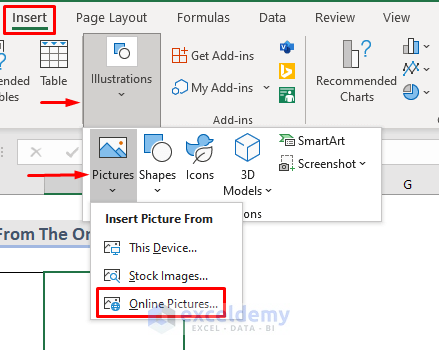
- An Online Pictures window pops up.
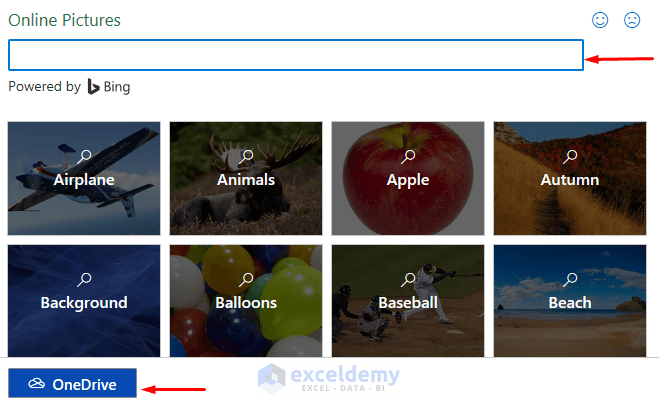
- Search for the picture you want to insert via the search bar. It uses Microsoft Bing image search.
- You can also insert from OneDrive by clicking on it. You must Sign In to a Microsoft Account for that.
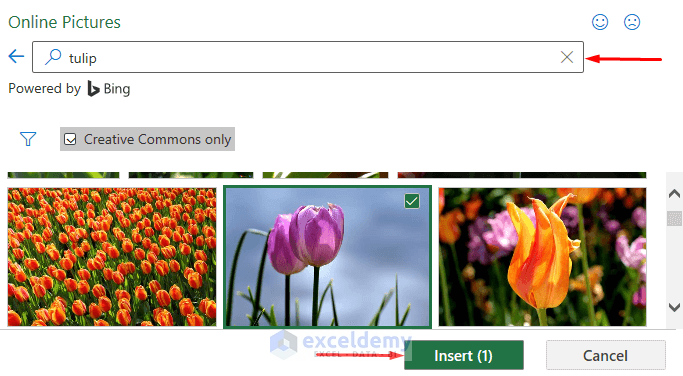
- In the search box, write down the name or a keyword and select the picture you want to use.
- You can select multiple pictures. The selected images will have a checkmark on the top-right.
- Check the image’s copyright status to make sure you can use it legally.
- Click on Insert.
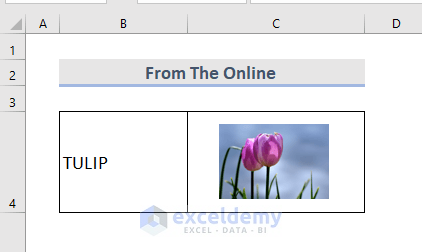
- The picture will be downloaded, and you’ll see a progress bar.

- After completing the download, resize the image to fit the cell as in Method 1.
Read More: How to Insert Picture from URL Using VBA in Excel (2 Methods)
Related Articles
- How to Lock Image in Excel Cell (2 Methods)
- Excel VBA: UserForm Image from Worksheet (3 Cases)
- How to Insert Picture in Excel Cell Background (3 Methods)
- How to Insert a Picture in Excel Header
<< Go Back to Excel Insert Pictures | Learn Excel
Get FREE Advanced Excel Exercises with Solutions!

how we can insert multiple photos in one rows or columns me 20 photo or more
Hello AB,
Thanks for your response. We can certainly insert multiple photos in one row or column in a simple way. Just follow the following steps:
Select data > Home tab > Sort & Filter feature > Sort A to Z.
Thus, you will have all the images in a single column.
Similarly, you cam insert multiple photos in a single row.
Let me know if this is helpful for you or not.
Regards,
Naimul Hasan Arif