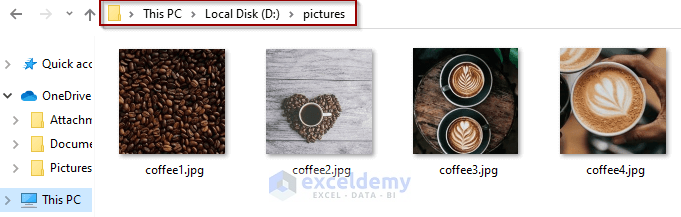
You have pictures in a specific folder and want to insert one of these pictures in your Excel worksheet.
- Go to the Developer tab.
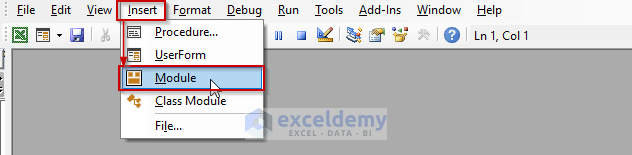
- Click Visual Basic.

- In the Visual Basic for Applications window, click Insert and select Module.
Method 1 – Inserting a Picture by Name from a Folder Using a VBA Code in Excel
- Select a cell in the Active Worksheet to insert the picture.
- Open the Visual Basic Editor and enter the following code.
Sub InsertPicture()
ActiveSheet.Shapes.AddPicture _
    Filename:= , _
    LinkToFile:=msoFalse, _
    SaveWithDocument:=msoTrue, _
    Left:=ActiveCell.Left, _
    Top:=ActiveCell.Top, _
   Width:=-1, Height:=-1
End Sub
The Filename property is empty in the code. To get the picture location:
- Go to the folder that contains the picture.
- Hold Shift key and right–click the picture.
- Choose “Copy as path”.
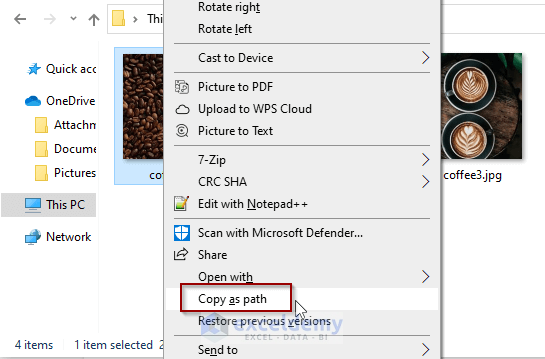
- Paste the picture location in the Filename property in the code.
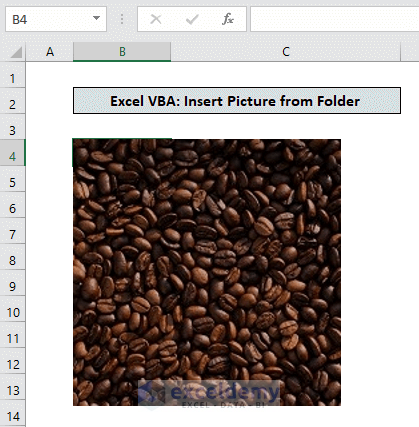
Filename:="D:\pictures\coffee1.jpg", _- Run the code by pressing F5.

This is the output.
Code Breakdown
The Shape.AddPicture method inserts the picture from an existing file and returns a shape object. The syntax is:
expression.AddPicture(FileName, LinkToFile, SaveWithDocument, Left, Top, Width, Height)
LinkToFile = msoFalsemade the picture an independent copy of the file.
SaveWithDocument:=msoTruesaved the linked picture with the document in which it will be inserted.
Left:=ActiveCell.Left, Top:=ActiveCell.Topinserted the picture at the top-left corner of the selected cell.
Width:=-1, Height:=-1Inserted the picture in its original size.
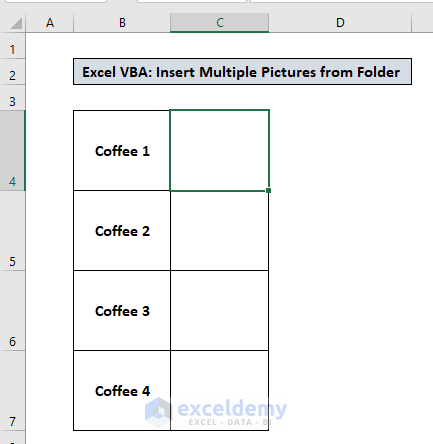
Method 2 – Inserting Multiple Pictures into a Worksheet from a Folder Using VBA in Excel
You have a list of Coffee items and want to insert the pictures for each of these items in a Column.
- Select a cell (C4, here) to insert the first picture.
- Enter the following code.
Sub InsertMultiplePictures()
Dim Pictures() As Variant
Dim PictureFormat As String
Dim PicRng As Range
Dim PicShape As Shape
On Error Resume Next
Pictures = Application.GetOpenFilename(PictureFormat, MultiSelect:=True)
PicColIndex = Application.ActiveCell.Column
If IsArray(Pictures) Then
    PicRowIndex = Application.ActiveCell.Row
    For lLoop = LBound(Pictures) To UBound(Pictures)
        Set PicRng = Cells(PicRowIndex, PicColIndex)
        Set PicShape = ActiveSheet.Shapes.AddPicture(Pictures(lLoop), msoFalse, msoCTrue, PicRng.Left, PicRng.Top, PicRng.Width, PicRng.Height)
        PicRowIndex = PicRowIndex + 1
    Next
End If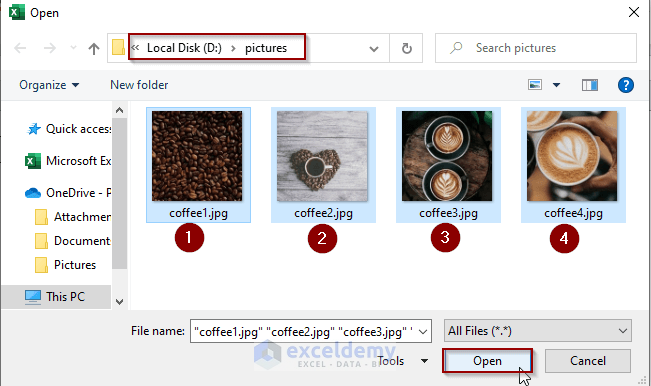
End Sub- Run the code by pressing F5.
- In the Open window, choose the Folder containing the pictures.
- Select the pictures to be inserted. Here, all pictures.
- Click Open.
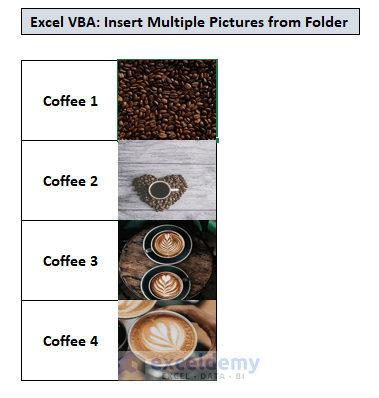
This is the output.
Method 3 – Running a VBA Code to Insert a Picture from a Folder Based on a Cell Value
In B4, create a Dropdown list with 4 coffee items- coffee1, coffee2, coffee3, and coffee4.
- Select B4.
- Go to the Data tab and select Data Validation.

- In the Data Validation window, click the Settings option.
- In Allow, choose List.
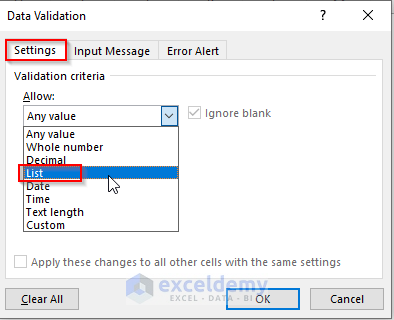
- In the Source input box, enter the names of the items separating them by commas.
- Click OK to save the Settings.
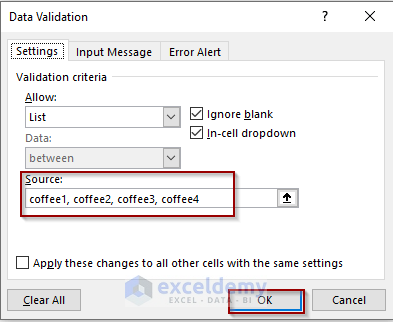
A dropdown list with 4 coffee items was created.

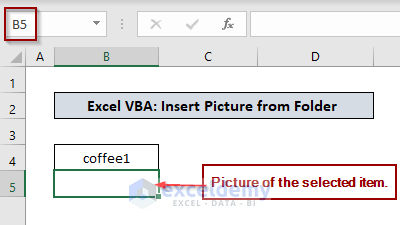
To insert the picture of the selected coffee item in the dropdown list in B5:
- Enter the following code in the Visual Basic Editor.
Option Explicit
Private Sub Worksheet_SelectionChange(ByVal Target As Range)
Dim InsPic As Picture
Dim LocationPic As String
If Target.Address = Range("B4").Address Then
ActiveSheet.Pictures.Delete
LocationPic = "D:\pictures\" & Range("B4").Value & ".jpg"
With Range("B5")
Set InsPic = ActiveSheet.Pictures.Insert(LocationPic)
.RowHeight = InsPic.Height
InsPic.Top = .Top
InsPic.Left = .Left
InsPic.Placement = xlMoveAndSize
End With
End If
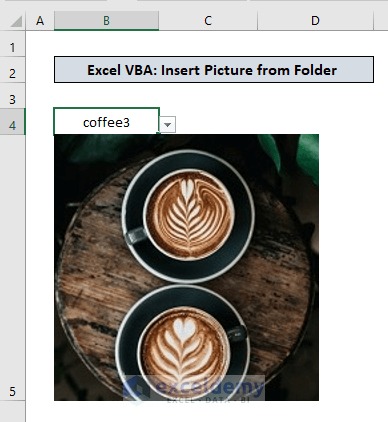
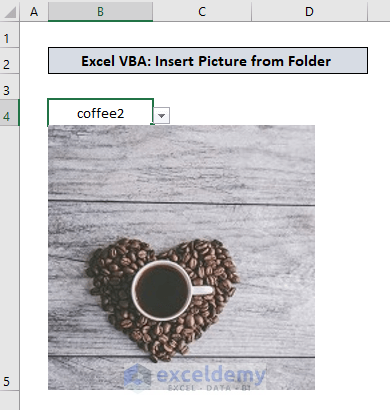
End Subcoffee3 is selected in the item list, and the code automatically inserted the associated picture from its defined location.
The selected item is changed to coffee2 and the output is in the following:
Code Breakdown
- The cell reference of the dropdown list is set.
If Target.Address = Range("B4").Address Then- The picture location is set: the folder address (“D:\pictures\”), the item name in B4, and the file extension (.jpg).
LocationPic = "D:\pictures\" & Range("B4").Value & ".jpg"- Sets the cells to insert the picture.
With Range("B5")Notes
- Set the height and width of the inserted pictures:
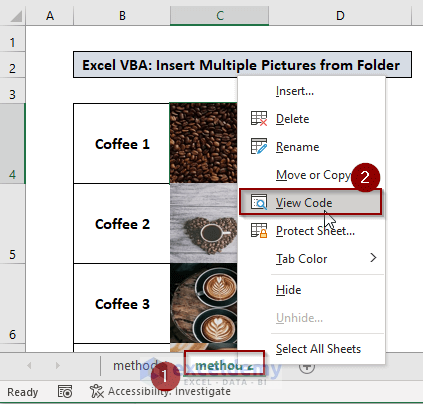
Width: =70, Height:=70- To view the code, right-click the Sheet Name and select View Code.
Download Practice Workbook
Download the practice workbook to exercise.
Related Articles
- How to Insert an Image into a Cell with Excel VBA
- How to Insert Picture from URL Using VBA in Excel
- Insert Pictures Automatically Size to Fit Cells with VBA in Excel


am not able to fetch the image using method 3
Dear NIRMAL
Thank you for taking the time to read this article. I can see that you are facing a problem while executing the code in method 3. I guess It is Run-time error ‘1004’.
Kindly note that you need to modify the file path according to the folder where you are storing your pictures. You also have to specify the type of the image (jpg, jpeg, png, etc.) correctly. So, you should change the LocationPic variable in the code accordingly.
For your convenience, I am attaching a photo indicating the exact portions of the code that you need to re-write.
If you have any more questions, please let us know in the comments.
Regards
Md. Abu Sina Ibne Albaruni
Team ExcelDemy
Great, thank u for ur help, also possible to insert images in a particular size in excel using the same code??
Hello NIRMAL
Thanks for reaching out and posting your comment. You asked if it is possible to insert images in a particular size in Excel using the same code or not. The answer is Yes. As mentioned in the article, you can easily set the .height and .width properties for customization.
I am going to present a modified version of the given code mentioned in the third method to handle some errors.
Excel VBA Event Procedure:
Hopefully, the idea will fulfil your requirements. Good luck!
Regards
Lutfor Rahman Shimanto
I am curently using the method 2. I just wanted the pictures a little smaller so the borders show. how can it be done?
Hello Jan,
You need to scale the image to show the borders.
You can use the following updated code to do so.
Here, I used 0.9,to scale 90% of the cell’s width and height.
Next, used LockAspectRatio to maintain the aspect ratio of the pictures.
Then, Adjusted the alignment using Left and Top, it will center the picture within the cell after resizing.
Regards
ExcelDemy
Hi, I want code to insert pictures horizontal (A1, B1, C1,…..). Could you help please.
Hello Sathish,
To insert pictures horizontally across a row (e.g., A1, B1, C1…), changed the loop to increment the column index (PicColIndex) instead of the row index.
Here’s the updated code:
Regards
ExcelDemy
Hi, I want to insert picture in horizontal (A1, B1, C1,……..). Could you help.
Hello Sathish,
To insert pictures horizontally across a row (e.g., A1, B1, C1…), changed the loop to increment the column index (PicColIndex) instead of the row index.
Here’s the updated code:
Regards
ExcelDemy
Hi
I used 2nd method to get autometic picture in cell. but images not match with the image name.
e.g.
IN A column I have Image name and In B column I want that particular image.
the imagename.jpg is already do with coloumn A. like abc is the name and image name is abc.jpg
how i get those images with right name of right image
Hello Ravi Patel,
To ensure that images match the corresponding name in column A, you can compare the image name with the text in column A (e.g., abc in column A should match abc.jpg), and then insert that image into column B.
In the original code, it opens a dialog box to select multiple images, and then it adds them one by one in adjacent cells. If the image names don’t match, you would need to adapt this logic based on image names stored in column A. To automate the matching with your scenario, make sure the file names match the corresponding data in column A.
Regards
ExcelDemy