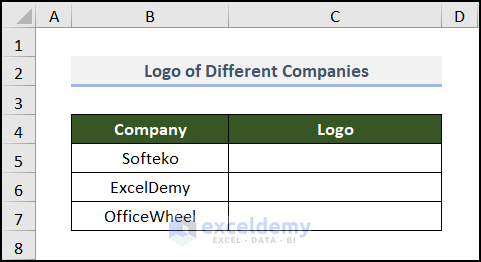
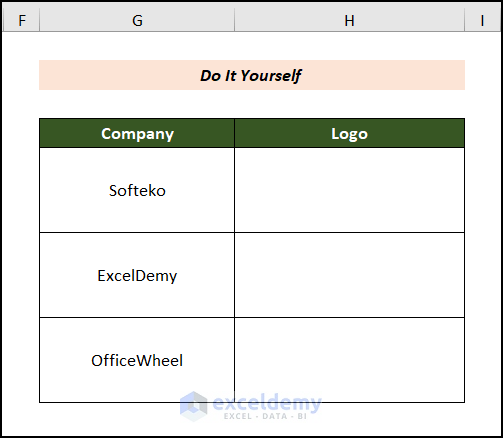
The sample dataset contains Company names and a column to insert their Logo.
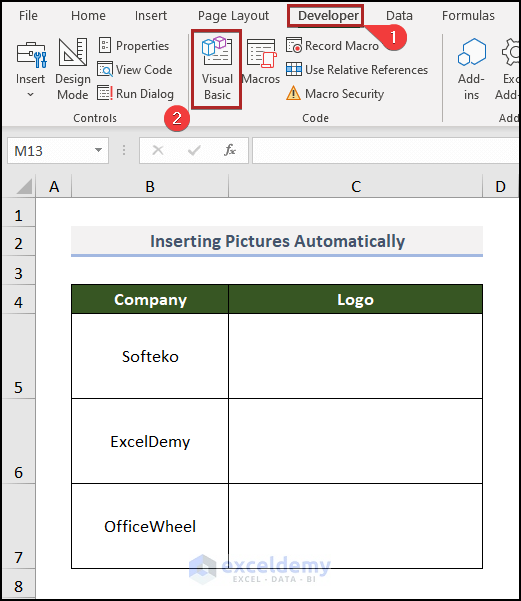
Step 1 – Insert a Module
- Go to the Developer tab.
- Click Visual Basic.
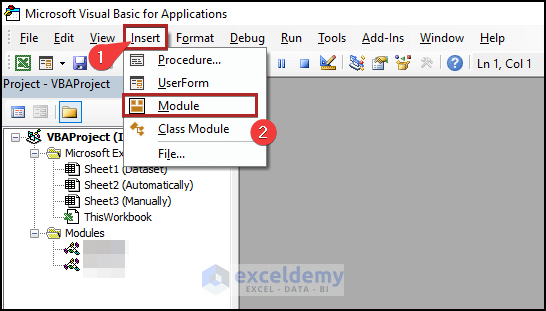
In the Microsoft Visual Basic for Applications window:
- Go to the Insert tab.
- Select Module.
Step 2 – Enter the VBA Code
- Enter the following code in Module1.
Sub Insert_Automatically()
Dim Ph_Path As Variant
Dim Ph As Picture
Ph_Path = Application.GetOpenFilename(Title:="Select Your Desired Photo")
If Ph_Path = False Then Exit Sub
Set Ph = ActiveSheet.Pictures.Insert(Ph_Path)
With Ph
.Width = ActiveCell.Width
.Height = ActiveCell.Height
.Placement = 1
End With
End Sub
Code Breakdown
- The sub-procedure is Insert_Automatically.
- Two variables are declared.
- The GetOpenFilename method is used to select the file.
- The width and height of the picture are set to the size of the selected cell.

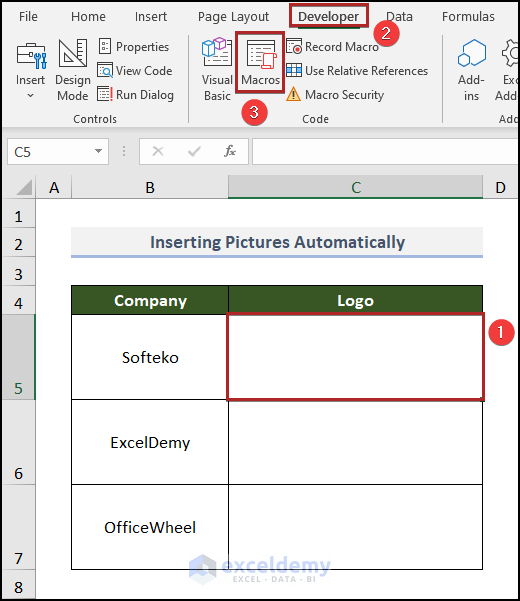
Step 3 – Run the Macro
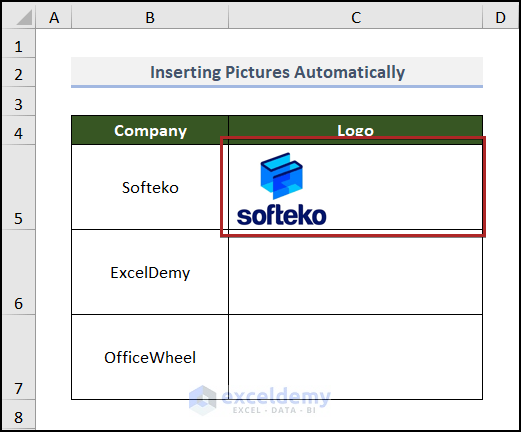
- Select C5 to place the logo of Softeko.
- Go to the Developer tab.
- Click Macros in Code. You can also press ALT+F8.
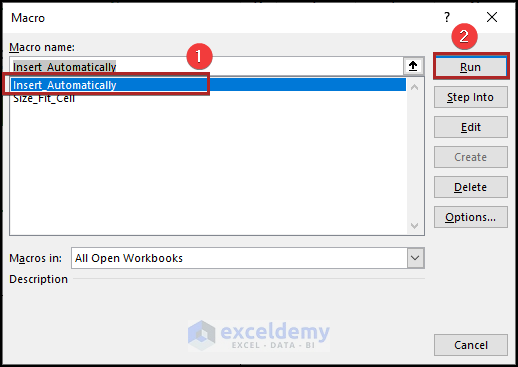
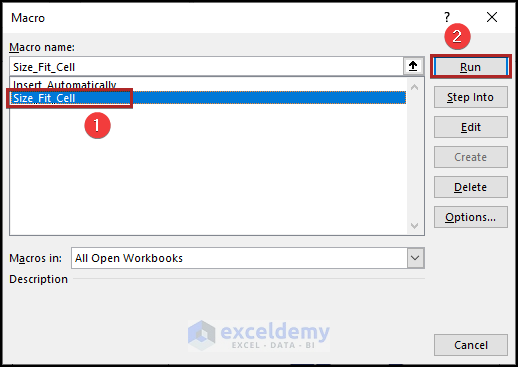
In the Macro dialog box:
- Select the Insert_Automatically macro in Macro name:.
- Click Run.
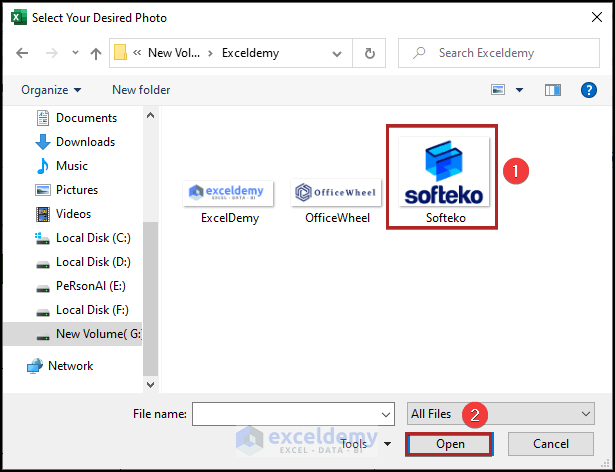
- In the Select Your Desired Photo window, choose the image.
- Click Open.
The logo is displayed in C5.
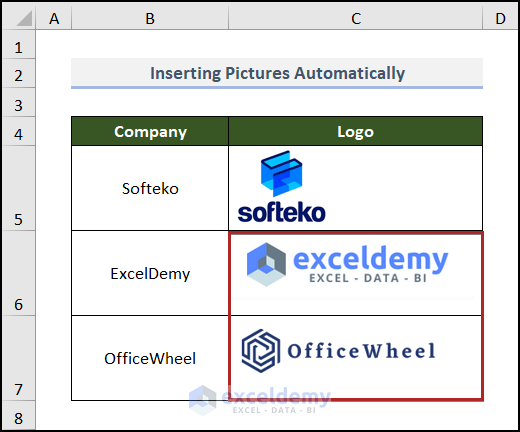
- Follow the same steps to insert the other images.
How to Insert Pictures Manually to Fit Cells in Excel
Steps:
- Select the cell to insert the logo. Here, C5.
- Go to the Insert tab.
- Click Illustrations.
- Select Pictures.
- Choose This Device in Insert Picture From.
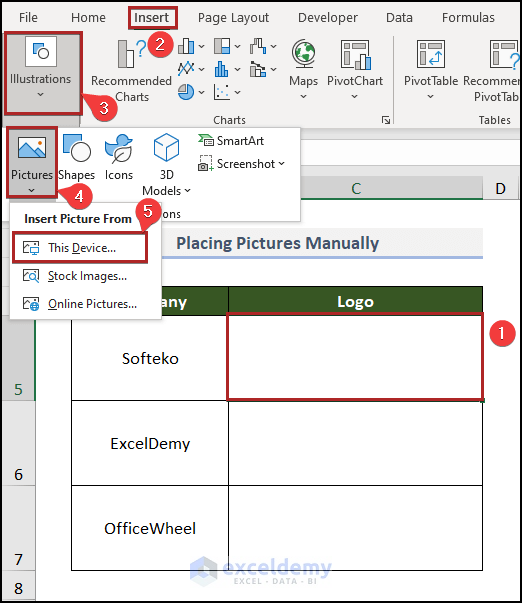
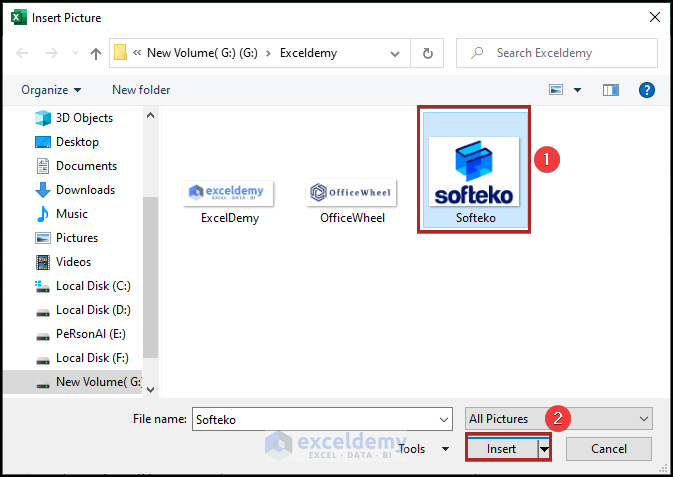
- In the Insert Picture dialog box, select the image.
- Click Insert.
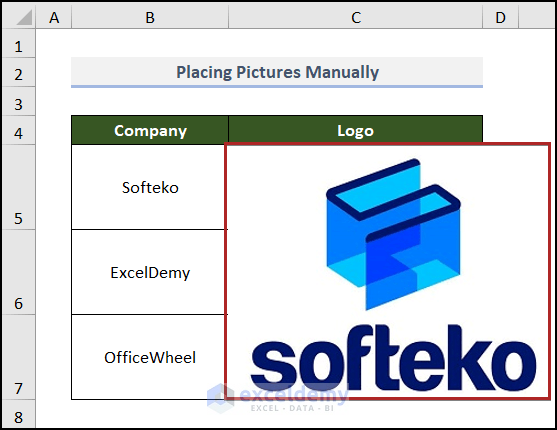
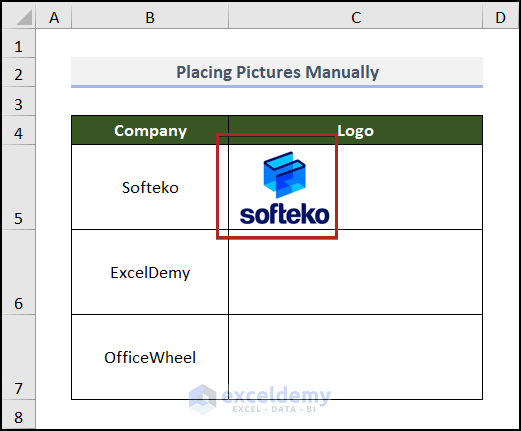
The logo is displayed but doesn’t fit the cell.
To resize it:
- Open the Visual Basic Editor and insert another module.
- Copy the following code into Module2.
Public Sub Size_Fit_Cell()
On Error GoTo Select_Image
Dim ZImageWtoHRatio As Single
Dim QWtoHRatio As Single
With Selection
ZImageWtoHRatio = .Width / .Height
End With
With Selection.TopLeftCell
QWtoHRatio = .Width / .RowHeight
End With
Select Case ZImageWtoHRatio / QWtoHRatio
Case Is > 1
With Selection
.Width = .TopLeftCell.Width
.Height = .Width / ZImageWtoHRatio
End With
Case Else
With Selection
.Height = .TopLeftCell.RowHeight
.Width = .Height * ZImageWtoHRatio
End With
End Select
With Selection
.Top = .TopLeftCell.Top
.Left = .TopLeftCell.Left
End With
Exit Sub
Select_Image:
MsgBox "Choose an Image and Run the Macro."
End Sub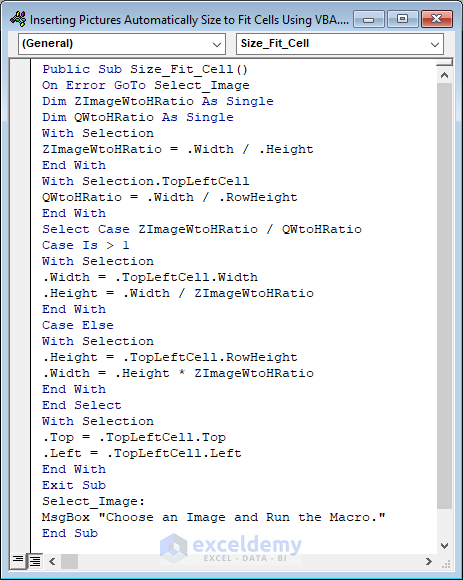
- Save the Excel file.
To run this code:
- Click the picture.
- Go to the Developer tab.
- Click Macros.
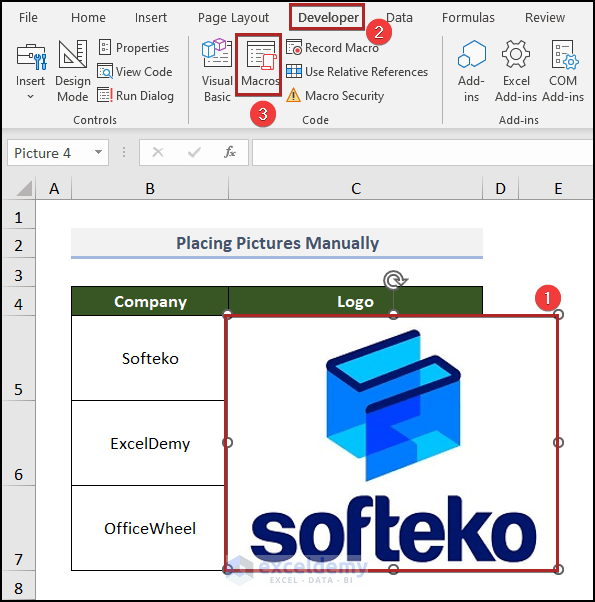
- Select the Size_Fit_Cell macro and click Run.
This is the output.
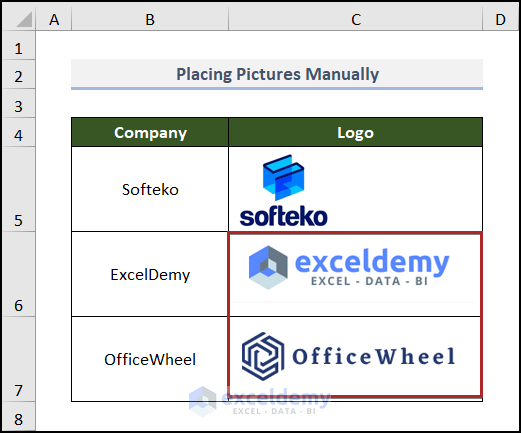
- Follow the same steps to insert the logos in the other cells.
Practice Section
Practice here.
Download Practice Workbook
Download the following Excel workbook.

