Example 1 – Using the Copy Pasting Tool
You have an image in your worksheet. To add this image to the UserForm dialog box:
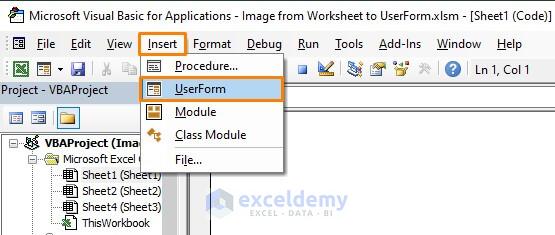
- Go to the Developer tab and click Visual Basic (or press ALT + F11).

- Select Insert and choose UserForm.
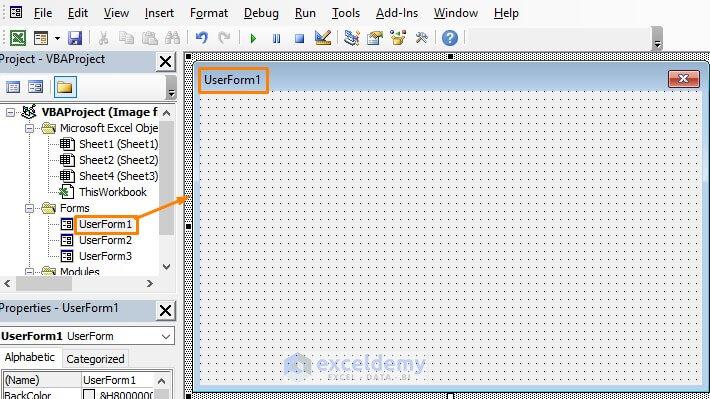
The dialog box UserForm1 will be displayed.
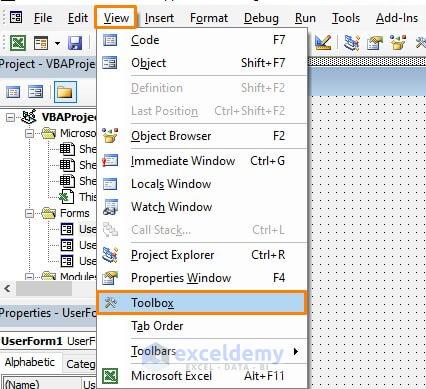
Note: You’ll see a floating window: The Toolbox. If it isn’t displayed, go to the View tab and choose Toolbox.
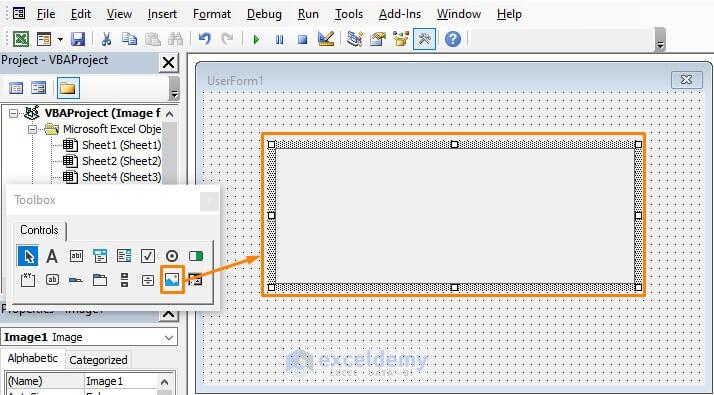
- Choose Image in Toolbox and drag to draw a frame for the image.
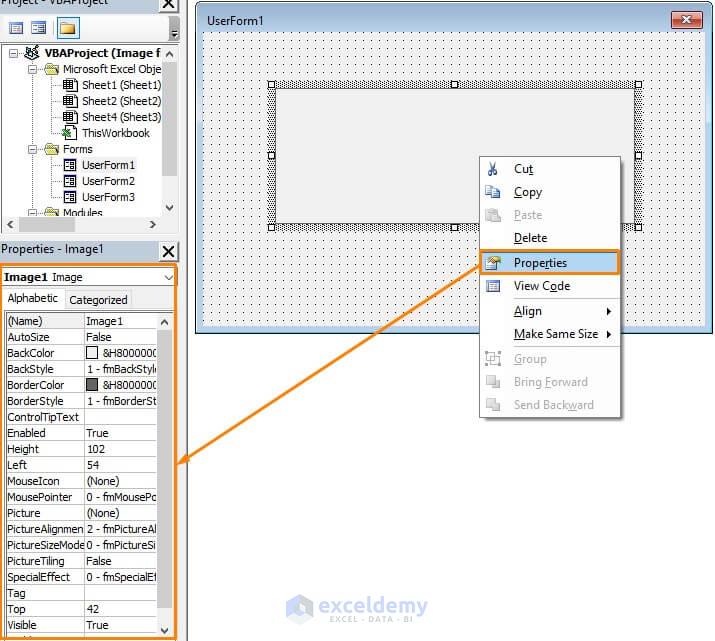
- Right-click while keeping the cursor over the image.
- In the options, choose Properties.
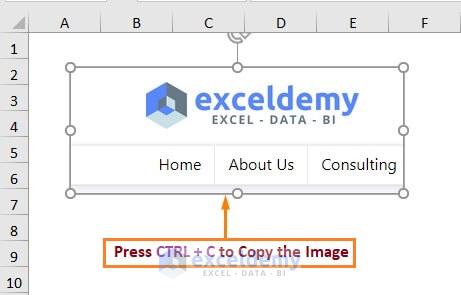
- Go to the worksheet again and copy the image by pressing CTRL + C.
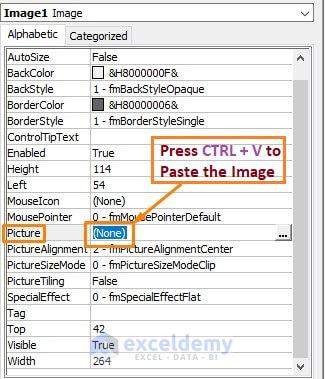
- Go to the UserForm1 > Properties of Image1 and select None in Picture.
- Paste the image by pressing CTRL + V.
This is the output.

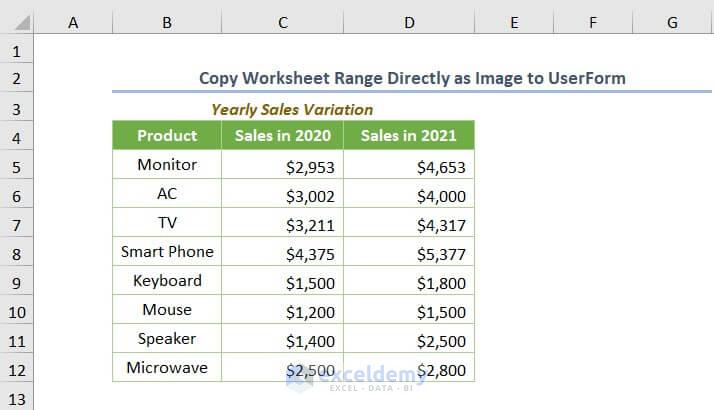
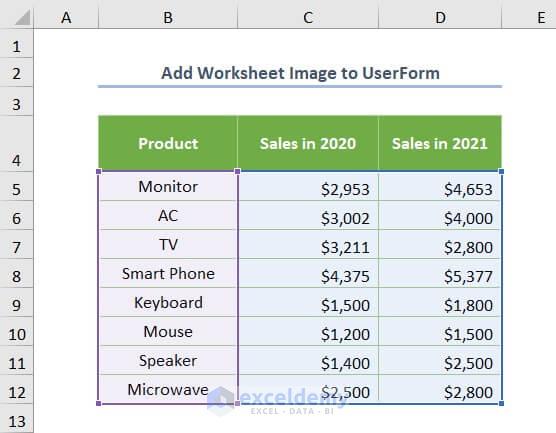
Example 2 – Create a Worksheet Range Directly as Image in the UserForm
This is the sample dataset.
Step 1: Creating a Button
- Go to the Developer tab and click Visual Basic (or press ALT + F11).
- Create a new UserForm as shown in the first example: UserForm2.
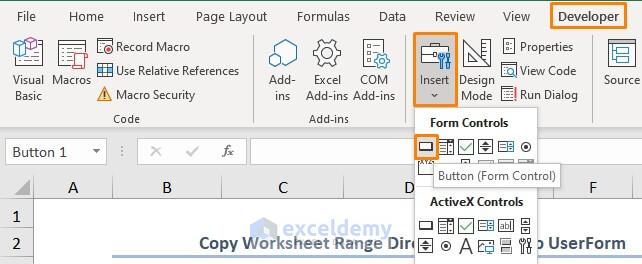
- Select Insert.
- Insert a Button in Form Controls.
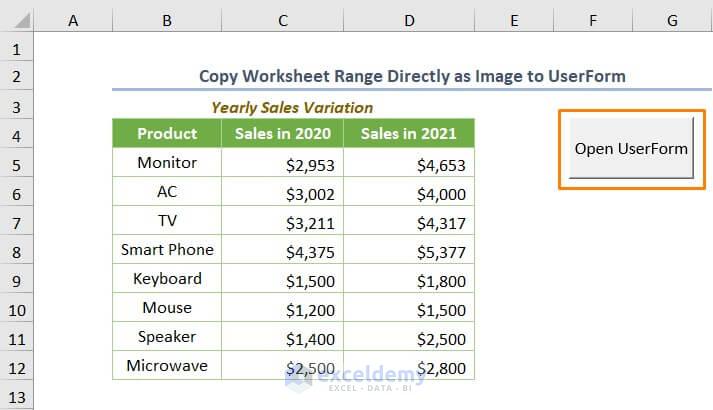
Name Button1 as Open UserForm.
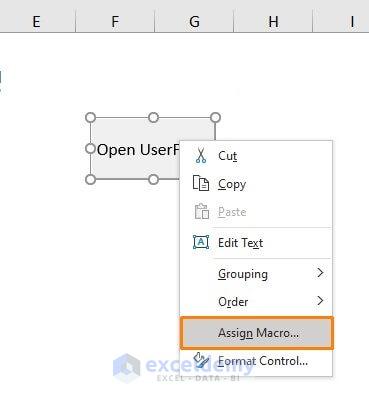
- Right-click the button and choose Assign Macro.
- Enter the following code into the module to show UserForm2.
Sub Button1_Click()
UserForm2.Show
End Sub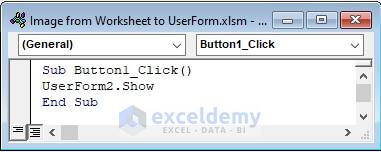
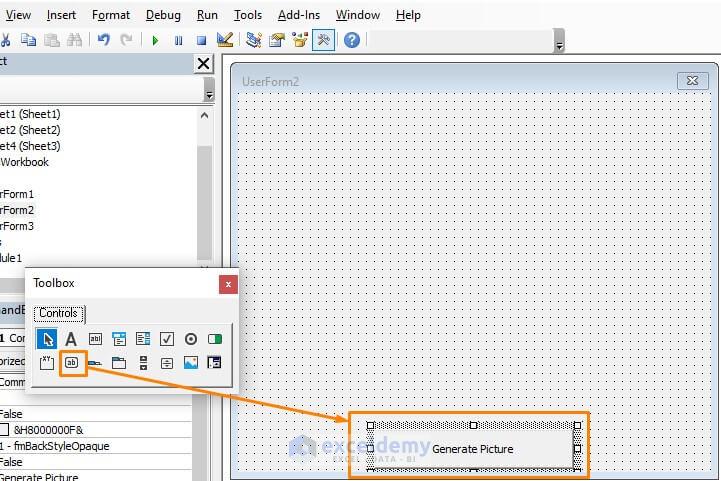
Step 2: Adding a Command Button
Name the button Generate Picture.
Step 3: Assigning a VBA Code
- Double-click the Generate Picture button and enter the following code.
Private Sub CommandButton1_Click()
Range("B3:D12").Copy 'Choose your Worksheet Range
Range("H4").Select 'Specify the Location of Keeping Picture Temporarily
ActiveSheet.Pictures.Paste Link:=True
ActiveSheet.Pictures.Select
Application.CutCopyMode = False
Dim tChart As String, tPicture As String
Dim imgWidth As Long, imgHeight As Long
Application.ScreenUpdating = False
tPicture = Selection.Name
With Selection
imgHeight = .ShapeRange.Height
imgWidth = .ShapeRange.Width
End With
Charts.Add
ActiveChart.Location Where:=xlLocationAsObject, Name:="Sheet2" 'Type your Sheet Name
Selection.Border.LineStyle = 0
tChart = Selection.Name & " " & Split(ActiveChart.Name, " ")(2)
With ActiveSheet
With .Shapes(tChart)
.Width = imgWidth
.Height = imgHeight
End With
.Shapes(tPicture).Copy
With ActiveChart
.ChartArea.Select
.Paste
End With
.ChartObjects(1).Chart.Export Filename:="aC:\Exceldemy\MyPic.jpg", FilterName:="jpg"
.Shapes(tChart).Cut
End With
Application.ScreenUpdating = True
Set Picture = LoadPicture("C:\Exceldemy\MyPic.jpg")
ActiveSheet.Pictures.Delete
End Sub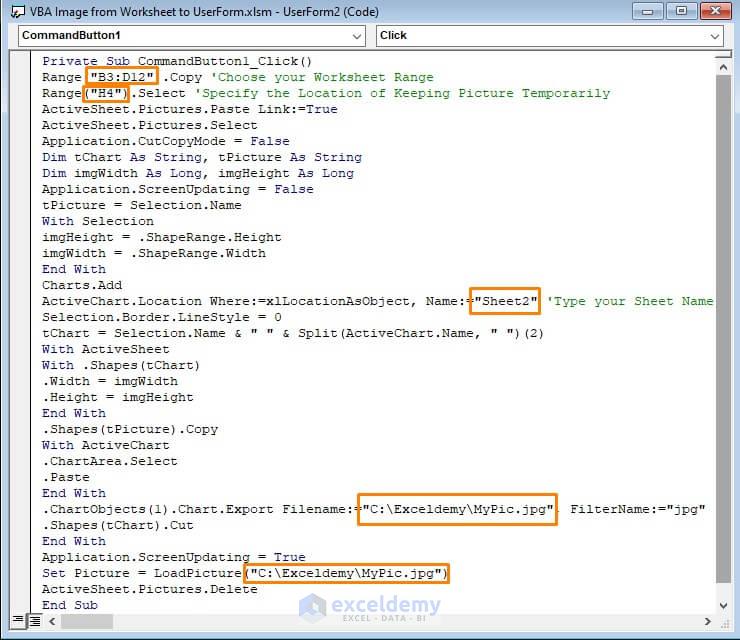
In the above code:
- Choose your worksheet range ( B3:D12).
- Specify the location of the picture (H4).
- Enter the sheet (Sheet2) from which you want to add an image.
- Define a location (C:\Exceldemy\MyPic.jpg) to store and load the image.
- Go to the worksheet and click Open UserForm.
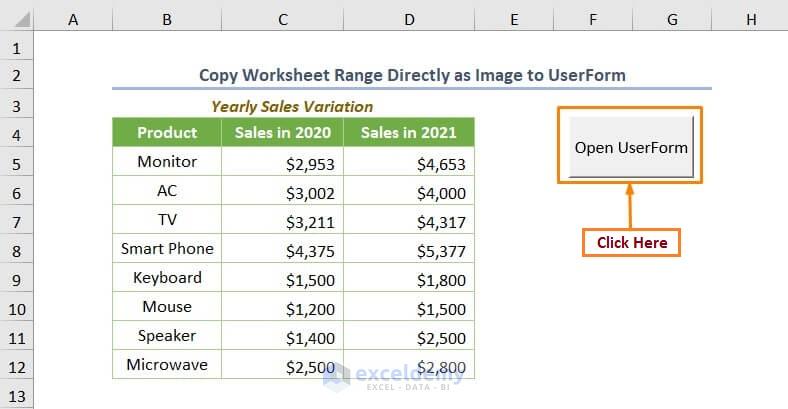
The UserForm2 dialog box is displayed.
- Click Generate Image.
This is the output.

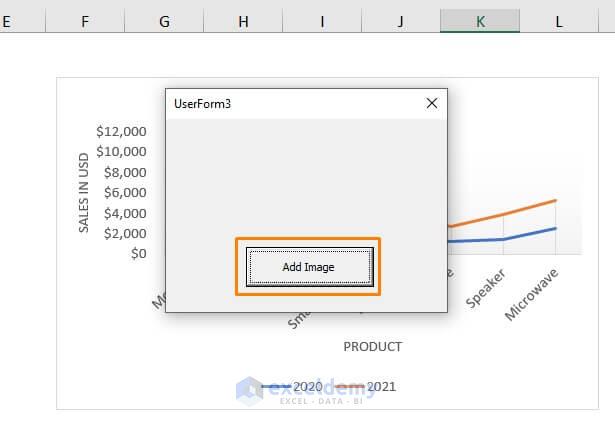
Example 3 – Add a Worksheet Image to the UserForm
Create a chart from the following dataset to display sales variation.
This is the output:

- Save the chart as an image by right-clicking, and choosing Save as Picture. Here, Chart1 in JPG format.
- Add a command button in the Toolbox and name it Add Image.
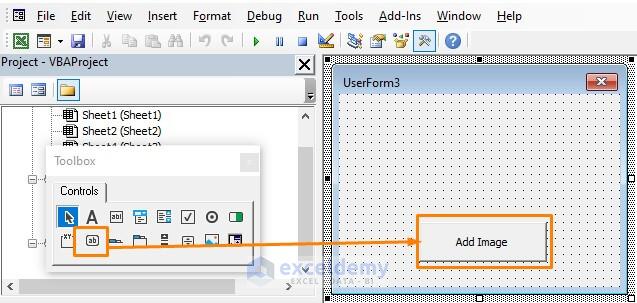
- Double-click the button and enter the following VBA code.
Private Sub CommandButton1_Click()
 Set Pic = UserForm3.Controls.Add("Forms.Image.1")

    With Pic
        'Load Chart as a Picture to Image Control
        .Picture = LoadPicture("C:\Exceldemy\Chart1.jpg")

        'Align the Picture Size
        .PictureSizeMode = fmPictureSizeModeZoom

        .Left = 70
        .Top = 20

    End With
End Sub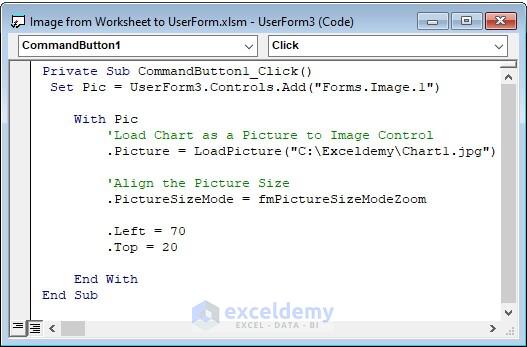
In the above code, the Add method is set with the UserForm object for the Pic variable. The LoadPicture method is used to add the image and the PictureSizeMode property to resize it. Change the location of the File Name using the LoadPicture method.
- Run the code, (press F5), to display the UserForm3 dialog box.
- Click Add Image.
Things to Remember
- Image Control supports 6 specific image formats only :.bmp, .cur, .jpg, .ico, .wmf and .gif.
- To use the LoadPicture method, you need ActiveX Controls.
Download Practice Workbook
Related Articles
- Excel VBA: Show Userform in Full Screen
- How to Create Toggle Button on Excel VBA UserForm
- How to Use Excel UserForm as Date Picker
- How to Use VBA to Get Value from Userform Textbox in Excel
- Excel VBA to Format Textbox Number with UserForm


Hi Mr Kader,
Thanks for sharing your valuable knowledge.
Please be aware that there are other more advanced techniques that makes possible to add special functions or features to EXCEL like using Windows API functions, Excel Add-ins, external DLL libraries, etc.
Hello FRANK,
Glad to know the basic methods were useful to you. We further appreciate your valuable insights in addition to these methods. We will look into the advanced techniques and add them in the future. Thank you.
Regards,
Yousuf Khan
Hello,
Could you please share the file of test ?
I tried the code and it doesn’t work on my laptop. There are error message.
It will be very usefull to get your test files.
Thank you for your support and feedback
—
Damien
Hello Damien,
From our Download Practice Workbook section, you will get the Excel file.
If you face any difficulties after downloading the above file, follow this article to Enable Macros but Not Working
Regards
ExcelDemy