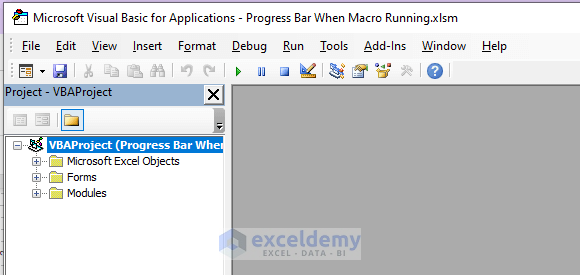
Step 1 – Open the Visual Basic Window
- Press Alt + F11 to open the Visual Basic window.
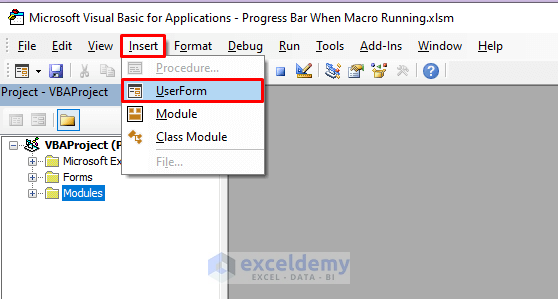
Step 2 – Insert a New UserForm
- Go to the Insert, and then the UserForm option in the toolbar to insert a new UserForm.
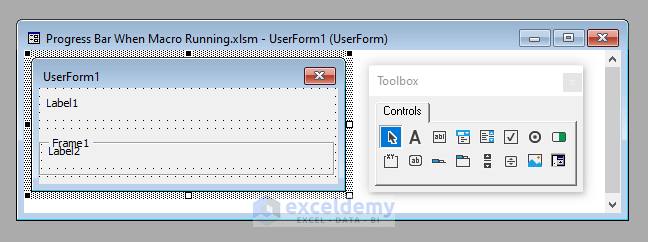
- Click on the UserForm.
- A new UserForm called UserForm1 along with a Control box will open.
- This UserForm will act as our progress bar.
Step 3 – Drag Tools to the UserForm
- We’ll need only 3 tools for our purpose: one Frame, and two Labels.
- The first Label (Label1) will lie horizontally along the top margin of the UserForm, covering its whole width.
- The Frame (Frame1) will lie horizontally in the middle of the UserForm, also covering the whole width.
- The second Label (Label2) will cover the whole area of the Frame.
Step 4 – Put Code into the UserForm
- Right-click on the UserForm from the left pane and select View Code.
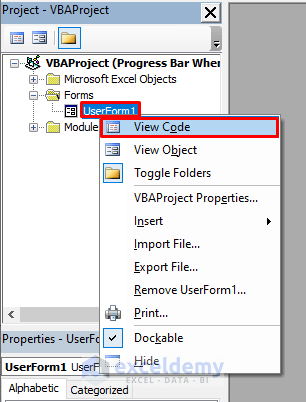
- Enter your main VBA code here:
⧭ VBA Code:
Private Sub UserForm_Activate()

For i = 1 To 100
    For j = 1 To 100
        Cells(i, j) = 5
    Next j
    UserForm1.Label1.Caption = Str(i) + "% Completed"
    UserForm1.Label2.Width = i * 2
    UserForm1.Repaint 'Updating Screen
Next i

End Sub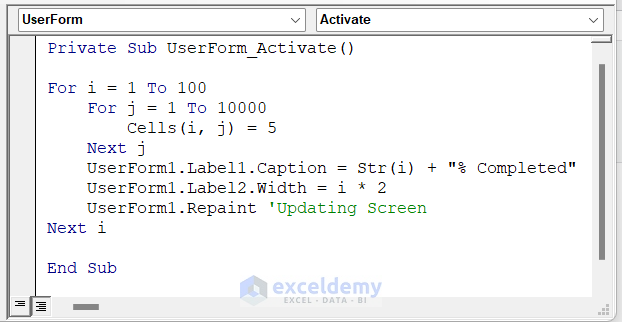
Step 5 – Create a Macro to Run the UserForm
- Go to Insert and pick Module in the Visual Basic toolbar to insert a new module.
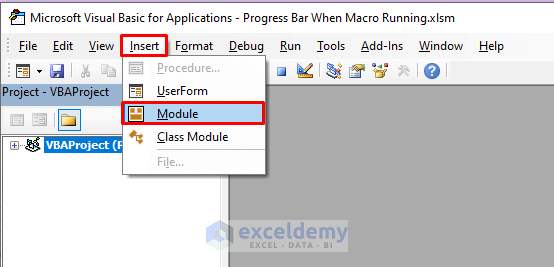
- Insert the following VBA code there:
⧭ VBA Code:
Sub Progress_Bar()
UserForm1.Caption = "Progress Bar"
UserForm1.Label1.Caption = "0% Completed"
UserForm1.Label2.Caption = ""
UserForm1.Label2.BackColor = vbHighlight
UserForm1.Frame1.Caption = ""
Load UserForm1
UserForm1.Show
End Sub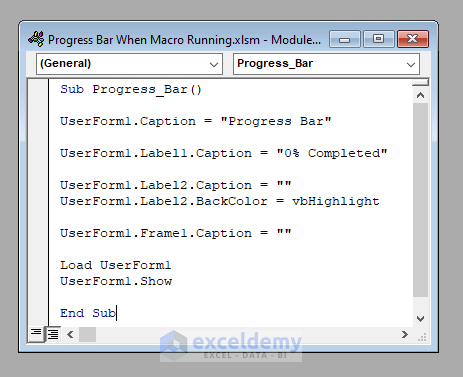
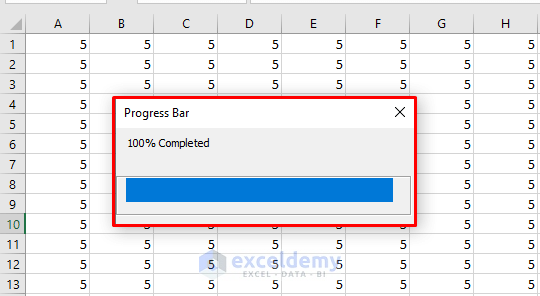
Step 6 – The Final Output
- Run the Macro called Progress Bar.
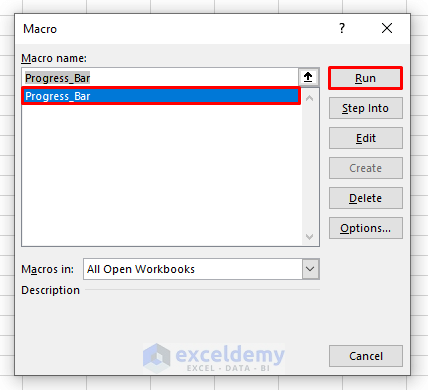
- All the cells within the first 100 rows and columns will get the value 5 and a progress bar will run showing the progress of your task.
Download the Practice Workbook
Related Articles
- How to Make a Calculator in Excel
- How to Use Excel VBA Userform
- How to Create a Calculator Using Macros in Excel
- How to Create Cascading Combo Boxes in Excel VBA User Form


“Private Sub UserForm_Activate()
For i = 1 To 100
For j = 1 To 100
Cells(i, j) = 5
Next j
UserForm1.Label1.Caption = Str(i) + “% Completed”
UserForm1.Label1.Width = i * 2
Next i
End Sub”
In code you writing “UserForm1.Label1.Width = i * 2”, but picture below “UserForm1.Label2.Width = i * 2”.
The width should change for Label2. Get attention on this.
P.S. thx for information
Dear Geogre,
Thanks for your kind attention and suggestion. We updated it.
My macro takes a long time to execute, that is why I want to show the progress, but for some reason the bar reaches the 100% before the code has finished. How can I make sure that the 2 things are related?
Dear Eugenia,
Thank you for your comment.
To ensure that the progress bar accurately reflects the progress of your macro, you can use the following modified code.
• Insert this code into your module.
Here, the Progress_Bar subroutine is called by the cmd_Click event. We used the (Counter1 / 1000) * 100 formula to calculate the progress of the macro execution as a percentage and set it as the value of StatusBas.
• Then, create a button in your worksheet >> right-click on it >> select Assign Macro.
• Assign the Progress_Bar named macro to that button.
Now, if you click on the button, It will show progress in the status bar.
We hope this will solve your problem. Please let us know if you face any further problems.
Regards,
Arin Islam,
ExcelDemy
this is helpful.
But I don’t see repaint in the code, in my file, without this .repaint command, the bar is not shown properly.
Dear Yuan,
Thanks for the suggestions. The code is updated you can check it now.
Regards
ExcelDemy