In this article, we discuss how to display a Userform in full screen in Excel using VBA in four different ways. We’ll use the dataset below to illustrate our methods. The file must be saved in xlsm format instead of the regular xlsx format.

Method 1 – Using xlMaximized
Steps:
- Click on the Developer tab and select Visual Basic.
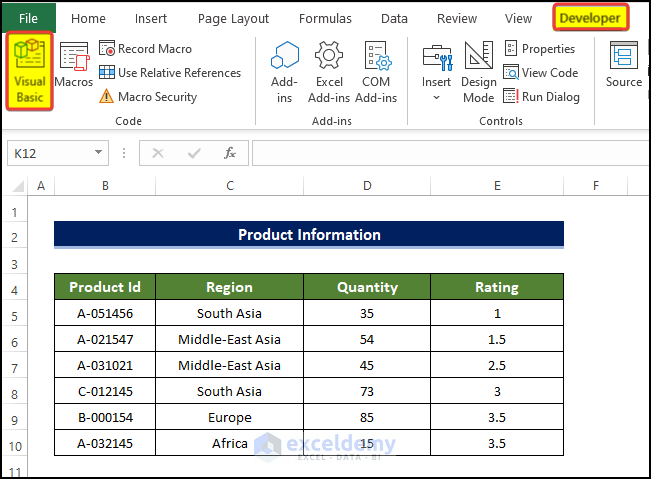
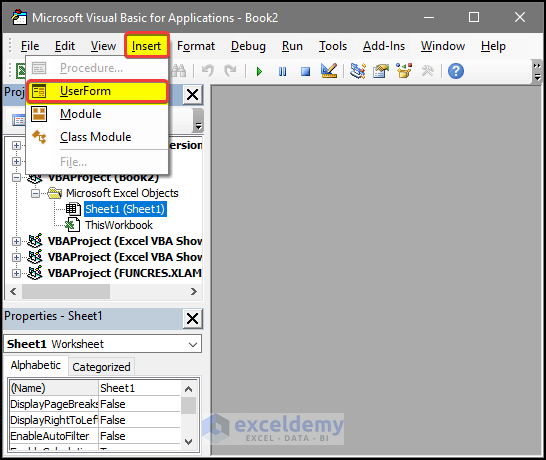
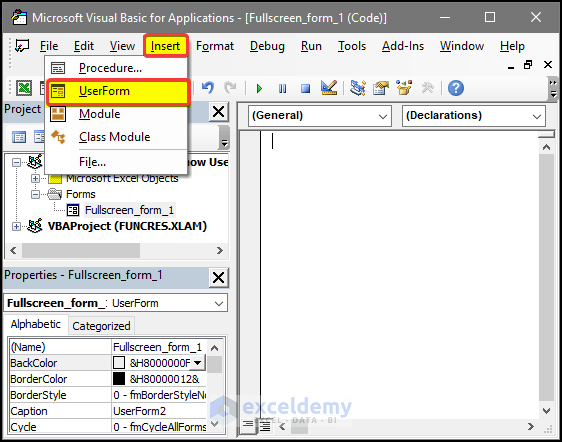
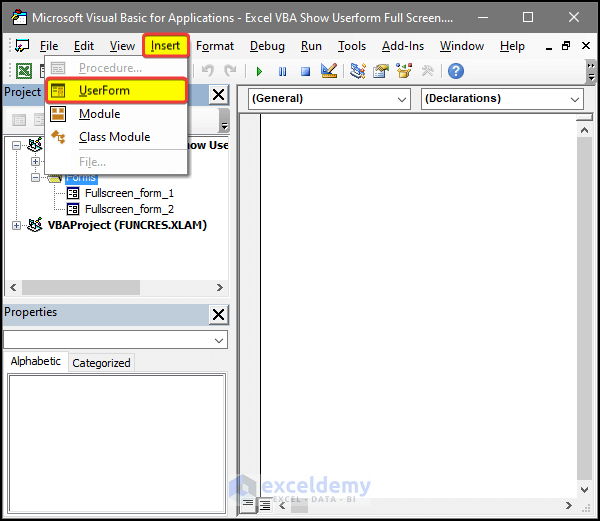
- In the Visual Basic window, click on Insert.
- Select Userform from the drop-down menu.
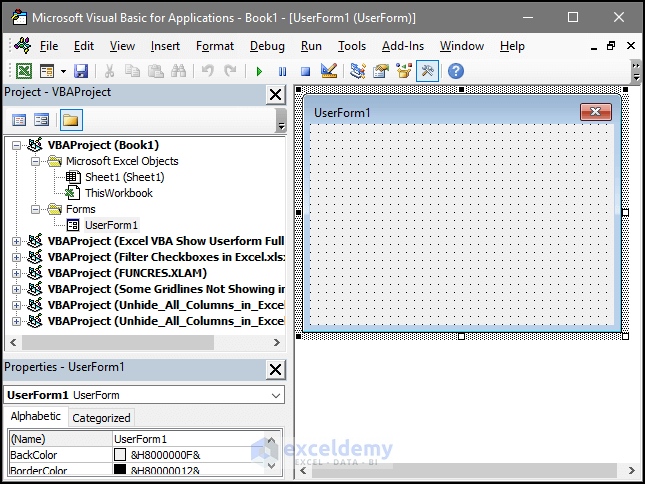
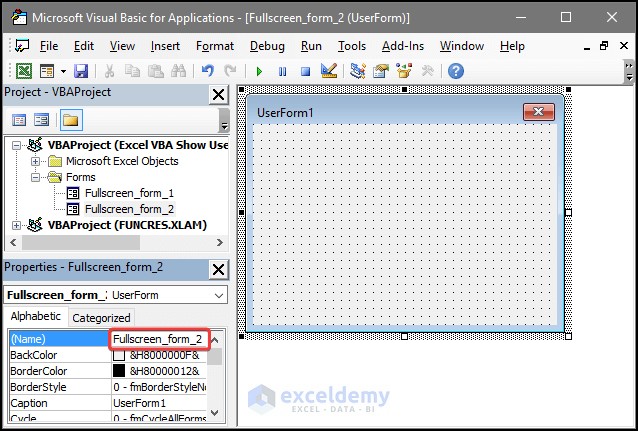
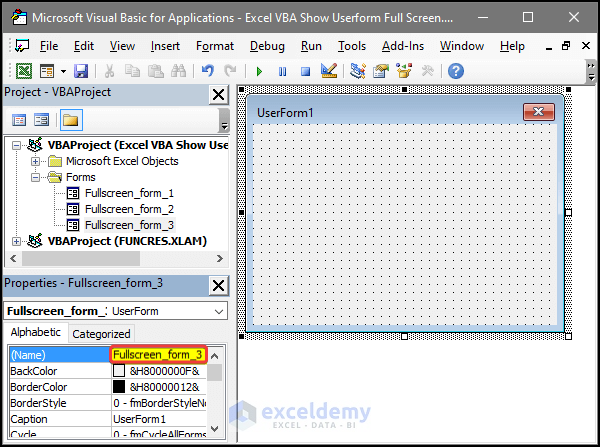
A rectangular window box will appear.
- In the Properties pane, rename and caption that window (which is the box for designing a Userform, where we can add different shapes, buttons, checkboxes, etc., and link them with the sheet).
- Double click on the box.
An editor window appears.
- In the editor window, paste the following code:
Private Sub UserForm_Activate()
Application.WindowState = xlMaximized
With Application
Me.Top = .Top
Me.Left = .Left
Me.Height = .Height
Me.Width = .Width
End With
End Sub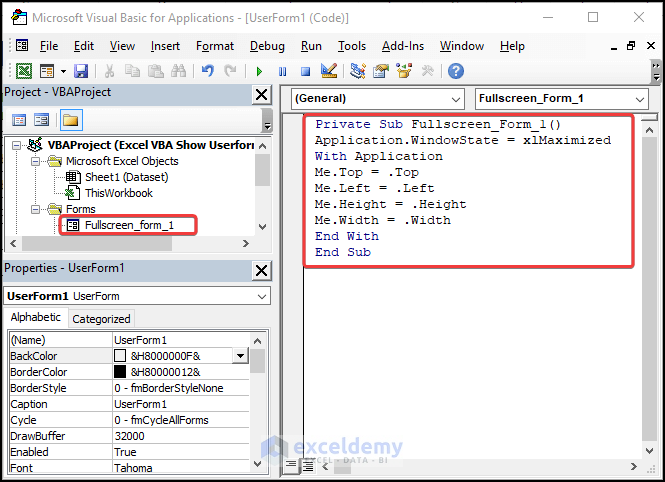
- Click the Save icon.
- Click twice on the Userform.
This will open the main Userform box again.
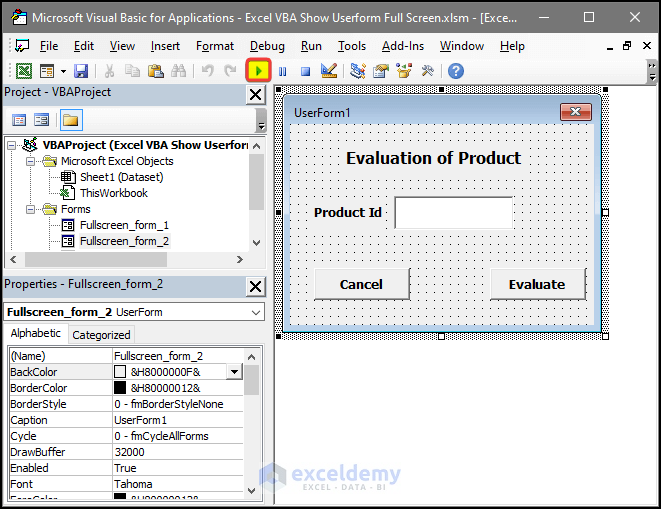
- For illustration purposes, add some elements to the Userform. We added some Text Boxes and some Command Buttons, with an Input Box.
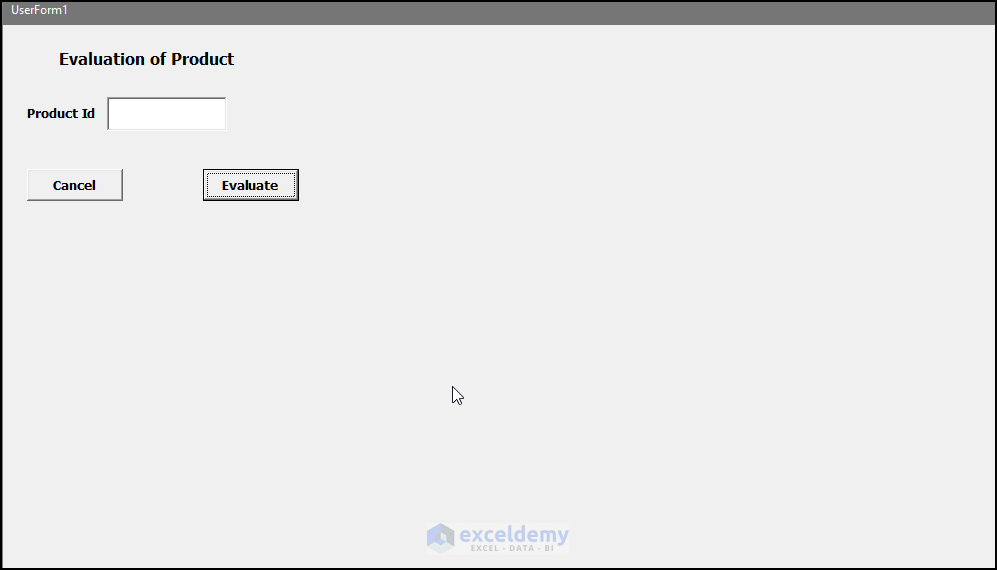
- Click on the Run button, as shown in the image below.
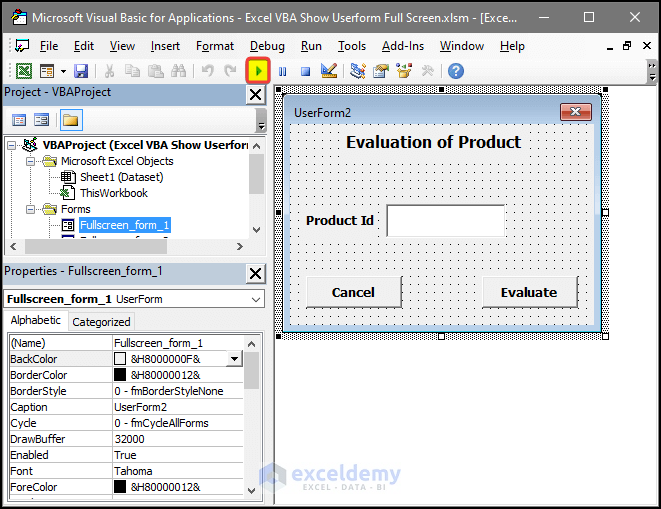
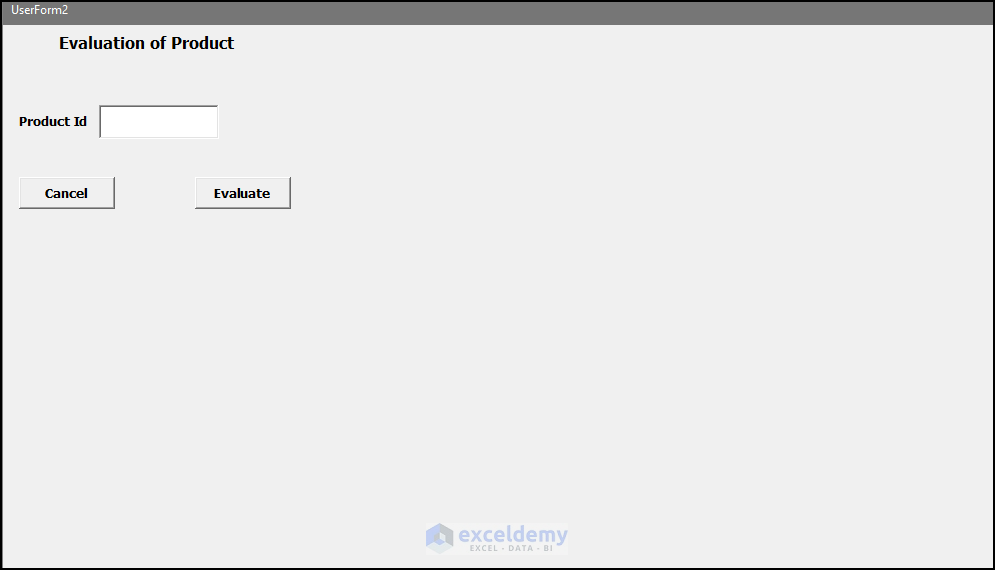
A Userform which occupies the full screen will be generated.
VBA Code Breakdown
- We select Userform as the object and Activate as the procedure.
- WindowState will denote the window condition of the application that is running right now. Setting the condition of this command line as xlMaximized will maximize the application’s window.
- We select the application window.
- We maximize the window in the top, down, left, and right directions respectively.
- Finally, we end the sub-procedure of the code.
Method 2 – Adjusting Height and Width
Steps:
- Click on the Developer tab and select Visual Basic.
- In the Visual Basic window, click on Insert.
- Select Userform from the drop-down menu.
A rectangular window box will appear.
- In the Properties pane, rename and caption that window.
- Double click on the box.
- In the editor window that appears, paste the code below:
Private Sub UserForm_Activate()
Me.Height = Application.Height
Me.Width = Application.Width
Me.Left = Application.Left
Me.Top = Application.Top
End Sub
Private Sub UserForm_Click()
End Sub
Private Sub UserForm_Initialize()
Application.WindowState = xlMaximized
End Sub
- Click the Save icon and then click twice on the Userform.
- In the main Userform box, add some elements like Text Boxes and Command Buttons, and for good measure an input box.
- Click on the Run button.
The Userform is now occupying the full screen.
VBA Code Breakdown
- We choose Userform as the object and Activate as the procedure.
- We take the height, width, left and right dimensions of the window and store them as Height, Me.Width, Me.Left, Me.Top.
- We end this sub-procedure.
- We choose Userform as the object and Initialize as the procedure.
- We maximize the stored value of the window in all directions, which will result in full-screen maximization of the window.
- We end this sub-procedure.
Method 3 – Using With Statement
Steps:
- Click on the Developer tab and select Visual Basic.
- In the Visual Basic window that opens, click on Insert.
- Select Userform from the drop-down menu.
A rectangular window box will appear.
- In the Properties pane, rename and caption the window.
- Double click on the box.
- In the editor window, paste the following code:
Private Sub UserForm_Initialize()
    With Fullscreen_form_3
        .Height = Application.Height
        .Width = Application.Width
    End With
End Sub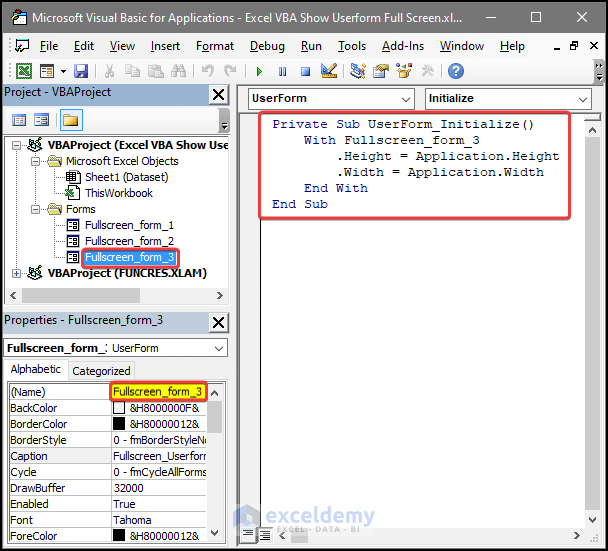
- Click the Save icon and then click twice on the Userform.
The main Userform box opens again.
- For illustration purposes, add some Text Boxes, some Command Buttons, and an input box to the Userform.
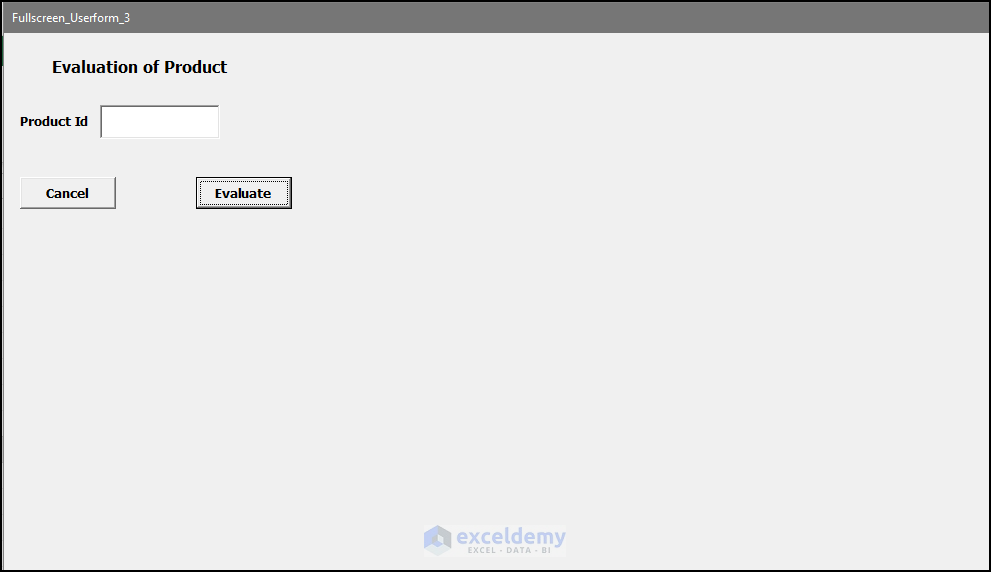
- Click on the Run button.
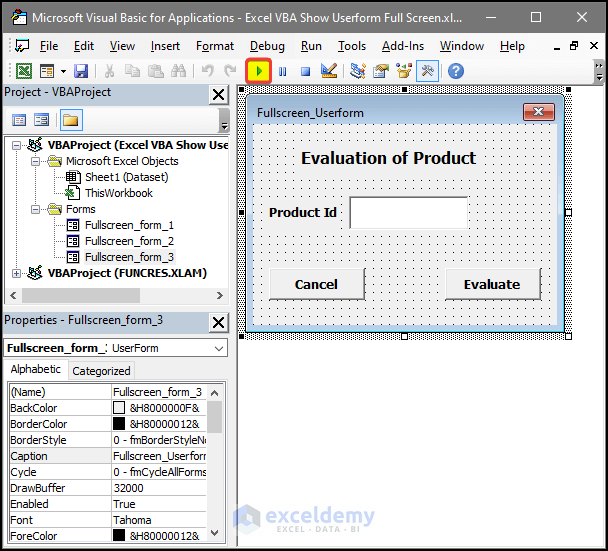
The Userform is now occupying the full screen.
VBA Code Breakdown
- We choose Userform as the object and Initialize as the procedure.
- We select the Userform application window.
- We save the height and width of the application in the .Height and .Width
- We end the sub-procedure.
Method 4 – Using a Variable
Steps:
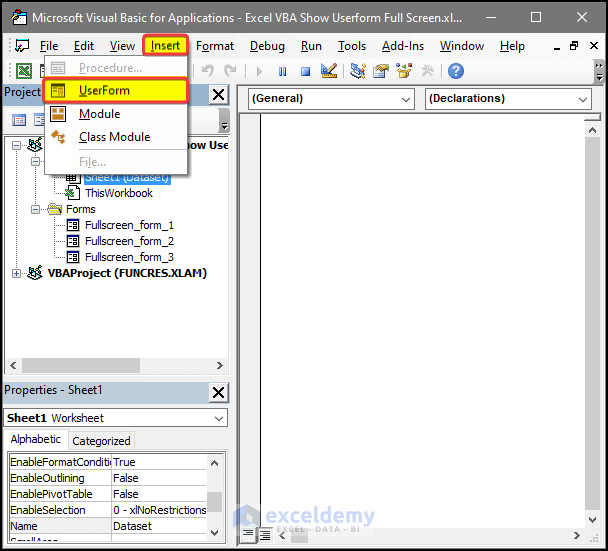
- Click on the Developer tab and select Visual Basic.
- In the Visual Basic window that opens, click on Insert.
- Select Userform from the drop-down menu.
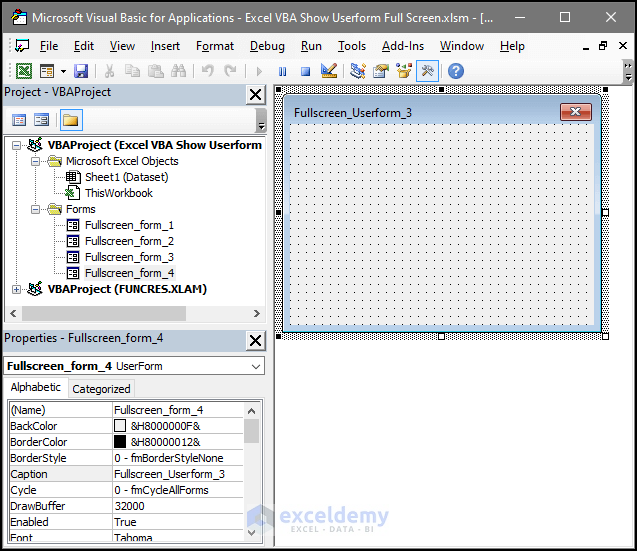
A rectangular window box will appear.
- In the Properties pane, rename and caption that window.
- Double click on the box.
- In the editor window, paste the code below:
Private Sub UserForm_Initialize()
Dim xlws As XlWindowState
xlws = Application.WindowState
Application.WindowState = xlMaximized
With Fullscreen_form_4
    .Top = Application.Top
    .Left = Application.Left
    .Width = Application.Width
    .Height = Application.Height
    .Show
End With
Application.WindowState = xlws
End Sub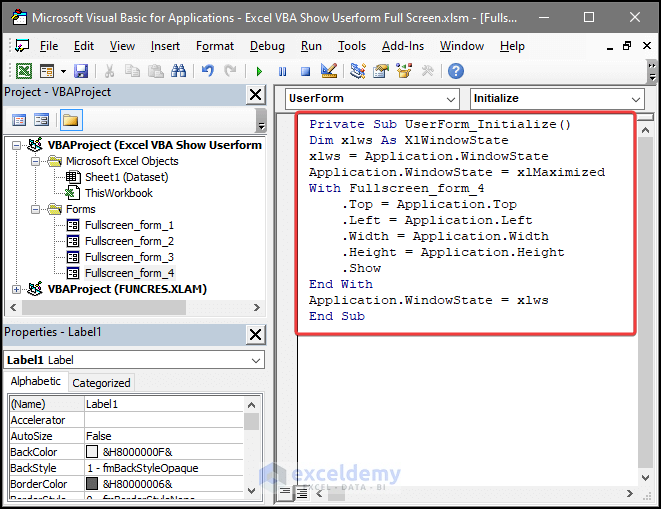
- Click the Save icon and then click twice on the Userform.
The main Userform box opens again.
- Add some elements to the Userform such as some Text Boxes, Command Buttons, and an input box.
- Click on the Run button.
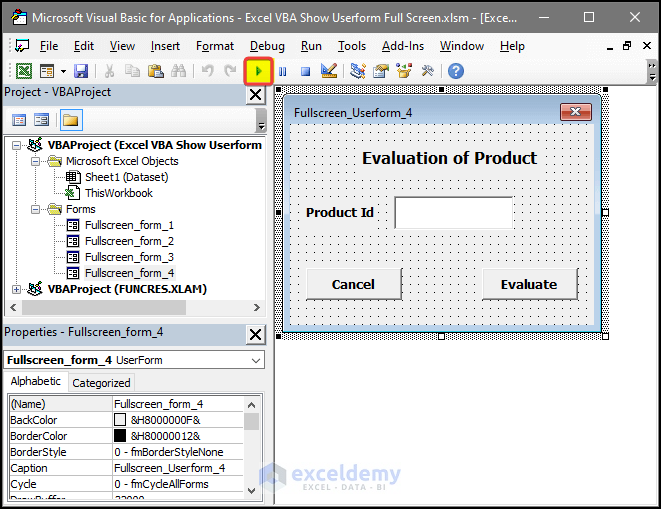
The Userform is now occupying the full screen.

VBA Code Breakdown
- We choose Userform as the object and Initialize as the procedure.
- We declare xlws as the Variable for the XlWindowState type.
- WindowState will denote the window condition of the application which is running right now. We put xlws as the present window condition.
- Setting the condition of the WindowState command line as xlMaximized will maximize the application’s window.
- We select the application window.
- We maximize the window in the top, down, left, and right directions.
- We end the sub-procedure.
Download Practice Workbook
Related Articles
- Excel VBA: UserForm Image from Worksheet
- How to Create Toggle Button on Excel VBA UserForm
- How to Use Excel UserForm as Date Picker
- How to Use VBA to Get Value from Userform Textbox in Excel
- Excel VBA to Format Textbox Number with UserForm

