Method 1 – Insert Picture Using Pictures Option
Steps:
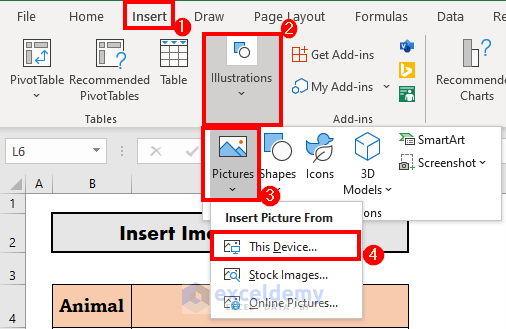
- Go to the Insert.
- Go to Illustrations.
- Choose Pictures.
- Insert images from This Device.
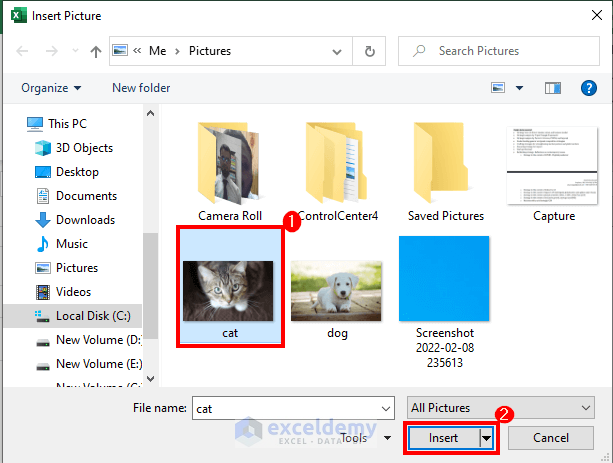
- The Insert Picture window will open.
- Select an image and click Insert.
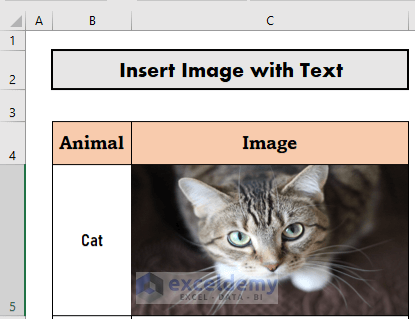
- Excel will insert an Image.
- Position the image in the correct place by dragging and resizing.
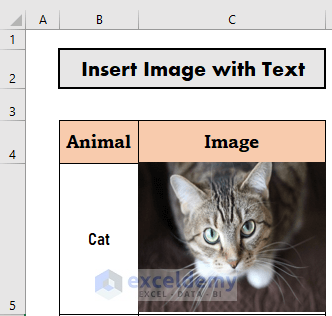
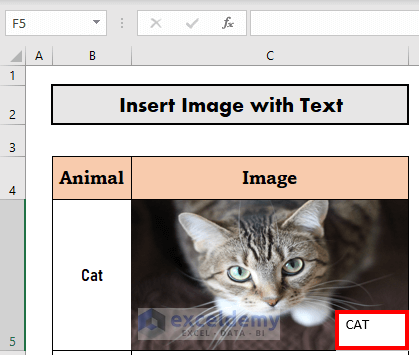
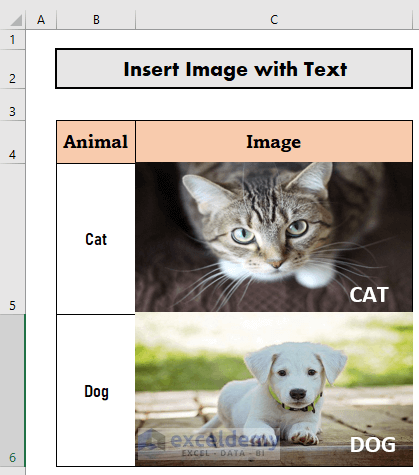
- After correct positioning, your image will look like this.
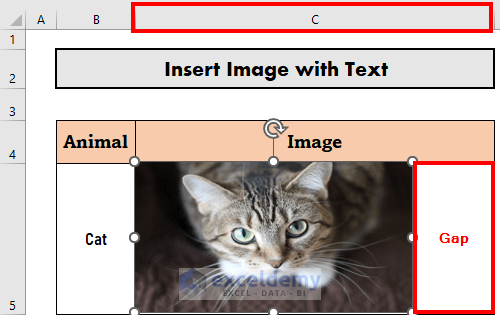
- Notice that this image is not set with the cell. That’s why when I change the column width, the image does not expand, and some gap is created.
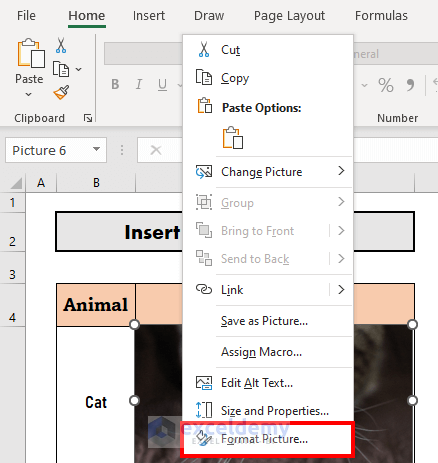
- To set the image with the cell, select the image.
- Right-click your mouse to bring the context menu.
- Select Format Picture.
- From the Format Picture options available, go to Size and Properties and mark Move and size with cells.
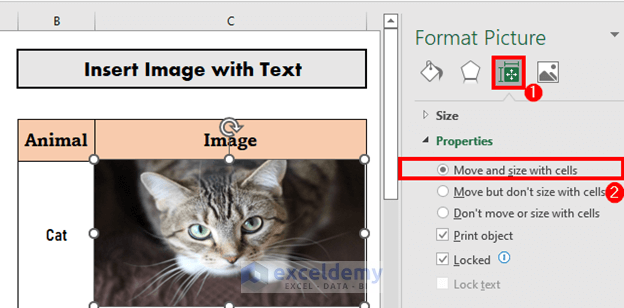
- This time the image size will change along with the cell size. We reduced the cell size here, and the image also gets contracted.
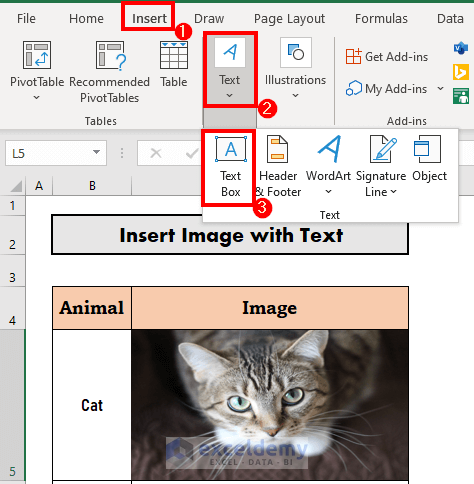
- Add text to the image. To do so,
- Go to the Insert.
- Go to Text.
- Select the Text Box.
- Position the text box at the bottom corner of the image.
- Remove the fill colors. For this,
- Select the text box.
- Go to Shape Format.
- Select Shape Fill.
- Choose No Fill.
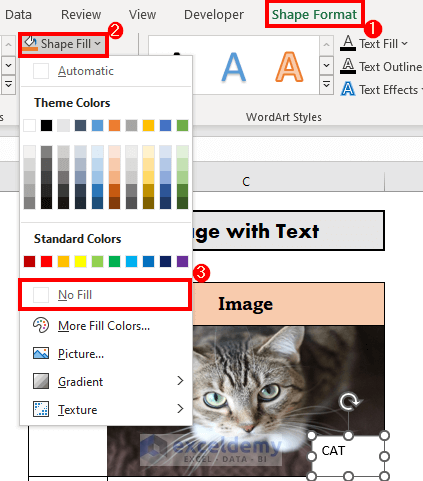
- Excel will remove the fill color.

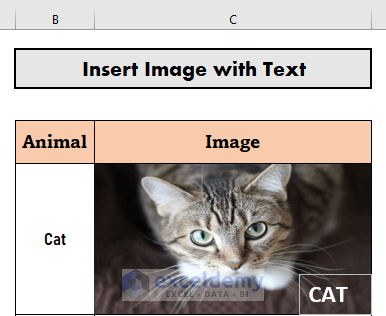
- Edit and modify the text to make it look visually appealing.
- Following the same procedure, insert an image of the dog.
- Your output will be like this.

Method 2 – Add Shapes to Insert Pictures in Excel Cell with Text
Steps:
- Go to the Insert tab.
- Select Illustrations.
- Select Shapes.
- Choose any shape. I am choosing a rectangle.
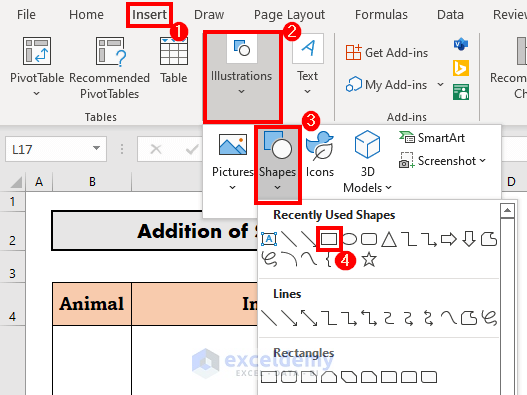
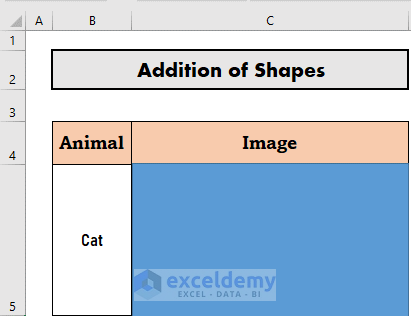
- Draw a rectangle in C5.
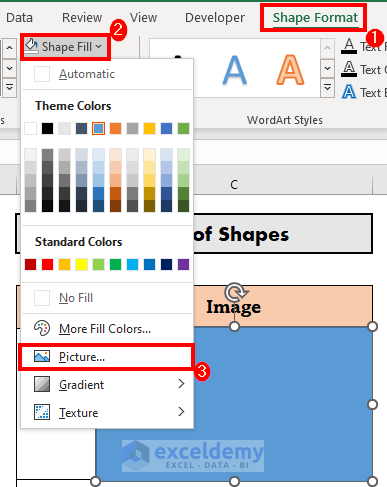
- Select an image as Fill.
- Go to Shape Format.
- Select Shape Fill and choose Pictures from the drop-down list.
- Select From a File to insert an image from your computer.
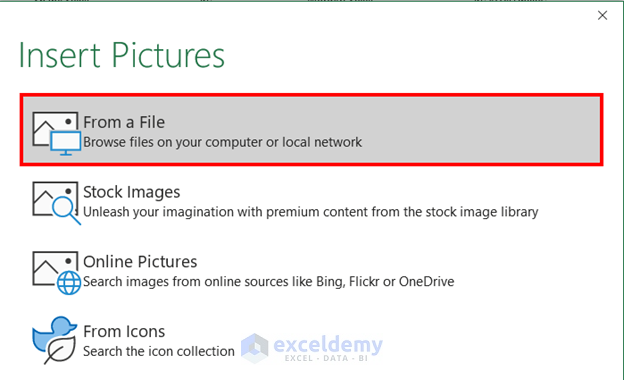
- The Insert Picture window will open.
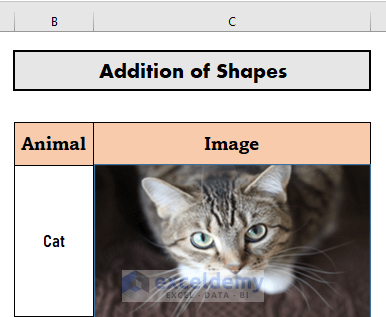
- Select an image and click Insert.

- Excel will insert an image.
- Add text to the image using a Text Box following method-1.
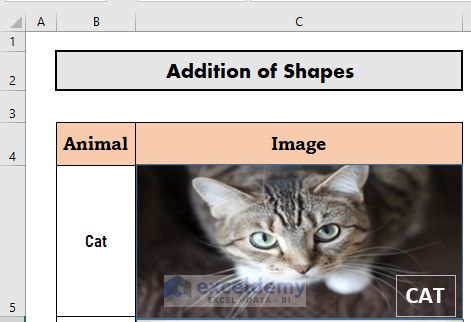
- Following the same procedure, insert an image of the dog.
- Your output will be like this.
Things to Remember
- When you are inserting pictures, do not forget to set the image with the cell. Only then, the image size will alter while changing the cell size.
- When adding shapes, you do not need to set the image with the cell. Excel will by default do so.
Download Practice Workbook
Download this workbook and practice while going through the article.
Related Articles
- How to Link Picture to Cell Value in Excel
- How to Insert Pictures Automatically Size to Fit Cells in Excel
- How to Insert Picture in Excel Cell Background
- How to Insert Image in Excel Cell as Attachment
- How to Lock Image in Excel Cell
- How to Insert a Picture in Excel Header
- How to Insert Multiple Pictures at Once in Excel
- How to Insert Clipart in Excel
<< Go Back to Excel Insert Pictures | Learn Excel
Get FREE Advanced Excel Exercises with Solutions!
