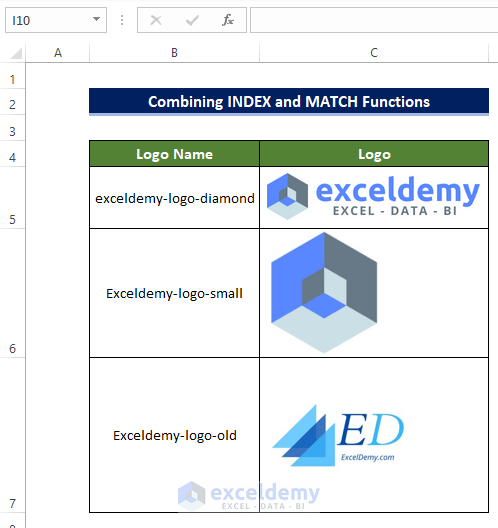
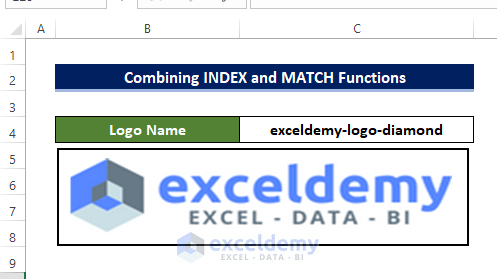
Example 1 – Combining INDEX and MATCH Functions
Steps
- Insert images using the Insert tab.
- In Insert, go to Illustration.
- Click Pictures > This device.

- Choose an image file and click OK.
- Repeat this process to add more images.
- Add a dropdown menu to the sheet.
- Open a new sheet to add the dropdown list.
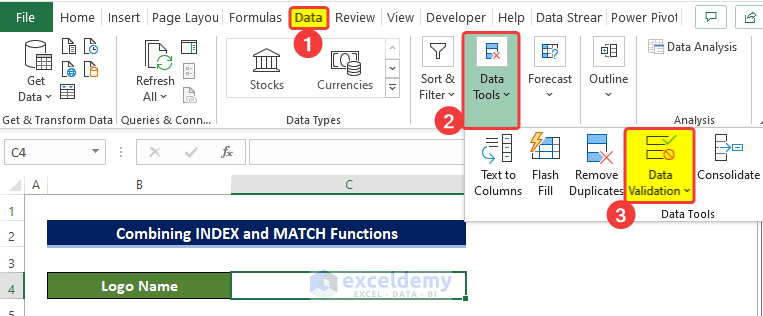
- Go to Data > Data Tools.
- Click Data Validation.
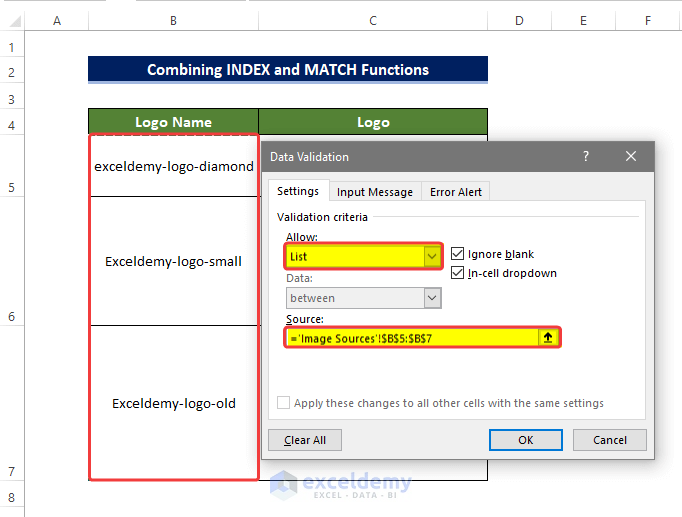
- In the dialog box, select List in Allow.
- Select B5:B7 in Source .
- Click OK.
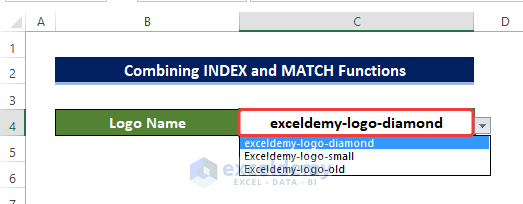
A dropdown menu is displayed in the new sheet.
- You can switch the image names and change the image name entry in C4.
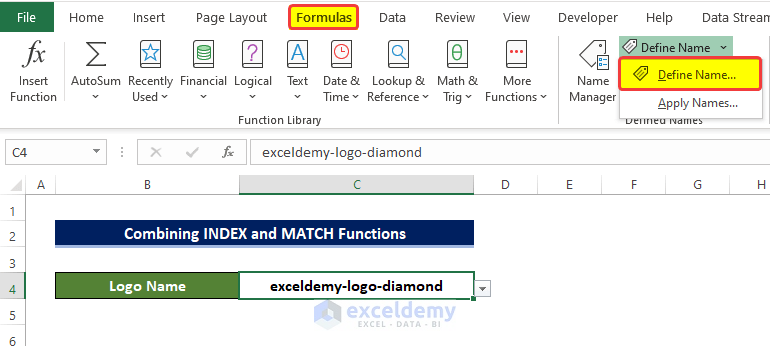
- Define the Name.
- In Formulas, click Define Name.
- Click Define Name.
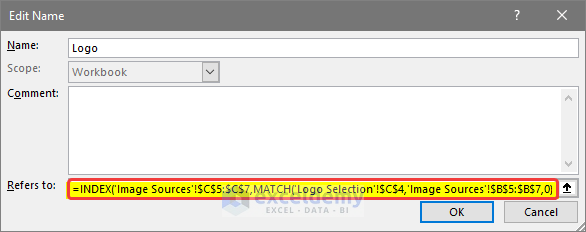
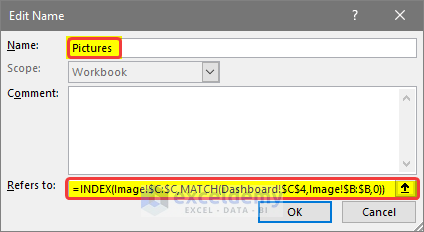
- In Edit Name, set the Name to Logo.
- In Refers to, enter the following formula.
=INDEX('Image Sources'!$C$5:$C$7,MATCH('Logo Selection'!$C$4,'Image Sources'!$B$5:$B$7,0))
- Click OK.
Formula Breakdown
- MATCH(‘Logo Selection’!$C$4,’Image Sources’!$B$5:$B$7,0): This function will look for the logo name in the dropdown menu in the Image Sources sheet. It returns the position of the value matched in the Image Sources sheet.
- INDEX(‘Image Sources’!$C$5:$C$7,MATCH(‘Logo Selection’!$C$4,’Image Sources’!$B$5:$B$7,0)): After the MATCH function returns the position of the matched data in the Image Sources sheet, the INDEX function returns the value according to the position in C5:C7.
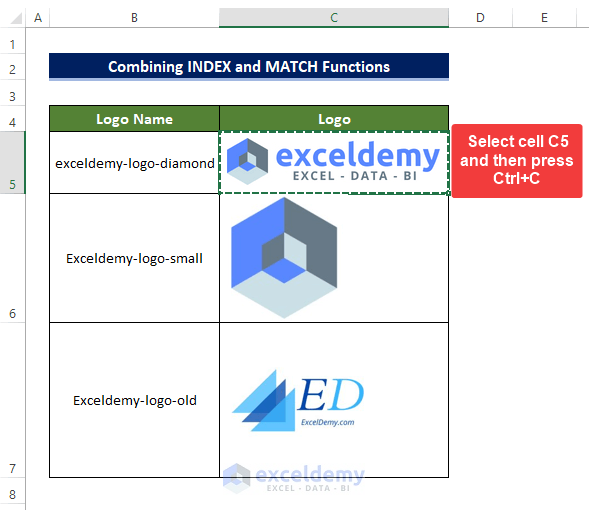
- Select C5 in Image Source and press Ctrl+C.
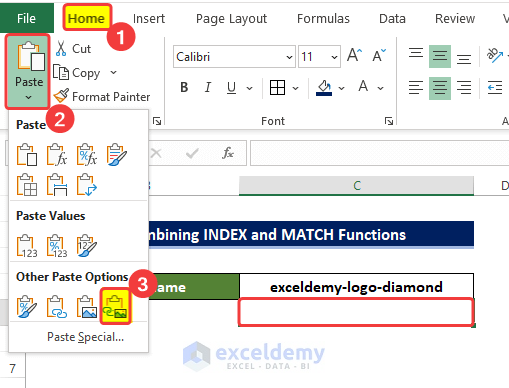
- Go back to the Logo Selection sheet.
- Select C5 and in the Home tab, click Paste.
- Choose Linked Picture.
- The copied images are pasted into C5.
- The first image from the image source sheet is in the Logo Selection sheet. You can choose any image and copy and paste it to the Logo Selection sheet.
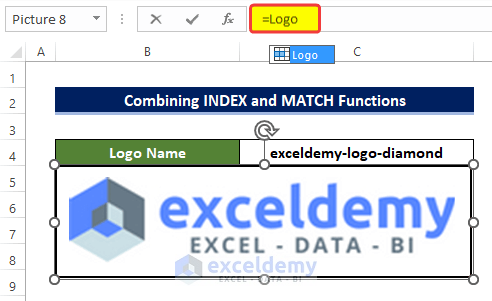
- You can resize the image.
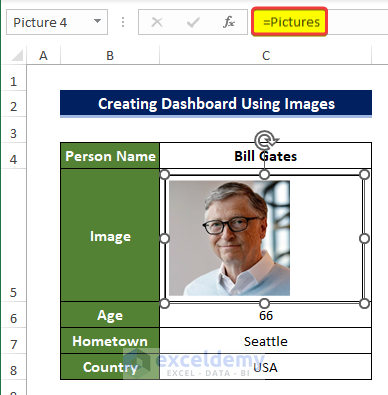
- Select the image and enter:
=Logo
- This logo is the one that was created and used in the Edit Name dialog box.
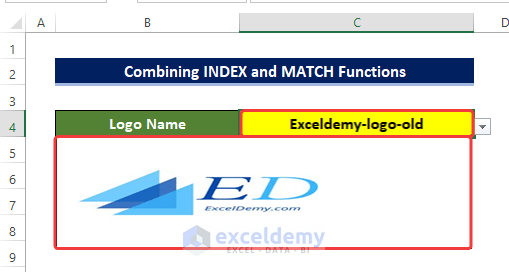
In the dropdown menu, images change.
Read More: How to Insert Picture in Excel Cell with Text
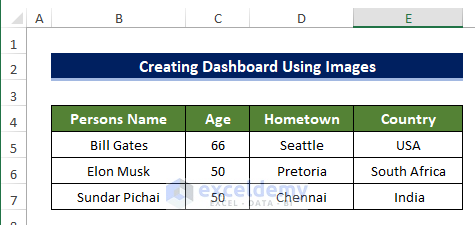
Example 2 – Creating a Dashboard Using Images
- Gather information about the person’s name, age, hometown, and country.
- Add the images you want to compile with the information in a separate sheet.

- Add information and a dropdown menu to the sheet.
- Open a new sheet to add the dropdown list.
- To add a dropdown list, go to Data > Data Tools.
- Click Data Validation.
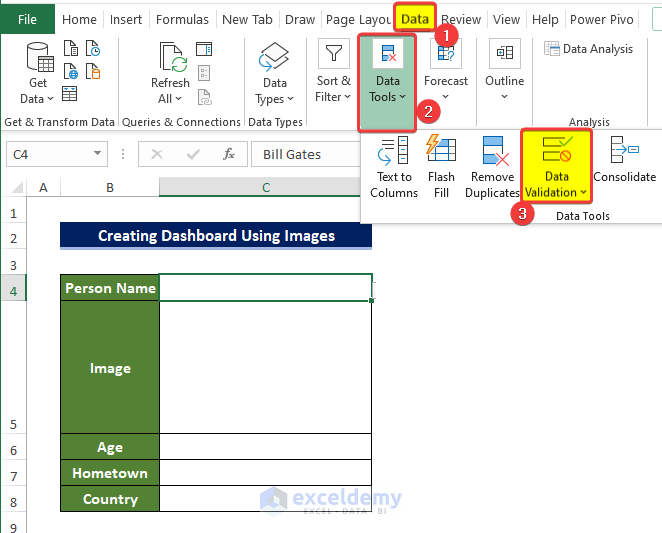
- In the dialog box, select List in Allow.
- Select B5:B7 in the image sheet as the data range for the Source dropdown.
- Click OK.
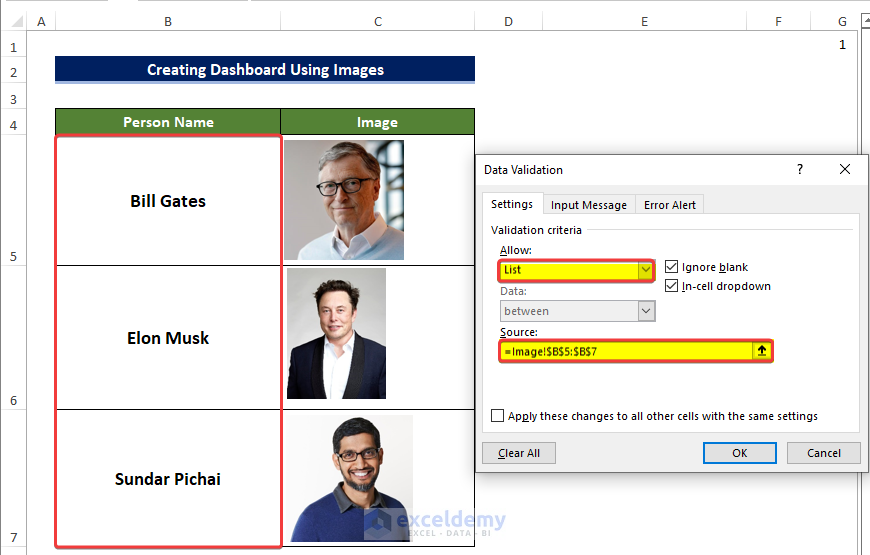
There is a dropdown menu in the created sheet.
- Switch between the Person Name and change the Image Name entry in C4.
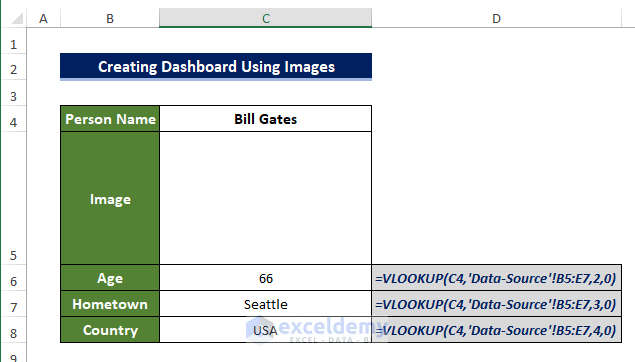
- Add formulas to D7, D8, and D9.
- Select D6 and enter the following formula:
=VLOOKUP(C4,'Data-Source'!B5:E7,2,0)
- Select D7 and enter the following formula:
=VLOOKUP(C4,'Data-Source'!B5:E7,3,0)
- Select D8 and enter the following formula:
=VLOOKUP(C4,'Data-Source'!B5:E7,4,0)
- Define the name.
- In Formulas, click Define Name.
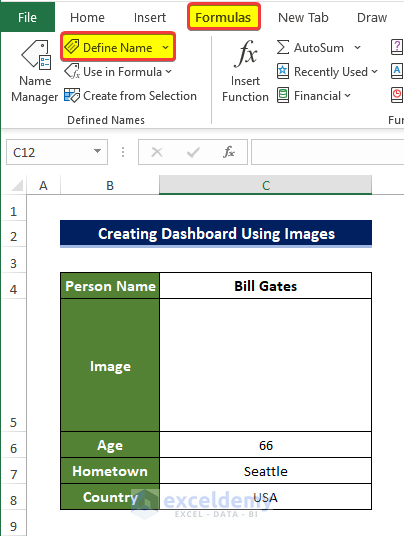
- In Edit Name, set the Name to Pictures.
- In Refers to, enter the following formula:
=INDEX(Image!$C:$C,MATCH(Dashboard!$C$4,Image!$B:$B,0))
- Click OK.
Formula Breakdown
- MATCH(‘Logo Selection’!$C$4,’Image Sources’!$B$5:$B$7,0): This function will look for the Person Name in the dropdown menu in the Dashboard sheet. It returns the position of the value matched in the Image sheet.
- INDEX(‘Image Sources’!$C$5:$C$7,MATCH(‘Logo Selection’!$C$4,’Image Sources’!$B$5:$B$7,0)): After the MATCH function returns the position of the matched data in the Image sheet, the INDEX function returns the value according to the position in C5:C7.
- Go back to the sheet containing the image files.
- Select C5 and then press Ctrl+C to copy the first image.

- Go back to the Dashboard sheet.
- Select C5 and in the Home tab, click Paste.
- Choose Linked Picture.
- This will paste the copied image into C5.

- The first image in the Image sheet is copied to the Dashboard sheet. Choose any image and copy and paste it.
- You can resize the image.
- Select the image and enter:
=Pictures
- This Picture was created in the Edit Name dialog box.
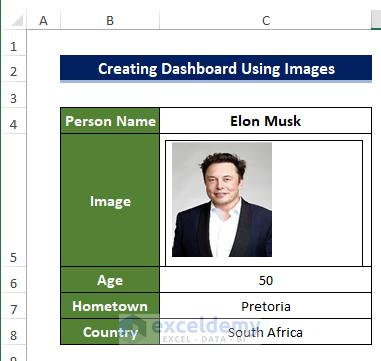
- Change the Person Name using the drop-down, the Image, Age, Hometown, and Country will change.
Read More: How to Insert Picture in Excel Cell Automatically
How to Insert a Picture Using a VBA Code in Excel
Steps
- Add images to the sheet automatically using the VBA code.
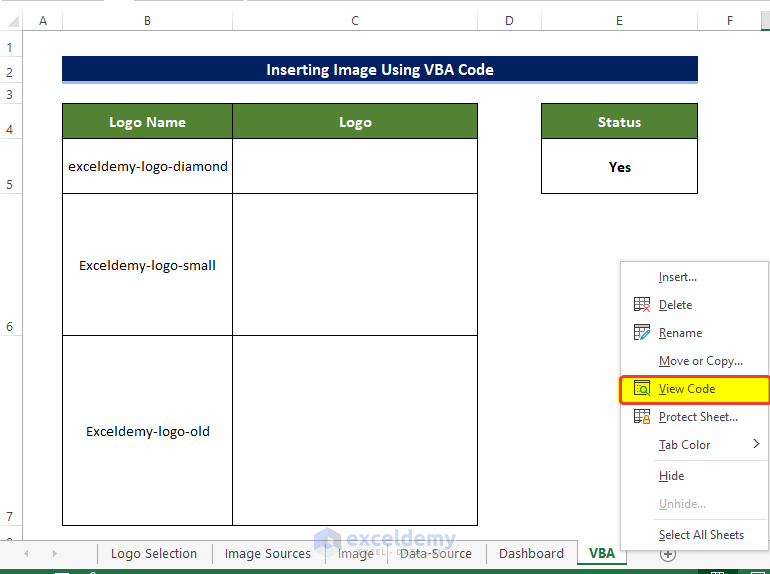
- The code sets that: every time Yes is entered into a cell, the image will be uploaded into the specified cell from the specified folder.

- Right-click the sheet name and click View Code.
- In the module window, enter the following code:
Private Sub Worksheet_Change(ByVal Target As Range)
If Target.Cells.Count <> 1 Then Exit Sub
If Target.Address <> "$E$5" Then Exit Sub
If Target.Value = "Yes" Then
Application.ScreenUpdating = False
Range("C6").Select
ActiveSheet.Pictures.Insert( _
"E:\Onedrive - Softeko\OneDrive\Softeko\5025_62-0071_Rubayed Razib_how to insert picture in excel using formula\Exceldemy-logo-small.jpg").Select
Selection.Name = "PictureName"
Range("A2").Select
Application.ScreenUpdating = True
Else
On Error Resume Next
ActiveSheet.Shapes("PictureName").Delete
End If
End Sub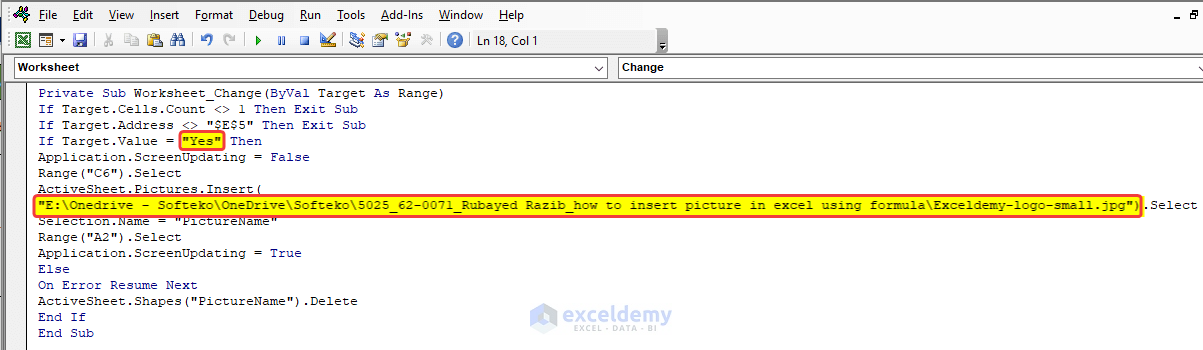
Note
- You have to change the directory address highlighted in the image, for each image.
- It is better to have all files stored in a single folder.
- In the code module, the link to the file is saved.
- Modify the link each time you want to add a new file.
- Save the module and close it.
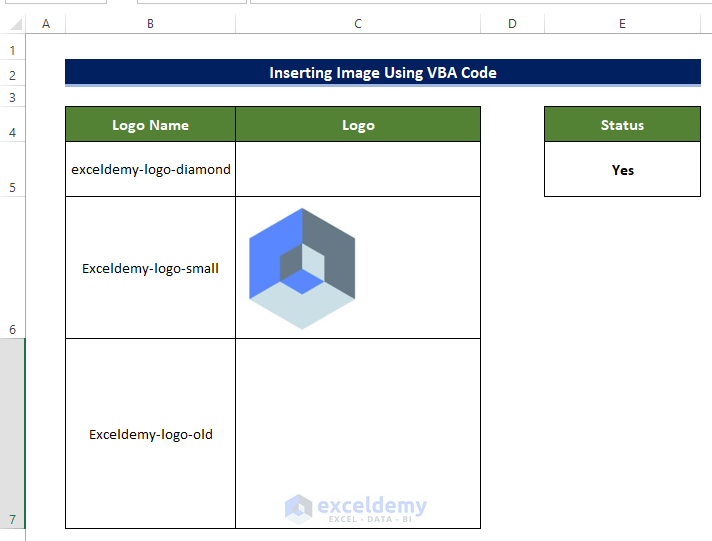
- Enter Yes in E5 and press enter.
- The image file is now added to the sheet.
This is the output.
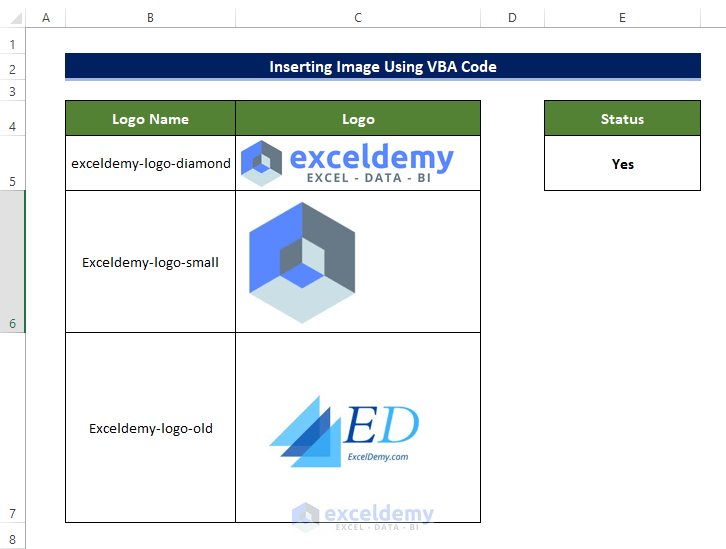
- Repeat the same process for the other logos.
This is the final output.
Read More: How to Insert Picture in Excel Cell Backgroundt.
Download Practice Workbook
Download the practice workbook below.
Related Articles
- How to Link Picture to Cell Value in Excel
- How to Insert Pictures Automatically Size to Fit Cells in Excel
- How to Insert Image in Excel Cell as Attachment
- How to Lock Image in Excel Cell
- How to Insert a Picture in Excel Header
- How to Insert Multiple Pictures at Once in Excel
- How to Insert Clipart in Excel
<< Go Back to Excel Insert Pictures | Learn Excel
Get FREE Advanced Excel Exercises with Solutions!
