In this Excel tutorial, you will learn everything about adjusting and changing cell size in Excel. Here’s an overview of one of the 10 methods we’ll discuss.

Download the Practice Workbook
How to Change and Adjust Excel Cell Size
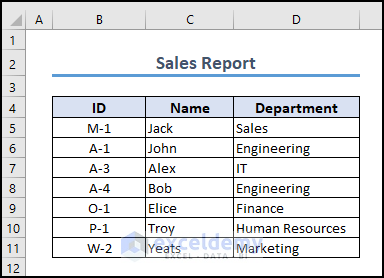
We will use a dataset of 8 rows and 3 columns including ID, Name, and Department.
Method 1 – Adjust Row and Column Size Using the Mouse
- Select the cell you want to resize. In our case, this is cell D5.
- Take the mouse cursor over the right edge of the heading of column D. The cursor looks like a Double Arrow.
- Drag it left or right until it sets to the desired width.
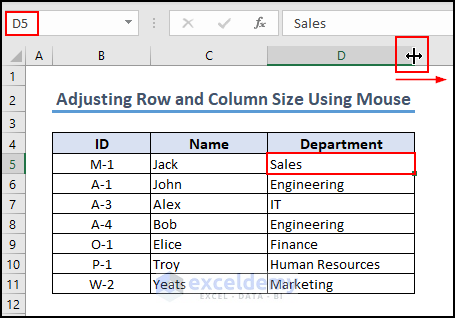
- Take the mouse cursor over the bottom edge of Row 5 and drag it up or down when it turns into a Double Arrow.
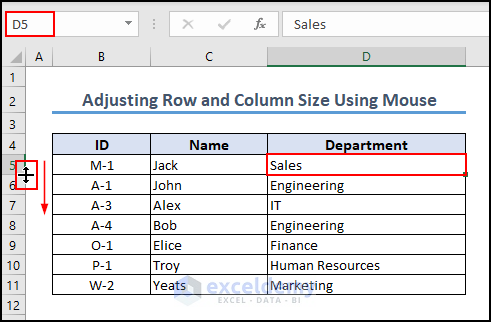
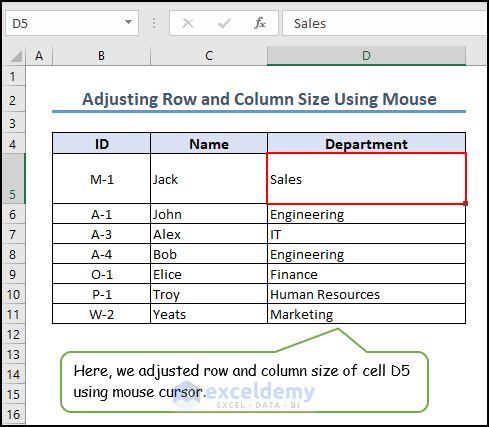
- We can adjust the row and column size like shown in the picture below using a mouse.
Method 2 – Use the Excel Format Feature to Set Cell Size Numerically
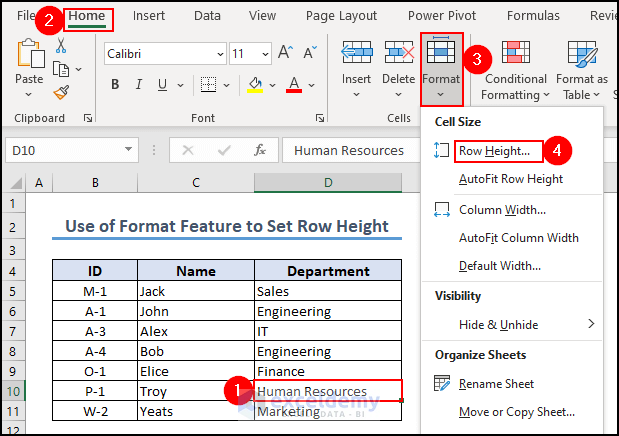
Case 2.1 – Using Row Height
- Select the cell you want to resize. In our case, that’s cell D10.
- From the Home tab, go to Format, then select Row Height.
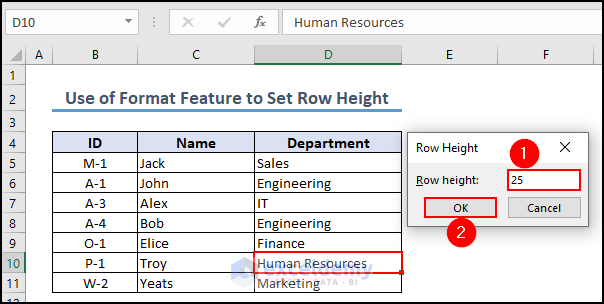
- Type 25 in the Row Height box and click OK.
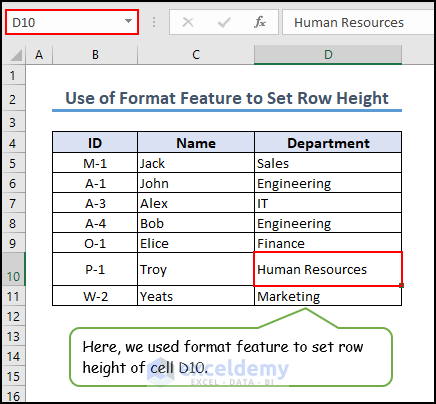
- We will get the result like the picture below.
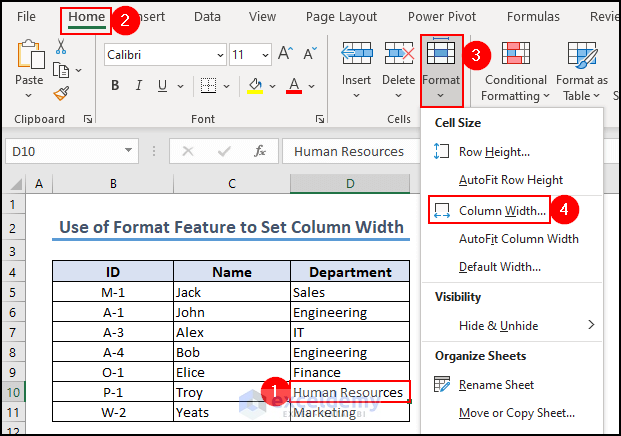
Case 2.2 – Using Column Width
- Select cell D10.
- From the Home tab, go to Format, then select Column Width.
- Type 25 in the Column Width box and click OK.
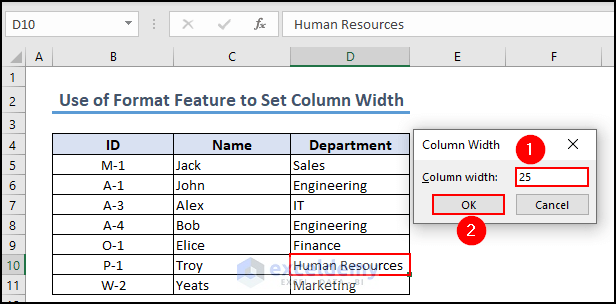
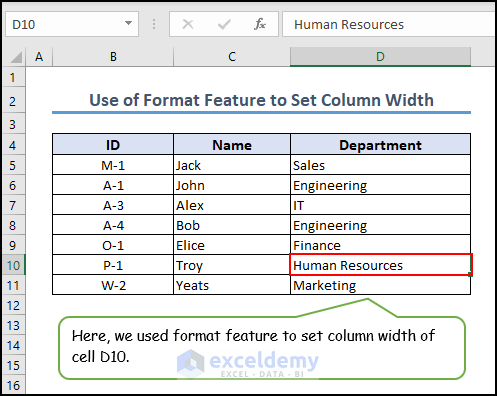
- We will get the result like the picture below.
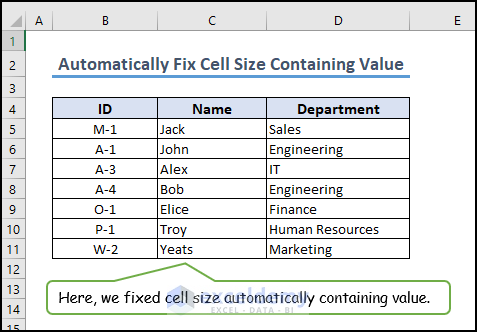
Method 3 – Automatically Fix Cell Size Containing a Value in Excel
- Select all worksheet cells by clicking the top left arrow (Select All button).
- Put the mouse cursor at the column border and double-click on it.
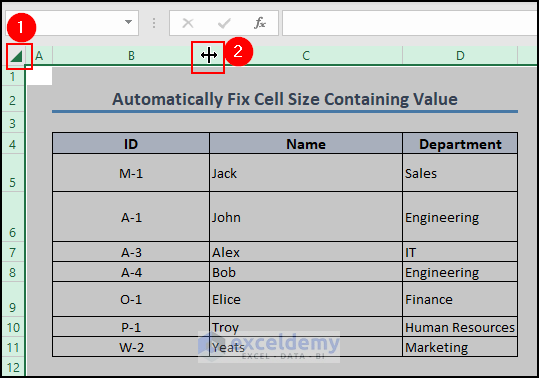
- Take the cursor to the row border and double-click on it, too.
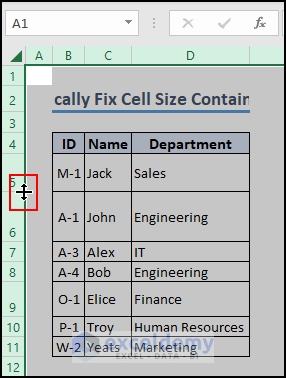
- This changes the cell size to fit the text in the fixed cell.
Method 4 – Adjust the Cell Size Using AutoFit Row Height and Column Width
- Select the range B4:D11 to apply AutoFit.
- From the Home tab, go to Format and select AutoFit Column Width.
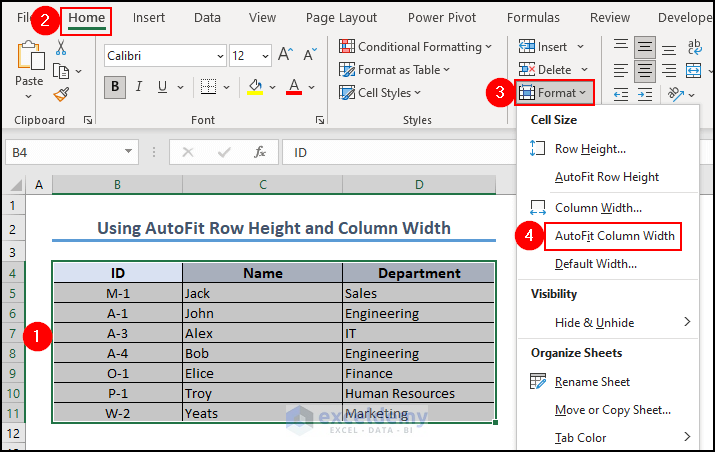
- This will AutoFit the columns.
- To AutoFit the rows, select AutoFit Row Height.
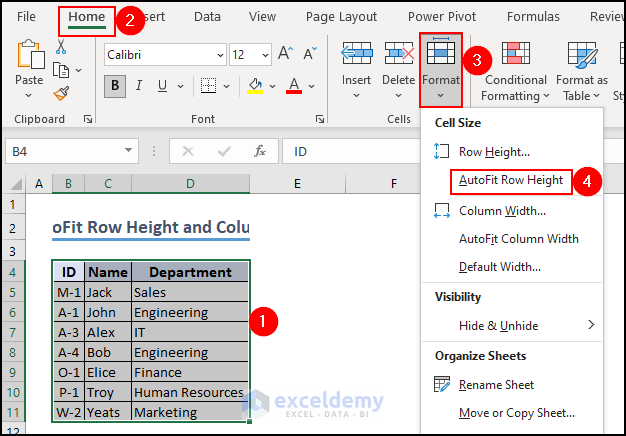
- This automatically sizes the cells based on the content.

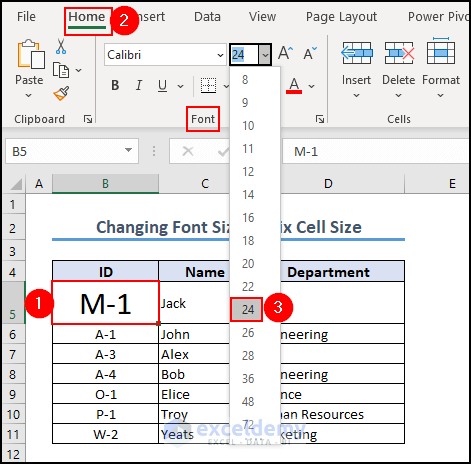
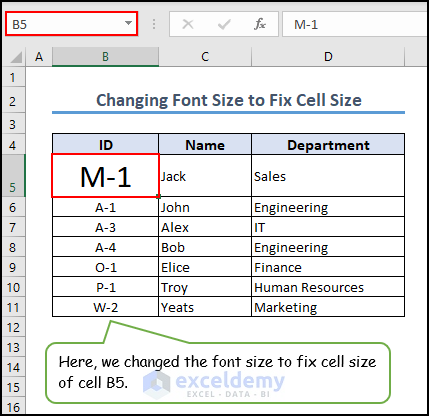
Method 5 – Change Font Size to Fix Excel Cell Size
- Select cell B5 and go to the Home tab.
- From the Font section, set the font size to 24 and press Enter.
- The font size and cell size of cell B5 both have changed.
- We can change cell size by changing font size like the picture below.
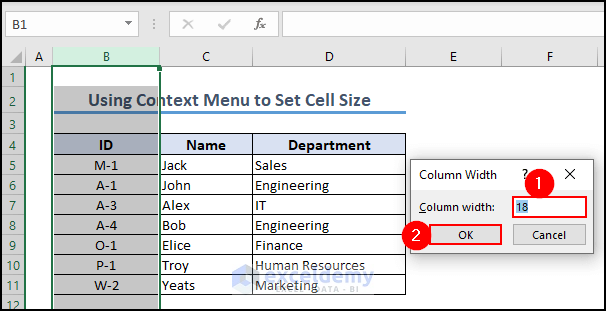
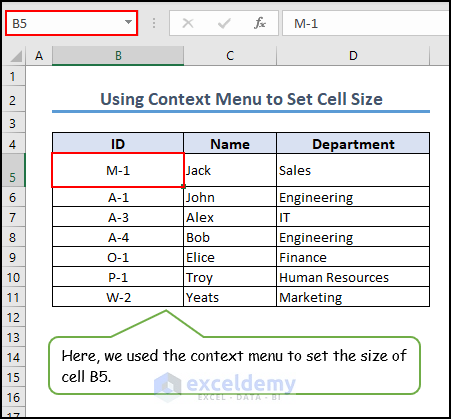
Method 6 – Use the Context Menu to Set Cell Size
- Select the entire column B.
- Hover over the column header and right-click.
- Select the Column Width option from the Context Menu.

- Enter 18 in the Column Width text box and click OK.
- The column width will be changed.
- Select row 5 and right-click.
- Select the Row Height option from the context menu.
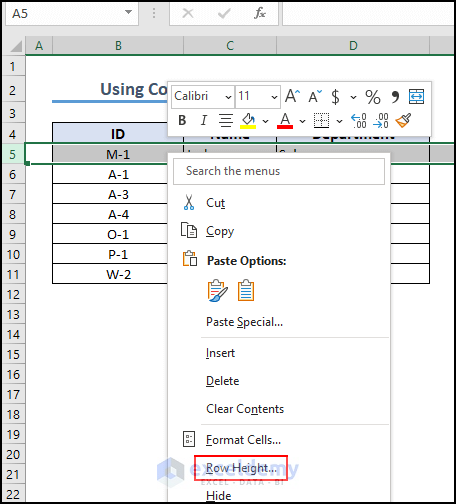
- Enter 25 in the Row Height text box and click OK.
- The row height will be changed.
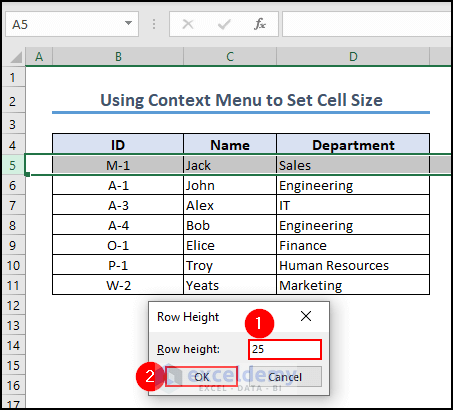
- Here’s the result.
Method 7 – Change Cell Size by Merging Multiple Cells
- Select cell range D5:E5.
- From the Home tab, go to Merge & Center and select Merge Cells.
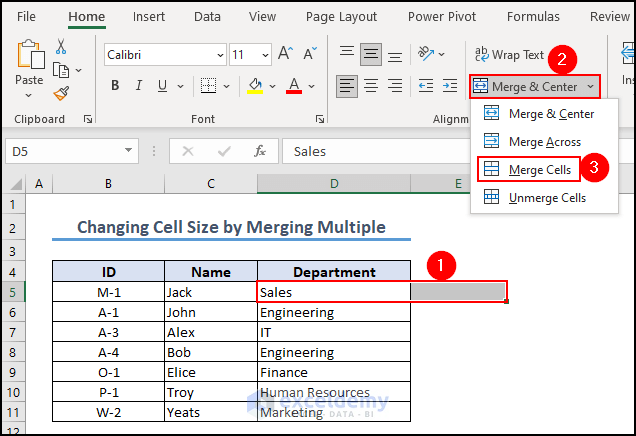
- The cell range will be merged.
- We can perform the same actions on the rest of the cells. You need to select the cell ranges one by one.
- The final output result will be like this:

Method 8 – Fix Cell Size with Keyboard Shortcuts
- Press Alt + H, O, H to open the Adjust Row Height option.
- To open the Autofit Row Height option then hit Alt +H, O, A keys.
- Alt +H, O, W keys are used for the Adjust Column Width option.
- Press the Alt + H, O, I keys for the Autofit Column Width option.
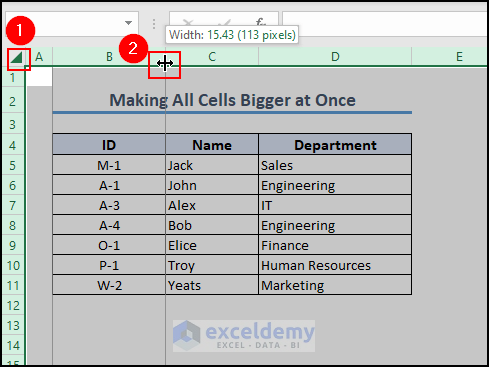
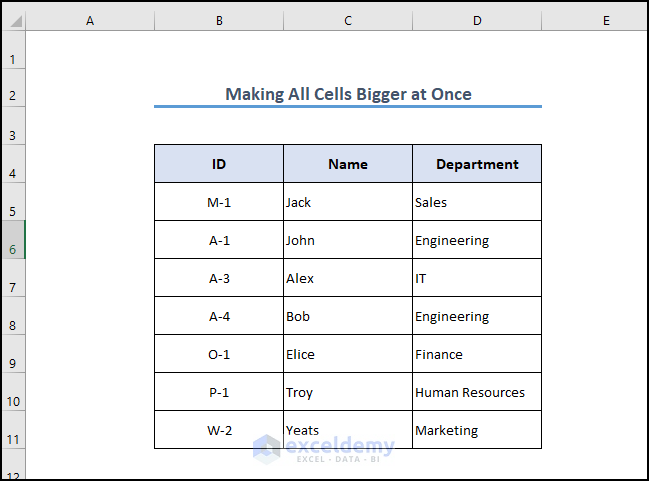
Method 9 – Make All Cells Bigger at Once in Excel
- Select all worksheet cells by clicking the top left arrow (Select All button).
- Hover over the right edge of the heading of column B and click on it. The cursor looks like a Double Arrow.
- Hold and drag to increase the column width.
- Click on the double arrow between rows 2 and 3, and hold the click.
- Hold your mouse down and increase the row height.
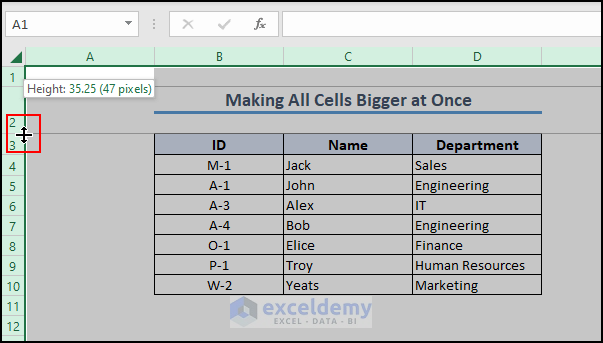
- This will apply to all the rows and columns.
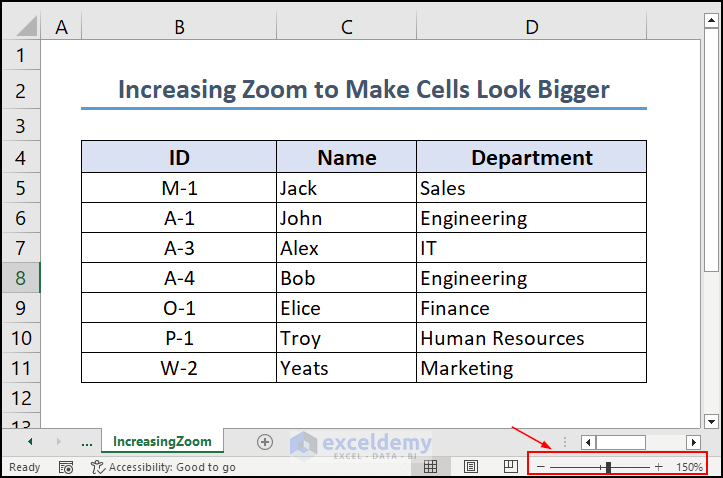
Method 10 – Increase Zoom to Make the Cells Look Bigger
You can zoom in and out of Excel by using the zoom scroll in the bottom right corner.
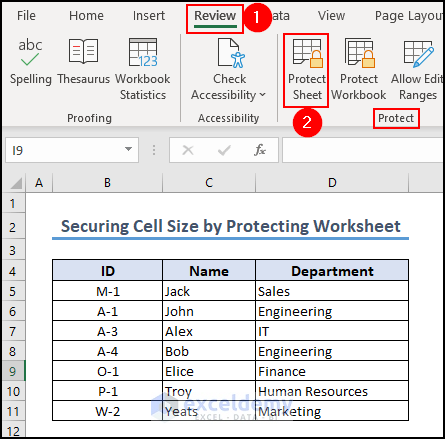
How to Secure Cell Size by Protecting the Worksheet in Excel
- Go to the Review tab and select Protect Sheet.
- You’ll get a Protect Sheet window. Input a password in the “Password to unprotect sheet” box.
- Check on all the boxes except two (Format columns and Format rows) and click OK.
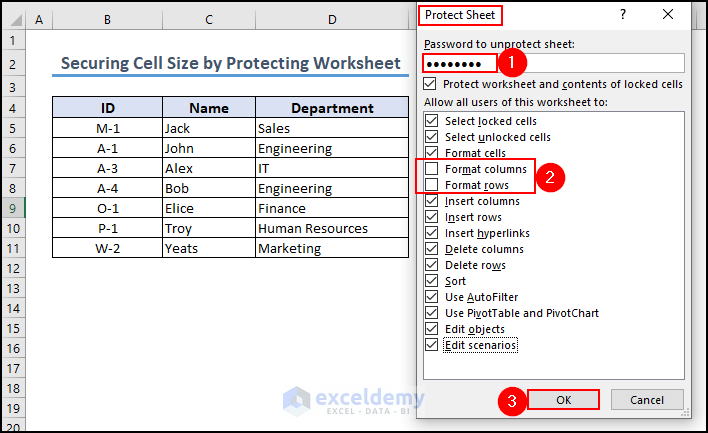
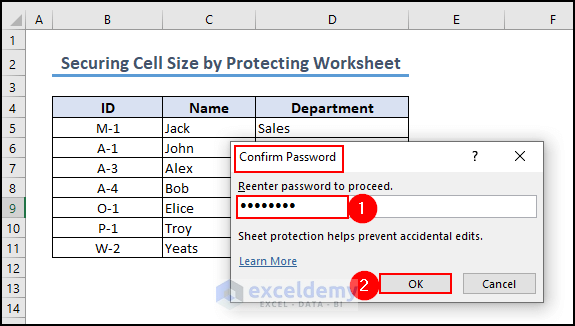
- A Confirm Password message box pops up.
- Re-enter the password and click OK.
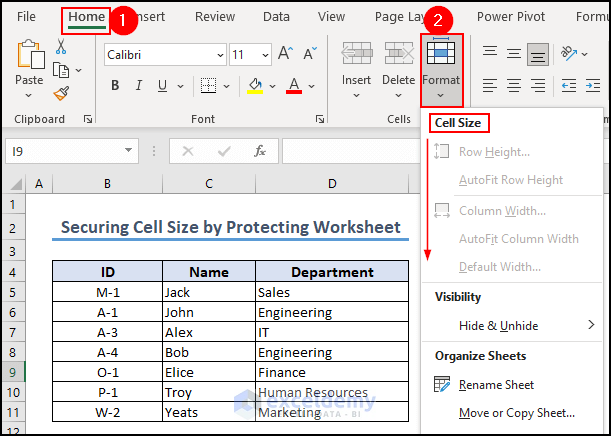
- If we go to the Home tab and the Format feature, we can see that all the Cell Size options are grayed out.
What Are the Benefits of Changing Cell Size in Excel?
- Improved Readability: Adjusting cell size helps you to optimize the presentation of data within cells. Increasing the width or height of a cell can prevent the compression of text or numbers, making the content simpler to read and comprehend.
- Efficient Data Entry: By resizing cells, you can create additional space for data entry. Enlarging cells may reduce the need for horizontal or vertical scrolling, making data entry faster and more convenient.
- Data Visualization: When making charts or graphs in Excel, changing the size of a cell is very helpful. It lets you widen cells to make room for chart names, titles, or legends. This makes sure that the way data is shown visually is clear and complete.
Frequently Asked Questions
How big is a cell in Excel?
Excel cells are not measured in inches or centimeters. In terms of characters or pixels, a cell’s size is determined by its width and height. By default, Excel uses a standard width and height for cells, where each column is approximately 8.43 characters wide and each row is approximately 15 pixels high when using the default font and font size.
How can I wrap text within a cell in Excel?
To wrap text within a cell in Excel, select the cell or range of cells, go to the “Home” tab, and click on the “Wrap Text” button in the “Alignment” group. This will allow the cell’s contents to wrap within the available space, displaying multiple lines of text if needed. You can also use the shortcut “Alt + Enter” while editing the cell to insert line breaks manually.
Do cells have a size limit?
Yes, Excel cells have a size limitation. The size limit depends on the Excel version and the maximum amount of characters a cell may show. Excel 2019, 2016, and 2013 allow 32,767 characters per cell. This includes both visible characters and formatting codes. Excel 2010 and 2007 also restrict characters to 32,767. Cells can display 32,767 characters but can hold 1,048,576 characters, including those that are not displayed. Even if a cell has more than 32,767 characters, just the top 32,767 will be shown.
Excel Cell Size: Knowledge Hub
<< Go Back to Excel Cells | Learn Excel
Get FREE Advanced Excel Exercises with Solutions!
