Method 1 – Using the Merge and Center Options to Make a Cell Bigger in Excel
- Select Cell D5 and its adjacent cells that are required to make the cell bigger.
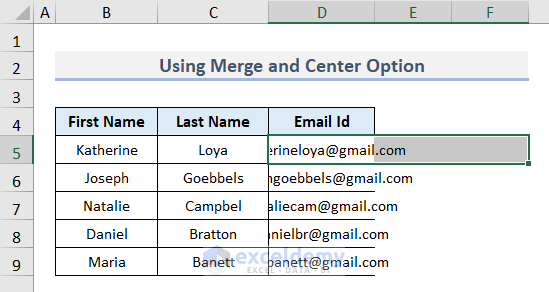
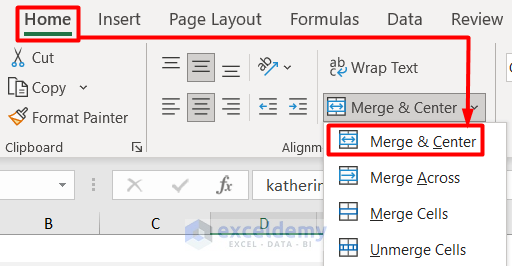
- Select Home > Merge & Center Group > Merge & Center.
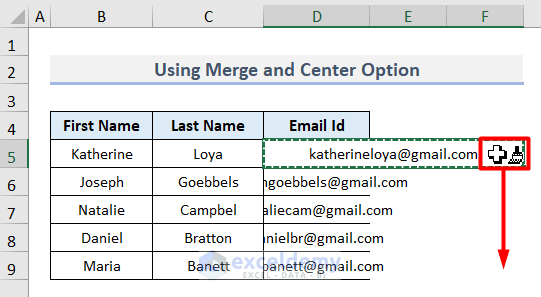
- The selected cells are merged and the value fits inside the cell.
- Select Format Painter from the Home tab.

- Drag the brush icon downwards to apply the same format to the remaining cells in the columns.
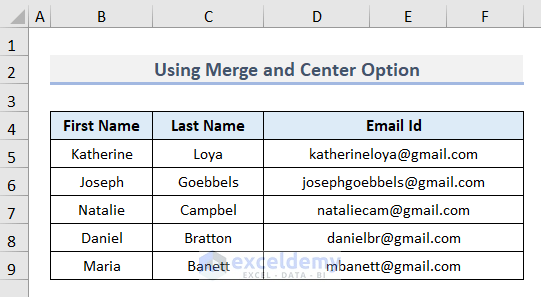
- We will get bigger cells as shown in the image below.
Read More: How to Change Cell Size in Excel
Method 2 – Applying Wrap Text Feature for Making a Cell Bigger
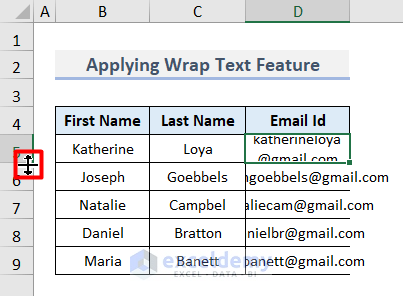
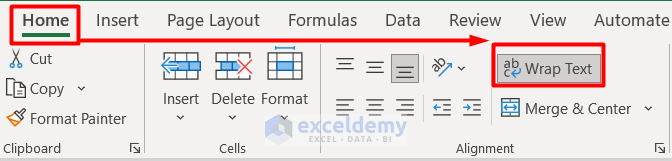
- Select the Cell D5.
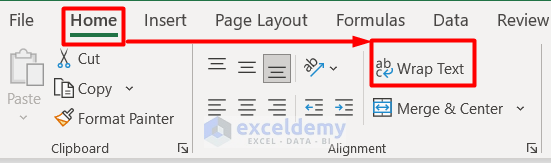
- From the Home tab, click on Wrap Text.
- From the row bar, double click on the two-direction arrow icon.
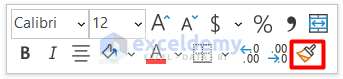
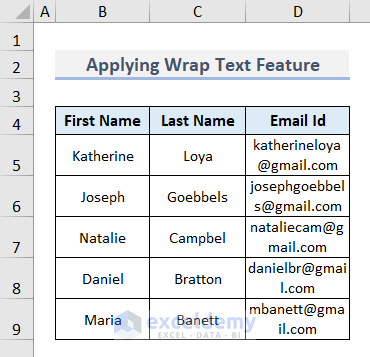
- Right-click on D5 and select the Format Painter icon from its Context Menu.
- Drag the brush icon downwards to apply the same format to the remaining cells in the column.
This will wrap the text in the cells, showing the full text and automatically adjusting the row height.
Method 3 – Changing Column Width to Expand a Cell with Mouse Click
- Select the Email ID
- Drag the indicated sign to the right to fit in the Email IDs in the cells.
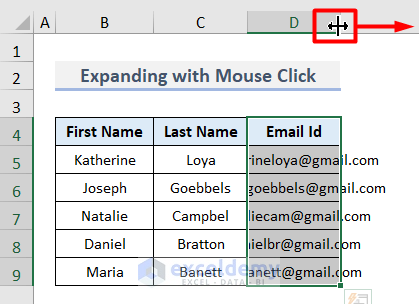
- Another option is to double-click on this sign.
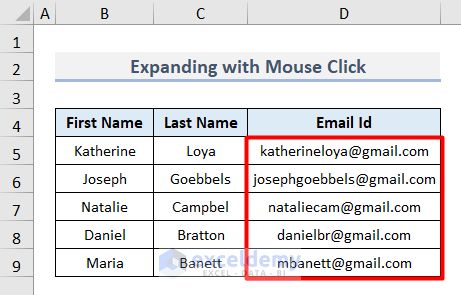
- The following image is the result.
Method 4 – Making a Cell Bigger Using Keyboard Shortcut in Excel
- Select the column to be enlarged.
- Press Alt + H + O + I on your keyboard one after the other.
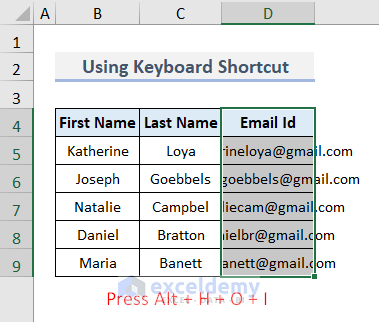
Alt + H will bring the Home tab, O to the Format group, and I will select the AutoFit Column Width.
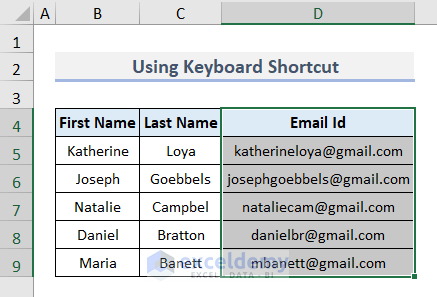
- The column width will be adjusted automatically to fit the text inside the cell.
Read More: How to Make Cells Independent in Excel
Method 5 – Applying Format Option to Create a Bigger Cell
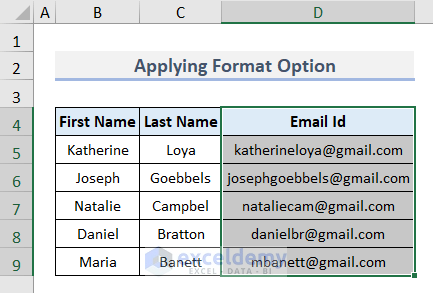
- Select the Email ID column.
- Go to the Home tab> Format > AutoFit Column Width.
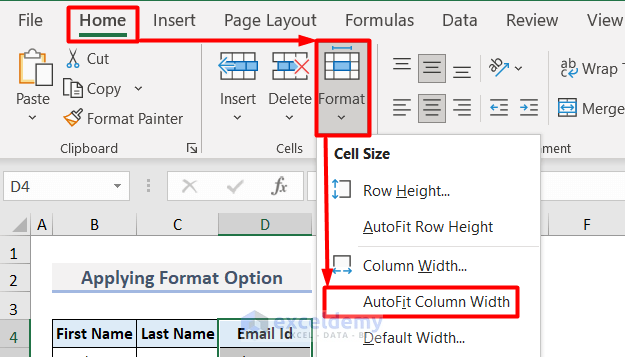
- The column width will automatically be adjusted to fit the text inside the cells of the selected column.
Read More: How to AutoFit in Excel
Method 6 – Fixing Row Height with Format Option to Make a Bigger Cell
- Select Row 5 to Row 9.
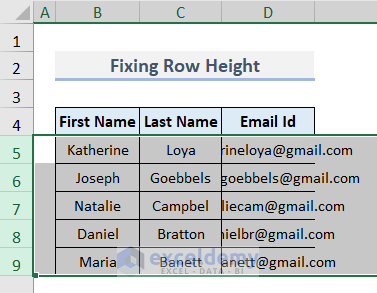
- Go to the Home Tab > Format > Row Height.
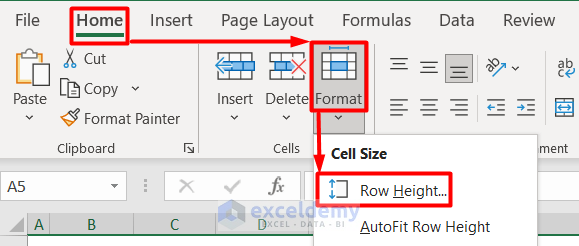
- Enter a value in the Row Height dialog box according to your preference.
- We have entered 45 points as Row Height.

- Press OK and the row heights will be increased to 45 points.
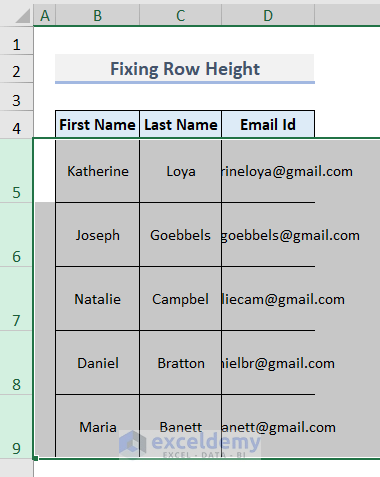
- Select the Email ID column and go to the Home Tab >Select Wrap Text.
- You will be able to fit the texts in the cells as shown below.

Read More: How to Make Excel Cells the Same Height and Width
Method 7 – Making a Cell Bigger with Excel VBA Code
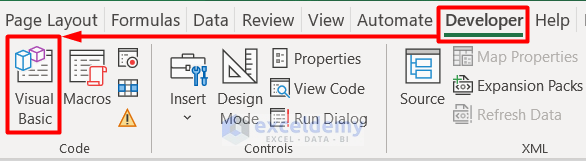
- Select Visual Basic from the Developer Shortcut key is Alt + F11.
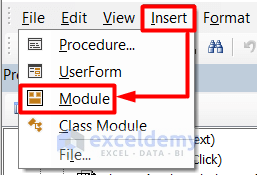
- In the Microsoft Visual Basic for Applications window, select Module from the Insert tab.
- Enter the following code.
Sub AutoAdjustColumnWidth()
Columns("D").AutoFit
End Sub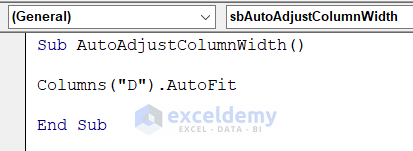
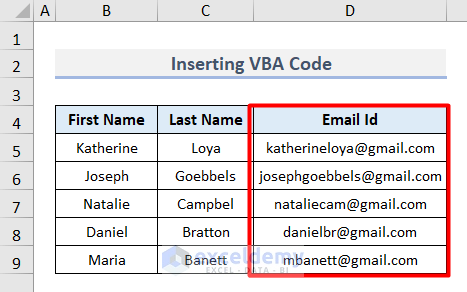
- Press F5 and the following result will be as shown below.
Read More: How to Use AutoFit Shortcut in Excel
Download Practice Workbook
Related Articles
- How to Make All Cells the Same Size in Excel
- [Fixed] AutoFit Row Height Not Working for Merged Cells in Excel
- How to Fix Cell Size in Excel
<< Go Back to Cell Size | Excel Cells | Learn Excel
Get FREE Advanced Excel Exercises with Solutions!
