Method 1 – Using the Page Setup Option to Add Same Header to All Sheets in Excel
- Select Page Setup sheet >> right-click on it.
- From the Context Menu >> select Select All Sheets.
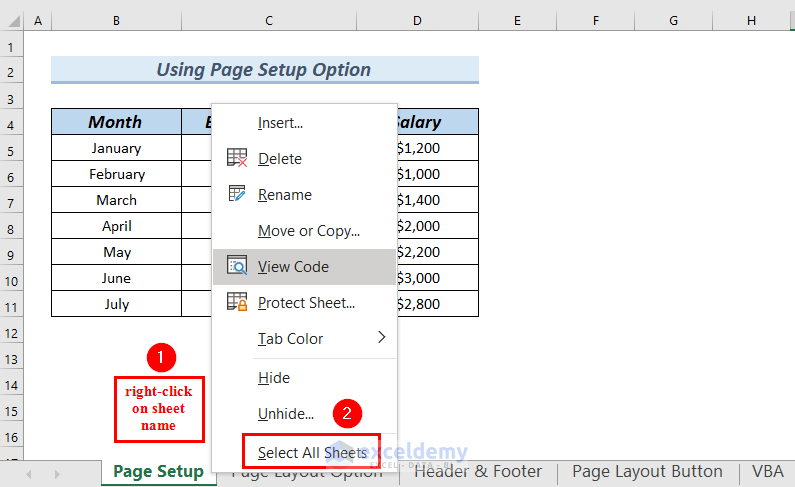
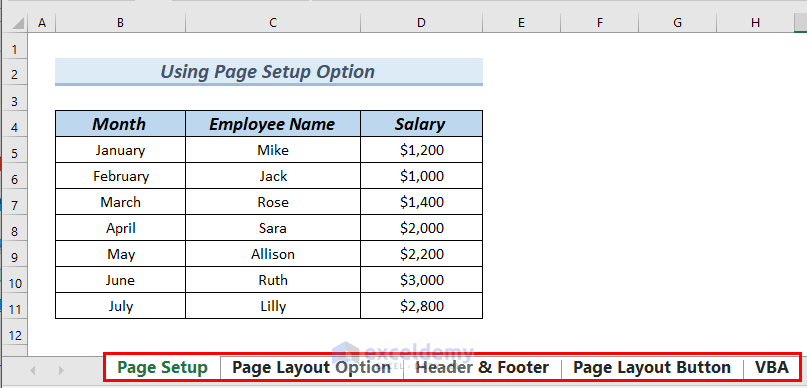
All the sheets of the workbook will be selected.
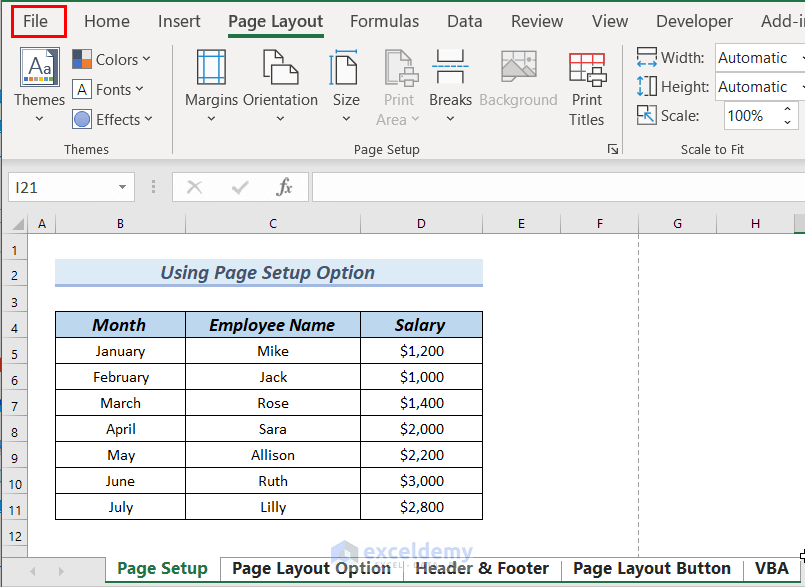
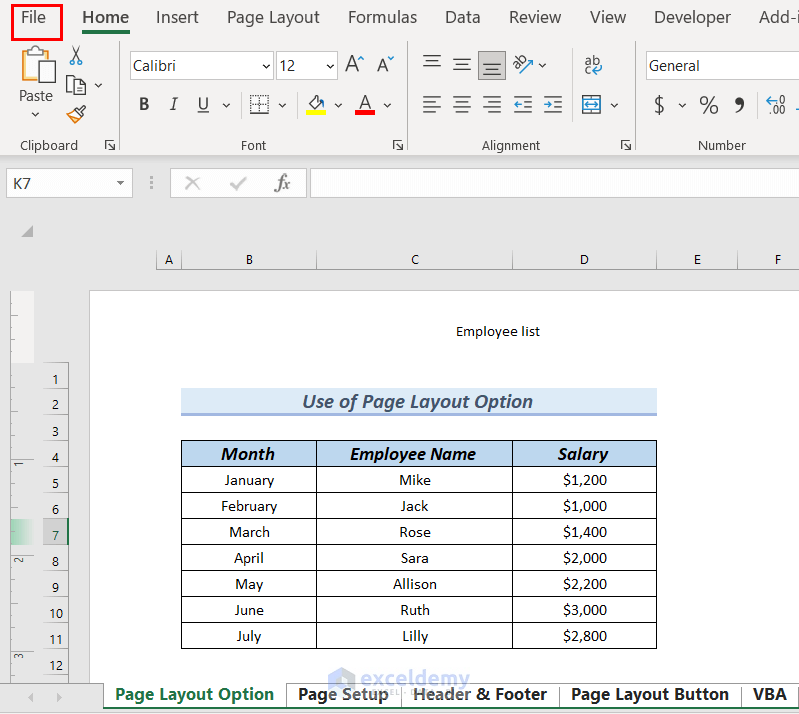
- Go to the Page Layout tab.
- From Page Setup group >> click on the Page Setup drop-down arrow which is marked with a red color box.

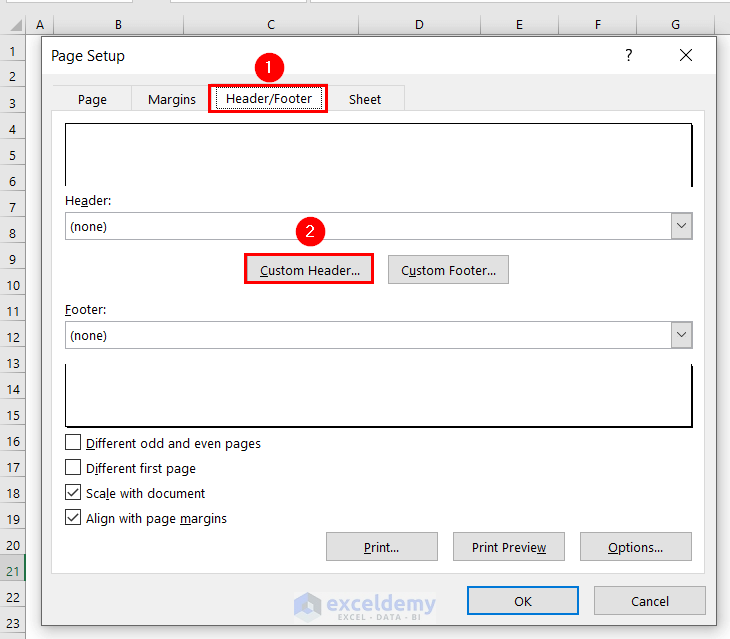
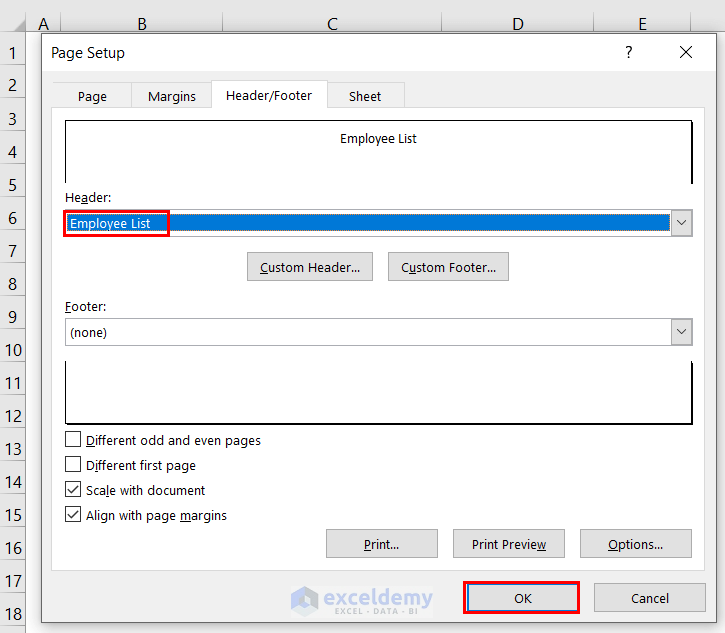
A Page Setup dialog box will appear.
- Go to the Header/Footer group.
You can see Custom Header and Custom Footer options.
- We selected Custom Header as we want the header on top of the page.
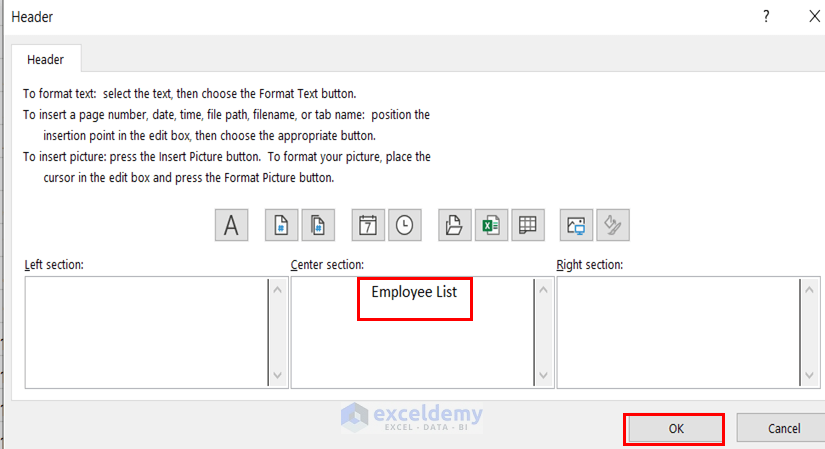
A Header dialog box will appear.
You can see the Left section, Center section, and Right section.
- Click on the Center section as we want the header in the center of the page.
- In the Center Section, enter Employee List as our header.
- Click OK.
- In the Page Setup dialog box, click OK.
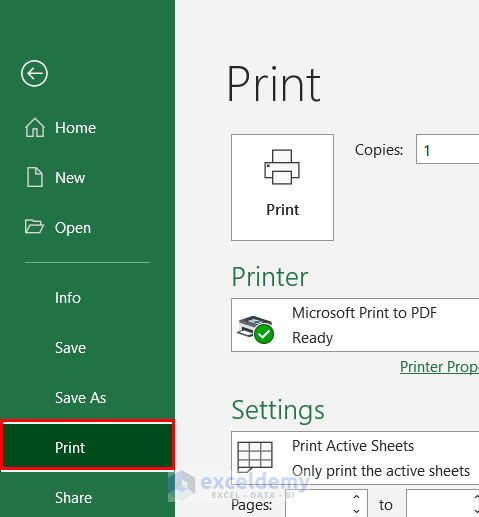
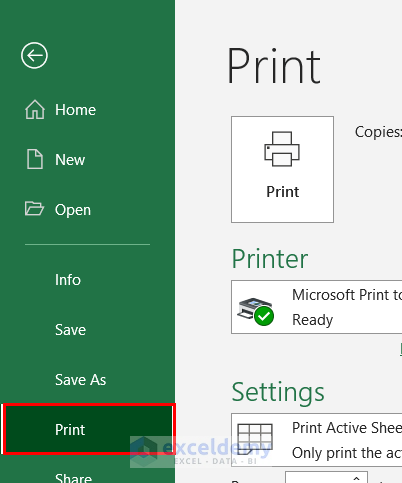
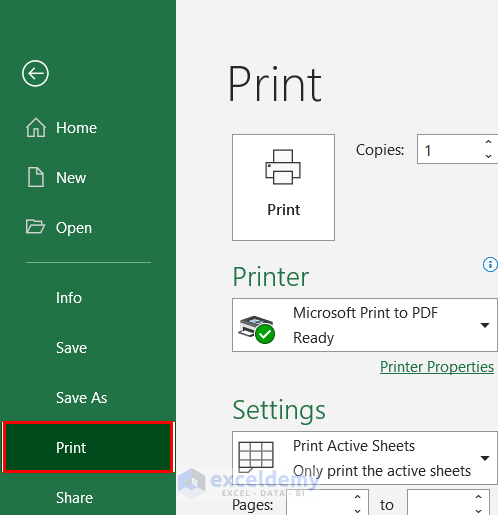
- Make sure the worksheets are selected and go to the File tab.
- Select the Print option.
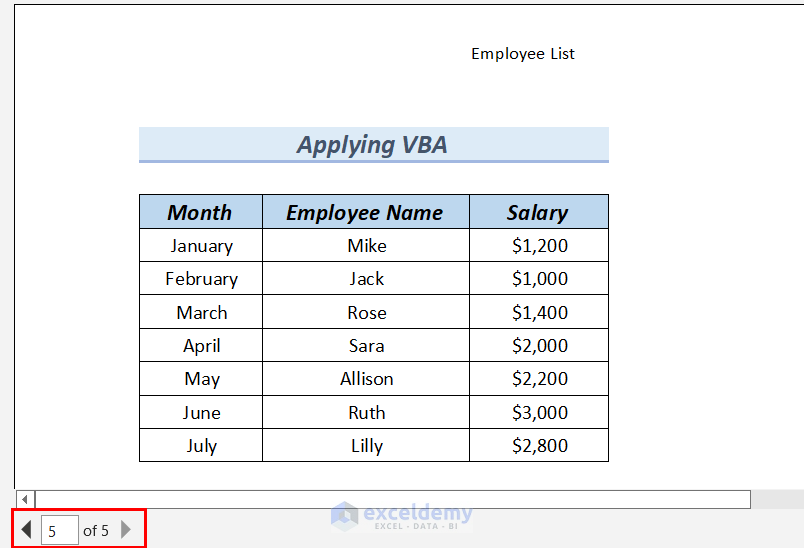
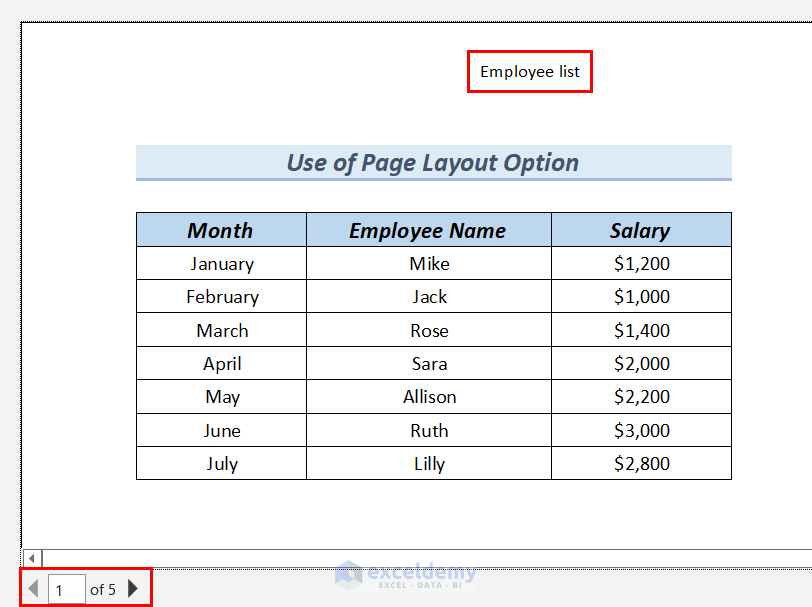
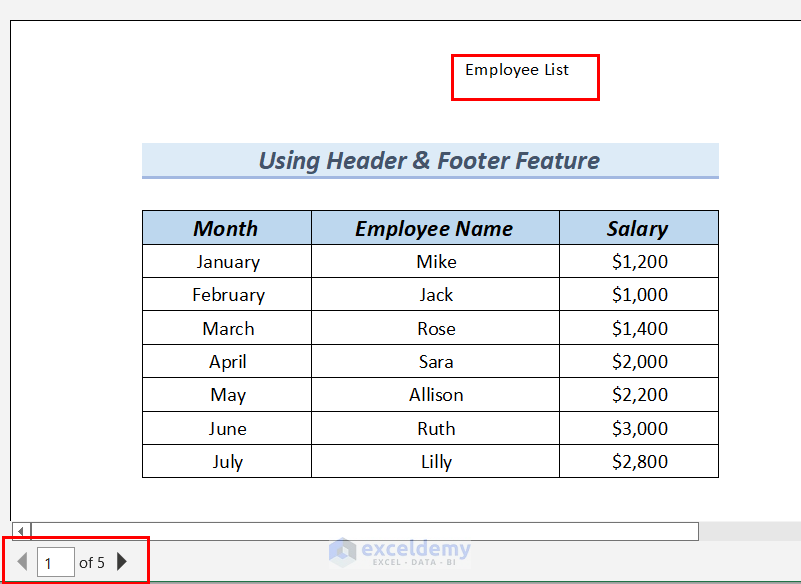
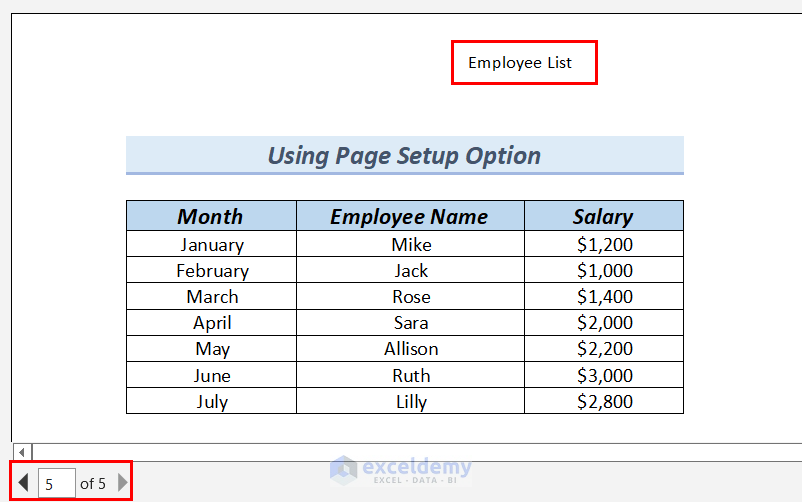
In the Print Preview, you can see the header on page 1.
- Click on the rightward arrow to see the header of other worksheets.
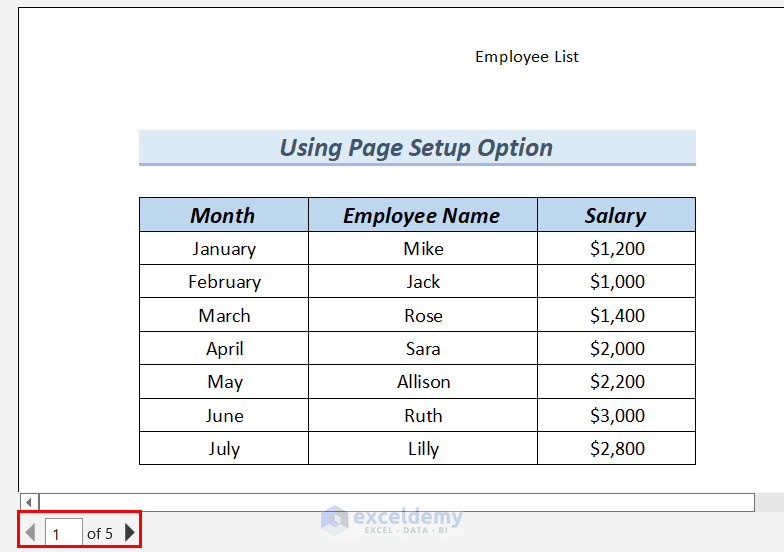
You can see that page 5 also contains Employee List as a header.
All the sheets will have the same header.
Read More: How to Add Header in Excel
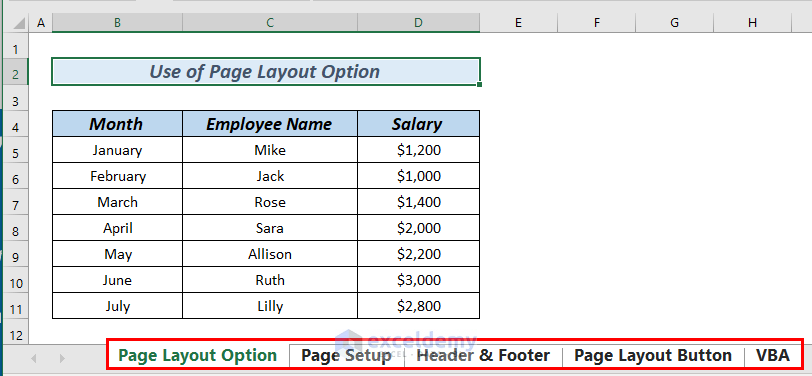
Method 2 – Using Page Layout Option to Add Same Header to All Sheets in Excel
- Select Page Setup sheet >> right-click on it.
- From the Context Menu >> select Select All Sheets.

All the sheets of the workbook will be selected.
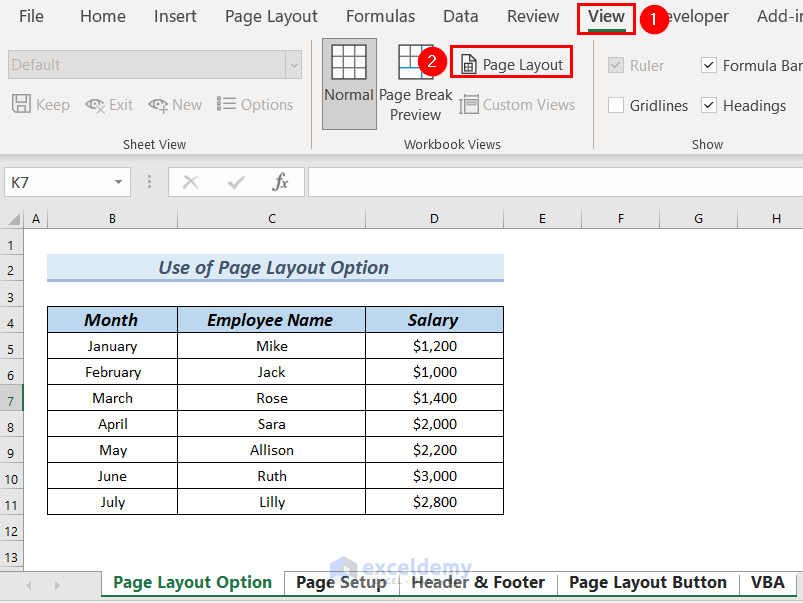
- Go to the View tab.
- From Workbook Views group>> select Page Layout.
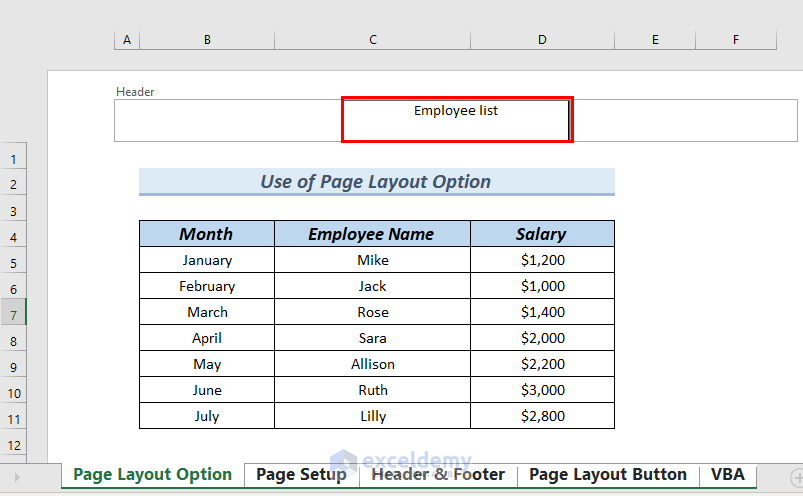
- Place your mouse on top of your sheet. You will see three sections under the Header title.
- Click on the center section as we want our header on the top and center positions of the sheet.
- EnterEmployee list as our header in the Center Section.
- Go to the File tab.
- Select the Print option.
In the Print Preview pane, you can see the header Employee list on the top of First sheet.
- Click on the rightward arrow to see the header of other worksheets.
All the sheets will have the same header.
Read More: Print Excel Sheet with Header on Every Page in Excel
Method 3 – Inserting Header & Footer
- Select Page Setup sheet >> right-click on it.
- From the Context Menu >> select Select All Sheets.
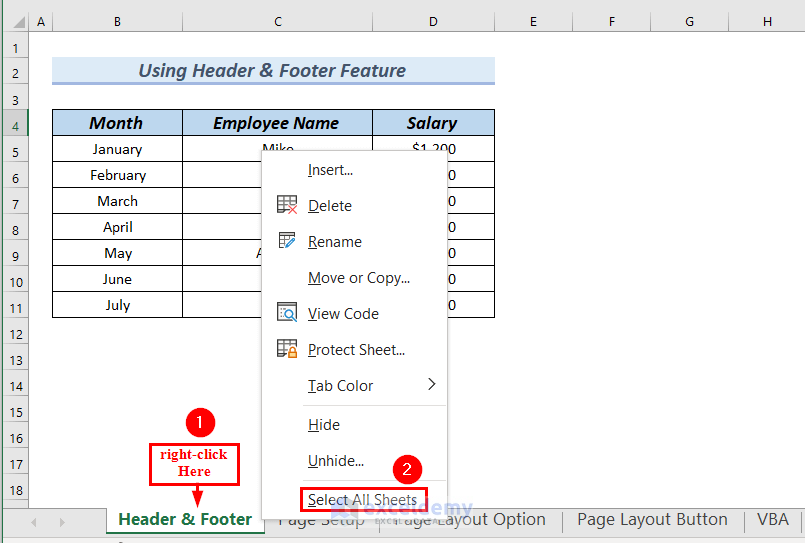
All the sheets of the workbook will be selected.

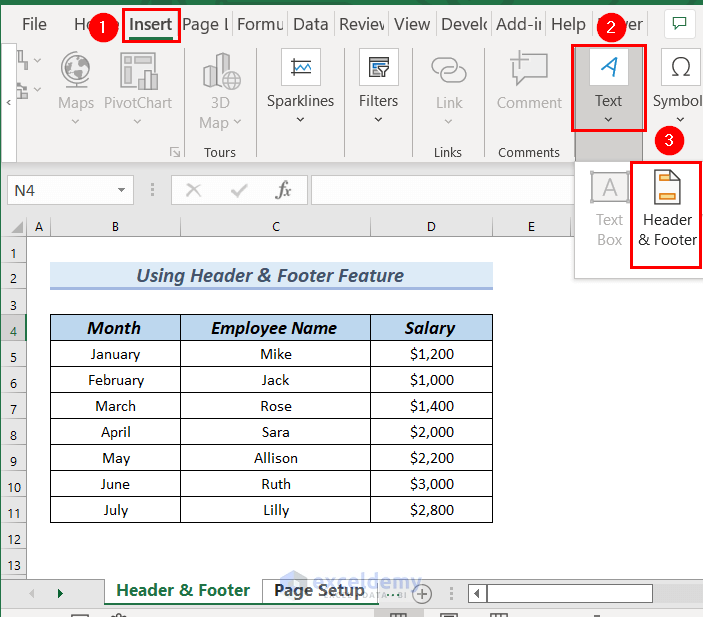
- Go to the Insert tab.
- From Text group >> select Header & Footer.
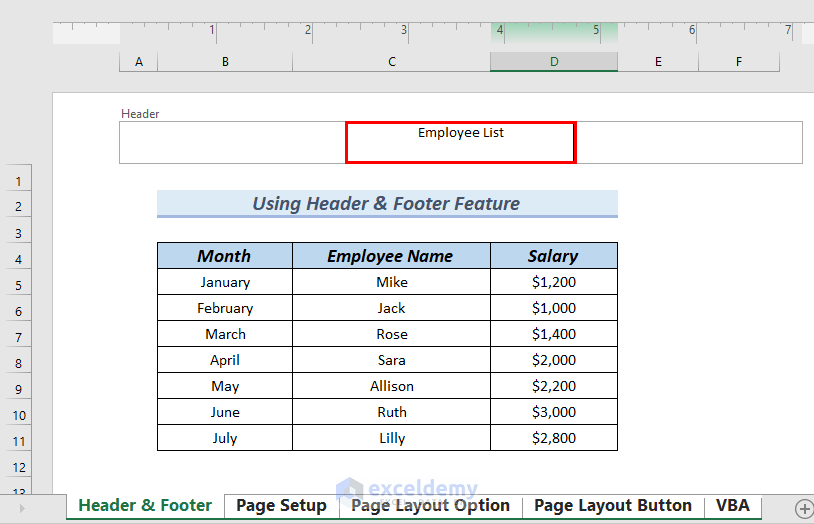
- Click on the center section as we want our page number on the top and center positions of the sheet.
- Enter Employee List as the header in the Center Section.
- Go to the File tab.
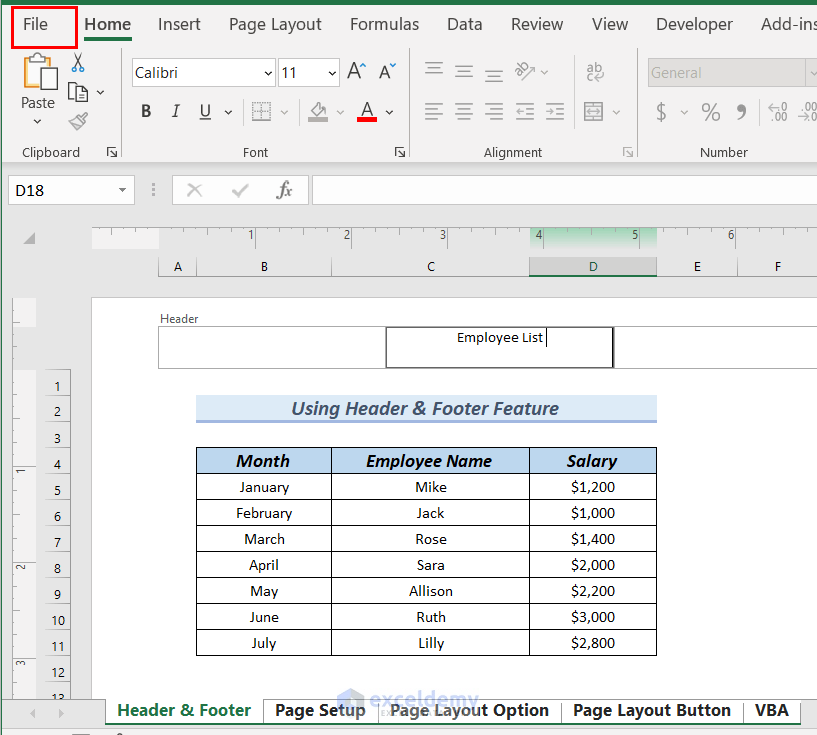
- Select the Print option.
- Click on the rightward arrow to see the header of other worksheets.
All the sheets will have the same header.
Read More: How to Edit Header in Excel
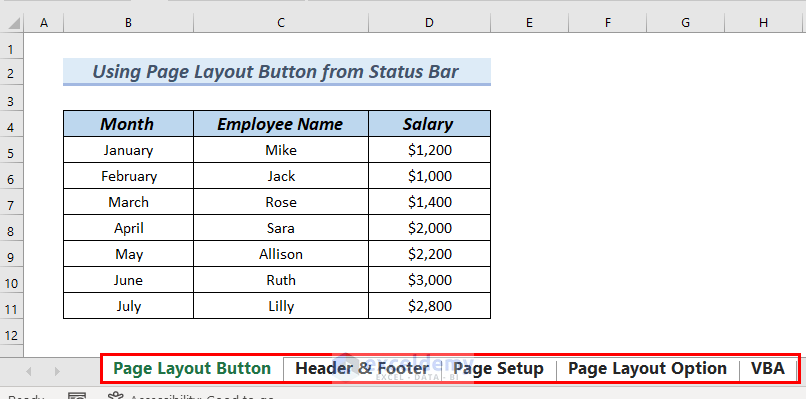
Method 4 – Using Page Layout view from the Status Bar
- Select Page Setup sheet >> right-click on it.
- From the Context Menu >> select Select All Sheets.
All the sheets of the workbook will be selected.
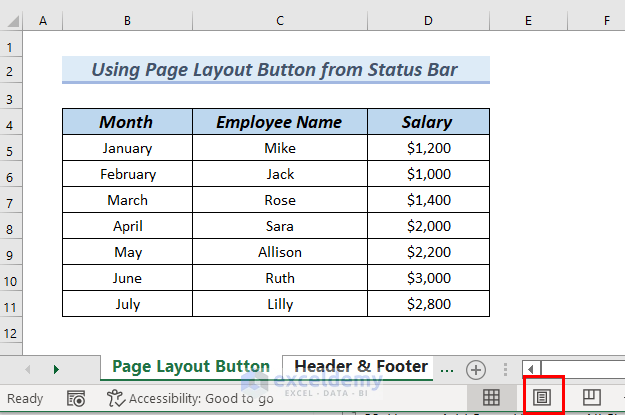
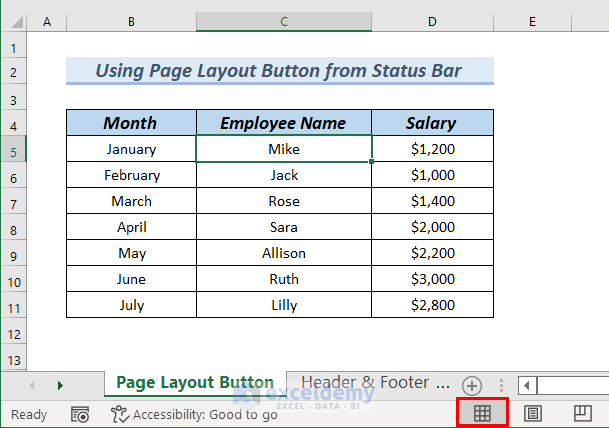
- From the Status bar, we will click on the Page Layout view, which is marked with a red color box in the following picture.
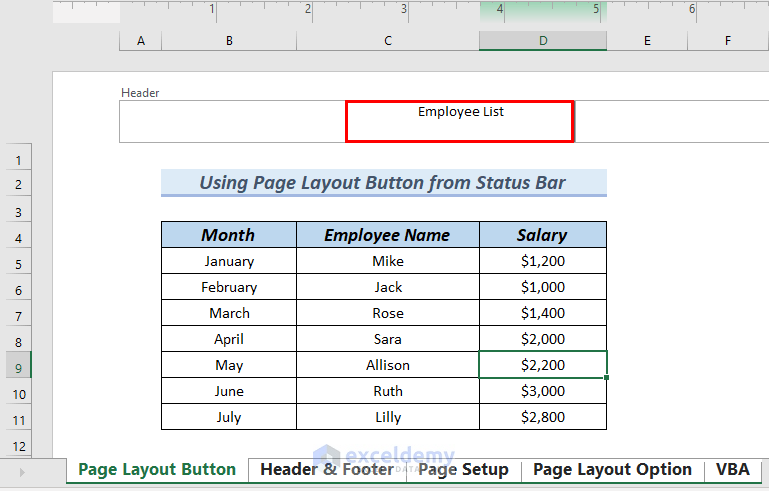
- Hover your mouse on top of your sheet. You will see three sections under the Header title.
- Click on the center section as we want our page number on the top and center positions of the sheet.
- Enter Employee List as our header in the Center Section.
- Right-click on the sheet Page Layout view.
- From the Context Menu >> select Ungroup Sheets.
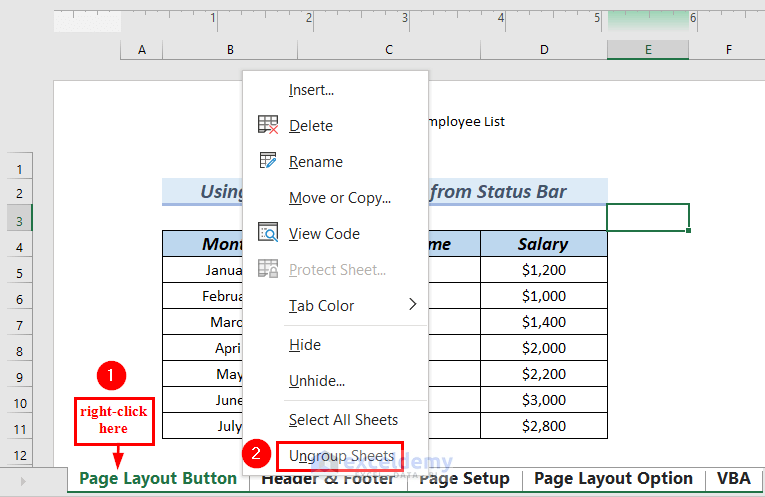
All the sheets will be ungrouped.
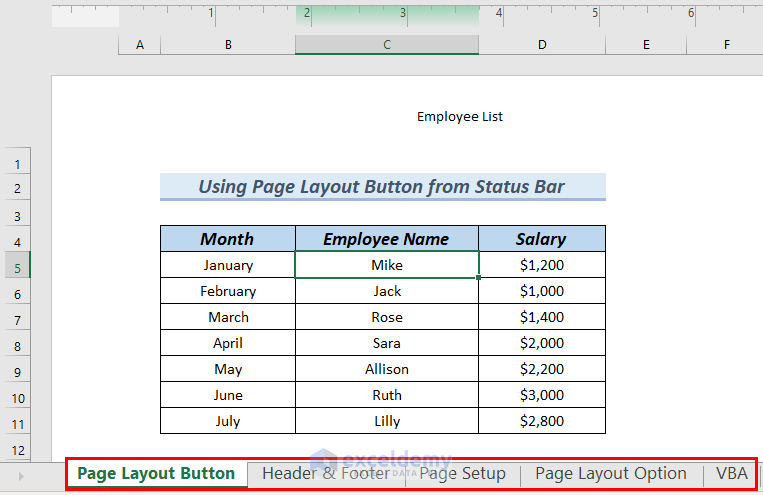
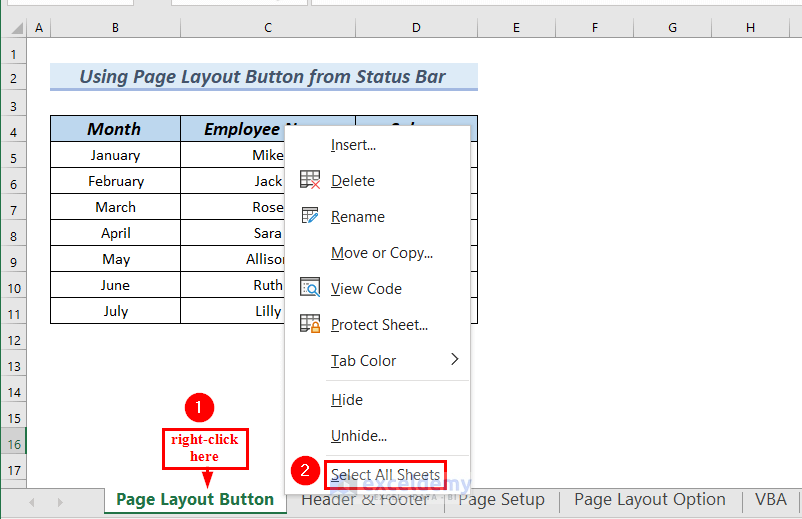
- We will click on the sheet Page Layout Button.
- From the Status bar >> click on Normal, which is marked with a red color box.
You can see no header on the sheet.
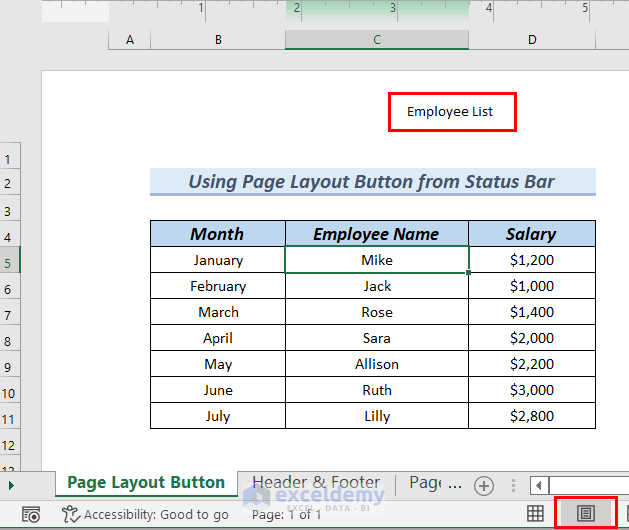
- To see the header on the sheet, click on the Page Layout view from the Status bar.
You can see the header Employee List in the Page Layout view sheet.
To see the header of other sheets, click on the Page Layout button from the Status bar of that sheet.
You can see in the Normal layout the sheet VBA has no header.
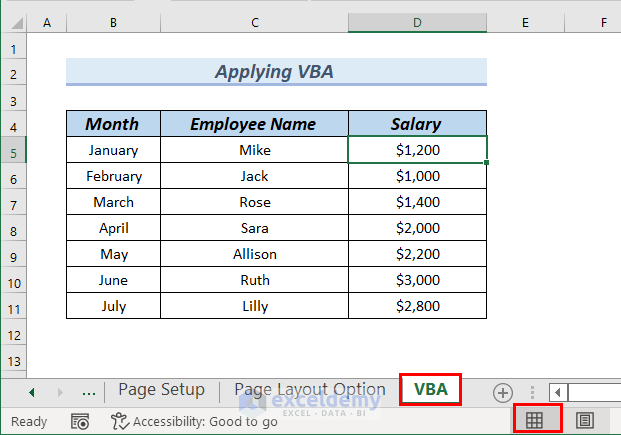
- Click on the Page Layout button from the Status bar, we can see Employee List as a header for sheet VBA.
You can see that all sheets have the same header from the print preview pane.
Enter the header in the sheet Page Layout Button, do not ungroup the selected sheets but keep the sheets selected >> go to the File tab >> go to the Print option. And from the Preview pane, you can see that all the sheets contain the same header.
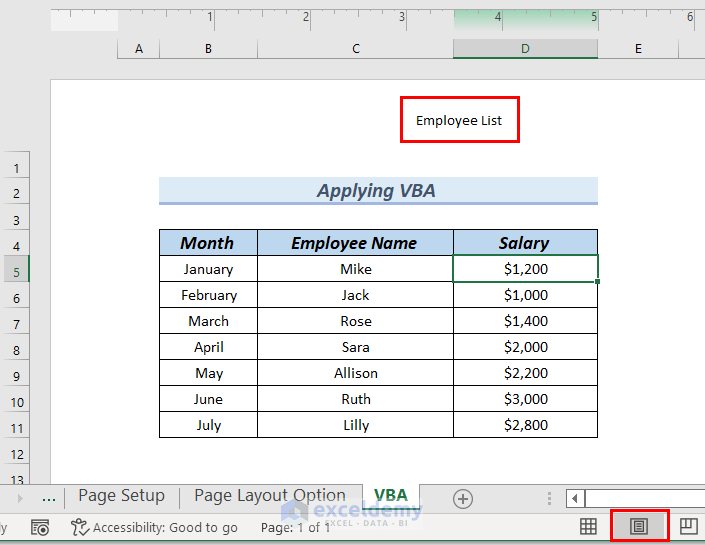
Method 5 – Applying VBA to Add the Same Header to All Sheets in Excel
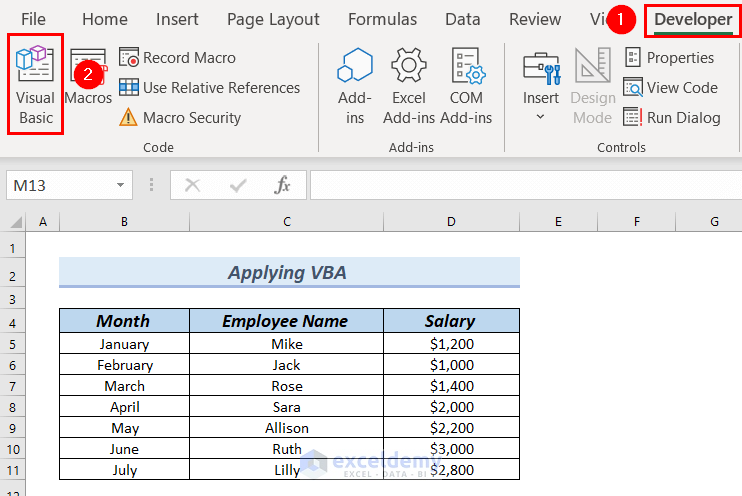
- Go to the Developer tab >> select Visual Basic from the Code group.
A VBA editor window will appear.
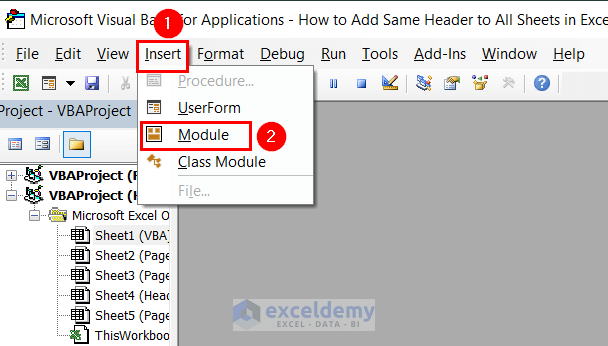
- From the Insert tab >> select Module.
- Enter the following code in the Module.
Sub Add_header_to_all_sheets()
Dim work_sheet As Worksheet
For Each work_sheet In ThisWorkbook.Sheets
    With work_sheet.PageSetup
         .LeftHeader = ""
         .CenterHeader = "Employee List"
         .RightHeader = ""
    End With
Next work_sheet
Set work_sheet = Nothing
End Sub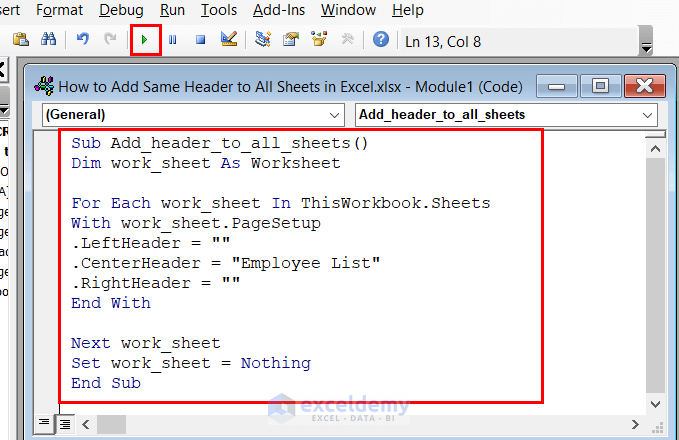
Code Breakdown
- We created Add_header_to_all_sheets as our Sub procedure.
- We declared the work_sheet variable as Worksheet.
- We used the For loop to run the code across the worksheets until it found the last sheet.
- Within the Loop used the VBA PageSetup property under With Statement where we defined the header position along with the text that we wanted to see in all sheets.
- Click on the Run button which is marked with a red color box to run the code.
- We will close the VBA editor window and return to our worksheet.
- Select VBA sheet >> right-click on it.
- From the Context Menu >> select Select All Sheets.
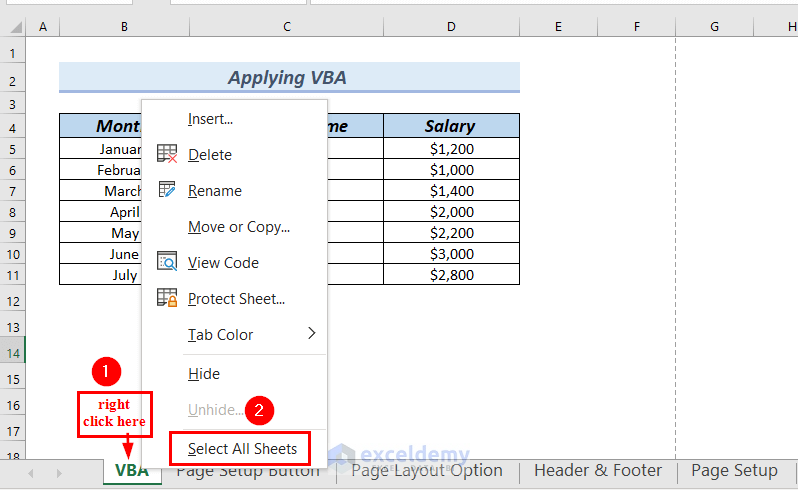
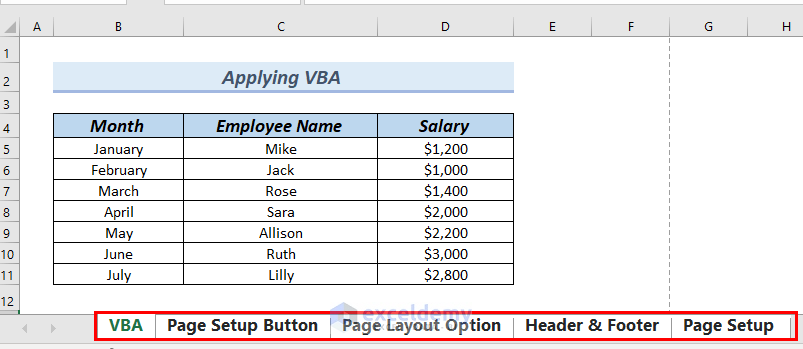
All the sheets of the workbook will be selected.
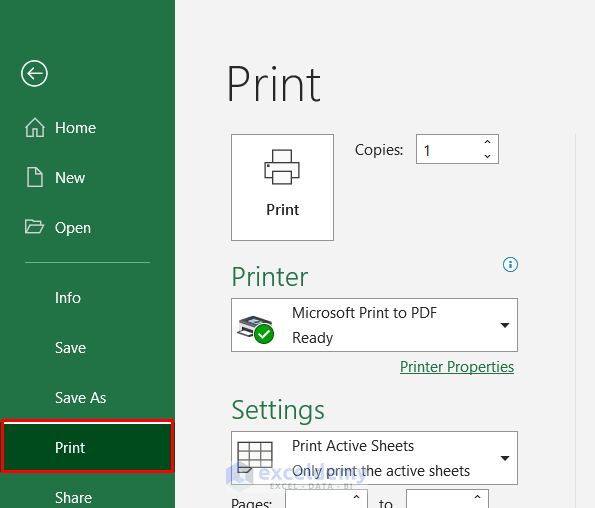
- Go to the File tab.

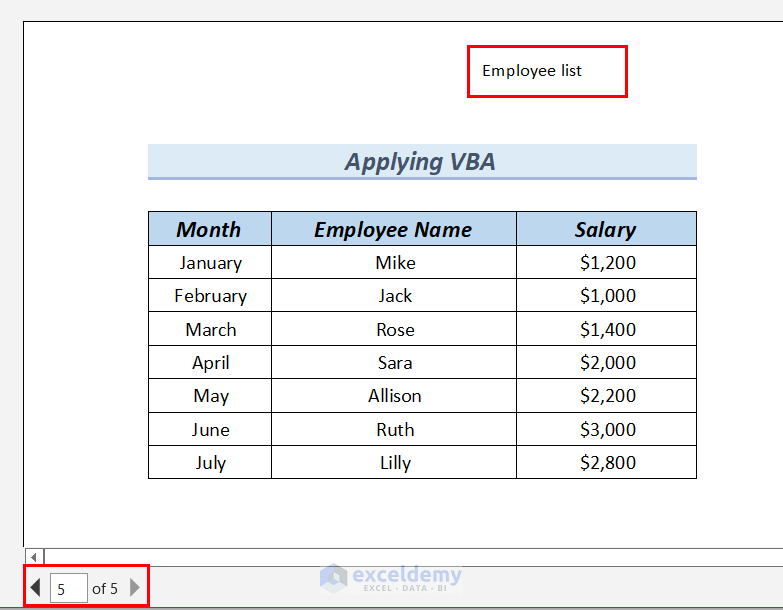
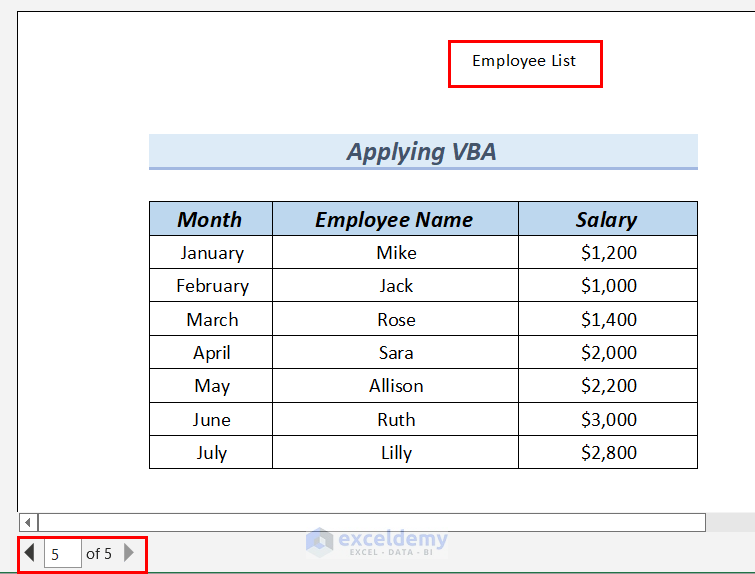
- Select the Print option.
- Click on the right arrow to see the header of other worksheets.
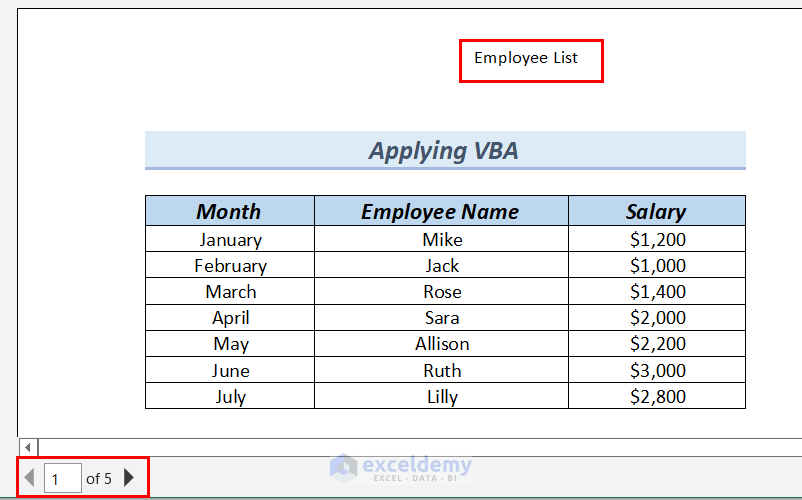
All the sheets will have the same header.
Download Practice Workbook
Related Articles
- How to Move Header in Excel
- How to Maintain Excel Header Alignment
- How to Insert Logo in Excel Header
- How to Remove a Header in Excel
- How to Keep Header in Excel When Printing
<< Go Back to Header and Footer | Page Setup in Excel | Print in Excel | Learn Excel
Get FREE Advanced Excel Exercises with Solutions!
