Excel has themes, which have different default colors, auto shape effects, SmartArt effects, and fonts. When utilizing themes one can quickly change the look of the workbook, if necessary. One can also edit individual facets of a theme, such as only the default fonts or only the default colors of a certain theme. Furthermore, one can also create a custom theme, which is a new combination of colors, fonts, and shape effects for one’s workbook, when wanting to engage in enhanced graphic design.
These days Excel is increasingly being used for infographic creation, therefore, knowing how to work with themes and customize colors and fonts can prove quite useful.
So, let’s get started with a few simple examples showing how to format one’s workbook using the default themes provided and how to create an entirely new theme with custom colors, fonts, and effects.
Changing the Theme of the Workbook
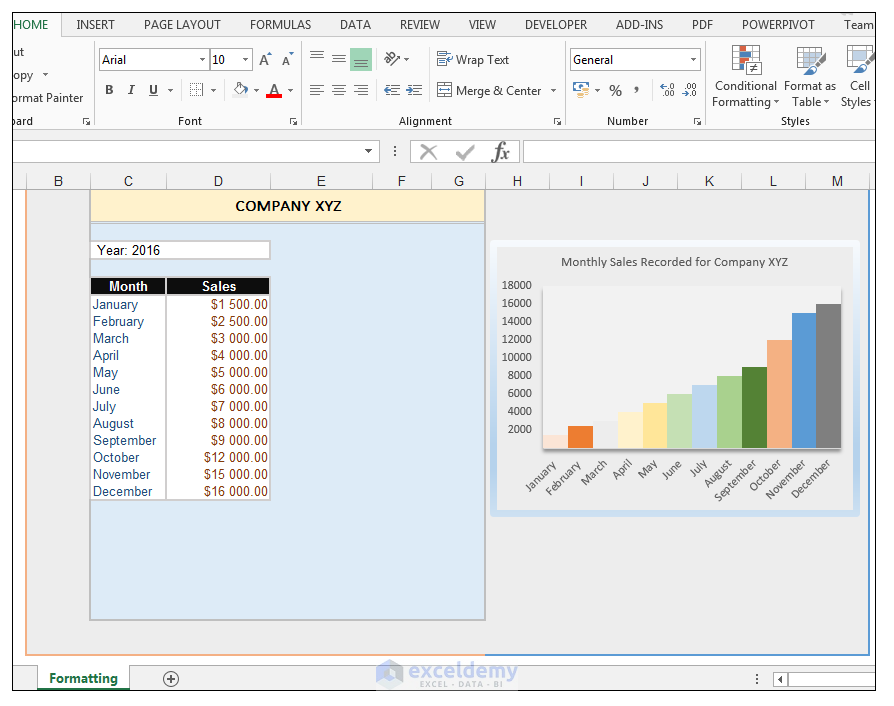
We have a workbook, containing one worksheet with monthly sales data and a column chart. The cells of the worksheet are filled in with colors from the default office theme that comes with Office 2013. The individual data points on the column chart are filled with different colors sourced from the default colors provided by the Office theme, and the chart border is a gradient border that uses the default gradient colors sourced from the Office theme.
The worksheet with the chart and data format, using the default Office Theme is shown below.
1) In order to change the theme and the look of the workbook instantly, go to Page Layout>Themes and click on the drop-down arrow at the bottom of Themes and choose another theme, in this case, we’ll choose the Facet theme.
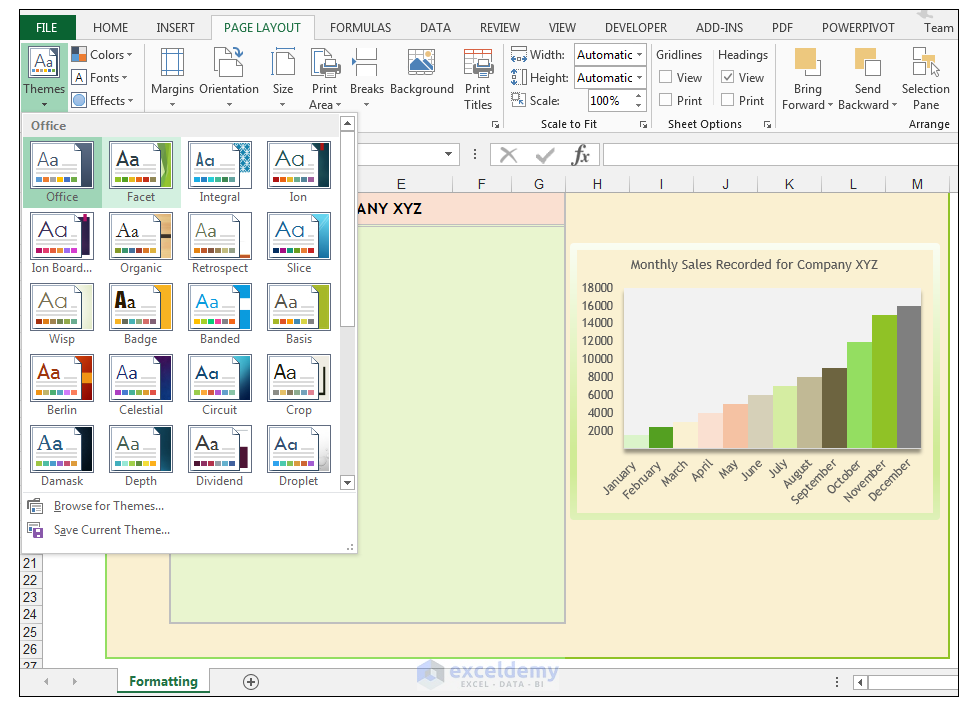
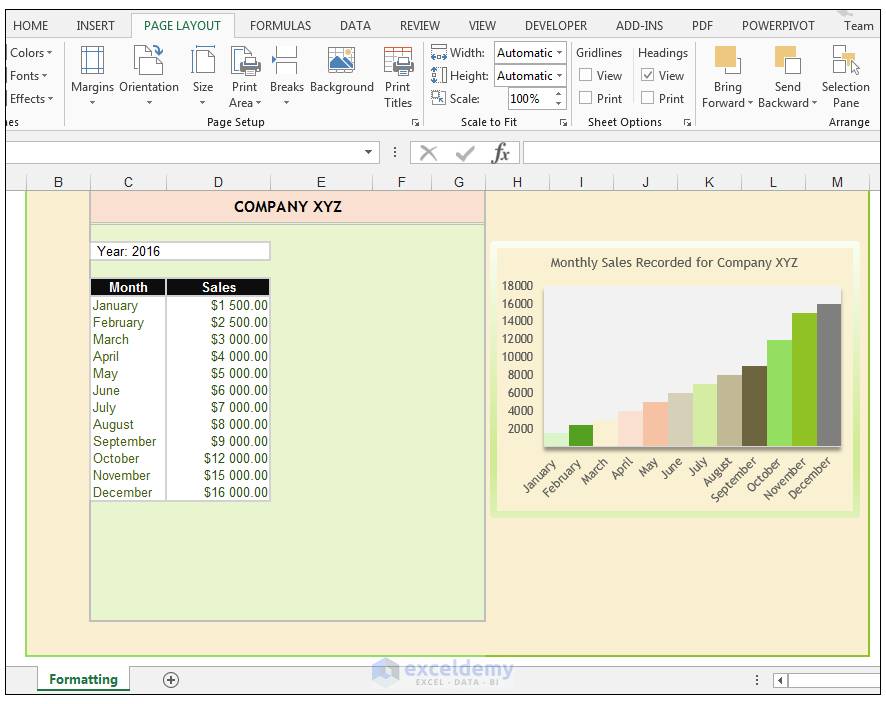
2) The entire look of the worksheet is changed and the font, colors, and effects are now sourced from the Facet theme.
Changing the Colors or the Font of the Workbook Only

1) One can change just the theme colors of the workbook, the fonts, or just the effects.
2) Go to Page Layout>Themes and click on the drop-down arrow next to Colors, under Office choose Blue Warm as shown.
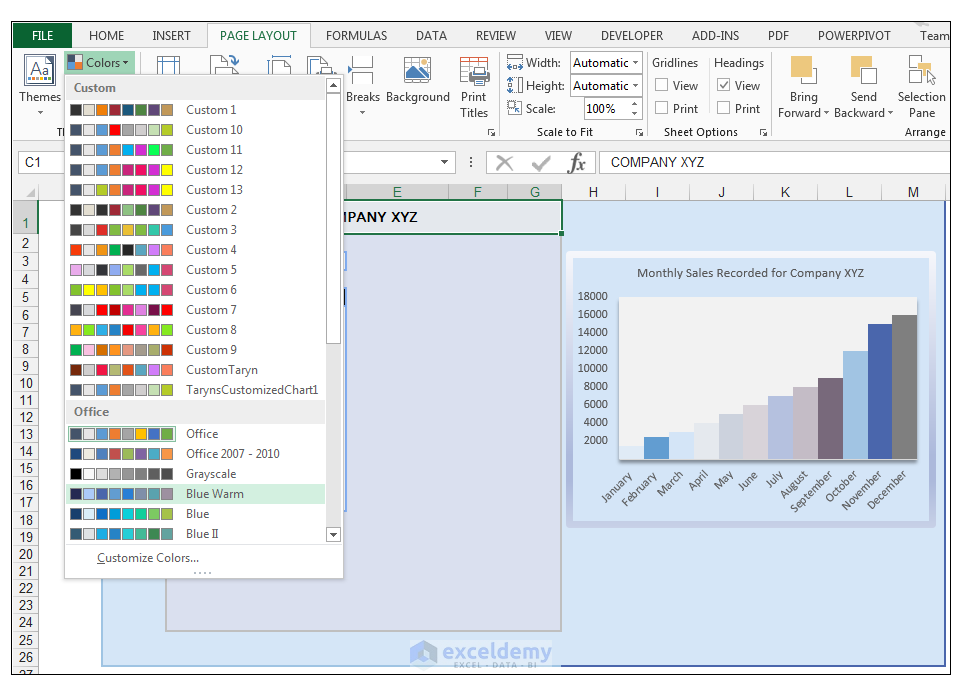
3) While the fonts are still the same, and the effects for the shapes are still the same, the color scheme is now changed.

Read More: How to Change Excel Theme to Black
Creating a Custom Theme

1) One can create an entirely new theme, with its own unique set of colors, fonts, and shape effects.
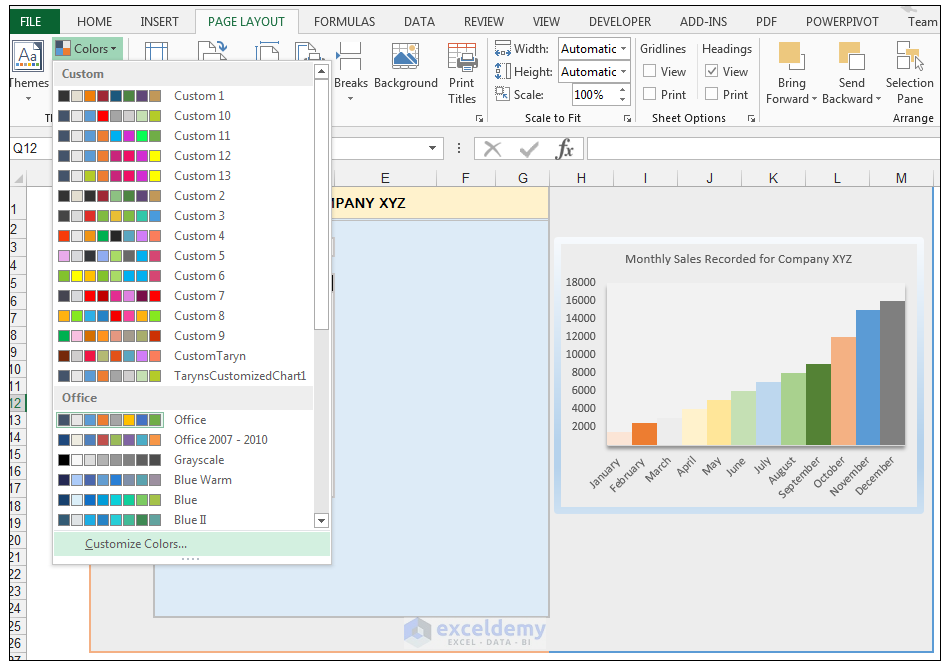
2) In order to create a new theme, go to Page Layout>Themes and click on the drop-down next to Colors and choose Customize Colors.
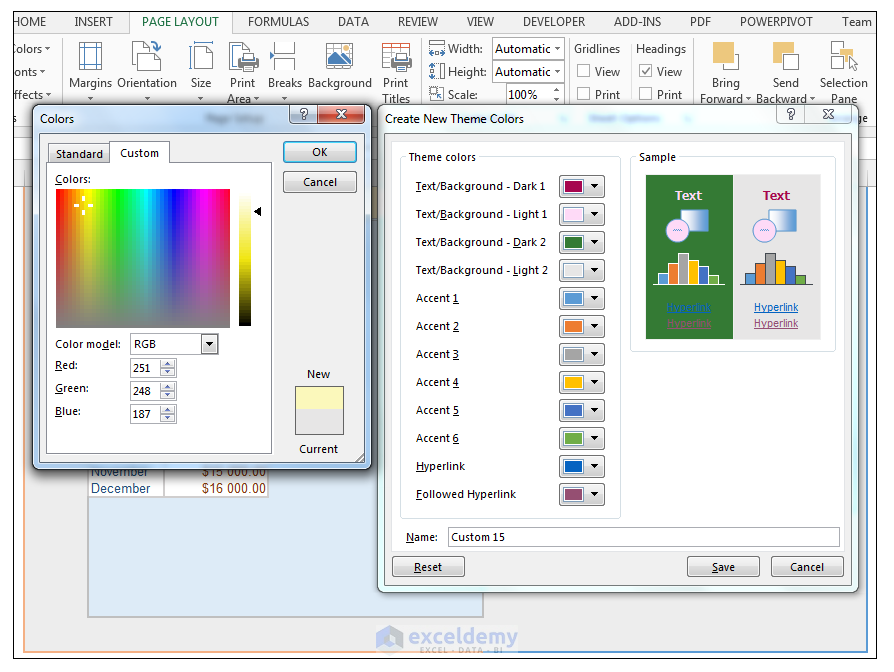
3) In the Create New Theme Colors Dialog Box, click on the drop-down arrow next to Text/Background – Dark 1 and select More Colors.

4) Select the Custom tab from the Colors Dialog box and enter R 166, G 6, B 78, and then click Ok.

5) In the Create New Theme Colors Dialog Box, click on the drop-down arrow next to Text/Background – Light 1 and select More Colors.

6) Select the Custom tab from the Colors Dialog box and enter R 254, G 218, B 247, and then click Ok.

7) In the Create New Theme Colors Dialog Box, click on the drop-down arrow next to Text/Background – Dark 2 and select More Colors.

8) Select the Custom tab from the Colors Dialog box and enter R 52, G 122, B 52, and then click Ok.

9) In the Create New Theme Colors Dialog Box, click on the drop-down arrow next to Text/Background – Light 2 and select More Colors.

10) Select the Custom tab from the Colors Dialog box and enter R 251, G 248, B 187, and then click Ok.
11) In the Create New Theme Colors Dialog Box, click on the drop-down arrow next to Accent 2 and select More Colors.
12) Select the Custom tab from the Colors Dialog box and enter R 255, G 137, B 154, and then click Ok.

13) Change the Name to MyCustomColorSetOne and then click Save.

14) The colors of the different elements on the worksheet are instantly changed as shown below.

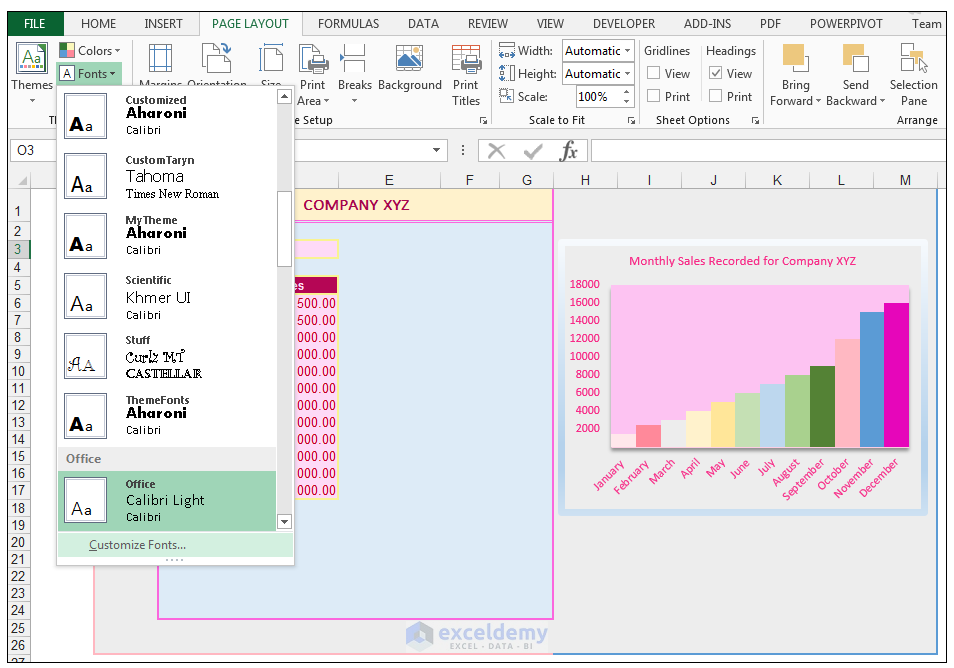
15) Go to Page Layout>Themes and click on the drop-down arrow next to Fonts and choose Customize Fonts.
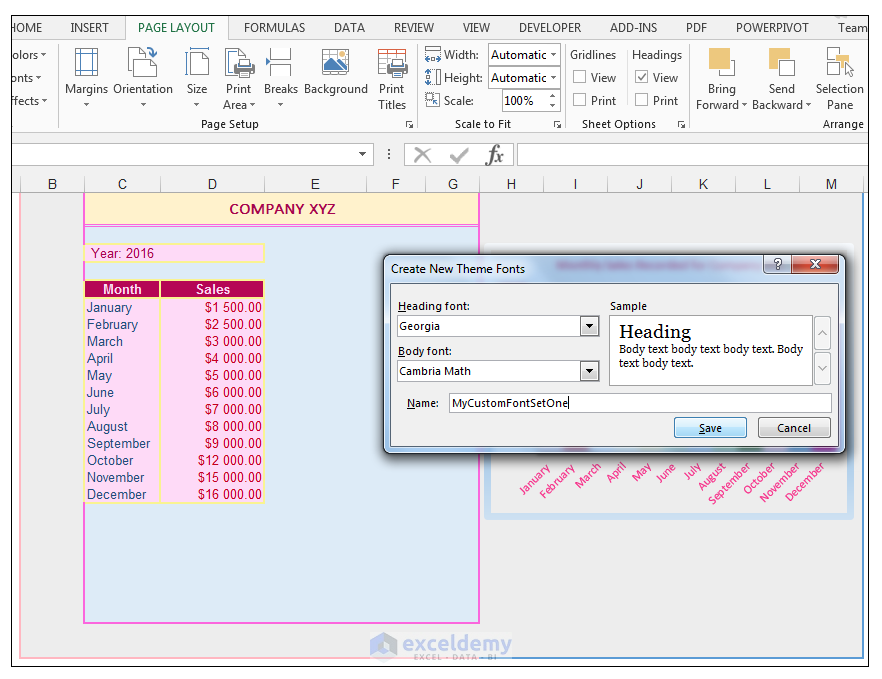
16) Change the Heading font to Georgia and the Body font to Cambria Math.

17) Change the Name to MyCustomFontSetOne and then click Save.

18) Go to Page Layout>Themes and click on the drop-down next to Effects and choose Riblet as shown below.

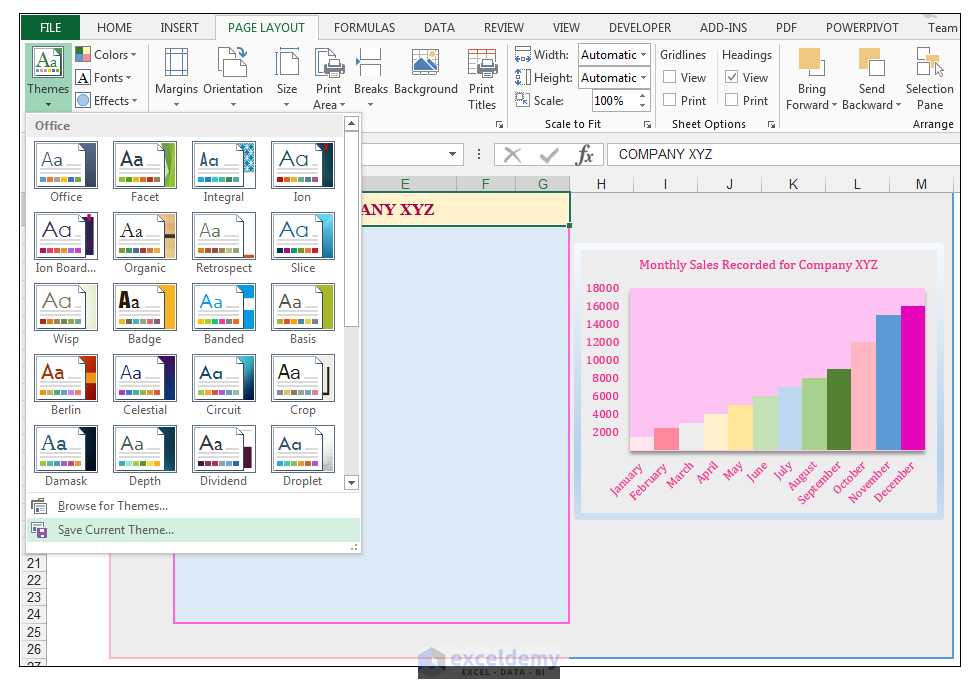
19) Now go to Page Layout>Themes and click on the drop-down at the bottom of Themes and choose Save Current Theme.
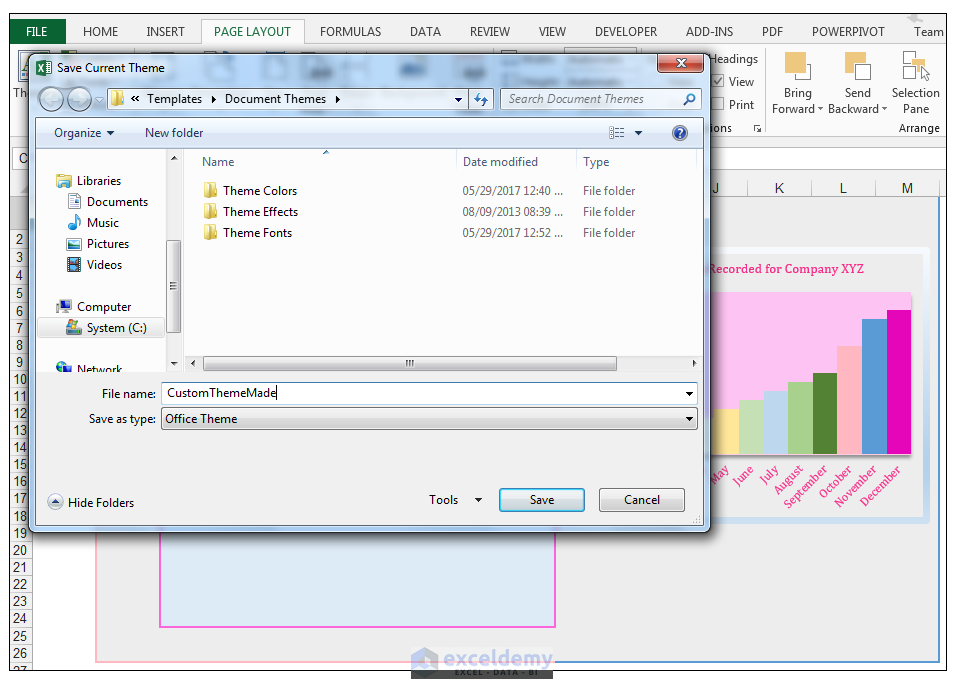
20) The location for saving themes should pop up automatically, choose a name for your theme and click Save.
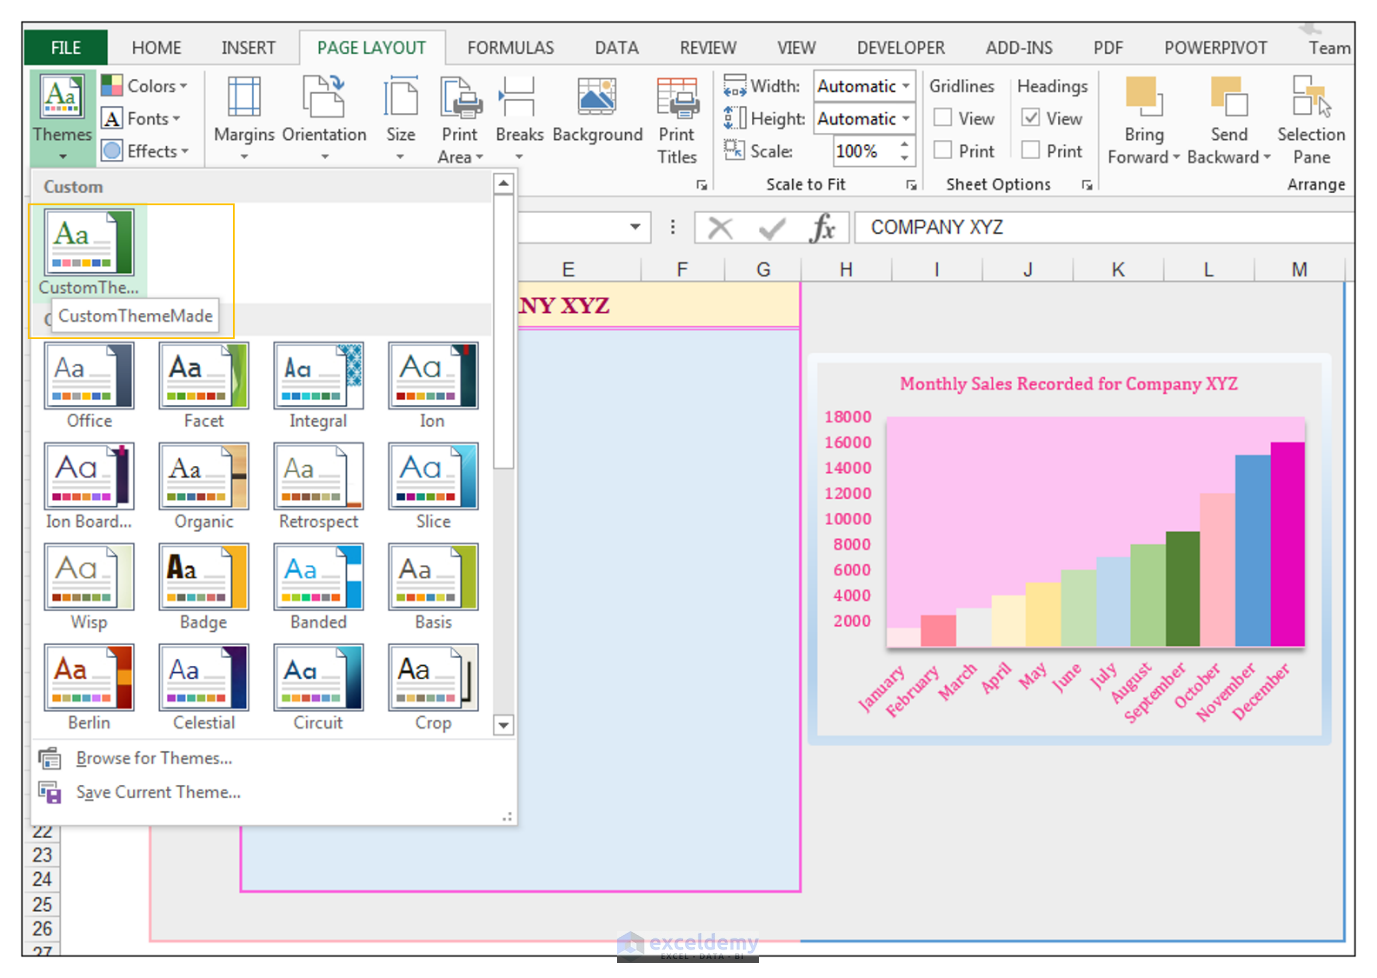
21) If you now go to Page Layout>Themes and click on the drop-down arrow at the bottom of Themes, you should see the theme, you just created as shown below, in the Custom section. You can apply this theme to your workbooks in the future.
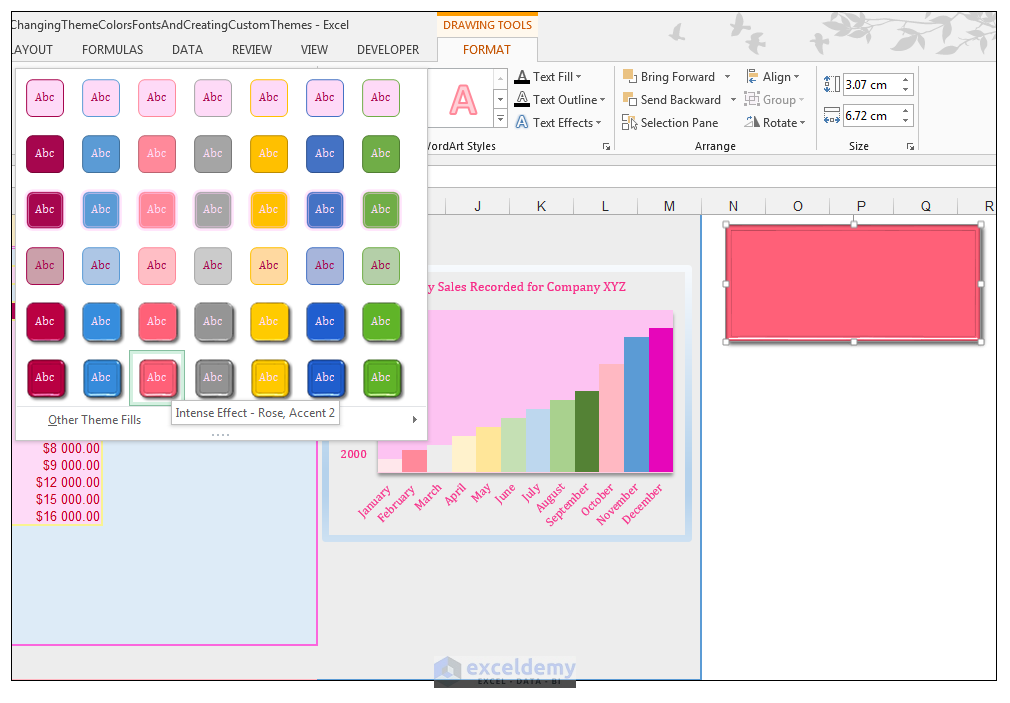
22) To see the effect of the customized theme on auto shapes, insert an auto shape in the worksheet.

23) With the auto shape selected, go to Drawing Tools>Format>Shape Styles and click on the drop-down arrow, you can now see all the styles are taken from the colors set in the customization of the theme colors and the Riblet effect applied if one chooses Intense Effect – Rose, Accent 2.
Crossover Tip
And there you have it, you have now created a new custom theme, which can be applied in future workbooks, or in other Office programs. Your custom theme will be available in Word, PowerPoint, and Access to utilize in your Word documents, PowerPoint Presentations, and Access databases, in order to create custom streamlined looks across your office outputs.
Let’s say you want to design a custom theme for your workbook, based on your company or brand’s colors, in order to streamline all the documents, workbooks, and presentations your company sends out.
How would you get the RGB values for the colors your company uses on their logo for example, so that you can use it when setting custom colors, as you are creating your own custom themes. Well if you have your company logo with the company colors, in png, jpg or bitmap format then you can use PowerPoint in order to see the specific RGB values for those colors. You can utilize this technique to obtain the RGB values of any image inserted in PowerPoint.
1) Open PowerPoint, and go to Insert>Images>Pictures.

2) Navigate to the folder containing your logo or image, you want to obtain the RGB values from and click Insert.

3) The image is now inserted on the slide, then go to Insert>Illustrations and click on the drop-down arrow below Shapes and insert an auto shape next to the image you inserted previously.

4) With the auto shape selected, go to Drawing Tools>Format>Shape Styles and click on the drop-down arrow next to Shape Fill and select Eyedropper as shown.

5) Move the Eyedropper over the color on the image, that you want to obtain the RBG value for as shown below.

6) You should see the RGB value appear as you hover over the color. Once you click, the auto shape will be filled with the color you selected using the eyedropper from your company logo or another image as shown below.

7) You can also see the RGB value, if you didn’t manage to get it while hovering over the image with the Eyedropper tool, by clicking on the auto shape filled with the color sourced with the Eyedropper and go to Drawing Tools>Format>Shape Styles and click on the drop-down arrow next to Shape Fill, and choose More Fill Colors.

8) In the Custom Tab, of the Colors dialog box, you should see the Custom color’s RGB value selected from your logo or image as shown below.
 9) You can either once you’ve noted the RGB value, click Cancel or Ok in this case.
And there you have it.
Download Working Files
Conclusion
Excel provides ways to quickly change the colors, fonts, and effects of elements in one’s workbook through the use of themes. One can either use the built-in themes Excel provides or create one’s own theme with custom colors, fonts, and effects. If you are creating a theme in Excel, but you want to use colors from your company’s logo or another specific image, then insert the image in PowerPoint and use the Eyedropper tool in order to obtain the RGB value of the image.
Please feel free to tell us if you use other themes in your workbooks or other Office documents, other than the default or if you create your own themes.
Related Articles
- How to Change Theme Font in Excel
- How to Make Good Excel Color Combinations
- How to Change Theme Colors in Excel
- Excel Themes Option Is Not Working
- Excel Feathered Theme Missing
- How to Add Excel Feathered Theme
- How to Apply Parallax Theme in Excel
- How to Apply Retrospect Theme in Excel
- How to Apply Slice Theme in Excel
- How to Apply a Theme to a Workbook in Excel
<< Go Back to Excel Theme | Learn Excel
Get FREE Advanced Excel Exercises with Solutions!
