How to Apply a Theme in Excel
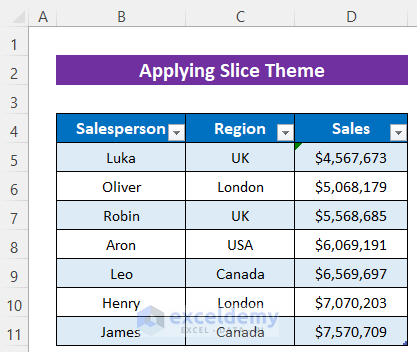
Use the following sample table.
Steps:
- Click Page Layout > Themes.
You will see the built-in office themes. You can also browse downloaded or saved themes.
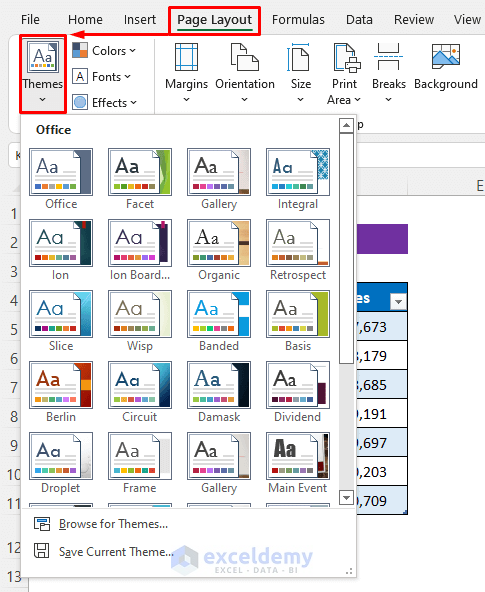
- Click a theme. Here, Gallery.
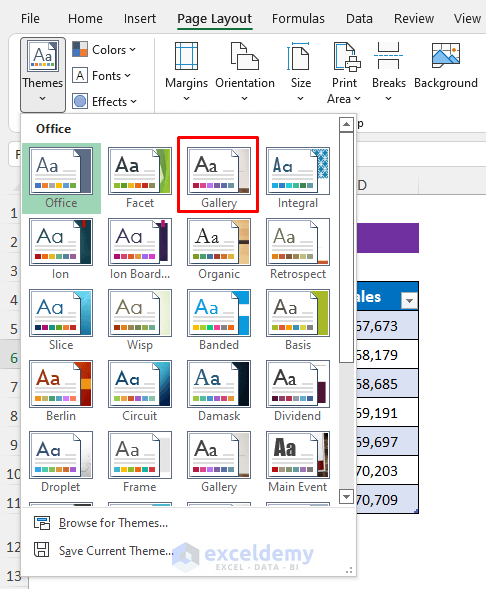
This is the outlook of the Gallery theme.
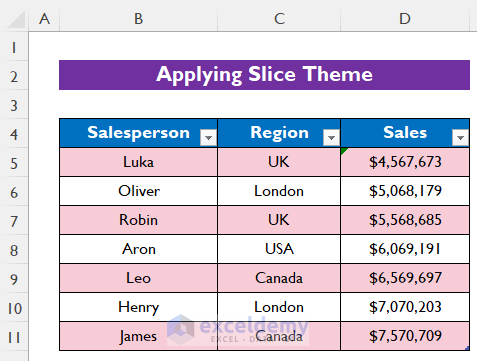
When you change a theme, it will be applied to all worksheets.
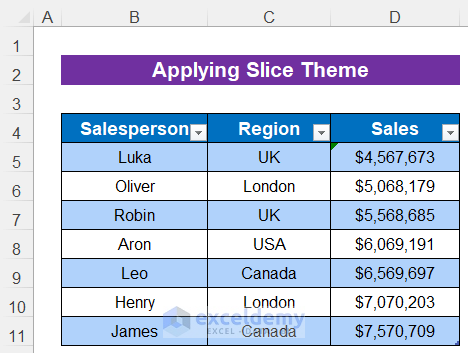
How to Apply a Slice Theme in Excel
Steps:
- Click Page Layout > Themes and select Slice.
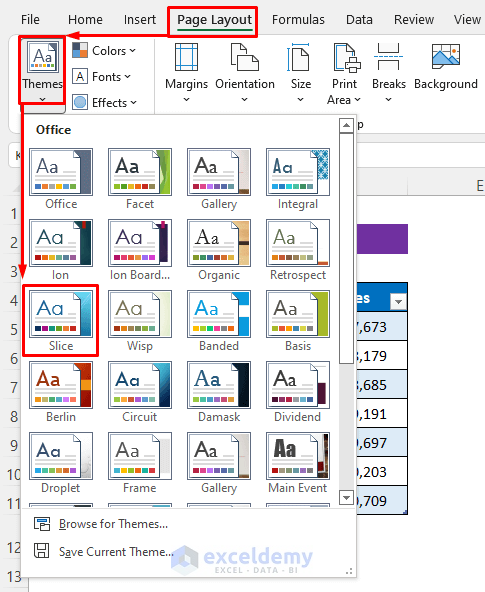
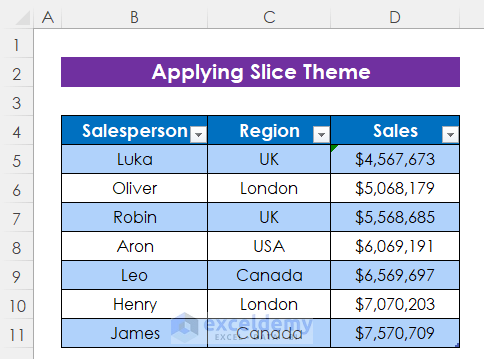
Here’s an overview of the Slice theme. It uses Cyan color and Century Gothic font.
How to Change Slice Theme Colors, Fonts, and Effects in Excel
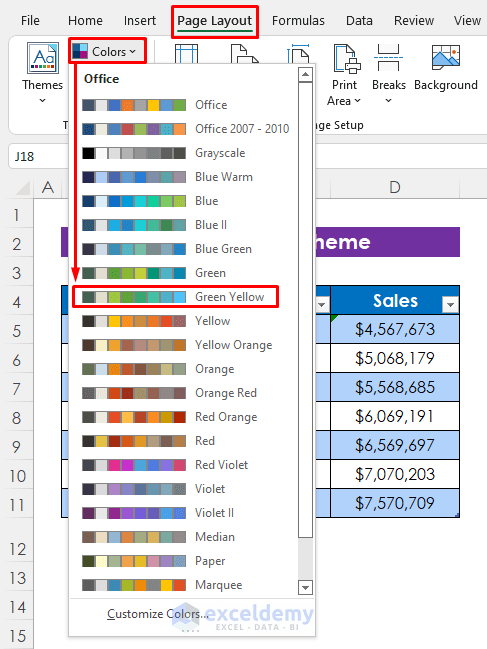
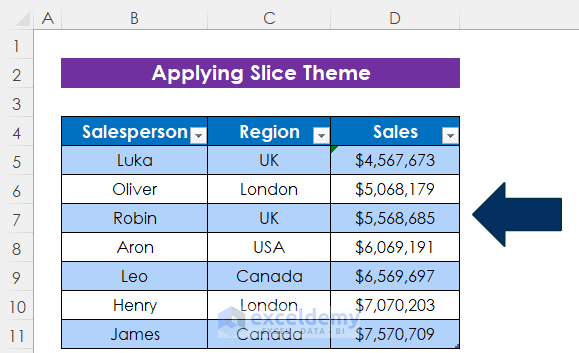
Change Colors
Steps:
- Click Page Layout > Colors.
- Select a color or click Customize Colors to make a color combination. Here, Green Yellow.
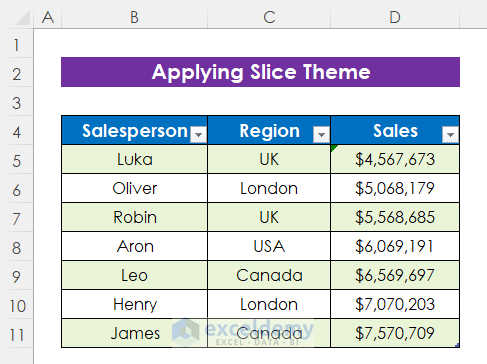
This is the output.
Related Article: How to Apply Parallax Theme in Excel
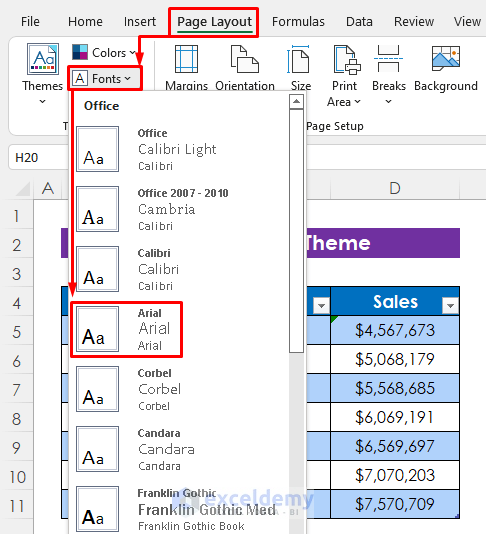
Change Fonts
Steps:
- Click Page Layout > Fonts.
- Choose a font. Here, Arial.
The font changed.
Change Effects
You can change objects, borders, visual effects, and shades.
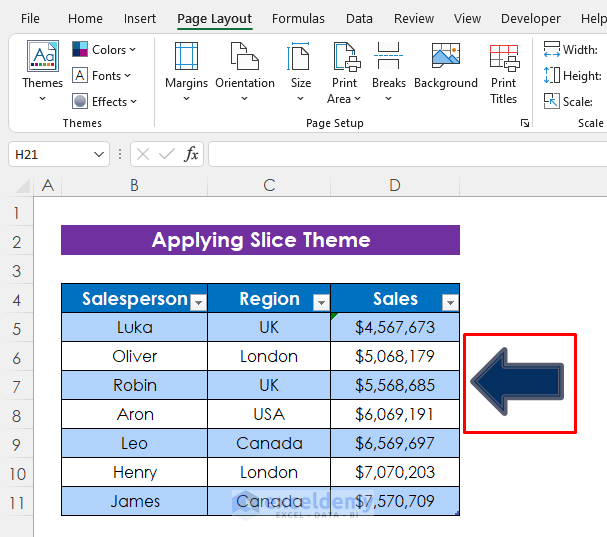
A Left Arrow was added, here.
Steps:
- Click Page Layout > Effects.
- Click an effect. Here, Glossy.
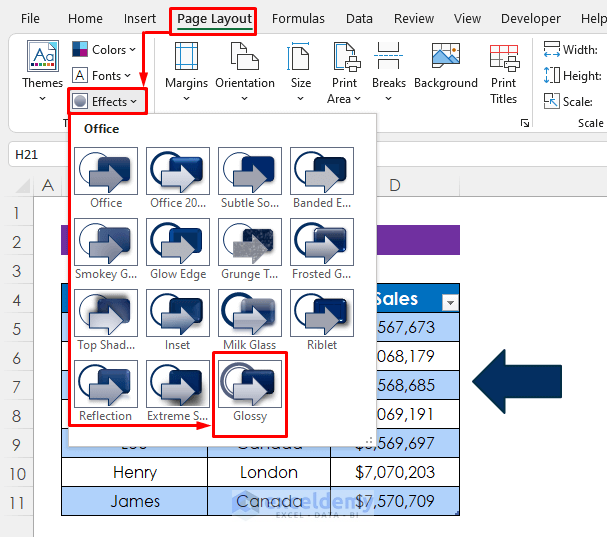
Borders were added outside the arrow.
Download Practice Workbook
Download the free Excel workbook.
Related Articles
- How to Add Excel Feathered Theme
- [Solved!] Excel Themes Option Is Not Working
- [Solved!] Excel Feathered Theme Missing
- How to Change Excel Theme to Black
- How to Make Good Excel Color Combinations

