Method 1 – The Most Basic Way to Insert and Format a Date in Excel
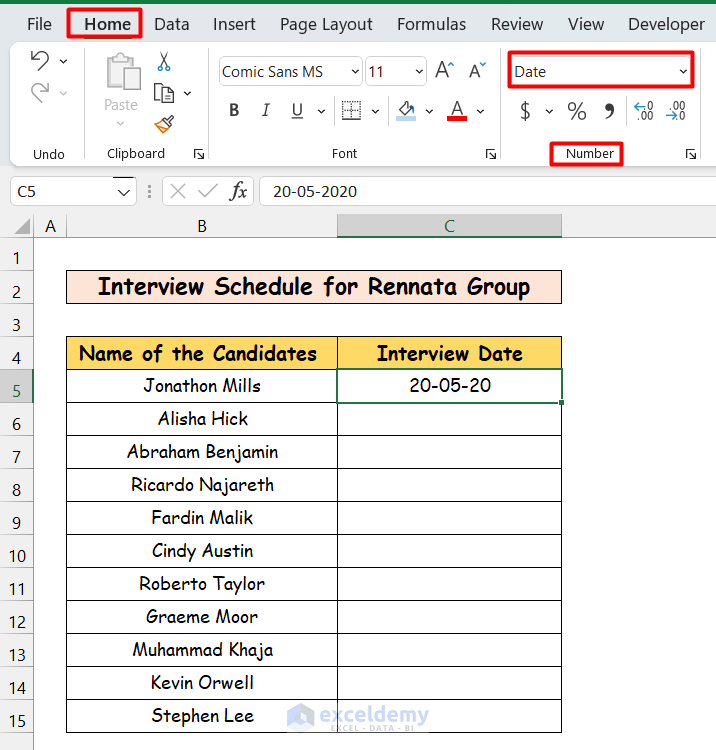
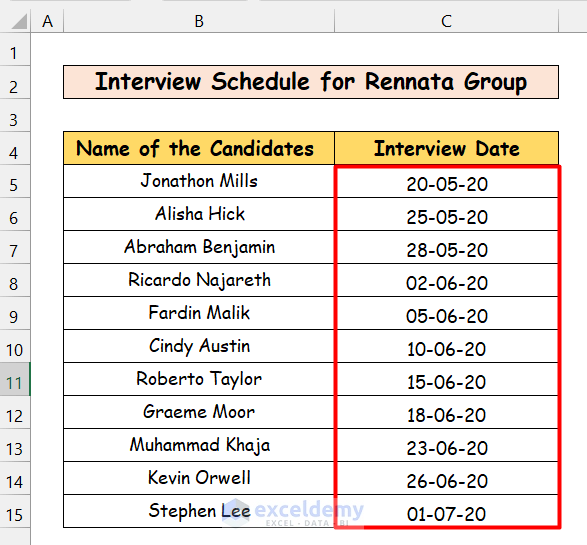
In the dataset below, we have a list of the Names of Candidates for an upcoming interview in Rennata Group. We have to insert dates for their interviews in the Interview Date column.

Steps:
- Select the cell and write a date, as DD/MM/YYYY.
- Click Enter.
- We selected cell C5 and wrote 20/05/2020.

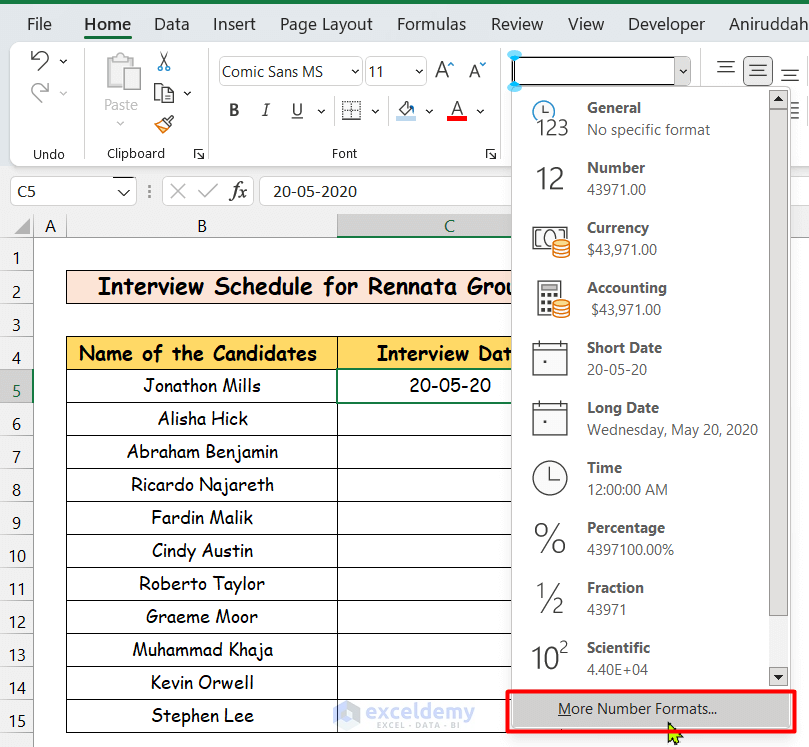
- You can change the format of the date as you wish. Select the cell and go to the Date option in the Number group of the Excel Toolbar.
- Click on the drop-down menu attached to it. Select the last option, More Number Formats.
- You will get a dialogue box called Format Cells. Find the Date option marked in the Category box. From the Type box, choose the format you want.

Read More: How to Insert Date in Excel Formula
Method 2 – Utilizing the DATE Function to Insert a Date in Excel Automatically
Excel provides us with a function called the DATE function. It takes three arguments, Year, Month, and Day. Then provides the date as output. For example, DATE(2020,12,23) = 23-12-20.
Steps:
- Select the cell and insert the formula =DATE (Year, Month, Day) then hit Enter.
- We selected C5 and entered the following formula.
=DATE(2020,05,20)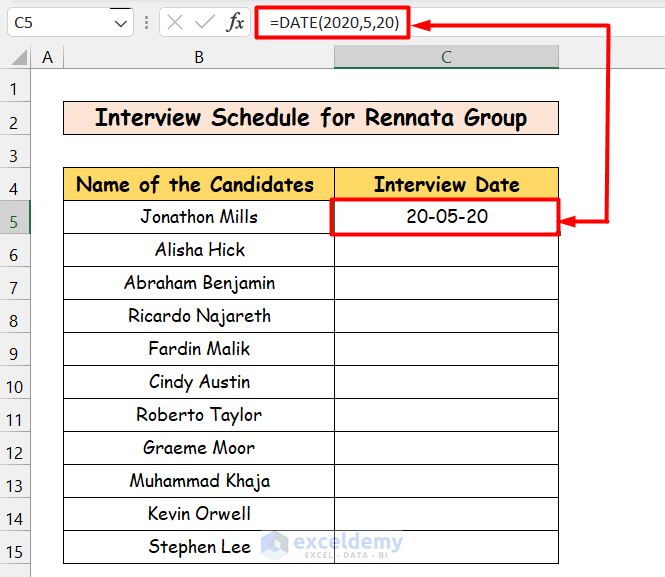
Method 3 – Applying Excel Functions to Insert a Date in Excel Automatically
3.1 Using the TODAY Function
Steps:
- Select cell C5 and enter the following formula:
<span style="font-size: 14pt;">=TODAY()</span>- Click Enter. You will see the following result.

- As “today” is October 12, 2022, the cell is filled with the date 12-10-22. You can change the format of the date using the method mentioned earlier.
Note 1: Use your keyboard shortcut to apply the TODAY function. Select the cell and press Ctrl + ;
Note 2: The TODAY function does not update automatically. When a day increases and the date is June 23, the cell will contain June 22, not June 23. It will contain the date of when it was inserted until it is changed.
3.2 Using the NOW Function
Steps:
- Select the cell and add the following formula:
=NOW()- Click the Enter key, and you will have the following result.
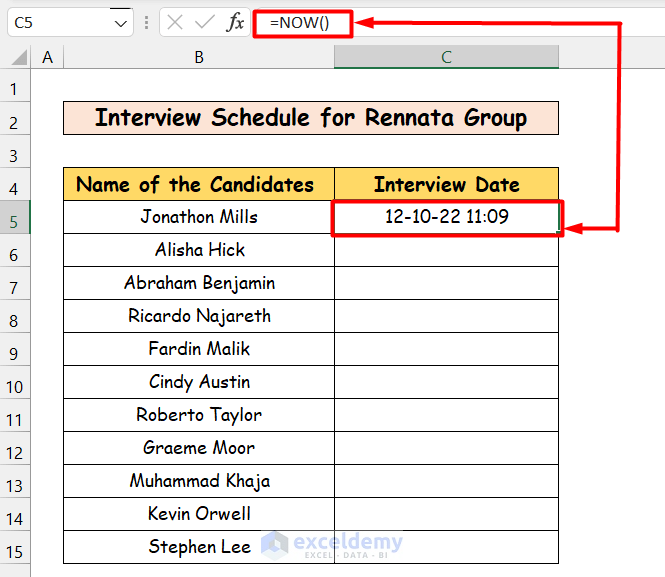
- By default, the output of the NOW function is in Custom format. But if you want to change the format of the cell, follow the steps provided earlier.
Note 1: Use your keyboard shortcut to insert the NOW function. Press Ctrl + ;. Press Space. Then press Ctrl + Shift + ;.
Note 2: Like the TODAY function, the NOW function does not update automatically.
Read More: How to Insert Current Date in Excel
Method 4 – Insert Multiple Dates Automatically in Excel
The first date of the interview has been inserted manually.
4.1 Autofill Dates by Dragging the Fill Handle
Steps:
- Move your mouse over the bottom-right corner of the first cell and you will get a small plus (+) sign. This is called the Fill Handle.

- Drag it down the column, up to the cell you want to fill. You will find all the cells filled with increasing dates one by one.
- If you want to fill the cells in another way rather than increasing them one by one, click on the small square box in the bottom-right corner of the last cell.

- You will get several options.

- By default, Excel uses the Fill Series option. It fills the cells one by one with increasing dates.
- If you want to fill the cells with weekdays only, click on Fill Weekdays. The cells will be filled with upcoming weekdays (taking Saturday and Sunday as weekends, by default).

- If you want to insert dates by changing the months only, click on Fill Months. It will change the months one by one, keeping the day fixed.

- You can fill the cells by changing the years only, keeping the day and the month fixed. Click on Fill Years.

- You can insert dates in the cells automatically by maintaining any criteria, by dragging the Fill Handle.
4.2 Autofill Dates with the Fill Option from the Toolbar
Steps:
- Enter the first date.
- Select the cells where you want to insert dates automatically. We have entered the date 20-05-20 in C5, and then selected cells C6 to C15.

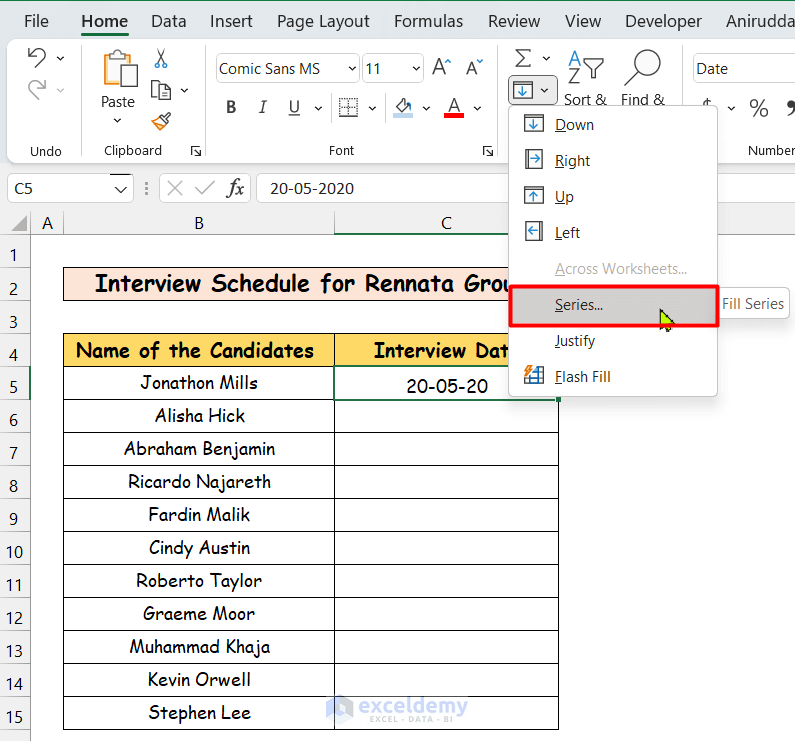
- Go to the Home>Fill option in the Excel Toolbar under the Editing section.
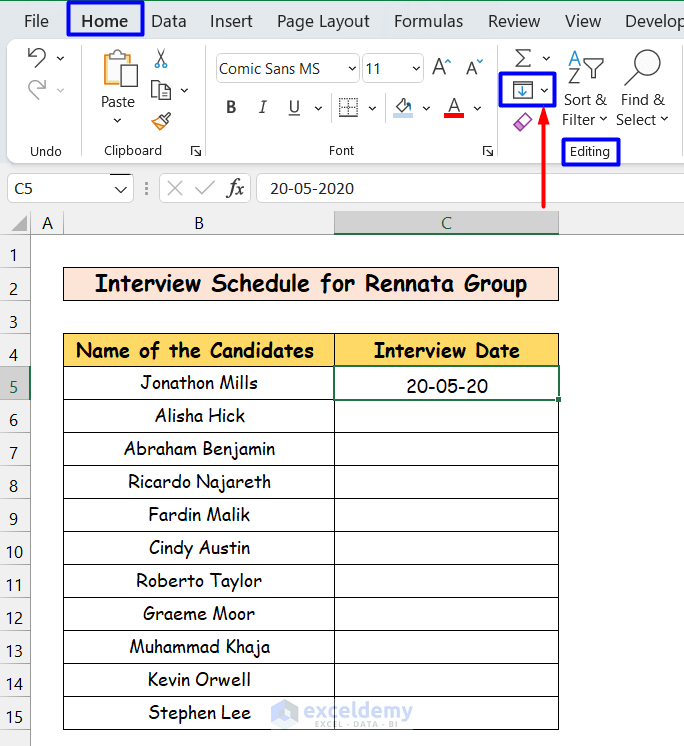
- Click on the drop-down menu. Click on Series.
- You will get a dialog box named Series.
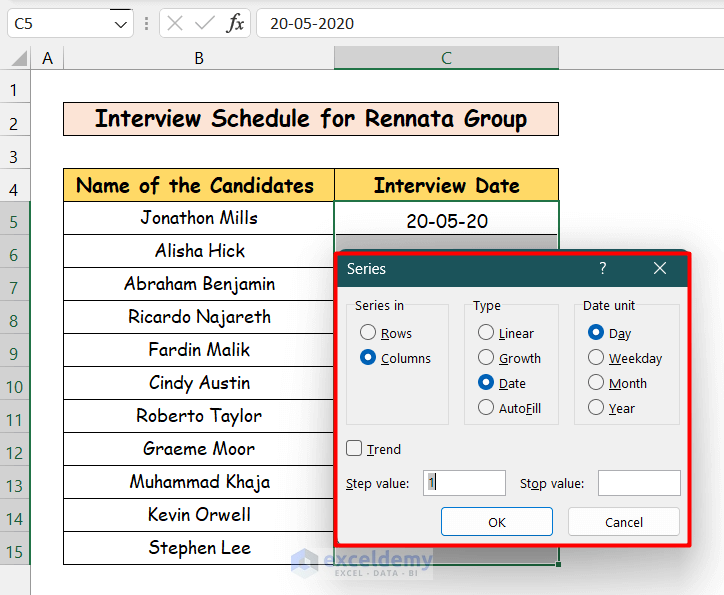
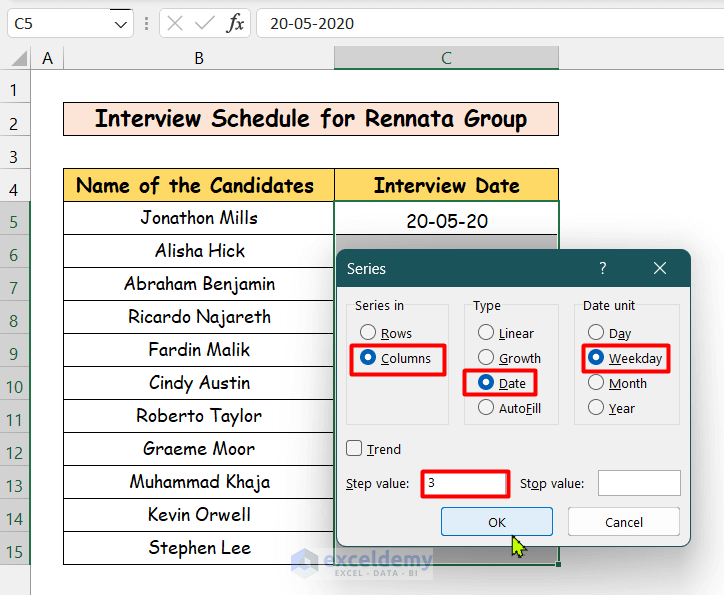
- In the Series in section, the Columns option is selected. In the Type section, the Date option is selected. Keep these unchanged.
- In the Date unit section, select the one that you want to increase.
- Select Day if you want to fill the cells with upcoming days.
- Select Weekday if you want to fill the cells with upcoming weekdays.
- Select Month if you want to fill the cells with increasing months keeping the day fixed.
- Select Year if you want to fill the cells with increasing years keeping the day and month fixed.
- All these options are available in the Fill Handle, except for one. In the Fill Handle, the Step value is set by default 1.
- If you want to set the step value to anything other than 1 in the Fill Handle, you have to manually fill two or more cells with that step value.
- Drag the Fill Handle. Here you can set the Step value by setting it into the Step value option.
- Set it and click OK. Here I selected Weekday from the Date unit and kept the Step value as 3.
- The selected column is filled with increasing weekdays with a step value 3.
Read More: Automatically Enter Date When Data Entered in Excel
Download the Practice Workbook
Related Articles
- How to Auto Populate Date in Excel When Cell Is Updated
- How to Perform Automatic Date Change in Excel Using Formula
- How to Insert Day and Date in Excel
- How to Get the Current Date in VBA
<< Go Back to Insert Date | Date-Time in Excel | Learn Excel
Get FREE Advanced Excel Exercises with Solutions!
