Method 1 – Use Keyboard Shortcuts to Group Excel Columns Next to Each Other
STEPS:
- Insert a new column between Group – 1 & Group – 2.
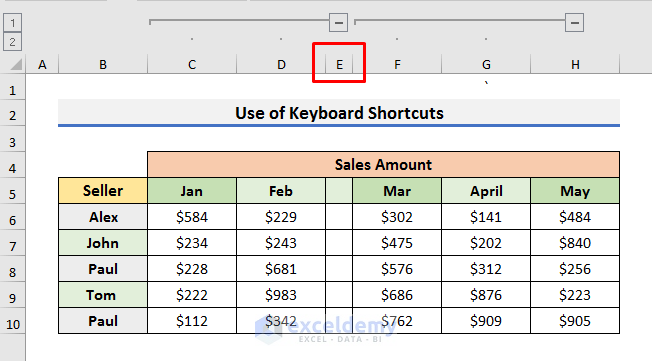
- Select the first column of Group – 2.
- In our case, Columns C & D from Group – 1 and Columns E & F from Group – 2.
- We have selected Column E.
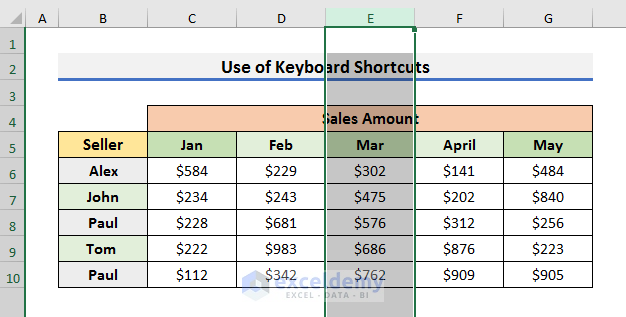
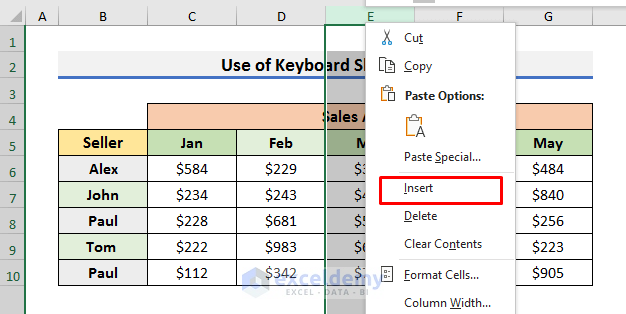
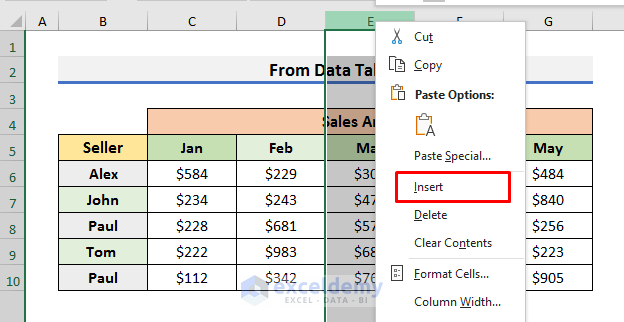
- Right-click on Column E.
- It will open the Context Menu.
- Select Insert.
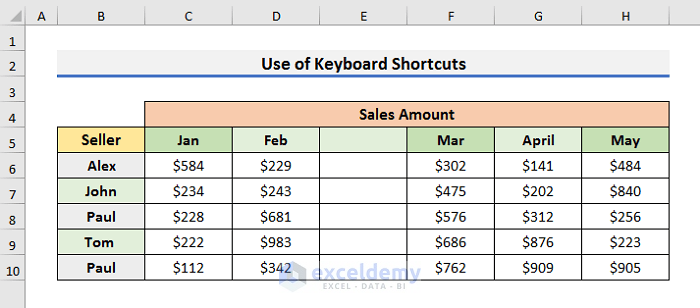
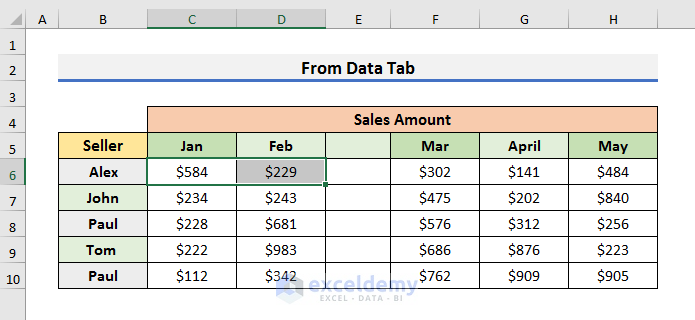
- The dataset will look like the image below.
- Select the first column of Group – 1.
- In our case, that is Column C (in the updated dataset after inserting a new column).
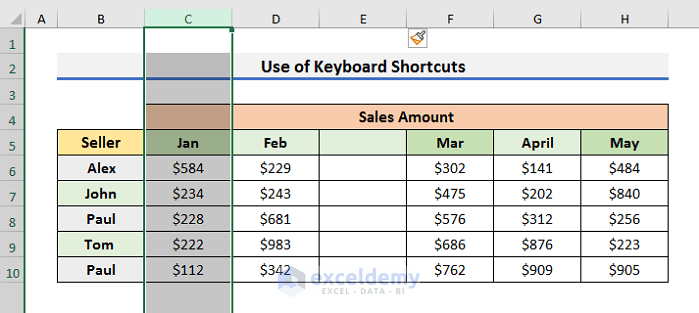
- Press Alt + Shift + Right Arrow.
- A negative (–) sign will appear.
- Select Column D.
- Press Alt + Shift + Right Arrow.
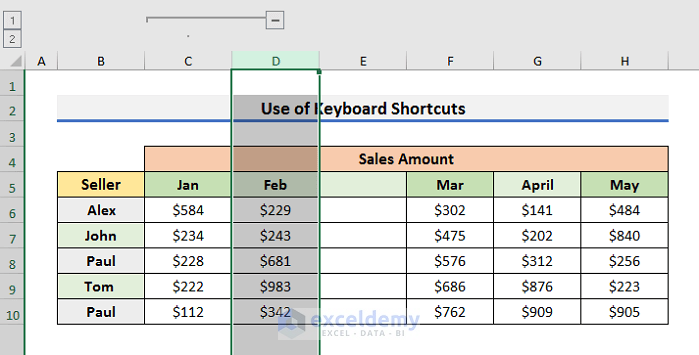
- It will group Columns C & D.

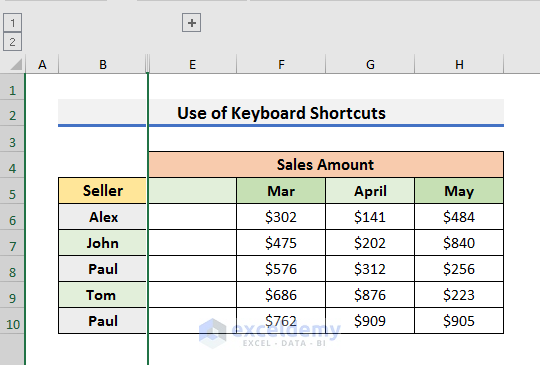
- You can press the negative (–) sign to hide the grouped columns.
- Pressing the negative (–) sign, a plus (+) sign will appear.
- You can unhide the grouped columns using the plus (+) sign.
- Select Column F.
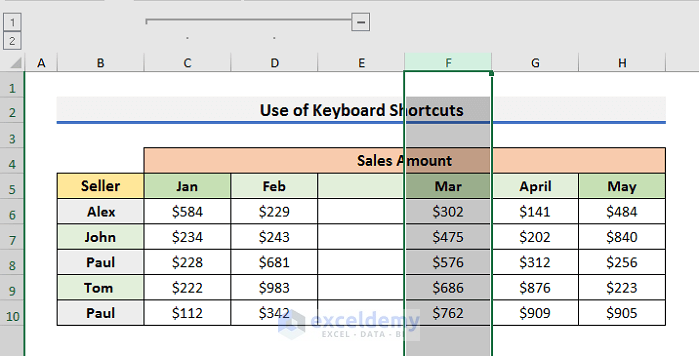
- Press Alt + Shift + Right Arrow.
- Select Column G.
- Press the Alt + Shift + Right Arrow.

- The columns are grouped as shown below.
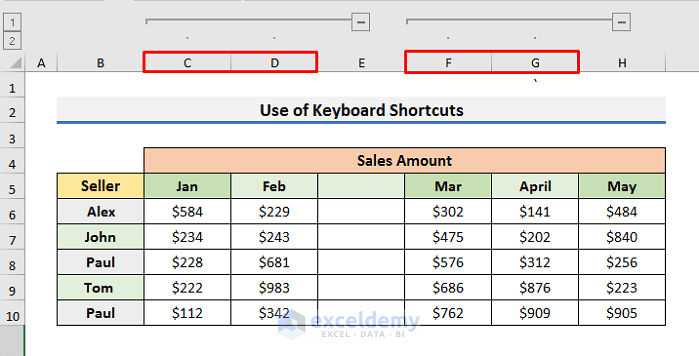
- Decrease the column width to show the groups next to each other.
Read More: How to Group Rows in Excel with Expand or Collapse
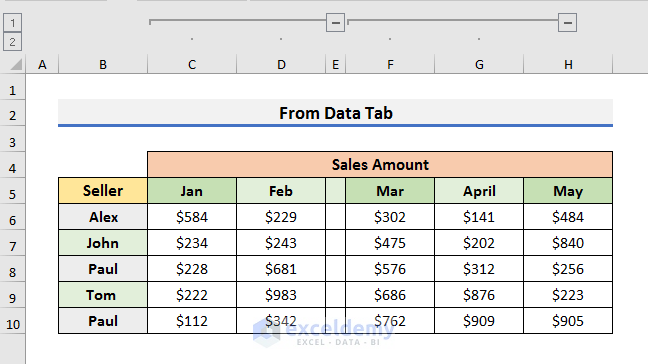
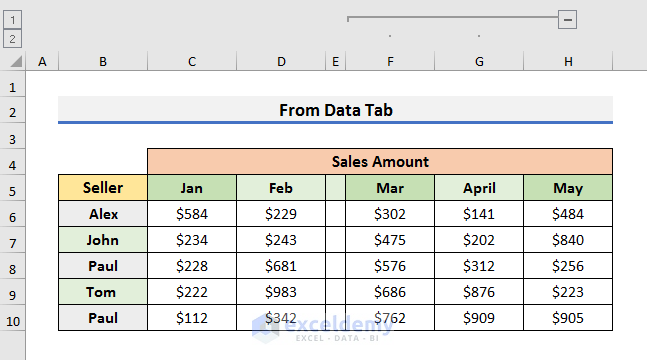
Method 2 – Group Columns Next to Each Other from Data Tab in Excel
STEPS:
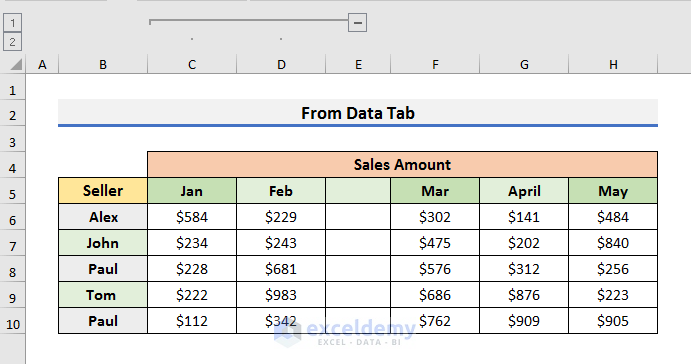
- Select Column E and right–click.
- It will open the Context Menu.
- Select Insert.
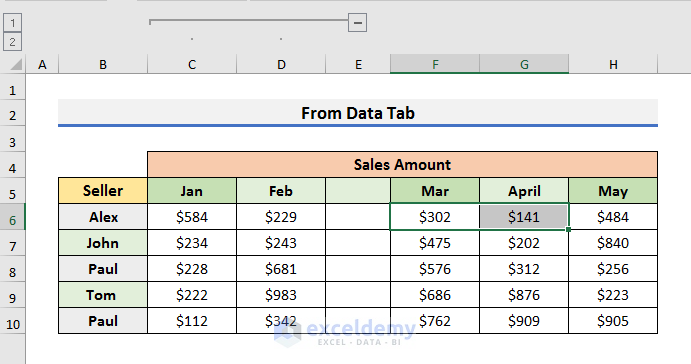
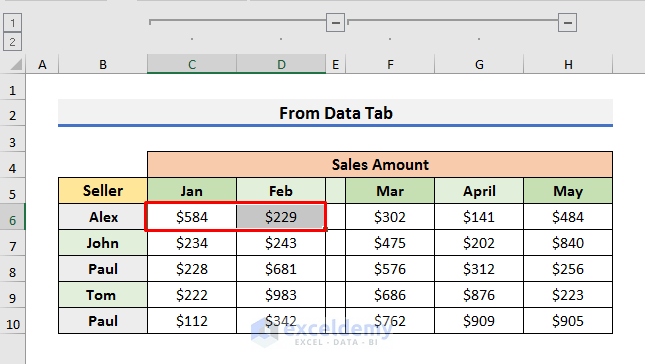
- Select Cell C6 & D6.
- We have selected these two cells because we want to group Columns C & D.
- You can select any two adjacent cells from the columns.
- For example, if you want to group Columns M, N and O, you can select Cells M1, N1 and O1 together.
- Go to the Data tab and select the Group icon.
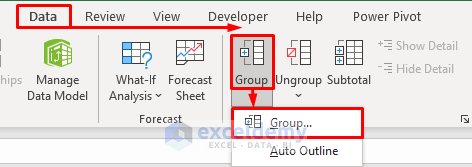
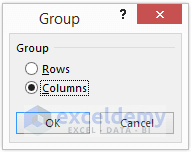
- A message will pop up.
- Select Columns and click on OK.
- Columns C & D will be grouped.
- Select Cell F6 & G6 to group Columns F & G.
- Go to the Data tab and select Grouped.
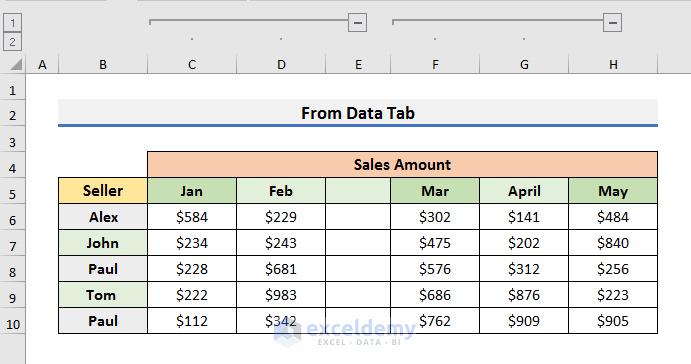
- Decrease the column width of Column E.
How to Ungroup Columns Next to Each Other in Excel
STEPS:
- Select adjacent cells of the grouped columns.
- We have selected Cell C6 and D6.
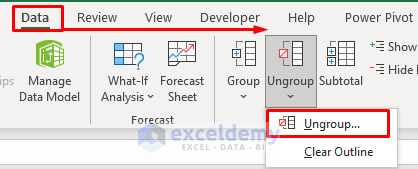
- Click on the Data tab in the ribbon.
- Select the Ungroup icon.
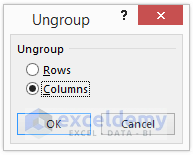
- A message box will open.
- Select Columns and click OK.
- To ungroup rows, you need to select Rows.
- Columns C & D will be ungrouped.
- You can repeat the same steps to ungroup Columns F & G.
Read More: How to Group and Ungroup Columns or Rows in Excel
Things to Remember
- In Microsoft Excel, you can’t create two separate groups right next to each other. It is a limitation of Excel.
- You need to press the Alt + Shift + Right Arrow every time you want to add a column to the existing group.
- In Method-2, don’t use the Ctrl key to select multiple columns at a time. Instead, use the mouse to select adjacent cells of the desired columns.
Download Practice Book
Related Articles
- How to Group Rows in Excel by Name
- Group Rows with Plus Sign on Top in Excel
- How to Group Rows with Same Value in Excel
- How to Group Rows in Excel
- How to Group Rows by Cell Value in Excel
<< Go Back to Group Cells in Excel | Outline in Excel | Learn Excel
Get FREE Advanced Excel Exercises with Solutions!
