Example 1 – Remove Grouping from a Group of Rows
The following dataset showcases manual grouping.
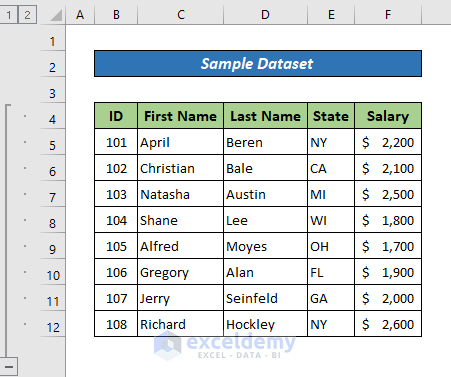
1.1 All Grouped Rows
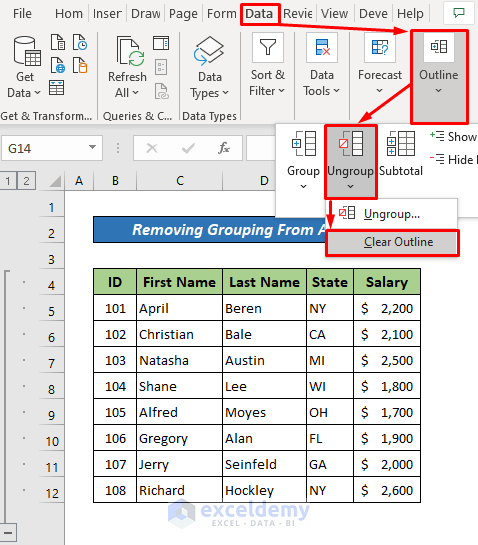
Steps:
- Go to the Data tab >> Outline >> Ungroup >> Clear Outline.
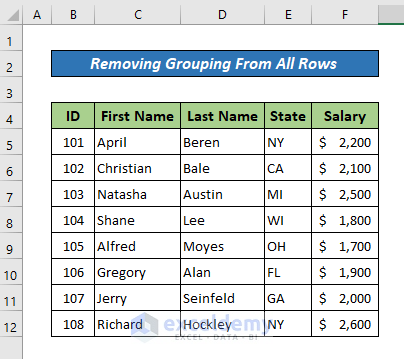
This is the output.
Notes:
- There is no data loss when you remove the outline in Excel.
- Collapsed hidden rows may be left after you remove the outline.
- After you remove the outline, you cannot restore it with Undo or Ctrl + Z. You will have to redraw the outline.
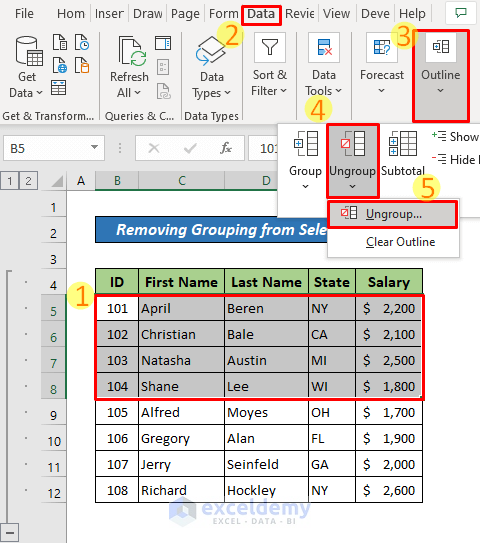
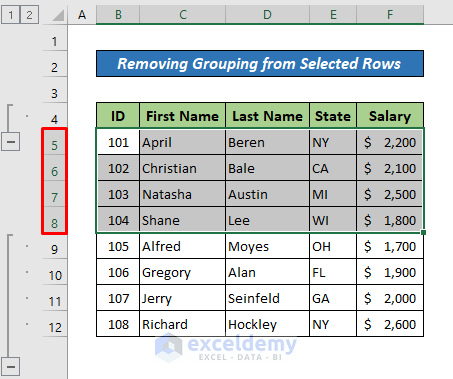
1.2 Selected Rows
Steps:
- Select rows (5 to 8) to remove grouping.
- Go to the Data tab >> Outline >> Ungroup >> Click Ungroup.
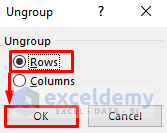
- In the Ungroup dialog box, select Rows.
- Click OK.
This is the output.
Notes:
Rows that are not adjacent cannot be ungrouped at the same time. The above steps must be repeated for each group.
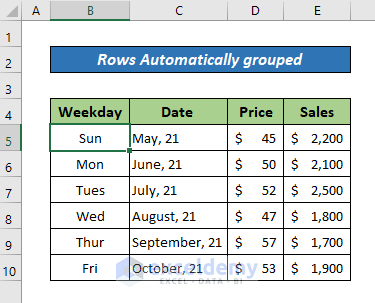
1.3 Rows Automatically Grouped by the SUBTOTAL Function
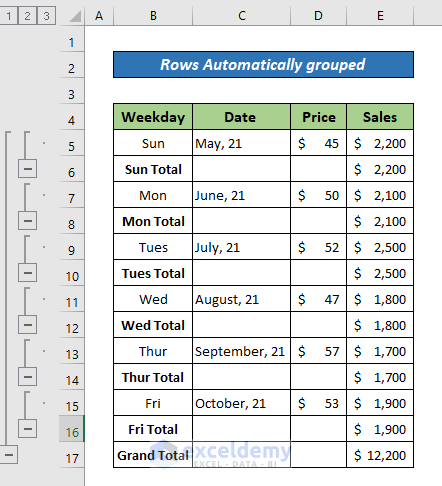
To remove this kind of grouping:
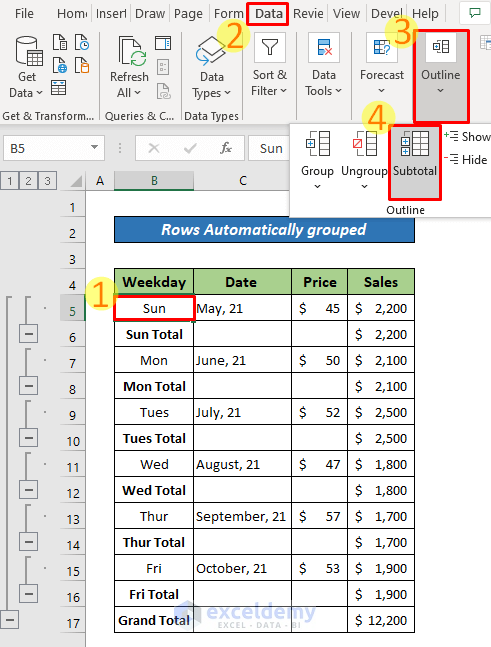
Steps:
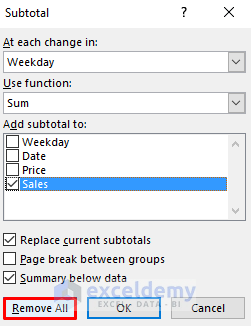
- Select any cell in the group. Go to the Data tab >> Outline >> Subtotal.
- In the Subtotal dialog box, click Remove All.
This is the output.
Read More: How to Create Multiple Groups in Excel
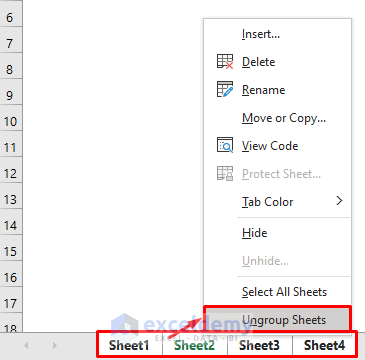
Example 2 – Remove Grouping from Worksheets
- Right-click the grouped sheet tabs.
- Choose “Ungroup Sheets”.
This is the output.
Download Practice Workbook
Download the practice workbook.
Related Articles
- How to Group and Ungroup Columns or Rows in Excel
- How to Group Cells with Same Value in Excel
- How to Group Duplicates in Excel
- How to Group Time Intervals in Excel
- How to Group Similar Items in Excel
- How to Use Grouping and Consolidation Tools in Excel
<< Go Back to Group Cells in Excel | Outline in Excel | Learn Excel
Get FREE Advanced Excel Exercises with Solutions!
