In our daily life, we deal with lots of graphs and charts. Sometimes we feel the necessity of changing the axis titles of the graphs and charts according to our needs. In this article, we will learn how to change axis titles in Excel with some easy steps. So, without any further delay, let’s get started.
In order to explain the step-by-step procedure, we will need an existing Excel chart with existing axis titles. We will then change the existing axis titles according to our needs in Excel. If you don’t have an existing chart, you have to create a chart and give the titles of the horizontal and vertical axis. After that, you can follow the following steps to change axis titles in Excel.
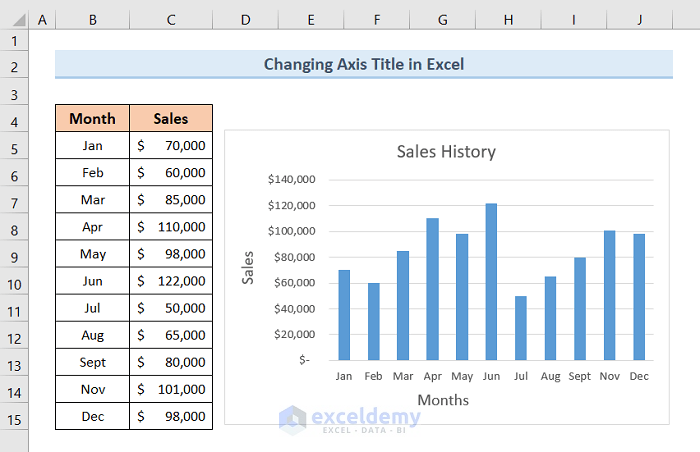
Step 1: Opening an Existing Excel File with a Chart
- First of all, open an existing Excel file with a chart. It has existing axis titles on the chart.
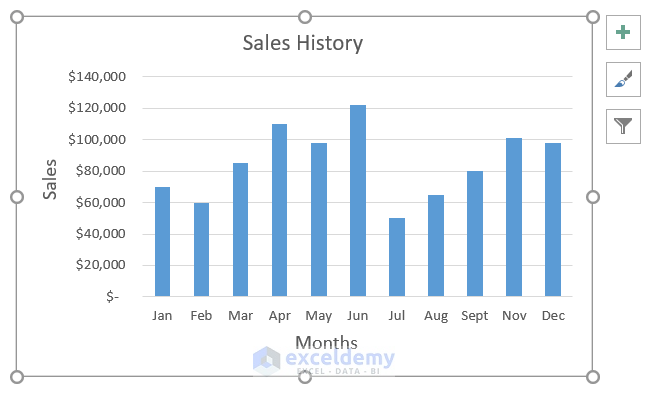
Step 2: Selecting Chart to Change Axis Titles
- Secondly, left-click on the chart you want to change the axis titles.
Read More: How to Add Axis Titles in Excel
Step 3: Changing Horizontal Axis Titles in Excel
- At first, left-click on the existing horizontal axis title to change it.
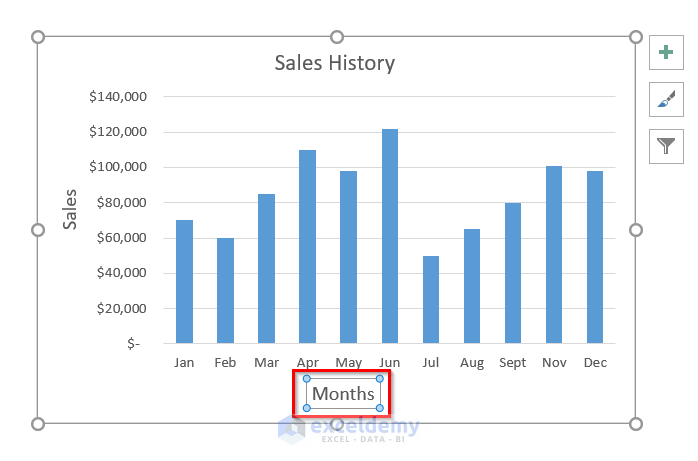
- Then, remove the existing title by using the Backspace key like the picture below.

- Next, type your desired horizontal axis title in the title box like below.
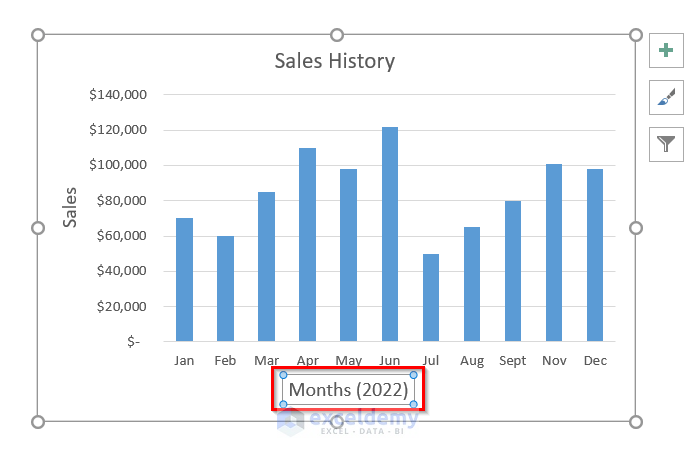
- After that, when you have finished typing your desired horizontal axis title, click on any empty cell of the worksheet.
- As a result, you will see your desired horizontal axis title like the below image.

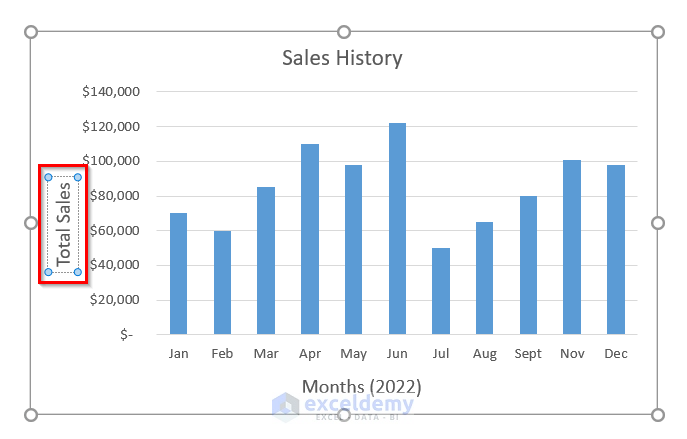
Step 4: Changing Vertical Axis Titles in Excel
- At first, left-click on the existing vertical axis title to change it.

- Secondly, remove the existing title by using the Backspace key like the below image.

- Next, type your desired vertical axis title in the title box like below.
- After that, when you have finished typing your desired vertical axis title, click on any empty cell of the worksheet.
- As a result, you will see your desired vertical axis title like the below image.

Final Output
- Finally, you will see an output like the below diagram of your desired horizontal and vertical axis titles.

Things to Remember
- You need to have an existing chart with existing axis titles in order to follow this method.
- You can also change the format of your titles after changing them in Excel.
Download Practice Workbook
You can download the Excel workbook from here.
Conclusion
Hence, follow the above-described steps. Thus, you can easily learn how to change axis titles in Excel. Hope this will be helpful. Don’t forget to drop your comments, suggestions, or queries in the comment section below.
Related Articles
- How to Change Axis Labels in Excel
- Add X and Y Axis Labels in Excel
- Excel Chart: Ignore Blank Axis Labels
<< Go Back To Label Axis in Excel | Excel Chart Elements | Excel Charts | Learn Excel
Get FREE Advanced Excel Exercises with Solutions!
