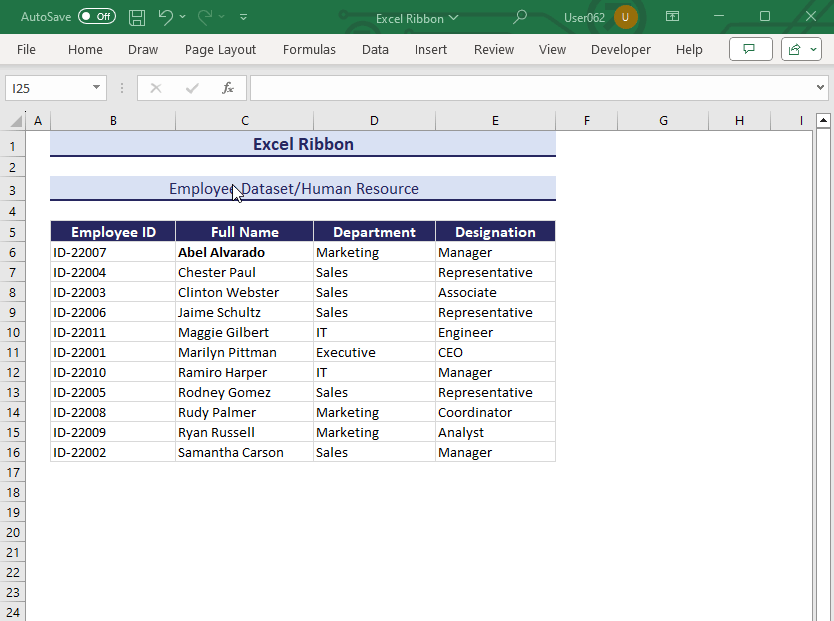
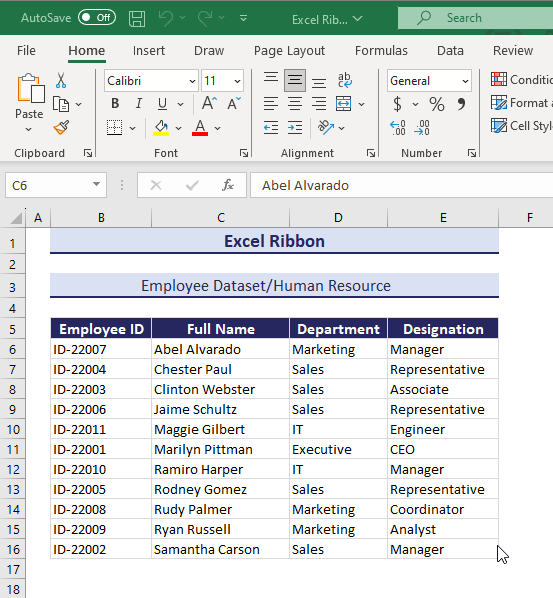
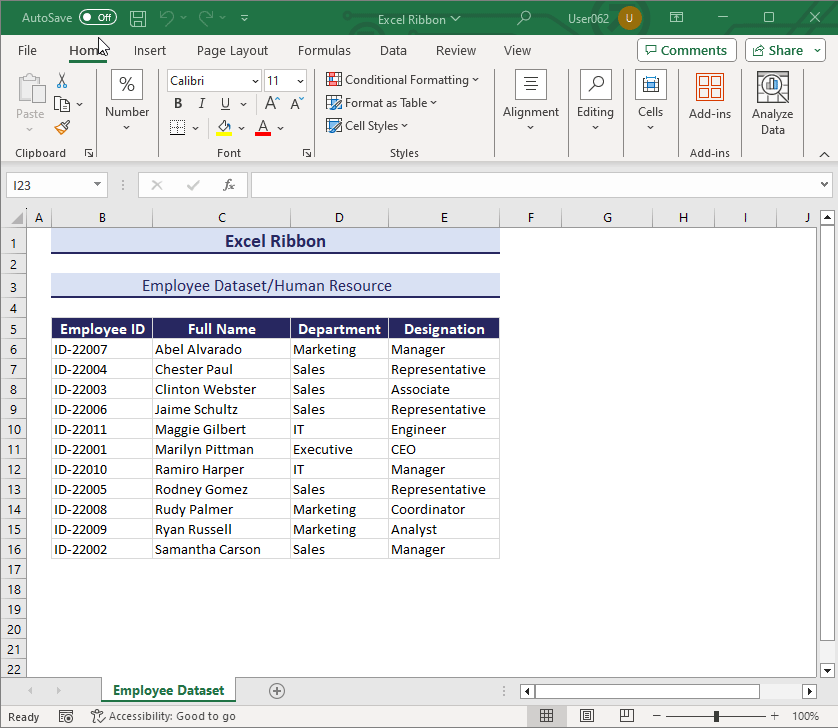
In the following image, you can see the Ribbon. The Home tab is selected: you can see the available features and commands.

Click on image for clearer view
What Is the Excel Ribbon?
The Excel Ribbon is a graphical toolbar having all the Excel commands divided into groups. The groups are also divided into different tabs to make the Excel interface user-friendly. The tabs are named based on tasks or activities: “Home,” “Insert,” “Page Layout,” “Formulas,” “Data,” “Review,” etc.
How to Show the Ribbon Commands in Excel?
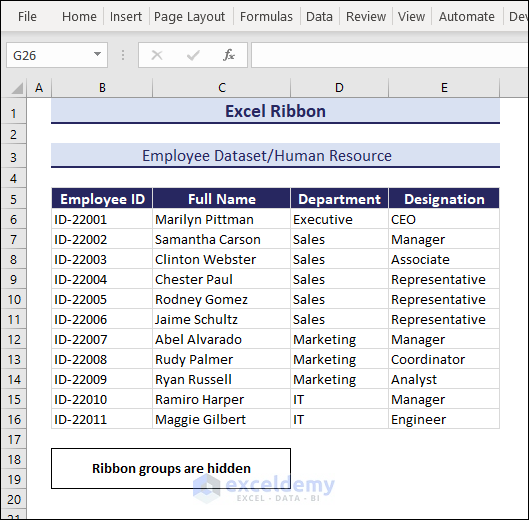
1. Double Click Any Tab
To show the Ribbon groups:
Step 1:
- Place your cursor on any of the tabs.
Step 2:
- Double-click to view the group of commands under each tab.

- You can hide them again by double-clicking.
Note: If you want to keep the Excel ribbon hidden, click a tab. The ribbon will be displayed. Use the command(s) and click any tab again or the spreadsheet area. The ribbon will be hidden.
2. Using a Keyboard Shortcut
- Press Ctrl + F1 (Ctrl + fn + F1 for laptop users) to show the groups on the Ribbon.
If you use a MAC, press Cmd + R.
3. Unchecking the ‘Collapse the Ribbon’ Command
Step 1:
- Right-click a tab.
Step 2:
- Uncheck Collapse the Ribbon, as shown below.
Observe the GIF:
4. Using the ‘Always show Ribbon’ Command in the Ribbon Display Options
Step 1:
- Click a tab to display the groups.
Step 2:
- Go to the drop-down at the right side of the Ribbon.
Step 3:
- Select Always show Ribbon.
This command reduces the visible worksheet area. You may select Show tabs only and see the commands by selecting the corresponding tab.
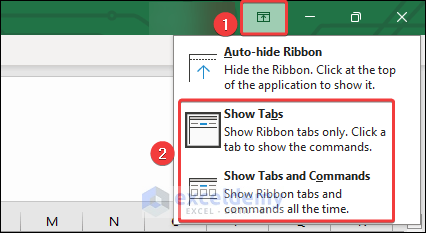
5. Pin the Ribbon (Always Show Feature)
In your Excel sheet only the tabs are visible. Whenever you select a tab, the groups become visible, but clicking somewhere else causes the groups to hide.
- Select the tab.
- Select the Pin icon at the right side of the Ribbon.
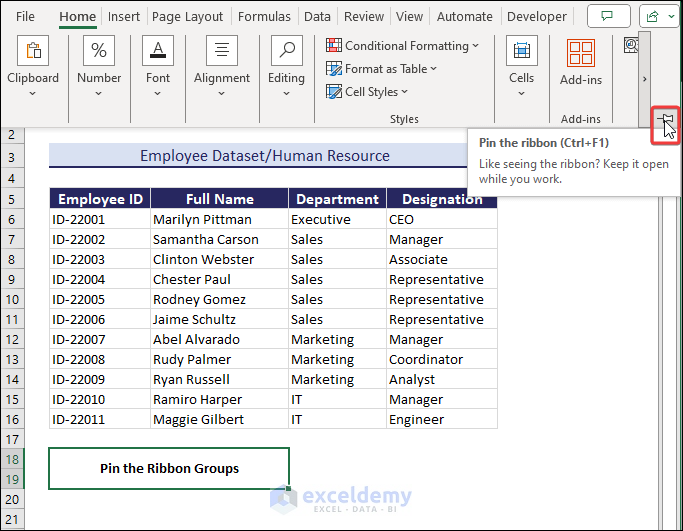
The Ribbon will always be displayed.
Note: If you are using an older version of Excel, you will find a pushpin icon at the top right corner of the workbook: Ribbon Display Options beside the Minimize icon.
Select Show Tabs or Show Tabs and Commands. Choosing Show Tabs and Commands will display the groups.
How to Hide the Ribbon Commands?
- If you press Ctrl + F1, the ribbon commands will be hidden.
What Are the Elements of the Excel Ribbon?
1. Tabs
The ribbon has 9 tabs by default: Home, Insert, Draw, Page Layout, Data, Formulas, View, and Review. Each tab consists of multiple groups. Each group contains related commands.
For example, if you click the Home tab, you can see several groups of commands, such as Font, Number, Alignment, etc.
You can add a new tab or create your custom tab on the ribbon.

Click on image for a clearer view
2. Groups
In each tab, you will find several groups of related commands. These groups are like smaller sections within the tab. Each group is separated by a vertical gray line. For example, in the Home tab, you will find Clipboard, Font, Number, Alignment, Styles, Cells, Editing, etc. .

Click on image for a clearer view
3. Commands
In each group, you will find a set of related commands. Each command is assigned to perform a specific task.
For example, if you click Bold (B), it will bold the content.
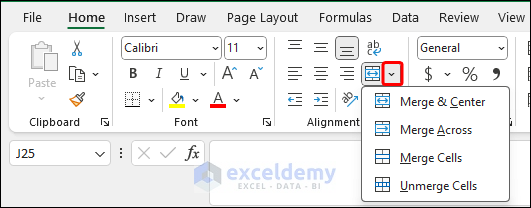
4. Drop-Down Menus for a List of Commands
You will see drop-down lists of commands on the ribbon.
For example, if you click Merge and Center, you will see more commands in the list: Merge & Center, Merge Across, Merge Cells, and Unmerge Cells.
When you minimize the Excel window, all the commands are arranged in visible drop-down menus.
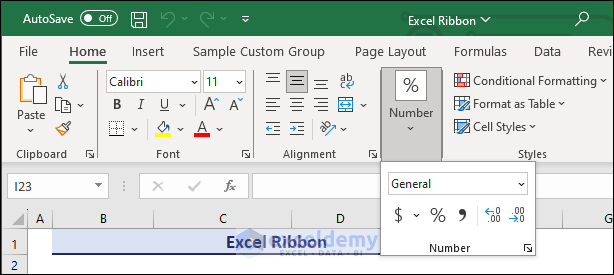
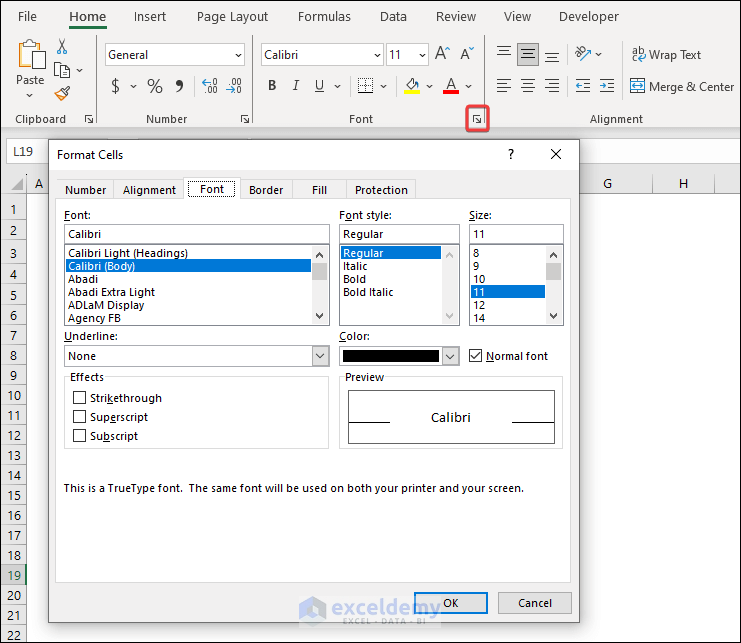
5. Dialog Launcher
A group may have more commands than it can fit on the ribbon. In such cases, you will see a small arrow at the corner of the group.
Click this arrow to open a dialog box with all the commands related to that group.
What Are the Tabs on the Excel Ribbon?
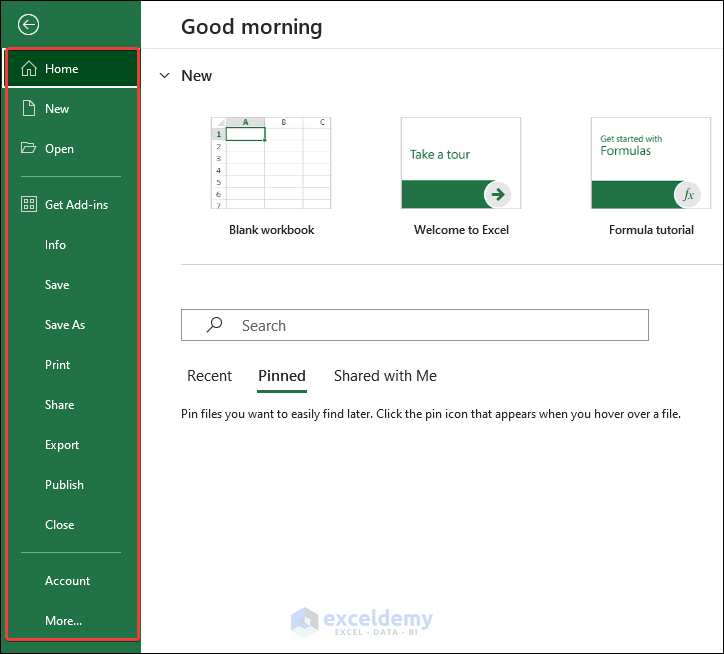
1. File Tab
It’s the first tab on the Excel ribbon. You will find all the workbook and worksheet-related commands in this tab.
2. Home Tab
The Home tab has formatting, editing, and working tools. You can change fonts, adjust alignment, add or remove rows/columns, apply different styles, and do basic calculations.

Click on image for a clearer view
3. Insert Tab
The Insert tab lets you add different things to your spreadsheet, like tables, charts, pictures, sparklines, 3D maps and shapes. You can also insert links, comments, text, and special symbols.

Click on image for a clearer view
4. Draw Tab
The Draw tab helps you create or modify drawings, shapes, and diagrams. You can draw, resize, format shapes, and arrange them.
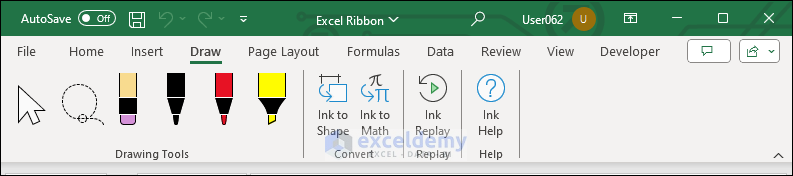
Note: The Draw tab is not always available on the Ribbon by default. You can display it by customizing the ribbon.
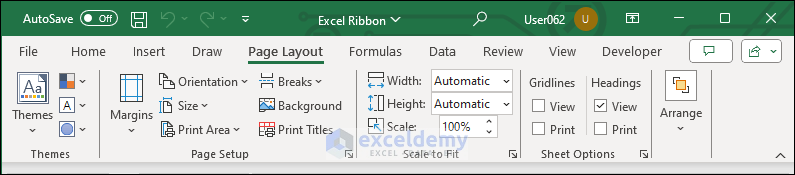
5. Page Layout Tab
In the Page Layout tab, you can adjust your spreadsheet and view it. You can change the page orientation, set margins, apply themes, add headers and footers, view gridlines, and control printing options.
Click on image for a clearer view
6. Formulas Tab
The Formulas tab is where you find functions and tools to perform calculations and analyze data. It has pre-built functions, Name Manager, Formula Auditing group, etc. You can also create your own formulas and check for formula errors.

Click on image for a clearer view
7. Data Tab
The Data tab helps you manage and analyze data. You can import and export data, sort and filter it, remove duplicates, set rules for data validation, add data type, etc. You also view and manage the queries and connections in the workbook.

Click on image for a clearer view
8. View Tab
The View tab allows you to change how your Excel window looks.
You can switch between different views, zoom in and out, arrange windows, and hide or show gridlines, the formula bar, and headings.

Click on image for a clearer view
9. Review Tab
In the Review tab you can checking and proofread your spreadsheet. You can perform spell checks, add comments, protect your workbook, and track changes.

Click on image for a clearer view
10. Developer Tab
The Developer tab is not visible by default but can be enabled. It provides advanced features like creating and running macros, designing forms, and accessing the VBA editor.
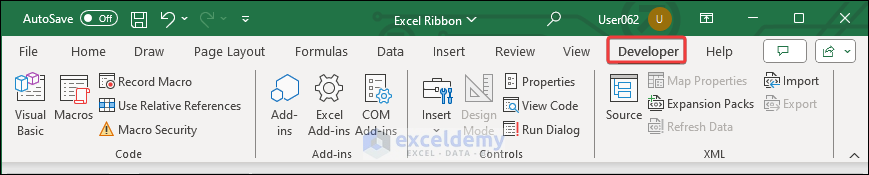
Click on image for a clearer view
11. Contextual Ribbon Tab
The contextual tab in Excel is displayed when you select charts, pictures, shapes, tables, pivot tables, etc. It shows specific commands related to the selected item, allowing you to perform actions and make adjustments.
There’s a table in the dataset below. If you select the table, a contextual tab named Table Design is displayed.
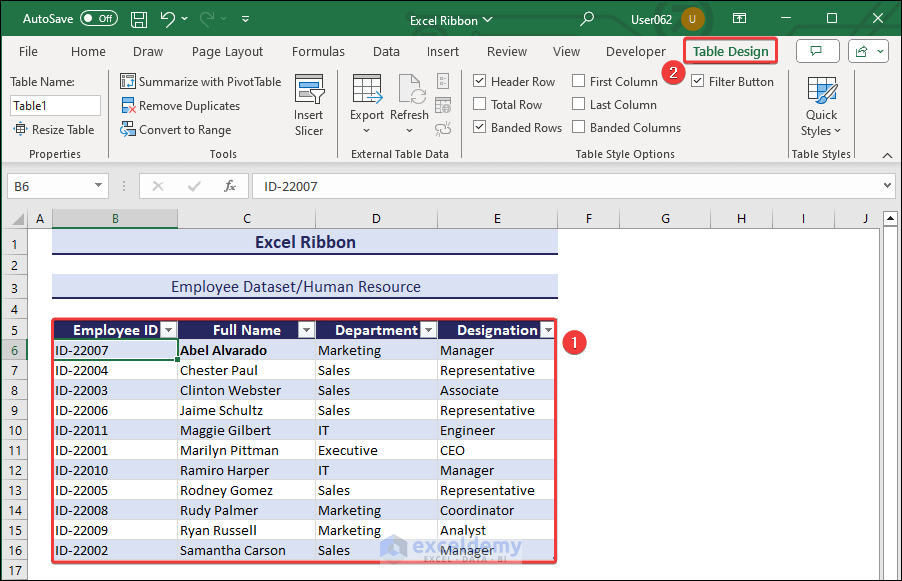
Click on image for a clearer view
12. Help Tab
The Help tab gives you access to information and resources to help you use the program. It has two groups: Help and Community.
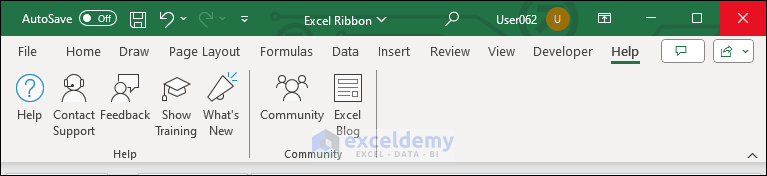
Click on image for a clearer view
How to Customize the Excel Ribbon?
i. Repositioning Tabs and Groups on the Excel Ribbon
To change the position of the Insert tab:
- Hover your cursor on the ribbon >> right-click >> select Customize the Ribbon…
- Select the Insert tab.
- Click and hold the down arrow button until the tab reaches the new position.
- Click OK.
![]()
Repositioning can also be done by dragging the tab. Observe the GIF:
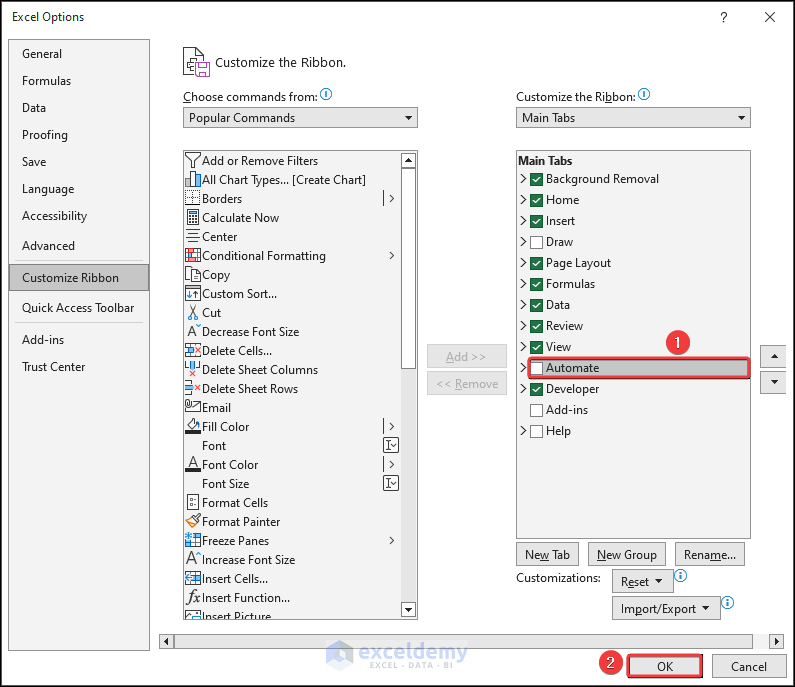
ii. Adding More Built-in Tabs to the Excel Ribbon (e.g. Adding the Developer Tab)
By default, the Developer tab is not available on the Excel Ribbon. To display it:
- Right-click the ribbon and click Customize the Ribbon…
- Check Developer in Customize Ribbon >> click OK.
iii. Creating Custom Tabs on the Ribbon
- Right-click the ribbon and click Customize the Ribbon…
- Select a tab. Your new custom tab will be displayed beside this tab. Here, the Insert tab.
- Click New Tab and a new tab and group will be created in the Insert tab.

How to Rename a Custom Tab or Group?
- Select the new tab, right-click it and choose Rename in the Context Menu.
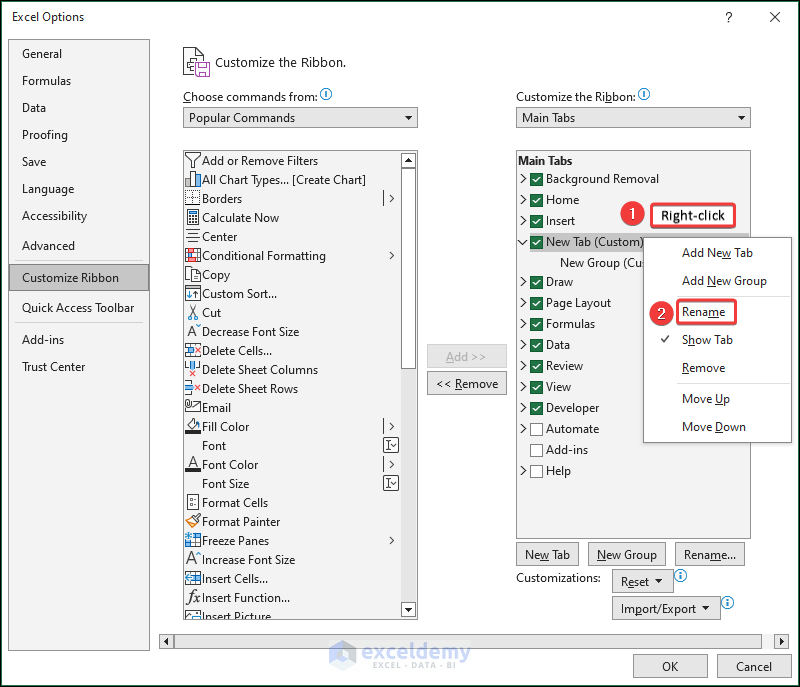
You can also use the Rename button.
- Enter a name in the Rename dialog box and click OK.
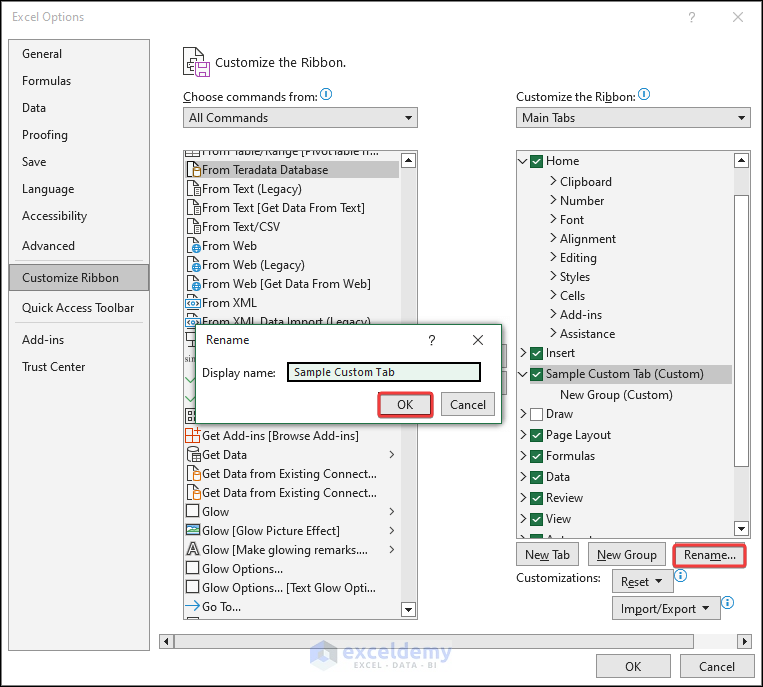
- You can rename the group in the tab.
How to Insert Commands in Custom Groups?
- Select the commands and drag them to the group.
- Click OK.
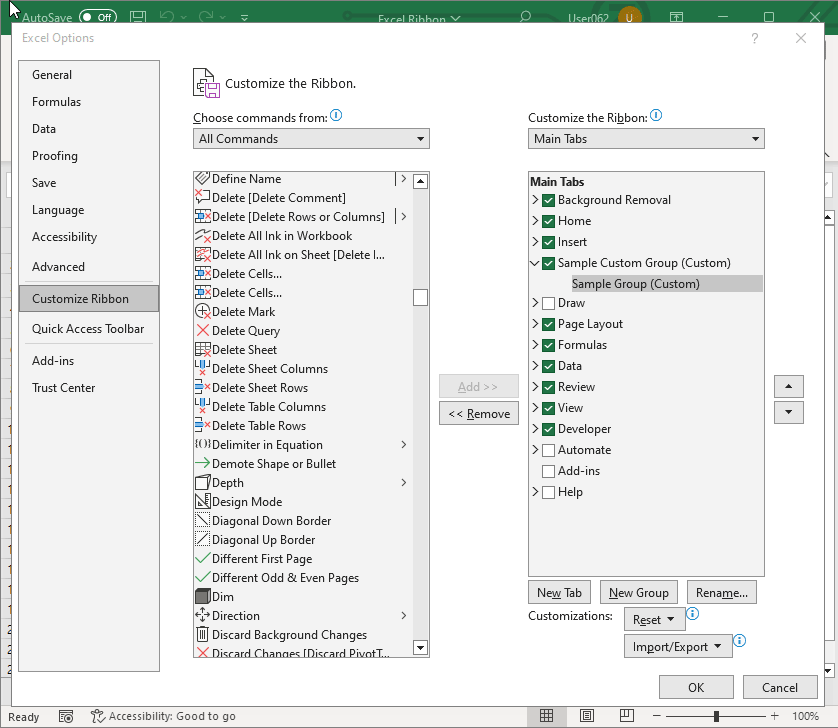
You can also click the Add button to insert commands.

iv. Removing Custom Tabs from the Ribbon
- Click the tab name and click << Remove.
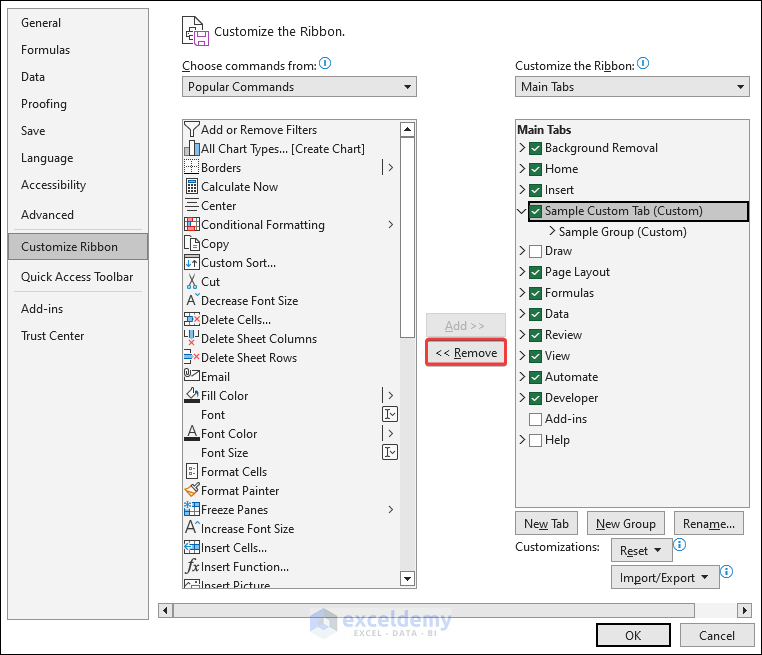
You can also remove groups.
You cannot remove a default tab like the Home or Insert tab. But you can hide them by unchecking the Tabs in Customize the Ribbon.
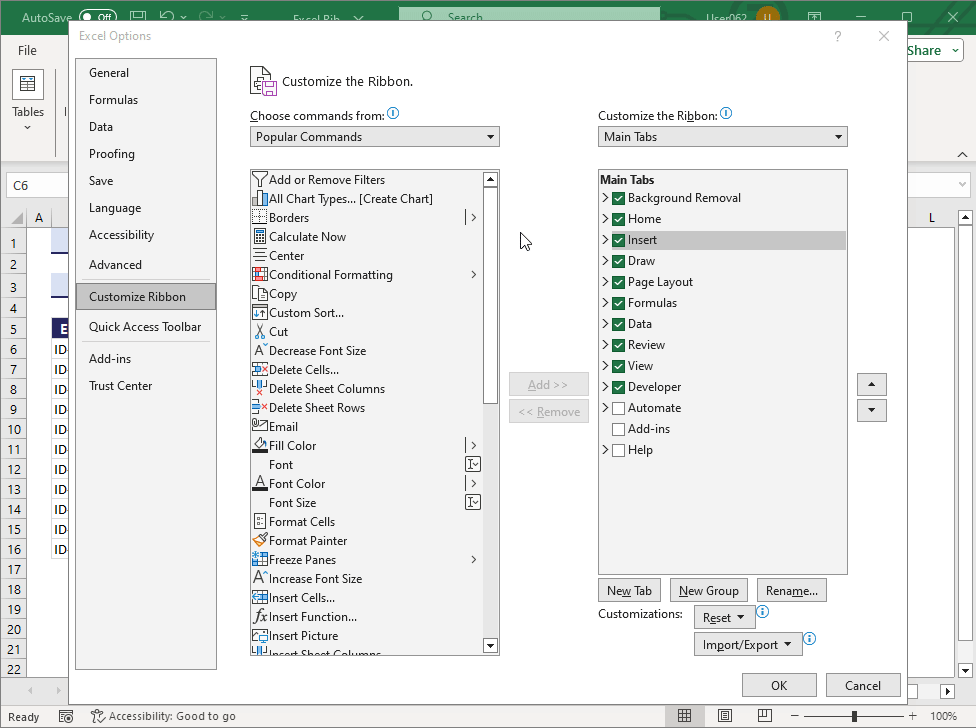
How to Reset Excel Ribbon
In the Excel Options:
- Select Reset beside the Customizations section.
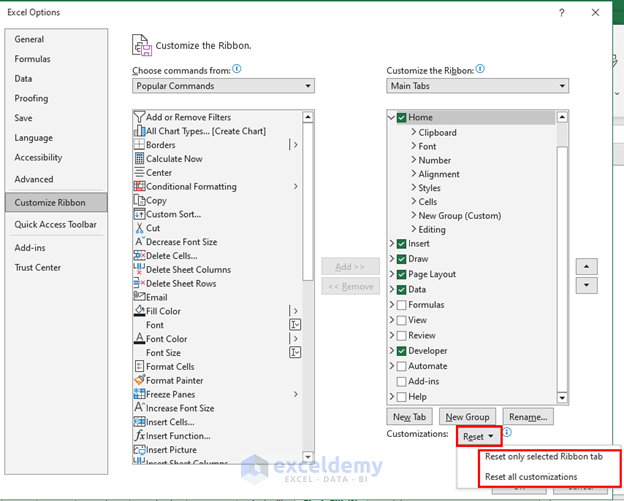
Click on the image for a clearer view
- Choose one of the two options and Excel will reset your ribbon.
How to Include Excel Add-ins on the Ribbon
- Open the Excel Options window by selecting File >> Options.
- Select Add-ins >> Go.
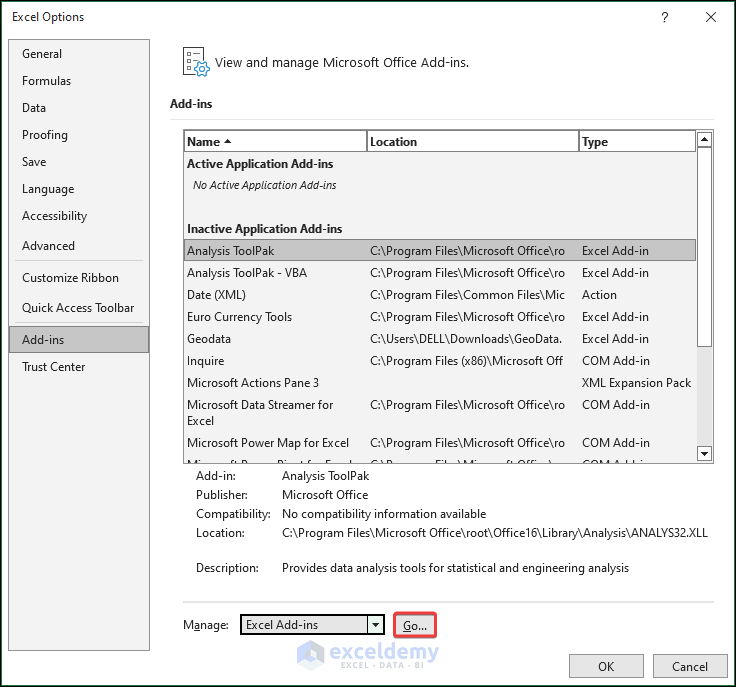
- Select an Add-in. If you don’t find an Add-in in the Add-ins list, download it from the Excel Add-ins Store.
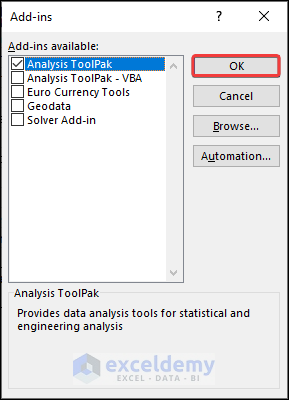
Here, the Analysis Toolpak Add-in was checked. By clicking OK, this Add-in is displayed on the Ribbon.

Excel Ribbon: Knowledge Hub
<< Go Back to Excel Parts | Learn Excel
Get FREE Advanced Excel Exercises with Solutions!
