While working in Excel, we often need to read and extract texts from a text file into array using VBA code. For a small text file, we can do this manually. But in most cases, the text file contains thousands of lines. In those cases, choosing the manual option is not a feasible decision. Using VBA code, we can read and extract a large text file into array almost instantly.
2 Suitable Methods to Read Text File into Array in VBA
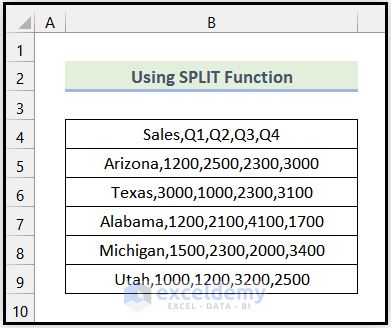
In this section of the article, we will discuss 2 suitable examples to read text file into array using VBA code in Excel. Here, we have a text file consisting of the contents demonstrated in the following picture. Our aim is to extract these texts as array into Excel using VBA codes.

Method 1: Using SPLIT Function to Read Text File into Array in VBA
In the first example, we will use the SPLIT function of Excel VBA to read text file into array. In the output, we will see that each line of the text file is extracted to cells of a single column. Now, let’s follow the steps mentioned below.
Steps:
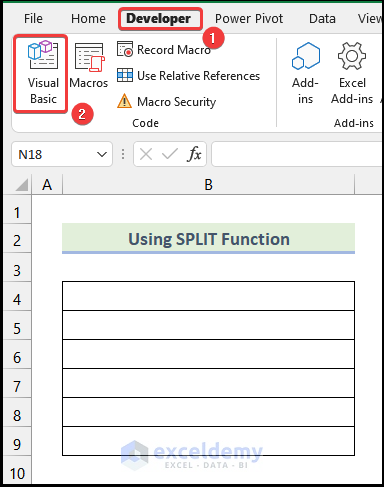
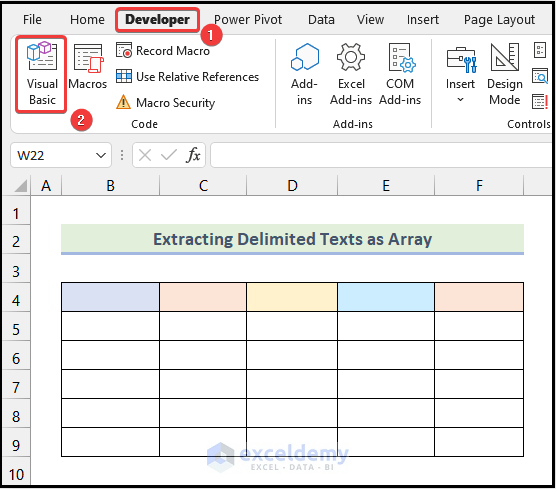
- Firstly, go to the Developer tab from Ribbon.
- Following that, click on the Visual Basic option.
As a result, Microsoft Visual Basic window will open like in the image below.
Note: You can also press the keyboard shortcut ALT+ F11 to directly open the Microsoft Visual Basic window from your worksheet.

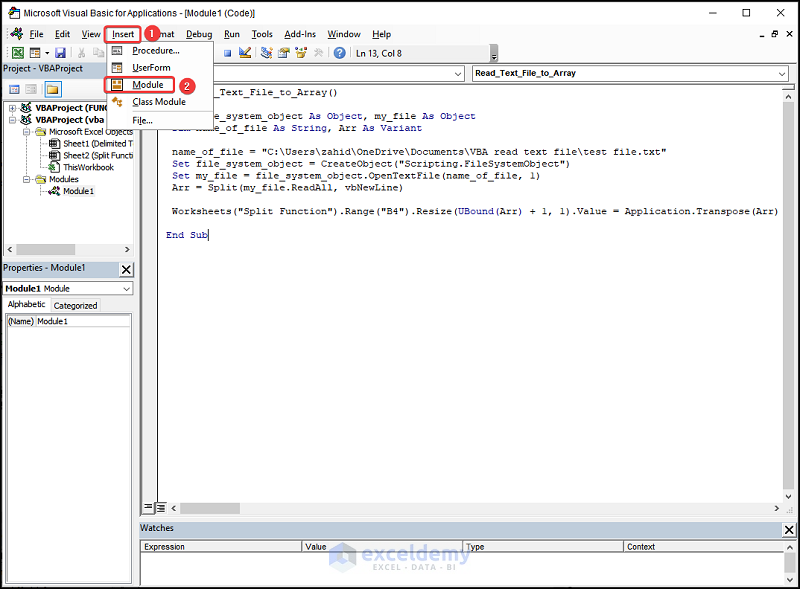
- Now, click on the Insert tab from the Microsoft Visual Basic window.
- Subsequently, choose the Module option from the drop-down.

Consequently, you will be able to see the following image on your screen.

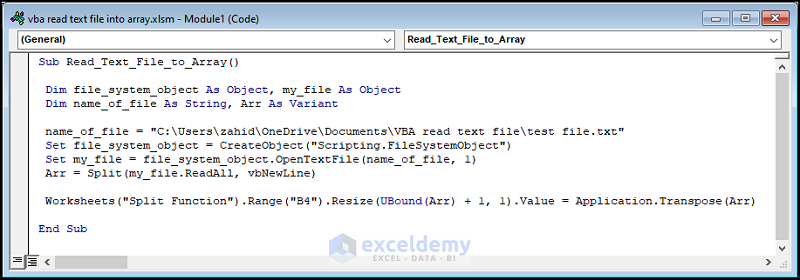
- After that, write the following code in the Module.
Sub Read_Text_File_to_Array()

Dim file_system_object As Object, my_file As Object
Dim name_of_file As String, Arr As Variant

name_of_file = "C:\Users\zahid\OneDrive\Documents\VBA read text file\test file.txt"
Set file_system_object = CreateObject("Scripting.FileSystemObject")
Set my_file = file_system_object.OpenTextFile(name_of_file, 1)
Arr = Split(my_file.ReadAll, vbNewLine)

Worksheets("Split Function").Range("B4").Resize(UBound(Arr) + 1, 1).Value = Application.Transpose(Arr)

End Sub
Code Breakdown
- Here, we have created a Sub Procedure named Read_Text_File_to_Array().
- Following that, we have declared a variable named file_system_object As Object, a variable named my_file As Object, a variable named name_of_file As String, and another variable named Arr As Variant.
- After that, we specified the path of our text file. You need to use the path of your text file here.
- Then, we used the Set statement to assign the text file from our computer’s file system as file_system_object.
- Here, CreateObject() function returns a reference to an ActiveX object.
- The FileSystemObject gives access to a computer’s file system.
- Next, we again utilized the Set statement to assign our text file as my_file.
- We used OpenTextFile() function to open our text file and return the textstream.
- After that, we have assigned a 0-based, one-dimensional array as Arr.
- Then, we specified the name of the worksheet and from which cell we want to display the output.
- Finally, we ended the Sub Procedure.
- After writing the code in the Module, click on the Save icon as marked in the following picture.
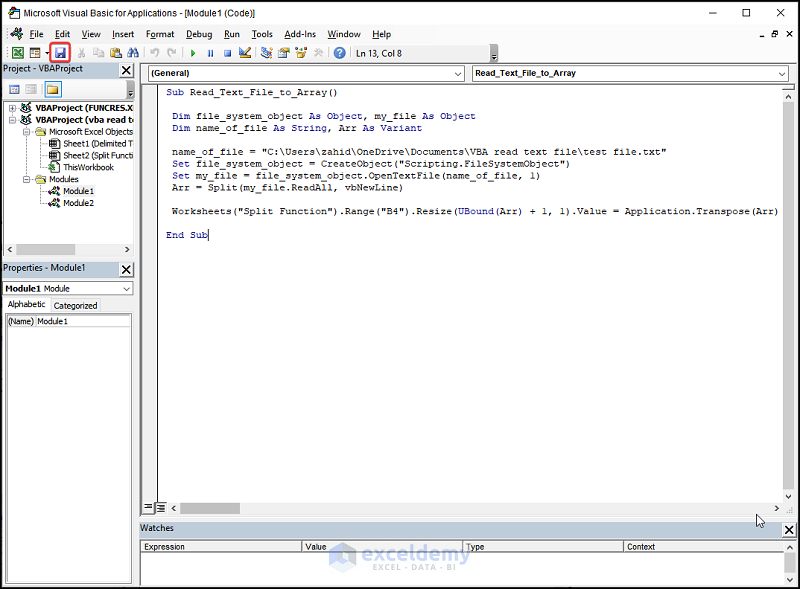
- Afterward, press ALT + F11. This will redirect you to your worksheet as shown below.

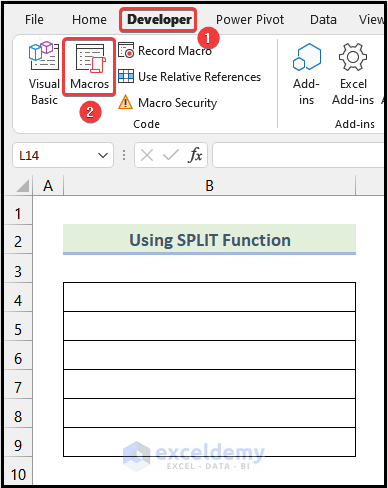
- Now, go to the Developer tab from Ribbon.
- Next, click on the Macros option.
- Consequently, the Macro dialogue box will open. From the dialogue box choose the name of the Sub Procedure of the VBA code (Read_Text_File_to_Array).
- Finally, click on Run.

As a result, you will see that the texts from your text file are extracted to the cells of your worksheet under the same column.
Read More: Excel VBA: Read a Text File Line by Line
Method 2: Extracting Delimited Text File into Array in VBA
In the second example, we will learn how we can extract a delimited text file into array using VBA code. In the output, we will get the texts from the text file separated into different cells and separated into different columns according to the respective delimiter. Here, we have used the Comma (,) as the delimiter. Let’s discuss the procedure given below.
Steps:
- Firstly, go to the Developer tab from Ribbon.
- After that, choose the Visual Basic option from the Code group.
Subsequently, the Microsoft Visual Basic window will open. Here will create another Module to write our second VBA code.

- Then, go to the Insert tab and choose Module from the drop-down.
Consequently, another blank Module will be created as shown in the following image.

- After that, go to the Tools tab from the Microsoft Visual Basic window.
- Next, choose References from the drop-down.

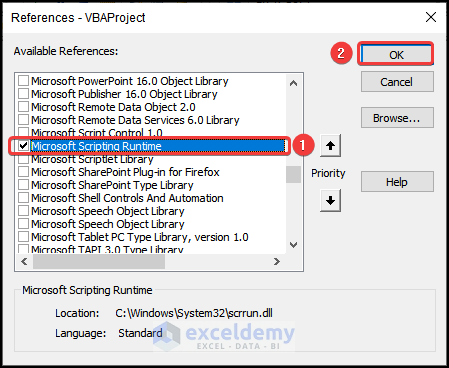
Subsequently, you will see a dialogue box named Reference – VBAProject as shown in the image given below.

- Following that, check the box of Microsoft Scripting Runtime.
- Then, click OK.
- Now, write the following VBA code in the Module.
Sub delimited_text_into_array()
Dim delim As String
Dim txt_file As Integer
Dim path As String
Dim content As String
Dim line_array() As String
Dim data_array() As String
Dim temp_array() As String
Dim row As Long, column As Long

delim = ","
path = "C:\Users\zahid\OneDrive\Documents\VBA read text file\test file.txt"
row = 1

txt_file = FreeFile
Open path For Input As txt_file
content = Input(LOF(txt_file), txt_file)
Close txt_file

line_array() = Split(content, vbNewLine)
For x = LBound(line_array) To UBound(line_array)
If Len(Trim(line_array(x))) <> 0 Then
temp_array = Split(line_array(x), delim)
column = UBound(temp_array)
ReDim Preserve data_array(column, row)
For y = LBound(temp_array) To UBound(temp_array)
data_array(y, row) = temp_array(y)
Worksheets("Delimited Text").Cells(x + 4, y + 2).Value = data_array(y, row)
Next y
End If
row = row + 1
Next x

End Sub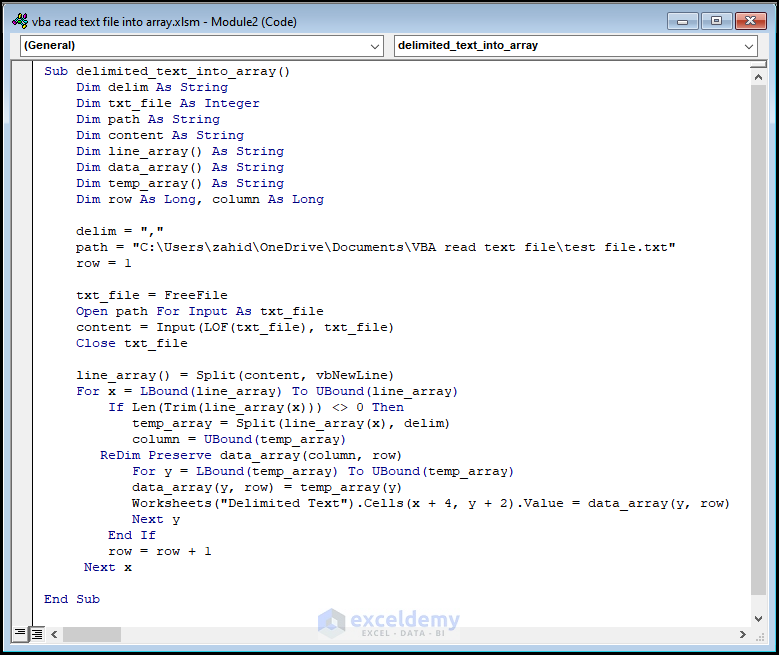
Code Breakdown
- Firstly, we have created a Sub Procedure named delimited_text_into_array().
- After that, we declared 9 variables. Among them, variables named delim, path, content, line_array, data_array, temp_array are Strings. Variables named row, and column is Long. And variable named txt_file is Integer.
- Afterward, we assigned our delimiter (,) as delim.
- Then, we assigned the destination of our text file as path. You need to assign the destination of your text file here.
- Next, we assigned value 1 in the variable named row.
- After that, we assigned the Free File function as txt_file.
- Following that, we used the Input function and the LOF function and assigned the output as content.
- Now, we used the Split function and assigned line_array().
- Then, we used a For Next loop to look through the texts.
- After that, we used an IF statement to check if the value of the length of line_array is not equal to 0.
- Next, we used the Split function and assigned the output as temp_array.
- Now, we used the UBound function to the temp_array and assigned the value to the variable named column.
- Following that, we used the ReDim statement to resize the data_array.
- After that, we used another For Next loop to assign the values of temp_array to the data_array.
- Then, we specified the name of the worksheet and from which cell we want to display the output.
- Now, we ended the IF statement.
- Afterward, we increased the value of the row by 1.
- Finally, we ended the Sub Procedure.
- After writing the VBA code, click on the Save icon as marked in the image given below.

- Subsequently, press ALT + F11. This will redirect you to your worksheet as shown below.

- Now, go to the Developer tab from Ribbon.
- Then, choose the Macros option.

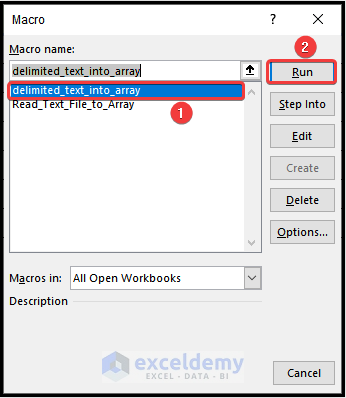
As a result, the Macro dialogue box will open on your worksheet.

- Now, from the Macro dialogue box, choose the name of the Sub Procedure of the VBA code (delimited_text_into_array).
- Lastly, click Run.
Consequently, you will see that the delimited texts from your text file are extracted into array as shown in the following picture.

Download Practice Workbook
Conclusion
That’s all about today’s session. I strongly believe that this article was able to guide you to read text file into array using VBA in Excel. Please feel free to leave a comment if you have any queries or recommendations for improving the article’s quality. Happy learning!
Related Articles
- Excel VBA: Read Text File into String
- Excel VBA: Import Comma Delimited Text File
- How to Import Text File to Excel Using VBA

