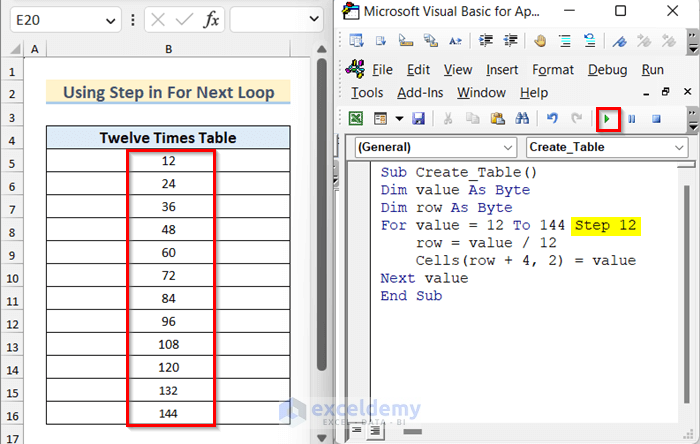
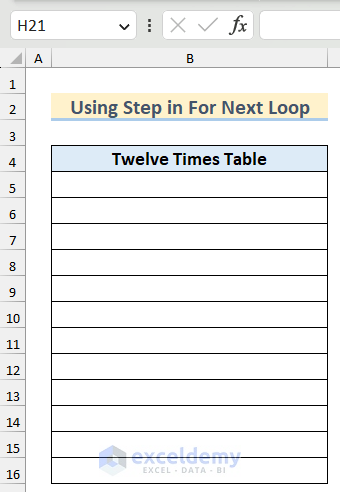
A loop is used when we need to run an operation repeatedly. Without performing the same operation manually every time in Excel, we can apply the VBA loop operation. Different loops exist in Excel VBA. In the image, you can see that we have created a twelve-times table using a For Next loop. We will discuss the use of VBA For Next loop in Excel in detail with proper examples.
Introduction to the VBA For Next Loop in Excel
- Summary
The VBA For Loop is a loop that runs an operation a specific number of times. After running the loop a specific number of times, the program will stop automatically. It is also called a fixed loop.
- Syntax
For counter = Start to End [Step]
Statements
Next counter
- Explanation
| Attribute | Description |
|---|---|
| counter | It is a numeric variable. |
| start | It indicates the starting value of the counter. |
| end | It defines the final value of the counter. |
| step | This is not a mandatory option. After each time running a code, the value of the counter changes. This changing amount depends on this attribute. |
| statements | This is also not mandatory. One or more statements may exist in a VBA code. The statements define the operations those needs to be performed in a loop. |
| next | This statement orders to run the counter again with the stepsize and runs until it reaches the ending point. |
How to Launch the VBA Editor in Excel
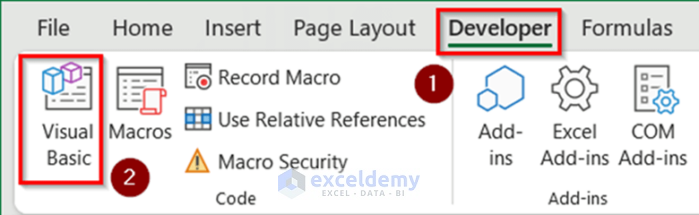
- If you don’t see the Developer tab, you have to enable the Developer tab.
- Go to the Developer tab and click on Visual Basic.
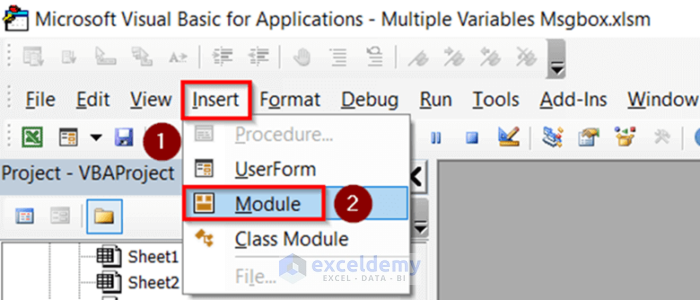
- The Microsoft Visual Basic Editor will open.
- To add a module, click on Insert and select Module.
For Next Loop in Excel VBA: 10 Suitable Examples
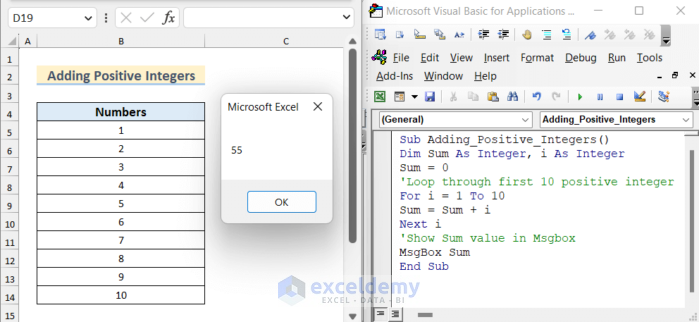
Example 1 – Use a Simple For Next Loop to Add the First 10 Positive Integers
We have the dataset containing 10 numbers.
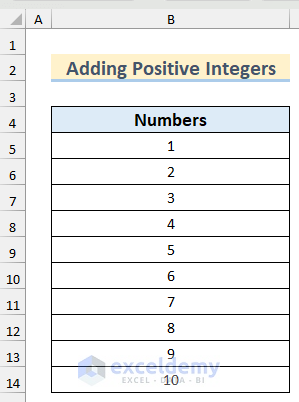
- To add those values and show the sum value in MsgBox, copy the code given below into your module.
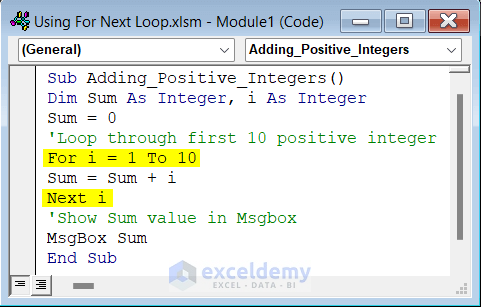
Sub Adding_Positive_Integers()
Dim Sum As Integer, i As Integer
Sum = 0
'Loop through first 10 positive integer
For i = 1 To 10
Sum = Sum + i
Next i
'Show Sum value in Msgbox
MsgBox Sum
End Sub- If you run the code, you can see the sum value in MsgBox.
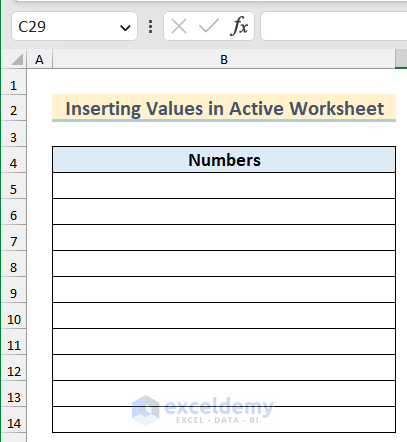
Example 2 – Insert Values in the Active Worksheet Using a For Next Loop
We will insert 10 positive numbers into the active worksheet using For Next loop.
- Use the following code in your module.
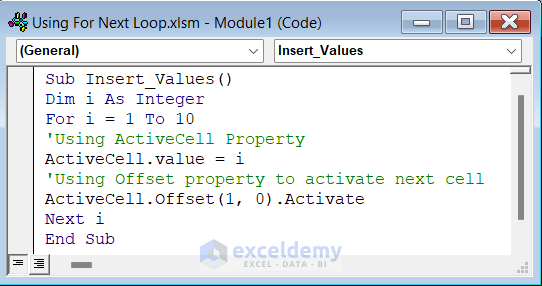
Sub Insert_Values()
Dim i As Integer
For i = 1 To 10
'Using ActiveCell Property
ActiveCell.value = i
'Using Offset property to activate next cell
ActiveCell.Offset(1, 0).Activate
Next i
End Sub- Select the cell where you want to insert your first value.
- Run the code to insert all the values in your active worksheet.
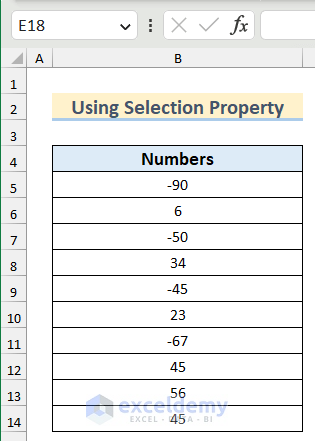
Example 3 – Use the Selection Property to Iterate Over Selected Cell Ranges Using a For Next Loop in Excel
We have a dataset containing some positive and negative numbers and we want to remove only the negative numbers from this dataset.
- Copy the following code into your module.

Sub Selection_Property()
Dim i As Integer
Dim Row_Count As Integer
            'Using Selection Property to count number of selected rows
            Row_Count = Selection.Rows.Count
            'Iterating over selected cell range
            For i = 1 To Row_Count
            If Selection.Cells(i, 1).value < 0 Then
            'Using ClearContents method to clear contents
            Selection.Cells(i, 1).ClearContents
            End If
            Next i
End Sub- Select your desired cell range.
- If you run the code, you will see that the negative values have been removed.
Read More: How to Use VBA for Each Cell in Range in Excel
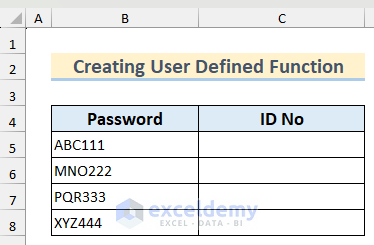
Example 4 – Apply a For Next Loop in a User-Defined Function in Excel VBA
We have a dataset containing some alphanumeric values as Password. The numeric part of these strings is the corresponding ID No. We will create a user defined function to find the numeric part from the string using a For Next loop to loop through each character in the string.
- Copy the following code into your module.
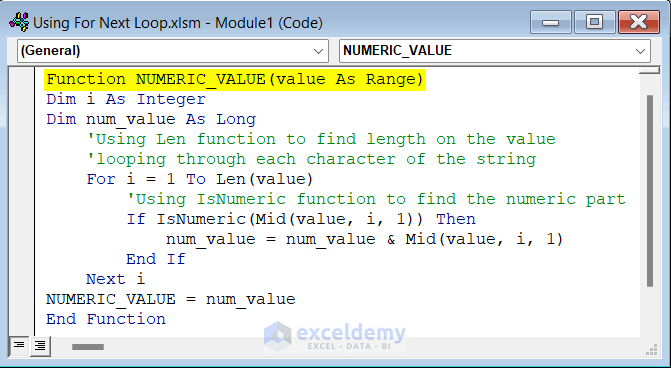
Function NUMERIC_VALUE(value As Range)
Dim i As Integer
Dim num_value As Long
            'Using Len function to find length on the value
            'looping through each character of the string
            For i = 1 To Len(value)
            'Using IsNumeric function to find the numeric part
            If IsNumeric(Mid(value, i, 1)) Then
            num_value = num_value & Mid(value, i, 1)
            End If
            Next i
NUMERIC_VALUE = num_value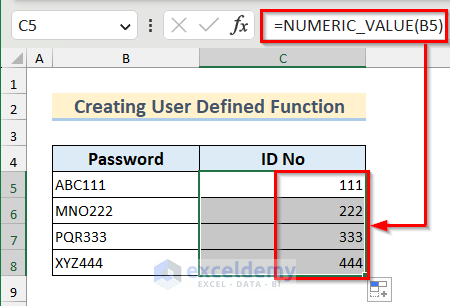
End Function- Select cell C5 and insert the following formula.
=NUMERIC_VALUE(B5)- Press Enter and drag down the Fill Handle tool to copy the formula.
Example 5 – Continue a VBA For Next Loop to Create Twelve Times Table
If you want to loop through a specific range and change the value of increment or decrement in each step which is by default 1, you can do that by using the Step keyword.
- Use the following code in your module.
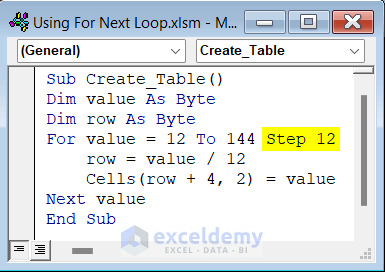
Sub Create_Table()
Dim value As Byte
Dim row As Byte
For value = 12 To 144 Step 12
            row = value / 12
            Cells(row + 4, 2) = value
Next value
End Sub- If you run the code, you will see that the twelve times table has been created into your active worksheet.

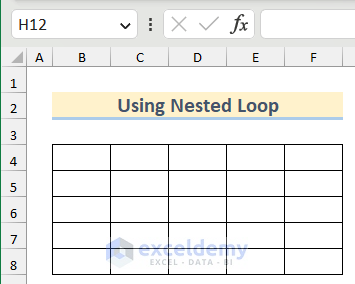
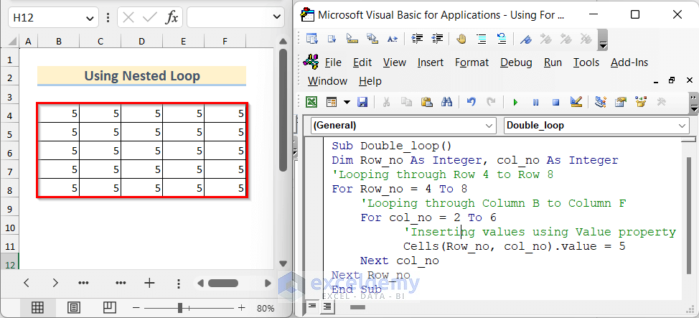
Example 6 – Use a Nested For Next Loop to Insert Values in a Cell Range in Excel
We want to set the value of the table of dimension 5×5. We will use a For Next loop twice.
- Put the following code on the VBA window.
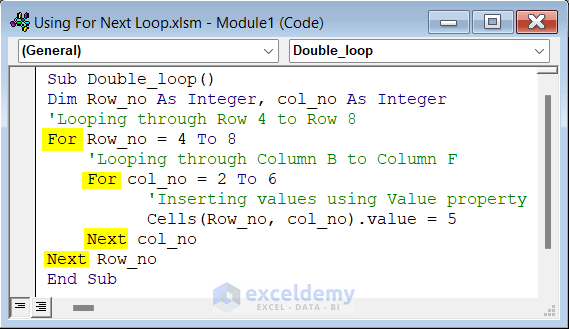
Sub Double_loop()
Dim Row_no As Integer, col_no As Integer
'Looping through Row 4 to Row 8
For Row_no = 4 To 8
'Looping through Column B to Column F
For col_no = 2 To 6
'Inserting values using Value property
Cells(Row_no, col_no).value = 5
Next col_no
Next Row_no
End Sub- If you click on the run button, you will see value 5 is set on a 5×5 table.
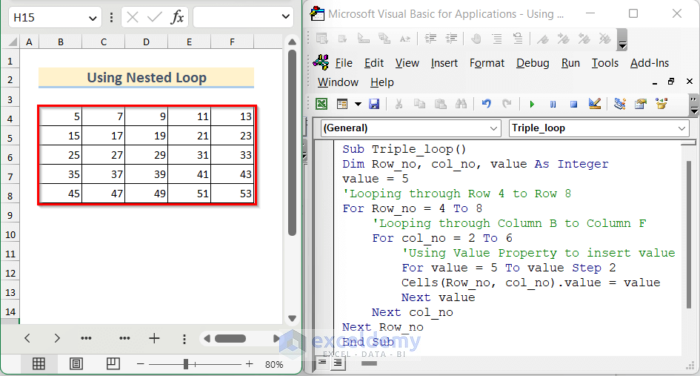
- If you want to change the values of each cell with an increment of 2, you can add another loop to this code. Use the following code in your module to do that.
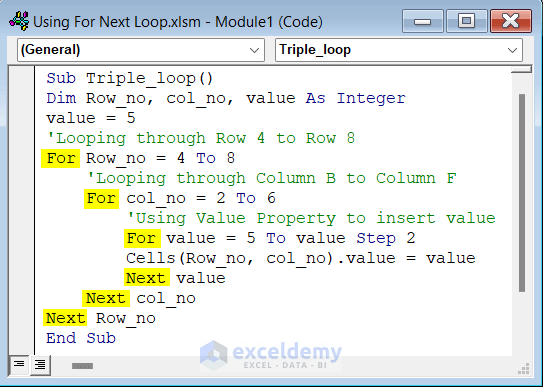
Sub Triple_loop()
Dim Row_no, col_no, value As Integer
value = 5
'Looping through Row 4 to Row 8
For Row_no = 4 To 8
'Looping through Column B to Column F
For col_no = 2 To 6
'Using Value Property to insert value
For value = 5 To value Step 2
Cells(Row_no, col_no).value = value
Next value
Next col_no
Next Row_no
End Sub- Run the code to get the 5X5 table like the image shown below values with step size 2.
Read More: Loop through a Range for Each Cell with Excel VBA
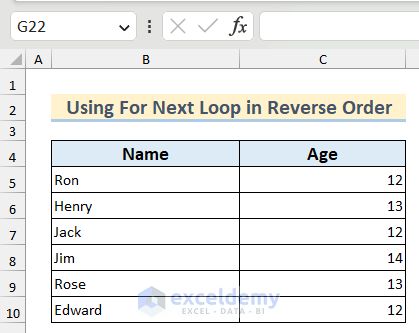
Example 7 – Use a Backwards For Next Loop to Iterate Over a Dataset in Reverse Order
We have a dataset containing the Name and Age of some students. We want to show the names of the students in this list in a MsgBox in reverse order.
- Copy the following code into your module.
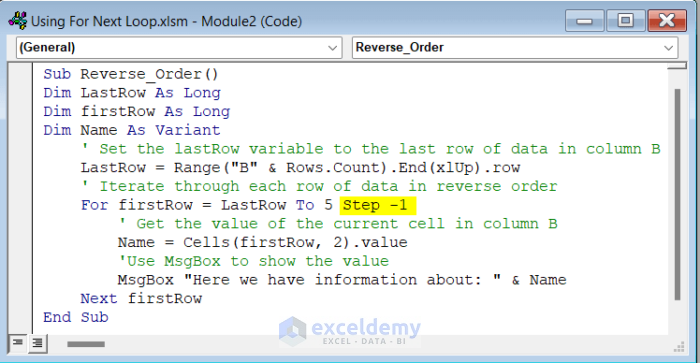
Sub Reverse_Order()
Dim LastRow As Long
Dim firstRow As Long
Dim Name As Variant
' Set the lastRow variable to the last row of data in column B
LastRow = Range("B" & Rows.Count).End(xlUp).row
' Iterate through each row of data in reverse order
For firstRow = LastRow To 5 Step -1
' Get the value of the current cell in column B
Name = Cells(firstRow, 2).value
'Use MsgBox to show the value
MsgBox "Here we have information about: " & Name
Next firstRow
End Sub
Code Breakdown
- We used the Range.End(xlUp) method to find the last non-empty cell in Column B and assign it as the LastRow variable.
- We looped through the 5th row to LastRow in reverse order by setting the Step keyword as -1.
- We assigned the Names variable as the value of the current cell in Column B using the Cells method. We showed the value of the Name variable using a Msgbox.
- Run the code.
Example 8 – Apply a For Next Loop with a Condition in Excel VBA
We want to highlight the cells where the Age of the student is equal to 12 in the dataset we showed in Example 7. We have to use an IF statement in the For Next loop.
- Insert the following code into your module.
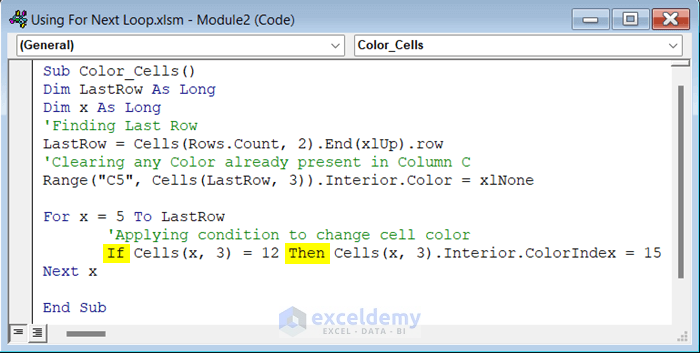
Sub Color_Cells()
Dim LastRow As Long
Dim x As Long
'Finding Last Row
LastRow = Cells(Rows.Count, 2).End(xlUp).row
'Clearing any Color already present in Column C
Range("C5", Cells(LastRow, 3)).Interior.Color = xlNone
For x = 5 To LastRow
'Applying condition to change cell color
If Cells(x, 3) = 12 Then Cells(x, 3).Interior.ColorIndex = 15
Next x
End Sub
Code Breakdown
- We used the Range.End(xlUp) method to find the last non-empty cell in Column B and assign it as the LastRow variable.
- We cleared any color present in Cell C5 to the last row in Column C by using xlNone as the background color of these cells.
- We used the For Next loop to iterate through the rows of data from the 5th row to the LastRow.
- We used the IF statement, to check if the value of the current cell in Column C is equal to 12. If the condition in the IF statement is True, the cell color will change. We used the Interior.ColorIndex property to change the color and set it as 15.
- Click on the Run button to change the color of the cells containing the value 12.

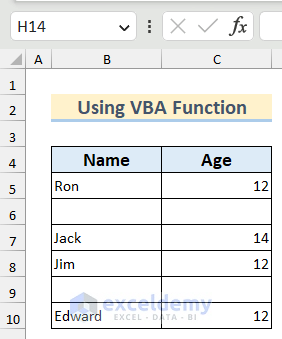
Example 9 – Delete Blank Rows Using a VBA Function with a For Next Loop in Excel
We have a dataset containing some blank rows and we want to delete those using a VBA code instead of removing them one by one manually.
- Copy the following code inside your module.
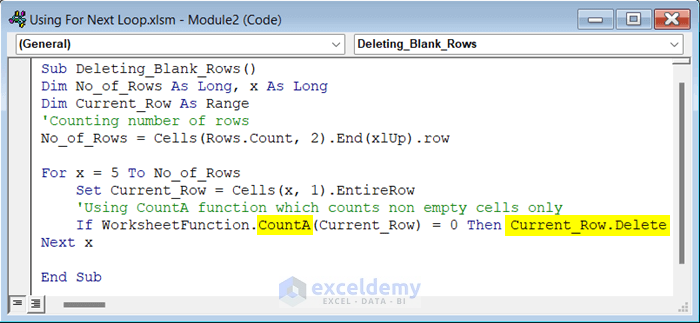
Sub Deleting_Blank_Rows()
Dim No_of_Rows As Long, x As Long
Dim Current_Row As Range
'Counting number of rows
No_of_Rows = Cells(Rows.Count, 2).End(xlUp).row
For x = 5 To No_of_Rows
Set Current_Row = Cells(x, 1).EntireRow
'Using CountA function which counts non empty cells only
If WorksheetFunction.CountA(Current_Row) = 0 Then Current_Row.Delete
Next x
End Sub- Run the code.
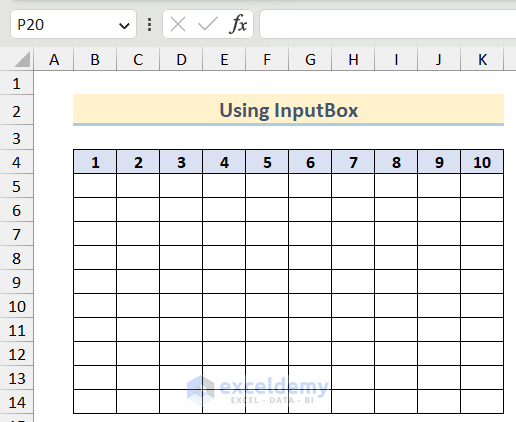
Example 10 – Use a For Next Loop with User Input through an InputBox in Excel
We will create a times table according to the user input via a For Next loop in Excel.
- Use the following code.
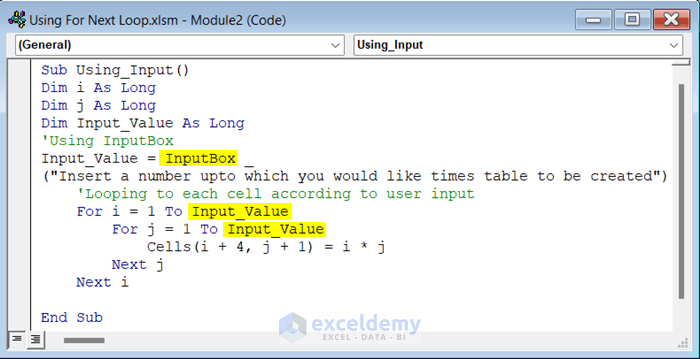
Sub Using_Input()
Dim i As Long
Dim j As Long
Dim Input_Value As Long
'Using InputBox
Input_Value = InputBox _
("Insert a number up to which you would like times table to be created")
'Looping to each cell according to user input
For i = 1 To Input_Value
         For j = 1 To Input_Value
                  Cells(i + 4, j + 1) = i * j
         Next j
Next i
End Sub- If you run the code, an InputBox will open. We entered 4 in the box, and it created a 4 times table. We entered 10, in the box and it created a 10 times table.
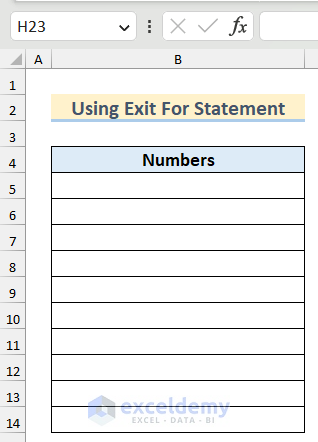
How to Exit a For Loop in Excel VBA
You can add an Exit For statement to exit a For Loop before the assigned maximum count is reached when meeting other criteria.
We will insert positive integers in the active worksheet starting from 1 and then exit the loop when the value is 5.
- Use the following code in your module.
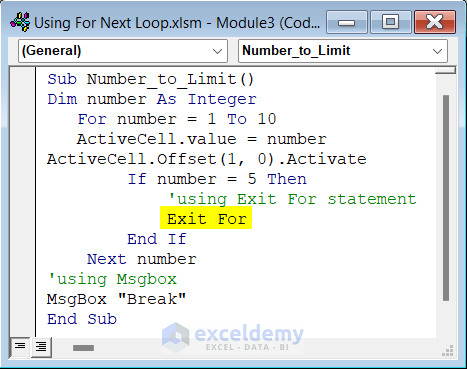
Sub Number_to_Limit()
Dim number As Integer
For number = 1 To 10
ActiveCell.value = number
ActiveCell.Offset(1, 0).Activate
If number = 5 Then
'using Exit For statement
Exit For
End If
Next number
'using Msgbox
MsgBox "Break"
End Sub- Run the code.
Read More: Excel VBA to Exit For Each Loop
Excel VBA Do While Loop: Alternative to For Next
A Do While loop is used when a repeated process is needed. It runs the operation until the given condition is true. Here is an example of the Do While loop to input 1st 10 integers numbers in Excel.

Sub Using_Do_While_Loop()
'using Do While loop
Do While Row_no < 10
Row_no = Row_no + 1
ActiveCell.value = Row_no
ActiveCell.Offset(1, 0).Activate
Loop
End SubDownload the Practice Workbook

